TPham
-
Posts
8 -
Joined
-
Last visited
-
 Roger C reacted to a post in a topic:
Help needed with precise mask layer
Roger C reacted to a post in a topic:
Help needed with precise mask layer
-
Help needed with precise mask layer
TPham replied to TPham's topic in Pre-V2 Archive of Desktop Questions (macOS and Windows)
GabrielM and firstdefence, I would have posted the result sooner but I wanted to try out both approaches and on multiple files to see if I can repeatedly obtained the desired results. It seems like GabrielM's approach works very well: "Try this: File > Open. Select both files. This will create 2 windows/documents. Copy the image layer from one document. Move to the other document and Paste. This will place it in place - if they both have the same dimensions, they will be perfectly aligned. Arrange them in the layer stack with the mask on the top, and the beauty pass on the bottom. Select the mask image, go to Layer > Rasterise to Mask " Thank you all just the same for helping me. I consider this the very best of internet...a few peoples willing to spend time and patiently help a complete stranger! Thank you! I hope someday I will be able to do the same helping complete strangers with my meager skill set. -
Help needed with precise mask layer
TPham replied to TPham's topic in Pre-V2 Archive of Desktop Questions (macOS and Windows)
<Ctrl>+ Mask Layer "thumbnail". Ok, that's a huge difference. One more question if you tolerate my ignorance, is there another way to overlay the mask file precisely instead of using <File>Place..> command? Despite my effort to set the snap settings in the magnet button, I am not able to snap the mask precisely onto the desired image area. Sometimes, it fit precisely often times, I would miss by a pixel or two, thus, having a thin black line one pixel wide at the edge boundary. If both of my image and mask files are generated by the render engine, I should just align at the top left edge then the overlay mask will be precisely applied onto the image. <File>Place...> command seems like a hit and miss approach...Is there a better way? Thank you in advance for your time. -
Help needed with precise mask layer
TPham replied to TPham's topic in Pre-V2 Archive of Desktop Questions (macOS and Windows)
firstdefence, Would you mind helping me again? I <Control>clicked of the mask layer and tried to create a selection but I did not see the fire ants! This is what I saw...no fire ants...no selection...sigh..what did I do wrong?
-
Help needed with precise mask layer
TPham replied to TPham's topic in Pre-V2 Archive of Desktop Questions (macOS and Windows)
firstdefence, toltec, et al., Thank you very much for your patience. As you already have seen, I am extremely novice at this. As far as the faint line goes, I think it is because of the shadow from the light casting from the right emitter? This is a paint test image so I did not run the render very long. The final production image will certain have a much better resolution, hopefully, won't have the same artifact. Would you believe that this is the first time that I've tried to edit a picture in earnest beside the basic cropping to fit using MS Paint? My next task is to create a new document of the cropped image then paste it onto the final scene image, so your advice above was spot on. Thank you again for talking to me like talking to a first grader, I am very grateful for the detail advises. You have certainly put me onto the right path with the new image editing skill set. -
Help needed with precise mask layer
TPham replied to TPham's topic in Pre-V2 Archive of Desktop Questions (macOS and Windows)
Wow, sometimes things that are small trivial and obvious to you could be a big deal to others. Thank you, finally I can create a precise mask! May I ask how to save the object and past it onto another scene file? -
Help needed with precise mask layer
TPham replied to TPham's topic in Pre-V2 Archive of Desktop Questions (macOS and Windows)
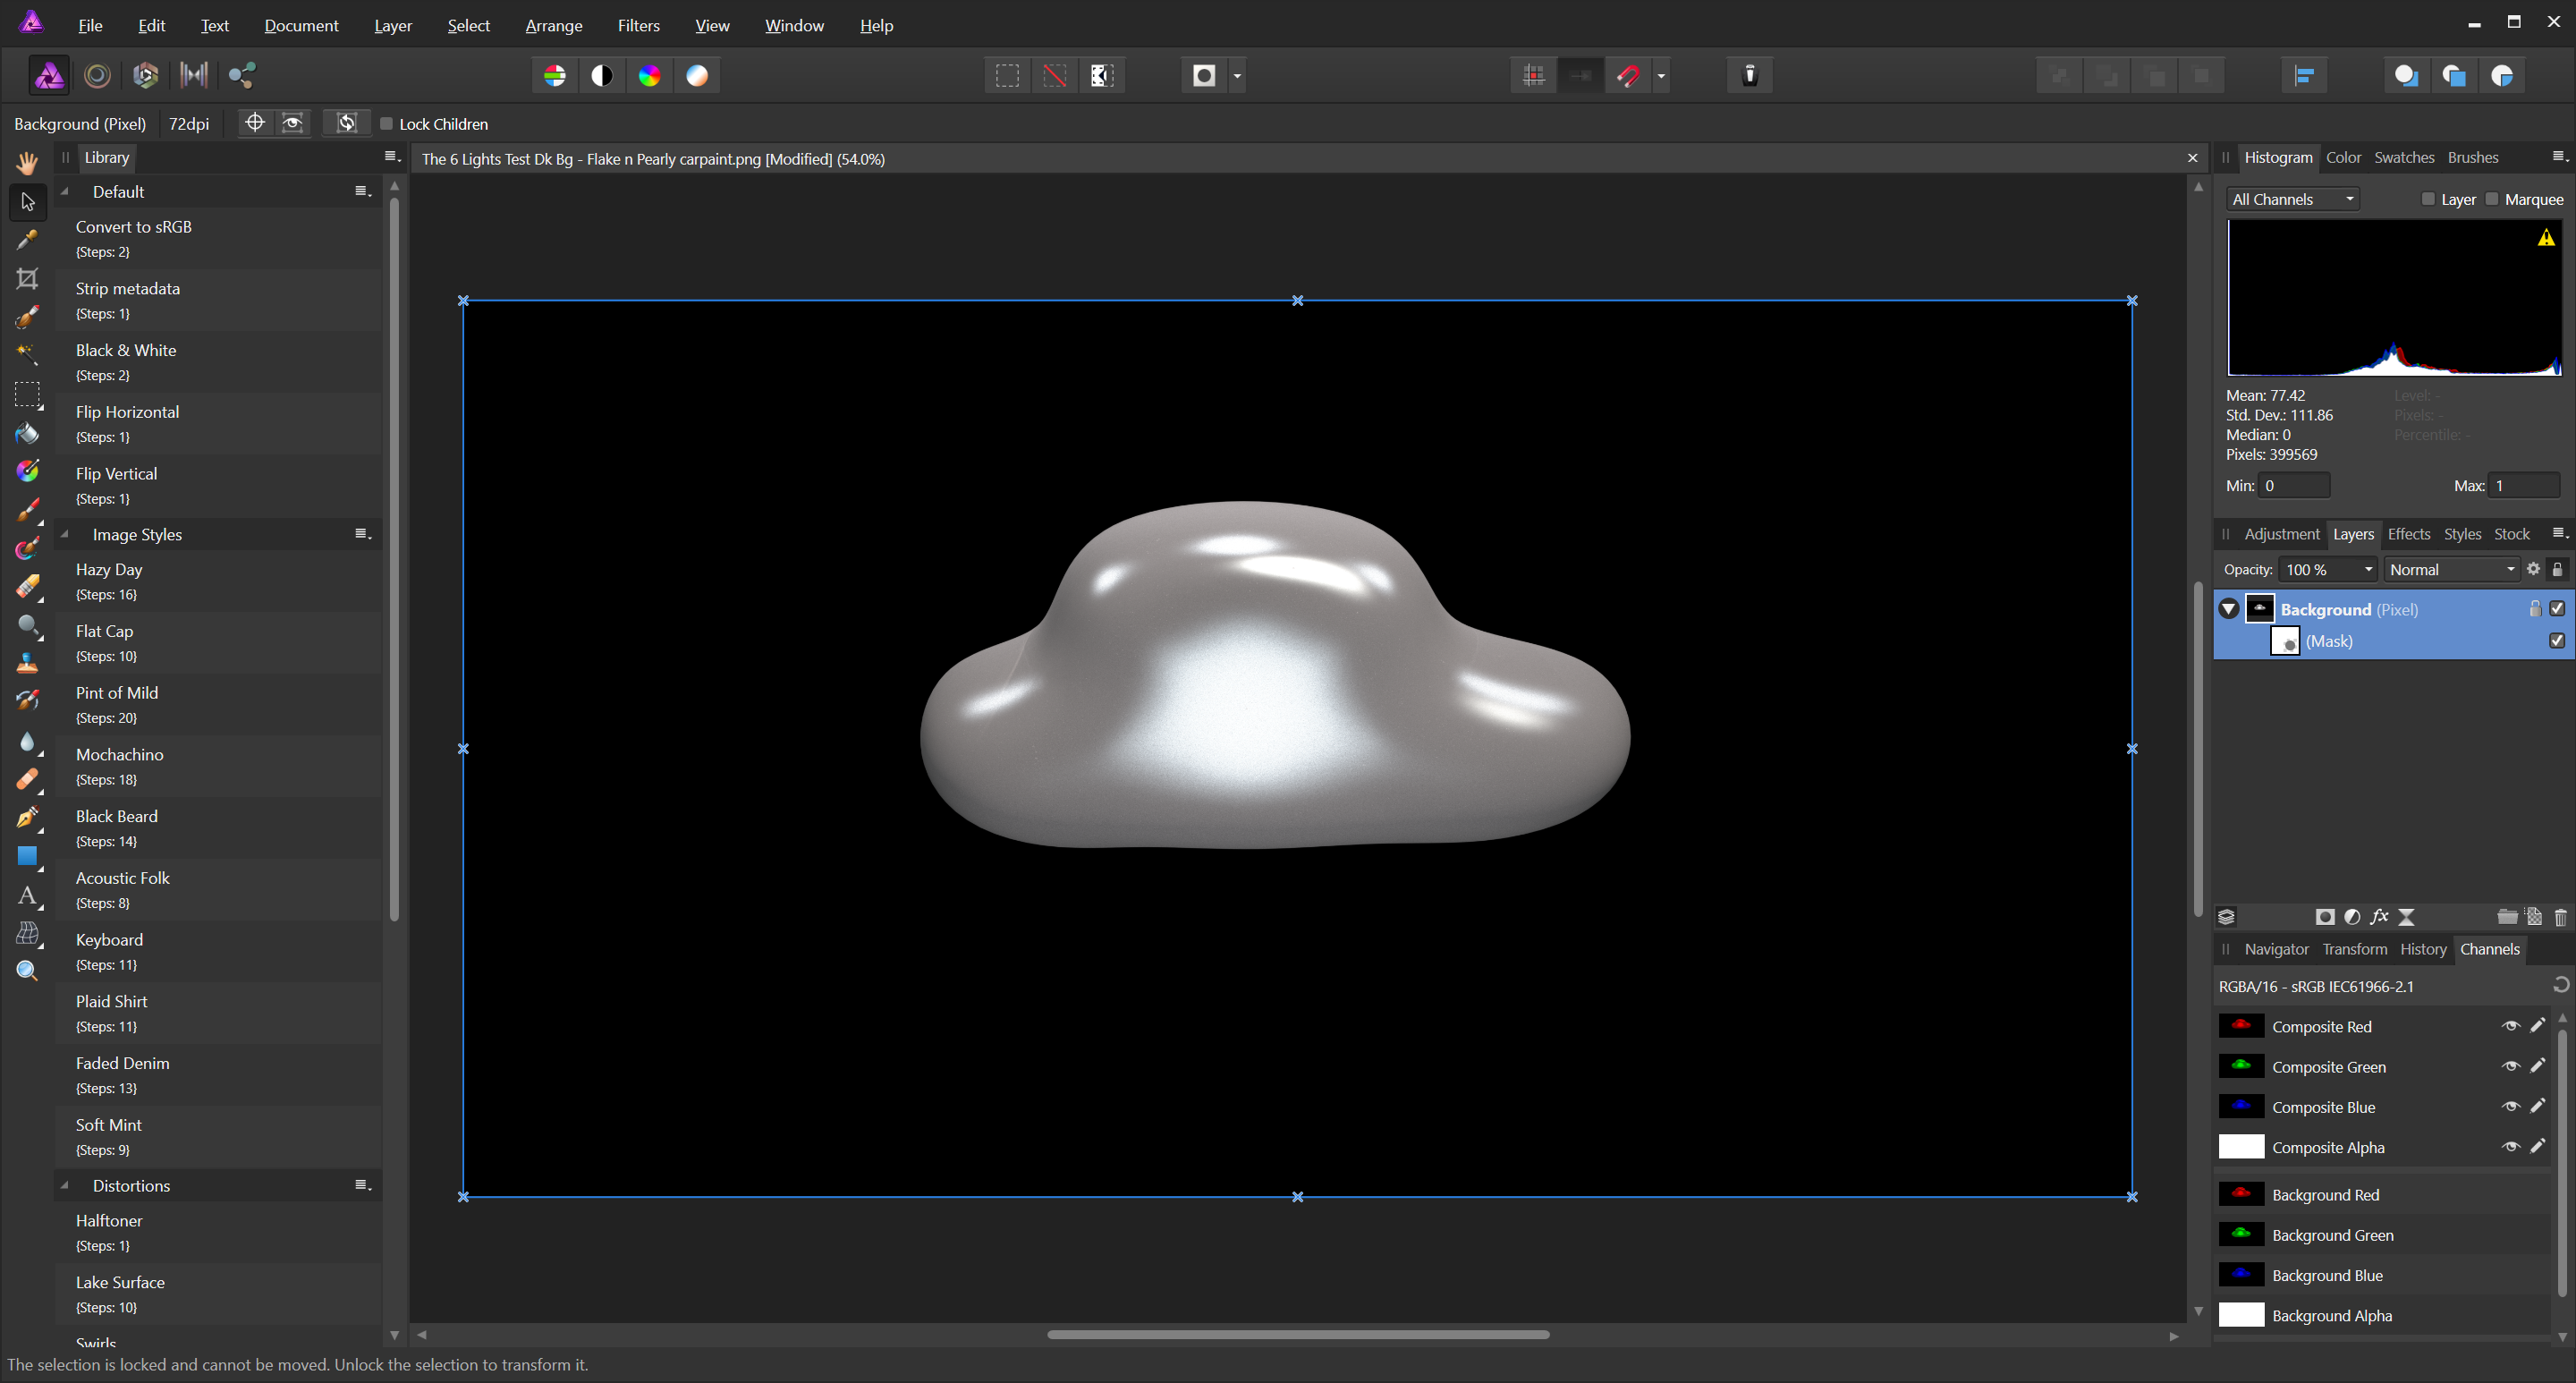
Thank for the reply. However, I am quite dense. Here are my step by step procedures and I am not getting the desired results. 1. Launch Aiffinity 2. from File menu> Open...Load image file 3. From Layer menu> New Mask Layer ( the mask layer appears BELOW the image layer) 4. From the mask layer (a white screen)...edit Mask Layer 5. From File menu>Place...load mask file 6. Paste across screen 7. From Layer..Rasterize... The net result is the same original image without masking...what did I do wrong? It seems so crude and cumbersome without the desired result. Can you provide the step by step instructions? I am quite dense when it comes to photo editing. Thank you in advance for any assistance provided.
-
Help needed with precise mask layer
TPham replied to TPham's topic in Pre-V2 Archive of Desktop Questions (macOS and Windows)
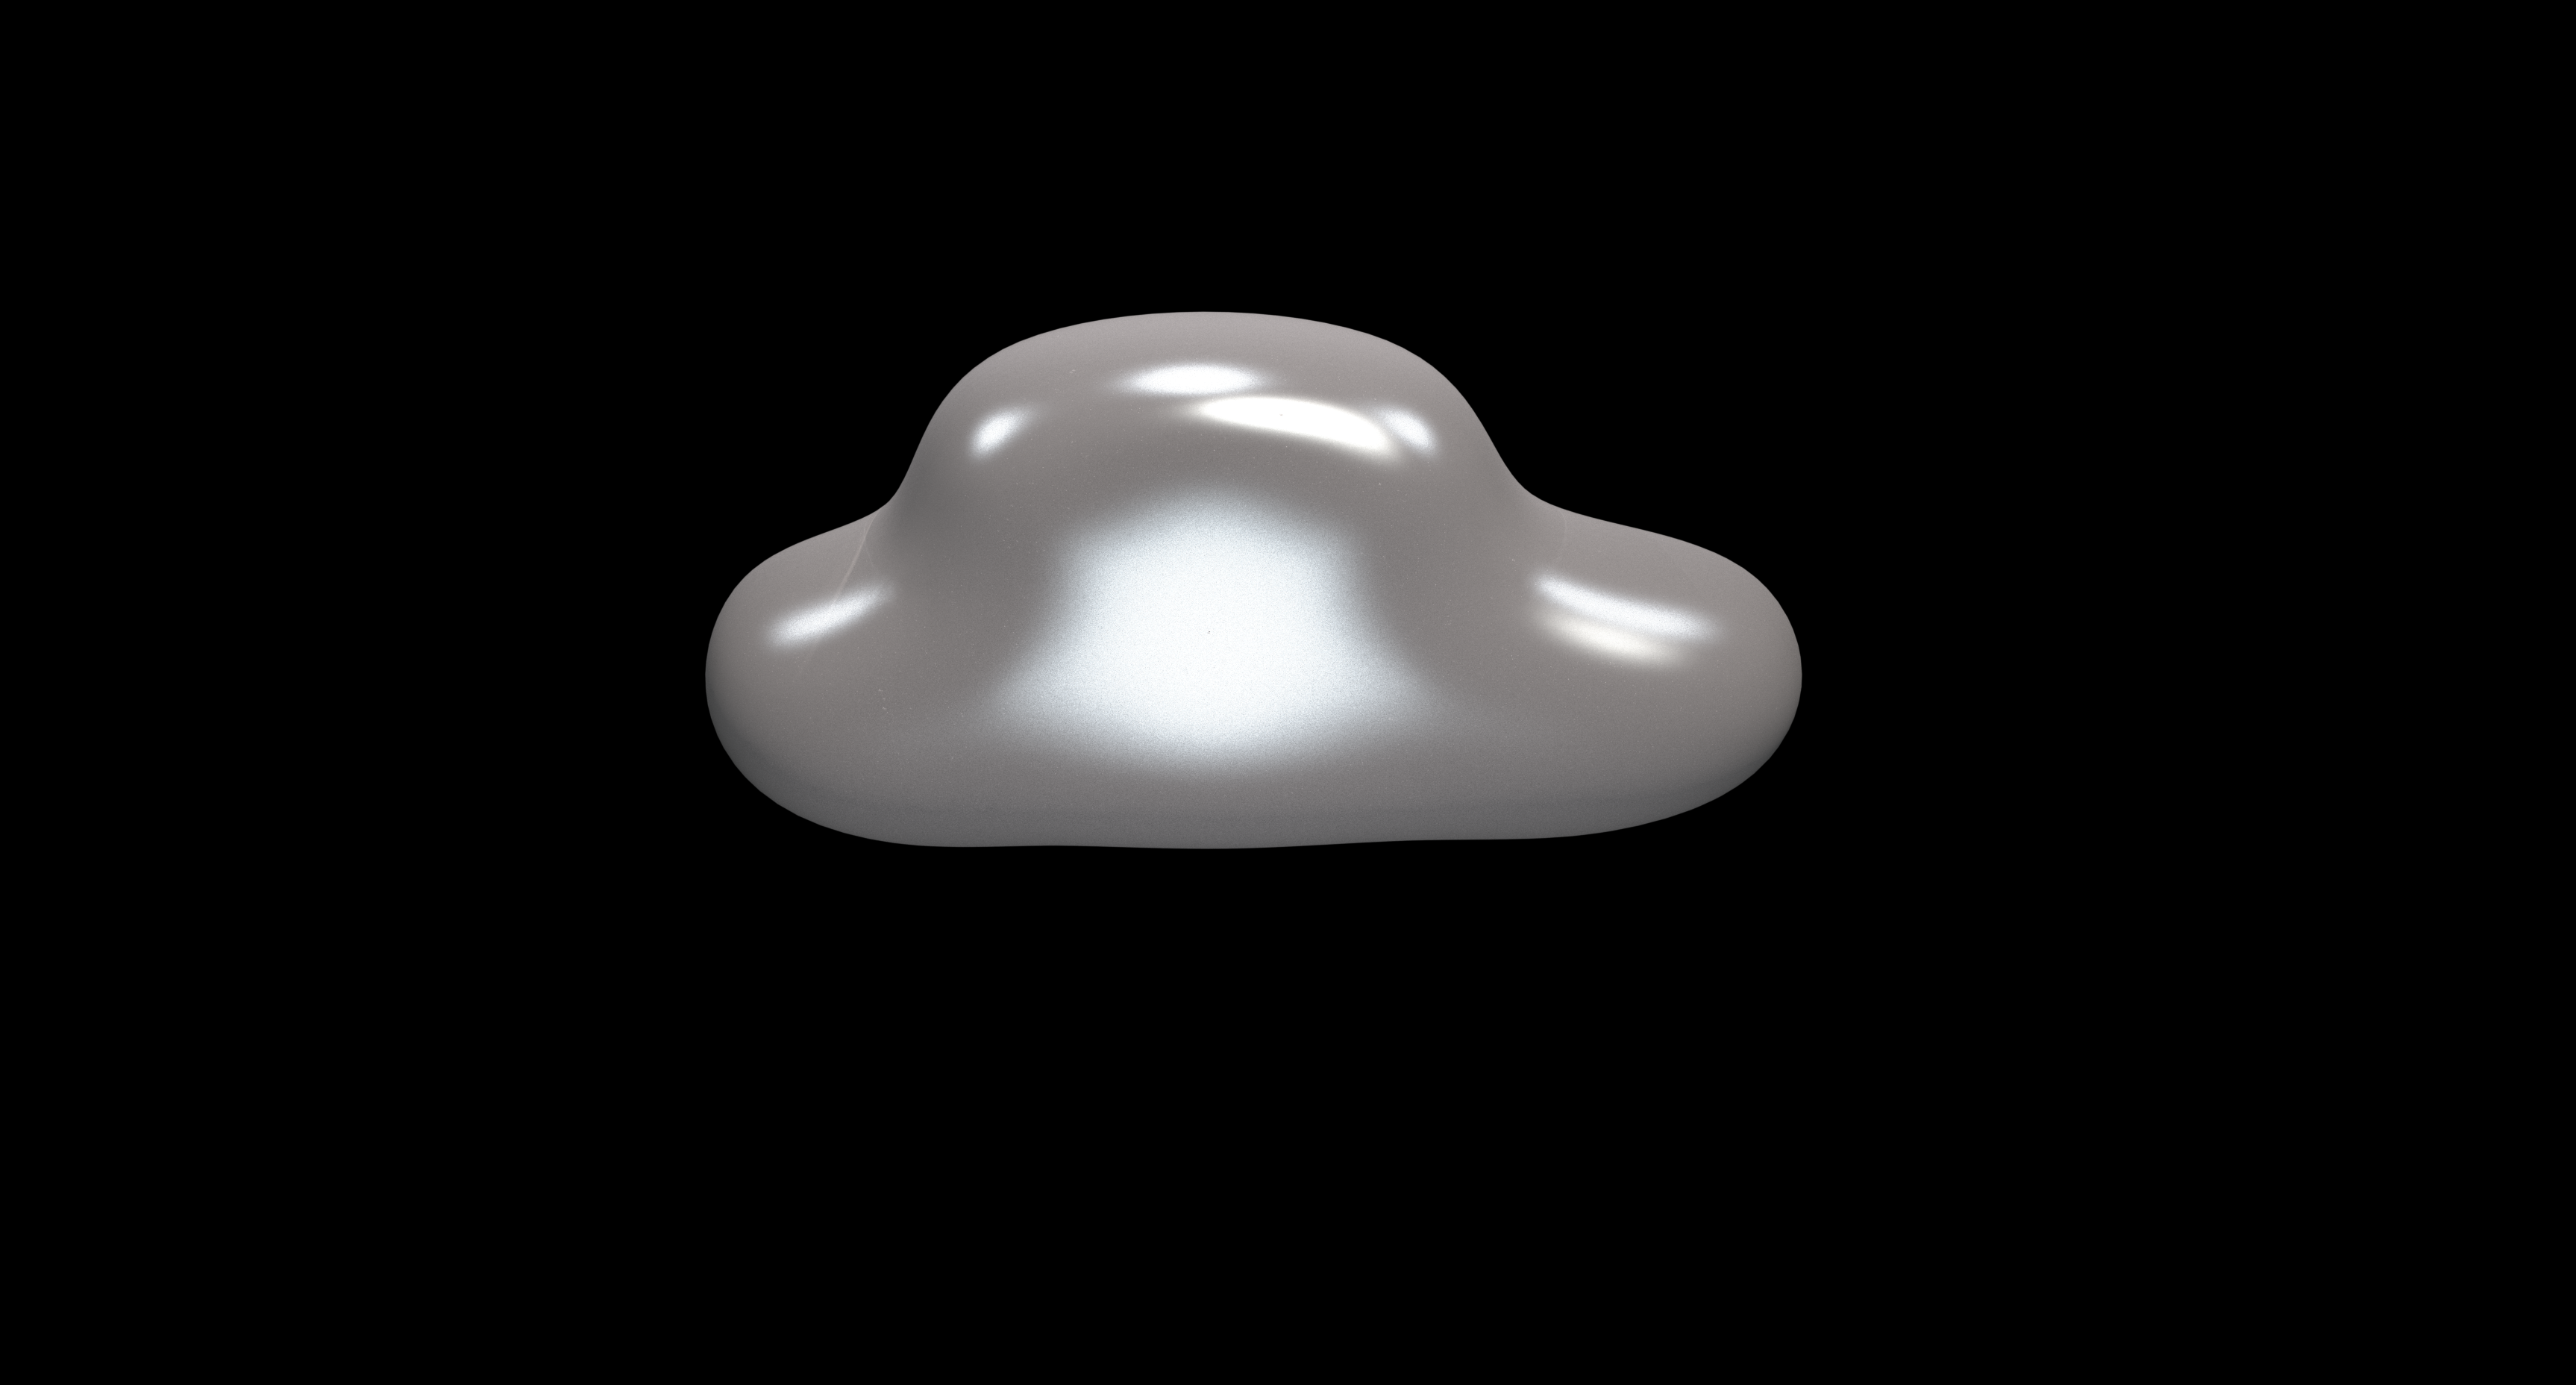
firstdefence, Thank you for the reply. However, here's what I am trying to do. As part of my render objects, I have two files: the Image file (.png) with a black background and a mask file (.png). I'd like to use the mask file to mask off the black background of the image file. The mask area should be transparent so that I can save the masked off image as an object file then I can paste the object into a final scene file. Here's an example of the files: I am so frustrated for not being able to do such a simple operation! Thank you in advance for any assistance anyone can provide.
-
Help, I am a newbie with Affinity. I have a rendered picture and a a very precise mask picture generated by a render engine. Both are in .PNG format. I'd like to use the mask file to mask out the black background and make the background transparent on the picture image so that I can overlay the image onto a new scene file? Can someone help me with step by step procedures? Thank you very much for any help provided.