Patrick Bell
-
Posts
121 -
Joined
-
Last visited
-
I am trying to 'place' a silhouette whcih has a transparent backgroun but which does not appear so when placed. To check it is transparent I have opened(the silhouette) and exported it as a png with Transparent background ticked, In all cases the background is the null checked pattern. What am I doing wrong? DSC07962-2-Edit.tif
-
I installed Affinity on my new laptop but where is it? I need to find the exe I guess because I want to Edit using it from Lightroom. Topaz just installes itself but I cannot find any LR Affinity plugin
-
Thanks. So whats the Opacity bar above the layers/channels/brushes tabs for then? The one I have been usiing d'oh.
-
I have two tif images as layers. I want to reposition one over the other but opacity seems to do nothing. What am I doing wrong? DSC00872-Edit.afphoto
-
Photo 2 installed where?
Patrick Bell replied to Patrick Bell's topic in Desktop Questions (macOS and Windows)
Using the direct "pointing" to C:\Users\pat\AppData\Local\Microsoft\WindowsApps\AffinityPhoto2.exe shiwed this - even when logged in as Admin Probably because ..WindowsApps is a system folder I then tried the following "Use a helper .bat file: start /b affinityphoto2.exe %1 exit I named mine LaunchAffinityPhoto2.bat and saved it. Then I point to that bat file from the other programs that need to invoke Photo 2." From Lightroom 6 it invokes Photo 2 but crashes photo Clearly a bug in Affinity Photo since what worked before fails now because of the new way that Photo gets installed. I'll ask for a refund until it gets fixed I cannot work this way, the extras aint worth the effort of locating the file from Photo 2 editing and saving then back into Lightroom to import for cataloguing. Of course if Affinity cam up with DAM...
-
I have just installed Photo 2. Where is it installed? I need to know since my LightRoom external editor still points to Photo 1. Its not in Programfiles\Affinity where Photo 1 is.
-
I am following a tutorial to replace a sky in one of my photos. I manage to mask it and remove the old sky. I have a separate document with the sky and cut and past it into the master as a layer. I have tried the sky being opened (ie a pixel layer) or placed so it becomes an image layer. In both cases I am unable to move or shrink the underlying sky image relative to the main image - I am stuck with the bit of the sky that happens to be under to removed old sky area. I cannot seem to be able to manipulate the sky layer separately. Any advice 366966226_problemskyreplacement.afphoto
-
Blur brush foxes me.
Patrick Bell replied to Patrick Bell's topic in Pre-V2 Archive of Desktop Questions (macOS and Windows)
It is not that it is subtle, it just doesn't seem to work on some images. I can load some images and clearly see the blurring. I think the issue is that if already a bit blurred it may not recognise the edges. In those images where it works it is working on already recognised edges. If I export and try to increase the blur (where it has worked in the original image) I cannot do so. -
Blur brush foxes me.
Patrick Bell replied to Patrick Bell's topic in Pre-V2 Archive of Desktop Questions (macOS and Windows)
well, 100% or 0% flow makes no difference either. PLus "That checkered circle should not be shown when using the Blur Brush." Not filling me with confidence in the blur brush. This is a mature program now and yet it doesn't fill me with confidence - I am often foxed when tools just don't work as I'd expect them to. -
Blur brush foxes me.
Patrick Bell replied to Patrick Bell's topic in Pre-V2 Archive of Desktop Questions (macOS and Windows)
Kookuburrah.afphoto -
Blur brush foxes me.
Patrick Bell replied to Patrick Bell's topic in Pre-V2 Archive of Desktop Questions (macOS and Windows)
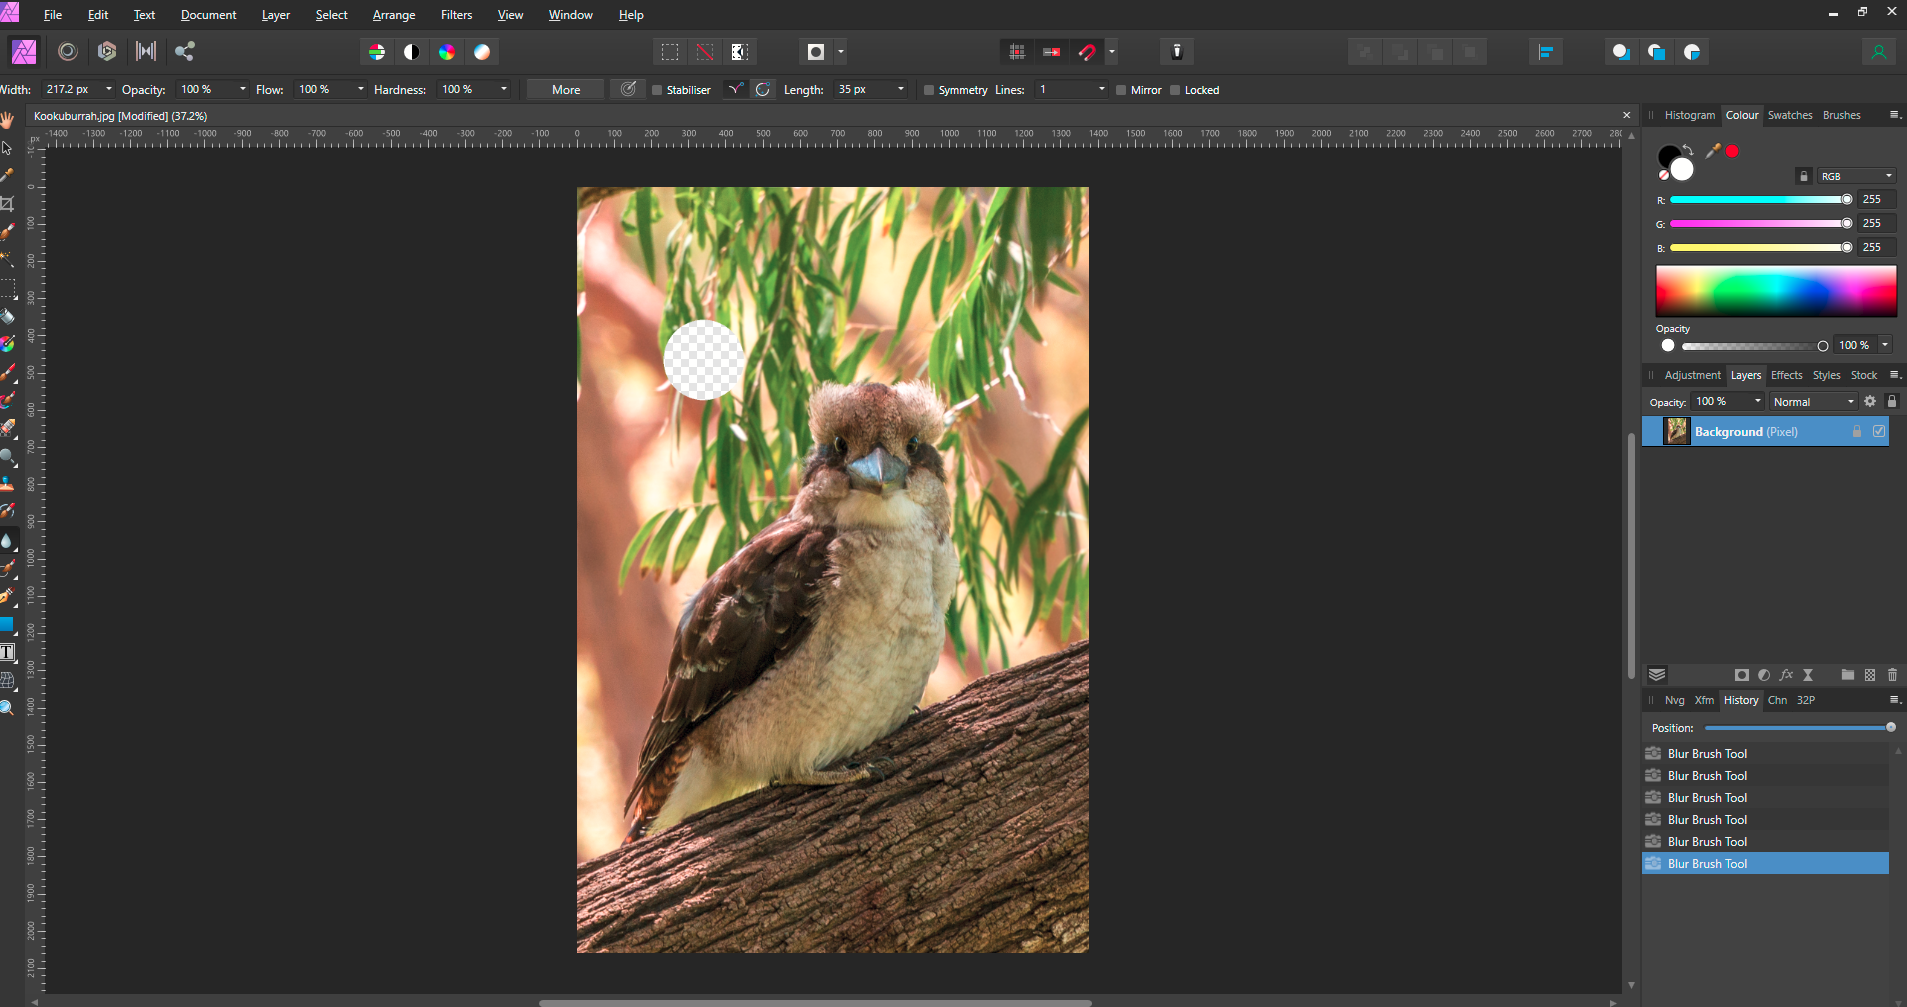
OK lets simplify it. I have loaded the image, clicked the blur brush and it has no effect. The inpainting brush works but that isn't what I want to do here. I have attached a screen shot of my settings. and the aphoto file. I tried black or white and the checkered circle is my brush when not holding the mouse button
-
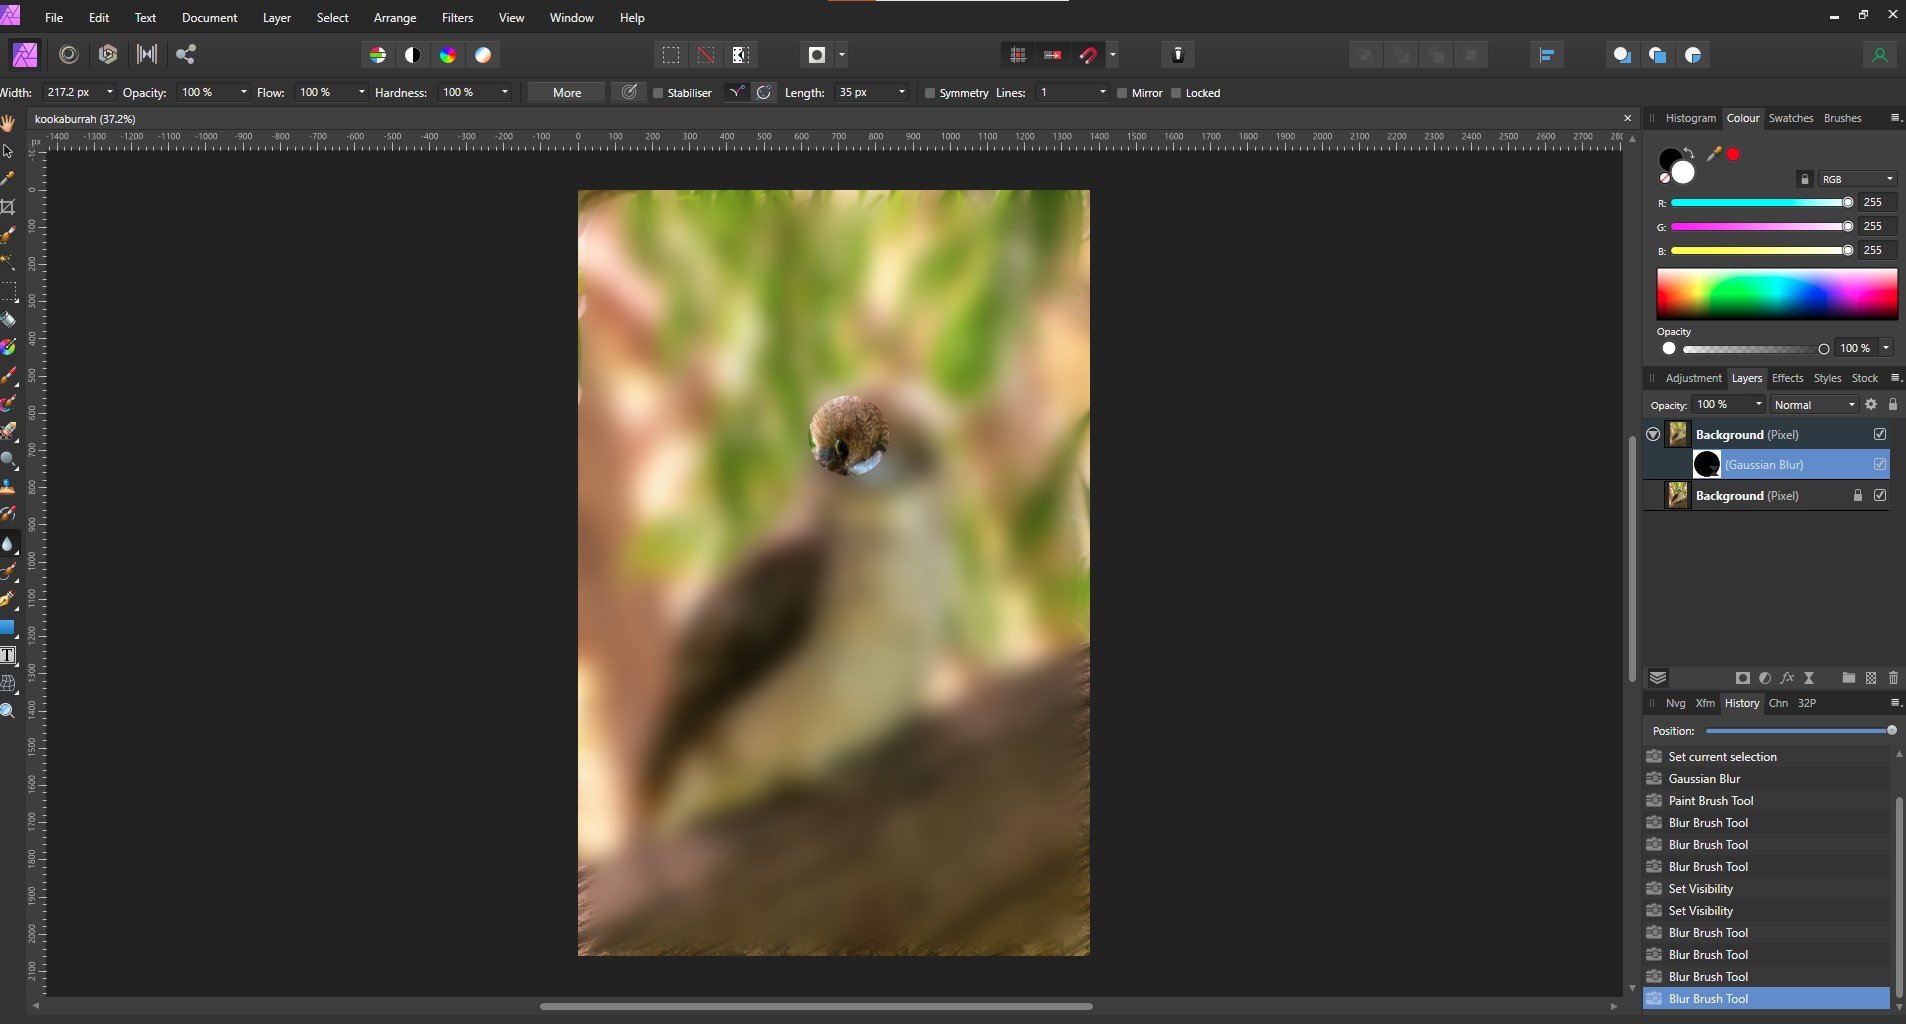
I have loaded a photo, duplicated the layer, selected the blur brush and started painting but it seems to do nothing. The inpainting brush fwiw leaves a red trail and does work. Opacity, flow and hardness are all 100%. So after some searching I tried a live filter with gaussian blur. Nothing happens when I brush over this except that when the mouse button is not pressed I can see the un-blurred image through the brush. Clearly I am doing something wrong. I have attached a screenshot and the image up to now. kookaburrah.afphoto
-
Lightroom to AP as layers?
Patrick Bell replied to Russ2's topic in Pre-V2 Archive of Desktop Questions (macOS and Windows)
or just use file->New Stack which creates a group of all the photos added in that dialog. -
Thanks. All very instructive. I actually wished to replace some spherical street lights with the moon and wanted some brightness but still recognisable as outlines of the moon. Tone mapping served as the best way to do this and, since I wasn't after a best image of the moon, just a bit of a gimmick this worked great. Many thanks.
-
How do I make the brighter areas of the moon brighter and the dark "mares" blacker? I have messed around with levels black points and also blacke and white blend modes but haven't hit on being able to separate affecting the two elements. Can anyone give me some guidance?