Shotster
-
Posts
61 -
Joined
-
Last visited
Everything posted by Shotster
-
Is bleed per document only, or can it be specified per artboard?
-
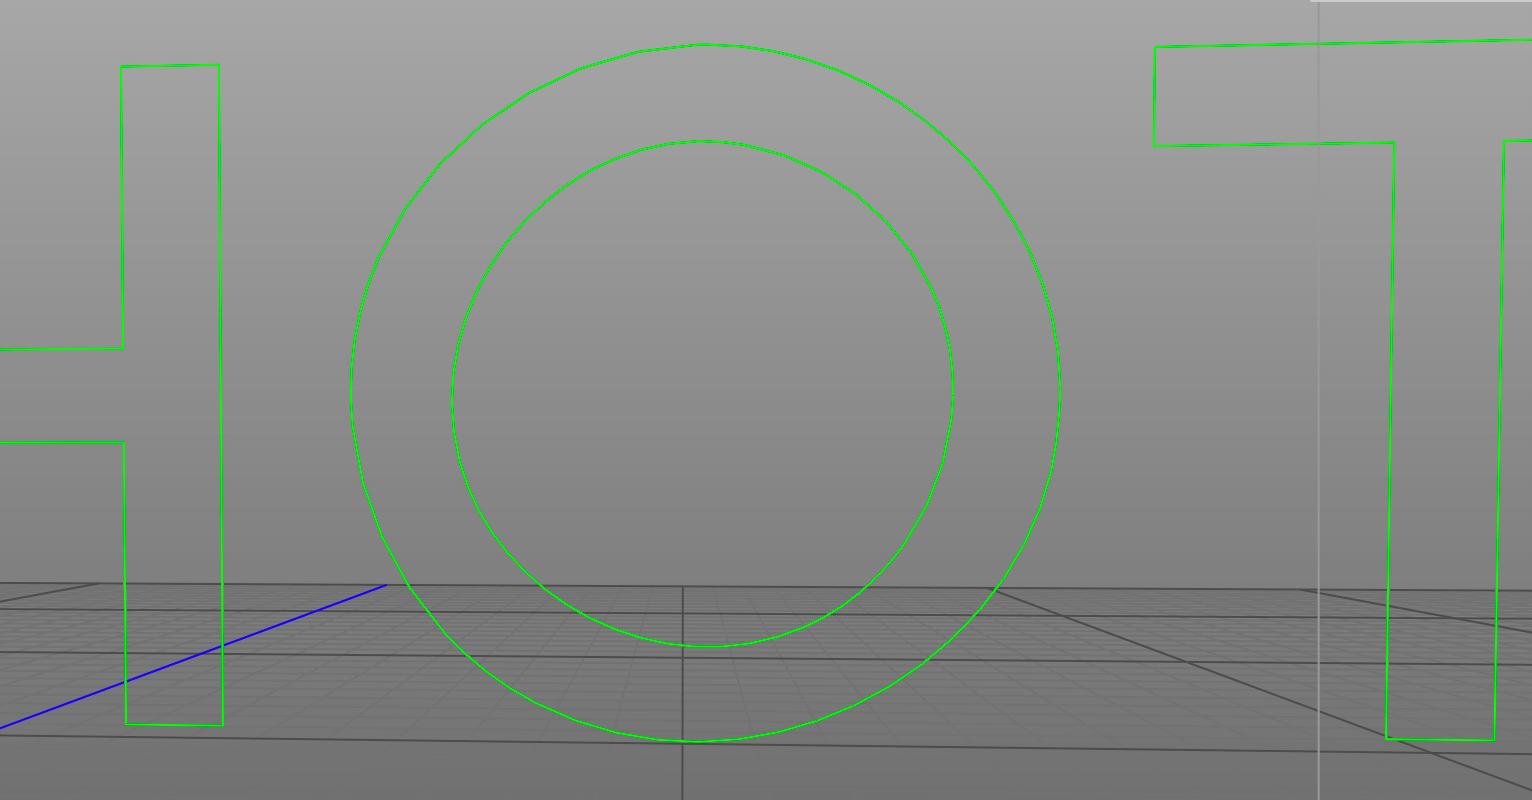
Thanks for the additional input! It's always good to get a fresh perspective! I fiddled some more, and it seems the KEY is simply to ensure that the stroke is aligned to center when initially adjusting the "thickness" of the text. I had the stroke set to "align to outside", and that results in a nightmare after expanding the stroke (at least for the font I was using). So for the record, the steps are as follows: Adjust the "weight" of some text using a center-aligned stroke. (It's KEY that it be CENTER-aligned!) Convert text to curves (command-return on Mac). Select all resulting layers (one layer for each letter) and choose Layer --> Expand Stroke. Now select all of those resulting layers (2 layers for each letter) and use the boolean Add operation. Bada bing!
-
Hey, thanks for the suggestions! I’ll give it a go when I get back. It would be sweet if it could be automated
-
Thanks for the reply. I think I tried that. As I recall, it didn't work as I expected - at least not with letters containing a "hole" (e.g. b, d, a, e, etc.). I'll double check when I'm back at my machine with AD, but I know I tried all the boolean operations. It's a bit frustrating because it seems the algorithm already exists in AD - i.e. the ability to create an "outline" (in the effects panel). I just need AD to effectively do the same thing but create a path which follows the outline.
-
I often find myself tweaking font weight by adding a stroke to text. Then, I can adjust as desired and not be limited by just the weights provided by the font (if any). This works great and is a nice way to visually "tweak" the font so that it fits the design. However, ultimately, I need to convert everything to curves and have a single path for each letter, and that's where it gets tedious. I generally proceed as follows: Convert the text to curves. Expand the stroke, which results in something like... Delete the "inner" portion, leaving just the stroke path as a curve. Put a rectangle behind the paths. Combine the rectangle and letters using a boolean "divide" operation. Manually "clean up" by removing unneeded curves and subtracting the inside portion of "closed" letters, etc. to wind up with this... Needless to say, this is quite tedious. Is there a better way to either tweak the font weight or convert an expanded stroke to a single path? Basically, I want a path that represents the "outline" of the letter, yet there doesn't seem to be an automated way to get it. Any suggestions?

-
Thanks, @walt.farrell, I did see your earlier posts, and they were helpful. The reason it wasn't working for me was this.
-
Ok, the absolutely key piece of information I was missing is that you MUST have more than one export format defined in the export persona! Otherwise, AD apparently just ignores the path components which "prefix" the slice name.
-
Relative to what? I would assume relative to the Affinity document, but I've had no success outputting to a specified path - either relative or absolute. AD just keeps presenting a dialog when an export is initiated. I'm on macOS.
-
"layer comps" in Affinity Designer
Shotster replied to 4personnen's topic in Feedback for Affinity Designer V1 on Desktop
Cool, thanks @dominik! That seems a lot like layer comps in Adobe PS. If one could create slices from snapshots, it seems this could be automated. Oh well, maybe in a future release. -
"layer comps" in Affinity Designer
Shotster replied to 4personnen's topic in Feedback for Affinity Designer V1 on Desktop
I have an artboard with just two child layers, but one of those child layers contains many children itself (because it serves as the clipping bounds. I need to export several images of the artboard which differ only in that a different "sublayer" is enabled for each output image. It can be thought of as a single icon with different "badges" that can appear over it; but I need to export the icon with badge for each image (not one icon image and separate slices for each badge). I can't figure out how to do that with the export persona. Is it possible? -
SVG Primer?
Shotster replied to Shotster's topic in Pre-V2 Archive of Affinity on Desktop Questions (macOS and Windows)
Just a quick follow-up with some lessons learned... Aside from @firstdefence's insights about using shapes and gradients in lieu of layer effects, the most important thing I learned for reducing SVG file size is to expand those strokes! After those optimizations and when using the SVG for Web preset, my file size dropped to 15.7K! Wow! Of course, I did more than just expand strokes and eliminate layer effects. I also did some boolean operations to "flatten" the paths. I also removed groups as well as re-implemented highlights as simple gradients. But that leads to a few more questions... I noticed that simply ungrouping layers results in a drop in file size. Is there an advantage / disadvantage to having groups when exporting for the web? Groups are certainly helpful when working on the design. Is there a way to have AD automatically "de-group" when exporting? I saw no such setting, but perhaps I'm missing something. Also, on a related note, I tend to do a lot of parent/child "nesting" of layers - e.g. eye layer contains iris layer which contains pupil layer, etc. This is very useful for decluttering/organizing the layers panel, for clipping, and for moving things around as a "group". However, I noticed that making a simple gradient the child of a solid fill layers results in rasterization - i.e. the "some parts will be rasterized" message when exporting. Anyone have any insights as to why that is? Is there no way to get a fully optimized SVG without sacrificing organizational features like nesting and grouping? -
SVG Primer?
Shotster replied to Shotster's topic in Pre-V2 Archive of Affinity on Desktop Questions (macOS and Windows)
Thanks for the replies. My query has been sufficiently addressed! -
Yes, that would be great! It's been a while since I've used any Adobe products, but I believe PS could separate layer effects into different layers. I agree that using layer fx is much easier in most cases, so why not make the user's life easier and let the software do the "hard work" of separating effects into layers. Hard to imagine it's not technically possible.
-
SVG Primer?
Shotster replied to Shotster's topic in Pre-V2 Archive of Affinity on Desktop Questions (macOS and Windows)
Ahhh, I see! That's helpful! Now that's something to go on. Thanks! I wonder if AD has a simple way to convert effects to layers. I shall consult the docs! Thanks, I appreciate the helpful response! -
SVG Primer?
Shotster replied to Shotster's topic in Pre-V2 Archive of Affinity on Desktop Questions (macOS and Windows)
No, I didn't "assume" anything. As I said, I opened the SVG file that was exported by AD. The hand is not rasterized (only the gradient highlights), whereas the entire head is rasterized. -
I thought I understood SVG, but perhaps I need a primer. I thought SVG resulted in smaller file sizes, but my simple icon is 350K+ bytes. When I open the exported SVG in AD, the "head" is rasterized. Why? Is it the gradients which force everything to get rasterized? The attached PNG (500 pixels square) is only 20K (after running the AD export through TinyPNG). Why isn't the SVG even smaller?
-
Oi! Yes, that's it! Gosh, it's not at all clear from the UI that you can do that. Thanks!
-
This video for iPad shows the ability to add noise to a gradient endpoint. I can't see where to do the same thing in the desktop version. Is it possible?
-
Draw smooth curve freehand?
Shotster replied to Shotster's topic in Pre-V2 Archive of Affinity on iPad Questions
Thanks @Alfred, I guess I should take a closer look at the pencil tool instead of the pen tool. -
I'm considering getting AD for iPad, but I'd like to know if it's possible to "draw" lines freehand and have AD "smooth" them as they are drawn. I've seen videos such as this one, but honestly, I don't see the advantage of using a stylus for that. Is there no way to simply draw as you would with a real pencil but have the lines automatically smoothed? Ideally, the degree of smoothing would be configurable. Also, is this possible in the desktop version of AD?
-
Ok, never mind. I'm an idiot. The pixel layers weren't "inside" the vector layers being resized.
-
I used the pixel persona to "smooth out" some highlights that were created with the transparency tool in the draw persona. They were converted to pixel layers. Now, when I scale the artwork in the draw persona, the pixel layers don't scale up with the rest of the artwork? How do I get the pixel layers to scale when the rest of the artwork is resized?
-
Awesome PNG Compression at tinypng.com
Shotster replied to Shotster's topic in Feedback for the V1 Affinity Suite of Products
Thanks for the info, @Medical Officer Bones. However, 99+% of the time, I don't want to manually tweak settings. I just want to output for the web, and reducing the file size to less than half with no effort is quite nice. I guess the real question is, why don't Affinity products incorporate such technology? It would sure be nice to get that level of compression without having to resort to another tool! -
I've been using tinypng.com for quite some time now, and I consistently get more than 60% reduction in file size with no discernible degradation in quality for 24-bit PNG images coming straight from Affinity Designer. What do those folks know that the Affinity folks don't? Is it a proprietary algorithm or something? Any chance that technology could be licensed and incorporated into Affinity products? I love the results, but's it's a real pain to have to manually "re-compress" the images! Thanks for listening.
-
Thanks very much for taking the time to reply! I am using artboards, and it turns out the solution for me required 2 steps: Ensure my background layer (which contained the bleed image) was outside the artboard in the layers palette as described in this post. Add a blank artboard to the document, which caused AD to refresh the display of the original artboard to show the content outside the bounds of that artboard. The added artboard can then be deleted. And I was just going to comment that AD is "bleeding edge" software, but in fact, it's not!