JSC
-
Posts
16 -
Joined
-
Last visited
-
I just installed Designer2 onto my Windows10 PC Laptop. I was surprised where it was installed versus other apps; I was hoping I could specify my custom directory for my graphic applications. Anyway, the install did not put a shortcut onto my desktop. After searching I found two locations where the AffinityDesigner2.exe was located: "C:\Users\JohnS\AppData\Local\Microsoft\WindowsApps\" and "C:\Users\JohnS\AppData\Local\Microsoft\WindowsApps\SerifEuropeLtd.AffinityDesigner2_3cqzy0nppv2rt" Folders. I choose the .exe in later to create shortcut. Then I dropped a copy of the .ico from my AffinityDesigner (1) installation into the "WindowsApps\SerifEuropeLtd.AffinityDesigner2_3cqzy0nppv2rt" Folder. It seemed to work. Question: does it matter which WindowDesigner2.exe I use for the shortcut?
-
Is there a way to determine the version level Designer on my iPad mini 5, iPadOS 14.2? I have been looking for an "about" screen in Designer. I also tried opening Ipad's Settings > Designer but no version level shown
-
SketchUp now has a series of "Learn" videos which can be accessed directly from within their apps. https://learn.sketchup.com/track/rendering-sketchup-photoshop There is a very large SketchUp user-base of architects. SketchUp models can be export to bitmap based files; specific rendering styles can be used saved in SketchUp to individual scenes (pages) each of which, in turn, can be exported. The Learn videos describe the process of post processing the exported files in PhotoShop. I have talked with architects at a recent SketchUp conference (Base Camp 2019) who are self employed or belong to a very small firm. They have limited resources and prefer not to rely upon Adobe products. They could very well be interested AffintyPhoto for doing their post processing tasks. I am not a PhotoShop user, but I assume everything shown in the Learn videos can be done in AfffinityPhoto. I was wondering if the SketchUp Learn videos could be looked at by the folks at Affinty and an AffinityPhoto video be created which would show how AffinityPhoto could be used instead ... and perhaps be easier to use? Regards, John
-
 Timespider reacted to a post in a topic:
Layers Panel re: Pixel Brush "source" Identification: ui SUGGESTION
Timespider reacted to a post in a topic:
Layers Panel re: Pixel Brush "source" Identification: ui SUGGESTION
-
Another possibility? Add an option to the Context Menu.

-
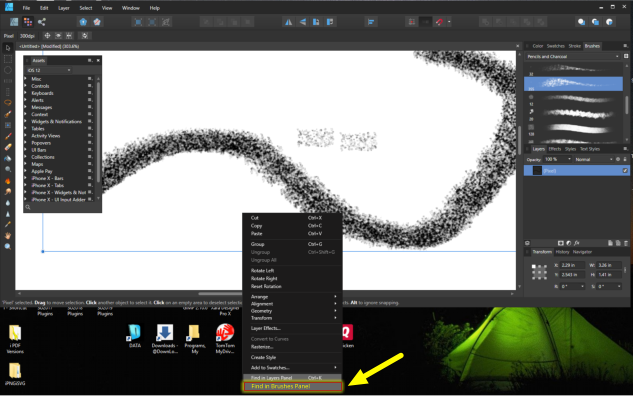
I am a relative new user so not sure if I have overlooked something or if there is a solution or workaround. Lets say I create a file which includes a dozen different brushes. Days later I reopen AD and the file. I see a brush on the canvas and want to draw some more similar brushes. However, there can be many brushes shown in the brushes pane making it very hard to identify the brush that was used to create the brush earlier. Could the name given to the Pixel Layer, when a brush stroke is applied, be annotated with the name used in the Brushes Pane (or as an option to do this in Designer's preferences)? Or possibly, when a brush on the canvas is selected, the related brush in the Brushes Pane is highlighted (similar to what occurs in the Layers Panel) ?.
- 1 reply
-
- 1
-
-
Thanks, folks. Much appreciated.
-
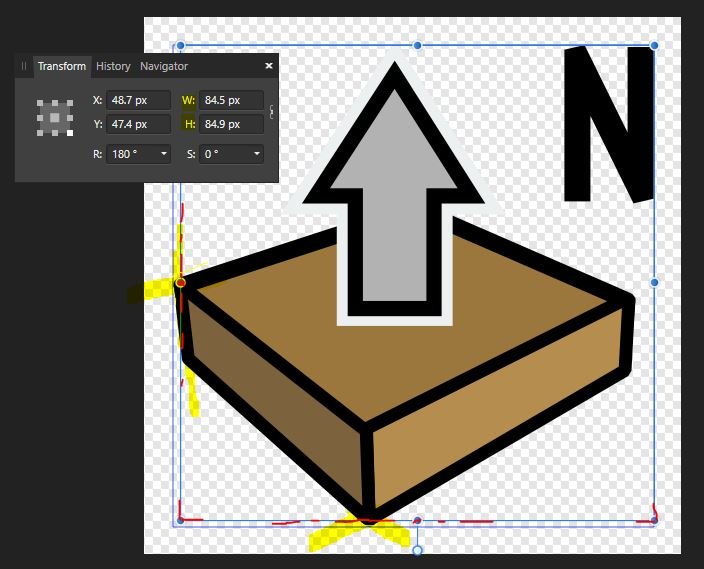
I haven't used AD in a long time so please understand that I may not be using the proper terminology. I dragged an .svg file into a blank screen I wanted to find the exact size of the "footprint" of all the objects which I have imported. The "Transform Pane" displays the width and height of the selection "frame". However, the frame is defined from the centerline of any stroke that crosses the frame. What need is to have the frame include the outer-edge of the stroke width. If not then is there a setting for the stroke width to be positioned only to the inside of the stroke centerline? Please advise as to the best way to go and let me know where/how to change either one of these settings. This is important because artwork will eventually be exported to an exact pixel dimension. The exports will be used as an icons in a WebBased Toobar and all the icons must have the same size/aspect ratio.
-
Another Method for doing Isometrics?
JSC replied to JSC's topic in Tutorials (Staff and Customer Created Tutorials)
Thanks folks for your input. I have a lot to learn about Affinity's capabiliities/functions. This is the first 2D app I've used (coming from CorelDRAW and Xara) where you can enter function notations directly (v.s. using a script/marcro). "3. Transform Panel: Rotate the Group 45 degrees" Is this so that the position of the nodes of circular geometry align to grid properly? -
Another Method for doing Isometrics?
JSC replied to JSC's topic in Tutorials (Staff and Customer Created Tutorials)
up -
Thanks for the reply. What you demo'd in the video is kind of what I have done manually in Xara (without using its grid because it isn't based upon true isometric angles). Part of an old tutorial I did regarding isometrics with Xara: https://goo.gl/photos/sQe5N71ZHC5UzKWP9 The entire tutorial: http://www.xaraxone.com/guest/guest05/index.htm
-
Can you draw walls, doors, windows, curved, and circular openings on a "normal" grid, then group all if them, change to Isometric grid, then scale/skew the group and snap to the iso grid? Might this be easier for some people when attempting to draw vertical surfaces from looking at an architectural elevation or section?
-
Is it possible?
-
Stroke Transparency
JSC replied to JSC's topic in Pre-V2 Archive of Affinity on Desktop Questions (macOS and Windows)
Looks like I double posted. Sorry. Please see: https://forum.affinity.serif.com/index.php?/topic/29322-transparency-strokes-and-fills/ -
Transparency, Strokes and Fills
JSC replied to JSC's topic in [ARCHIVE] Designer beta on Windows threads
I should have been clearer in my initial post, my bad. I was referring to applying different transparency types (i.e., linear, radial, conical, etc.) OR the directions of say a linear transparency (i.e., Fill has a linear transparency at 30 degrees and the stroke a linear transparency at 210 degrees. -
Hello, I'm a new user as of today. Running Windows7, 64-bit. Is there a way to apply a transparency to the Stroke of an object which is different than the transparency applied to the fill of the same object?