Mr Lucky
-
Posts
307 -
Joined
-
Last visited
Everything posted by Mr Lucky
-
 Thanks, I hadn't realised that. In some applications I can define the number in preferences
 -
I don't see Item properties when I right click. (Yes .png is fine. oddly I didn't try those because I'd had issues with .png from Photoshop)

-
I was expecting to find something in preferences, but no. Is there a way to get a bigger list? Thanks
-
Thanks, here it is: testopacity.afphoto (Re-importing a tiff back into Affinity looks fine against black background, the issue seems to be only with import into FCPX)
-
Got the beta, thanks. Still the same issue, but the PSD FCPX is working nicely.
-
I bought it at the Mac store, how do I get the beta? Yes, the PSD for FCPX works, I didn't know about that. An odd thing is that I just found that although the Photoshop TIFF loks fine in FCPX, when I import it to Affinity, the semi opaque refelction is actually darker over the black background, presumably it is less opaque.
-
I am using Export TIFF RGB 8 bit. However when I check, by reimporting the tiff then it looks correct. The issue I am having is when importing the tiff into Final Cut Pro X. In Affinity Photo there are three layers: the main image of pelican and turtles on a log the upside down reflection with 46% opacity the black background for viewing (I am exporting without the backgound layer) Affinity Photo: Imported TIFF to FCPX - looks wrong: However the same FCPX project with TIFF file which was exported from Photoshop -looks OK
-
Thanks everyone for the education. My question now is why does Photoshop reduce dpi to 72? I also have the question about Photo having a similar function as Save for Web part 2. The best thing about the PS SFW is that you see a preview of the image as you adjust the the quality, e.g number of colours in a gif or png. I really miss this, or is it hidden somewhere in Photo?
-
All fine, but at the same dimensions, 300dpi is a larger file size (in MB) than 72. So surely 72 is better as we want a page to load quicker. I did some tests. A 72 dpi image loads quicker on a web page, but looks just as good as the 300dpi at the same dimensions. So I am maybe doing something wrong still.
-
I want to save some files for the web, so they will reduced from 300 to 72dpi. In order to do this I think I need two steps: 1 Go to Resize document and reduce dpi 2 Export In photoshop it's possible to do this in one go with "Save For Web" Is there something similar in Photo?
-
When I export tiff I would lie to know how I can do it and retain areas that have varying degrees of transparency. A completely transparent area is fine, but any objects that have a gradient to transparent are not exporting with the % of opacity. When I did this in Photoshop, the default TIFF "save as" would do this so there is obviously some setting I am missing. Can anyone help please
-
Thanks, yes I ran disk utility and no problems found. The thing is I have only got either of these problems with Affinity Photo (& Designer re: the icon preview block). No other application has had either of these problems.
-
Thanks.
-
Can I add a filter (e.g. Sharpen > Clarity) non-destructively? Thanks
-
I just threw that together as an example of what I was doing. How do I stop the elements being converted to images? I was just using the export fro print preset
-
Is it here yet, I can't find a way to do it.
-
Thanks, but the problem with this is when you export the crop marks correspond with the outside of the bleed area , not the inside. I noticed in the video he did not export with crop marks for the printer. I have since discovered what (I think) is a better way. Instead of guides, I define the bleed widths in document set up. Also it seems quicker to use the margins instead of guides to define the safe area. Then all I have to do is make sure my coloured shapes or images extend outside the document. Then when I export with crop marks, then they correspond to the document dimensions (as they should) and the bleed is there. So attached is a quick example of what I think is now correct. with crop marks showing at the actual document dimensions (A4) test.pdf
-
Yes, edited. Aha, so it is. I expected it to be in 5s Thanks I ca relax now.
-
The default new document A4 size, appears to be 212 mm wide, not 210. How is this?
-
here you go Affinity Photo_2016-09-16-101540_Petes-iMac-2.crash.zip
-
Here you go test.afphoto I just noticed this only shows on my main display Retina 27" AMD Radeon R9 M290X 2048 MB graphics I also have an Asus VH222H 21.5 and it doesn't happen In fact if I move thefinder over the the ASUS and back again it has gone, but is visible again if you click on something else in the finder and back again.
-
I have a very simple designer document, currently just one layer, which has a single colour as an overlay. However the preview in Finder shows a block of darker colour. It isn't a huge issue as long as it exports correctly, just a bit worrying. Can anyone help please. Finder preview Designer:
-
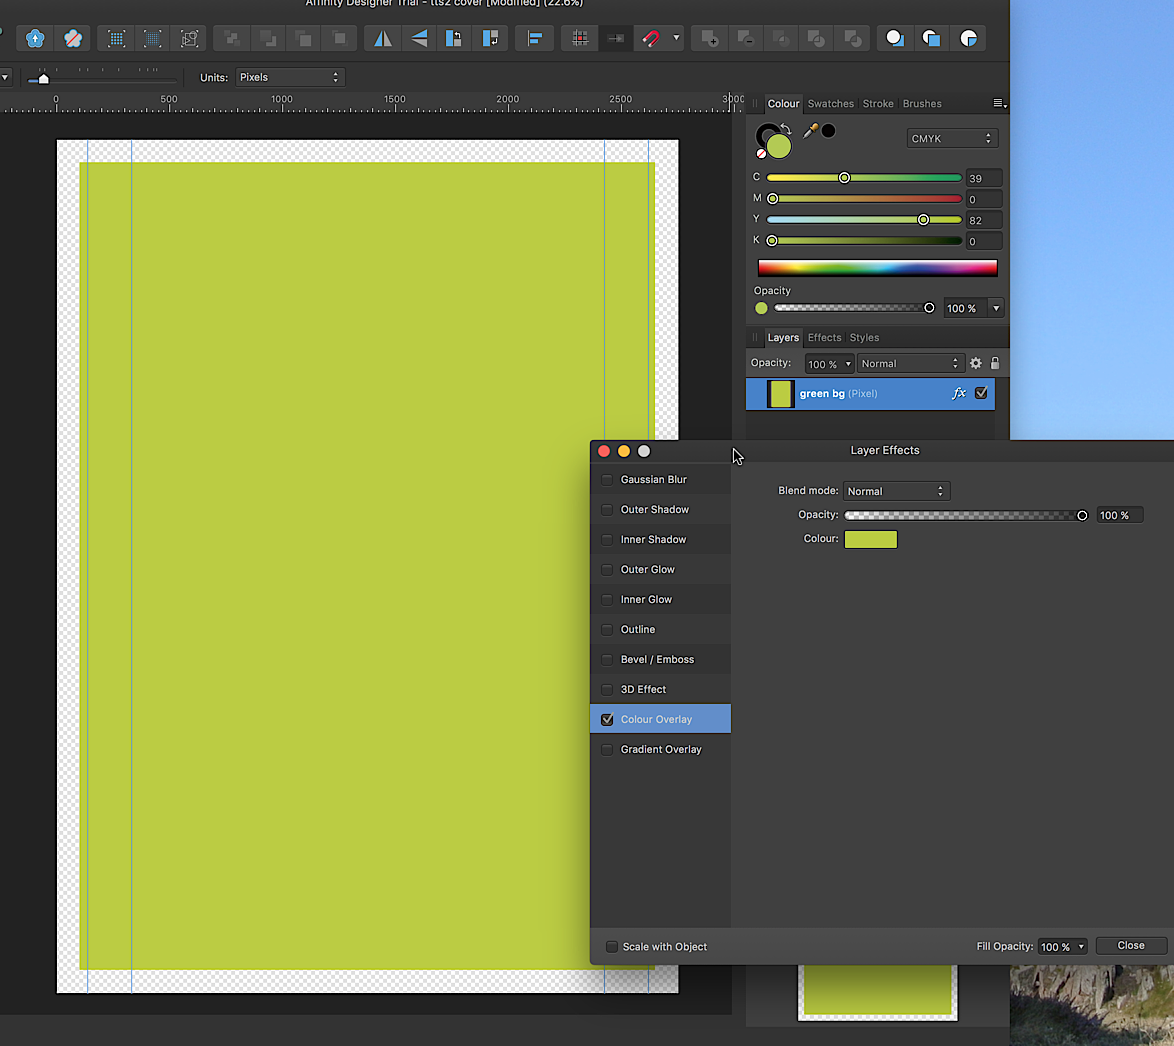
I am using the Affinity Designer trial, and hoping to switch over from a very basic application, Swift Publisher. I have read the manual and cnnaot find how to do something which I assume is very simple. As I am a beginner please answer with basic steps (thanks), I'm ready to pull the trigger on buying once I get this question answered. So: I am working on an A4 book cover, and need to export to PDF for the printer, (with crop marks) I can see how to add the crop marks in the export dialogue, however I'm not sure how I set up my basic layout so that the working area is larger than A4 so my background colour extends beyond the A4 boundaries. I can see A4 as a preset in new document, but that does not give me the added area for the bleed. Is there a preset way to do this, or do I just start a new document that is a couple of centimeters larger all round and add margins? And if so how do I set the crop marks to A4? Thanks
-
That seems to have fixed it! :)
-
1 Any file type 2 Not one specific app 3 Affinity is default for afphoto 4 works fine no problems when dragging to Affinity window or dock icon Screen video: Affinity PhotoScreenshot003.mov