Handyann
-
Posts
42 -
Joined
-
Last visited
Everything posted by Handyann
-
 @walt.farrell it's solid and isn't on the Master - I checked. Every page had one after changing from facing to single. 🤷♀️ IS Remove all guides supposed to delete all the guides in a document, or only the current page please? Mine only does the current page, but I don't know if I'm missing a setting somewhere.
 -
I also had the issue of unwanted guides appearing on each page, after I changed the layout from facing pages to single page. A guide showed up halfway down each page. I don't know if I've read this right, but in V2 Remove All Guides only removes them from the current page, not document-wide. Or is it supposed to take them off every page at once?
-
Single page control
Handyann replied to Handyann's topic in Affinity on Desktop Questions (macOS and Windows)
I am duplex-printing single pages, so the easy answer is the correct one for once - yay! Many thanks for putting me right. 😃 -
Hi, I'm working on a pattern instruction document for students and usually print everything duplex to save paper. However, there is just one page that I want as a stand-alone leaflet. Is it possible to set the document up with some sort of magic to prevent that one page having nothing printed on the back please? Is it as easy as setting it up so that its spread partner is a blank page? Many thanks as always
-
Choose opposing pages in a spread?
Handyann replied to Handyann's topic in Affinity on Desktop Questions (macOS and Windows)
Genius! That will do very nicely, thank you 😊 -
Hi, I'm working on a document in Publisher that has tables and charts on different pages and some of the table content relates to that in the charts, if that makes sense. I need to be sure that this content is consistent. So, I want to be able to view the table/chart pages side by side. I've tried setting the document up so I can see facing pages and moving the pages around, but that just made a mess. Is there a way to select which pages can be seen as a spread? It would be ideal to choose, say, page 3 and page 7 and have them display next to each other while I edit them. Many thanks.
-
Bold shortcut doesn't work
Handyann replied to Handyann's topic in Affinity on Desktop Questions (macOS and Windows)
Threads here do get complicated! I’m afraid a lot of this discussion is over my head, but I appreciate the time and effort. The Khmer font does work in APub and it also will provide a Bold version if the drop-down at the top left of the page is used. I guess I’ll just stick with that 🙂 -
Bold shortcut doesn't work
Handyann replied to Handyann's topic in Affinity on Desktop Questions (macOS and Windows)
@kenmcd Thank you for going to so much trouble. I know I can do it with the drop-down, but I just don't like things that don't work if they should 🤷♀️ 😊 -
Bold shortcut doesn't work
Handyann replied to Handyann's topic in Affinity on Desktop Questions (macOS and Windows)
@thomaso I agree the option isn't there with the button, but it is on the drop-down next to the font name to the left, along with 'Regular'. Does that not mean it is a trait offered with the font, or is it applying something which is imposed on the font by APub? It all seems crazily complex to do such a simple thing. @kenmcd It's included with macOS Sonoma -
Bold shortcut doesn't work
Handyann replied to Handyann's topic in Affinity on Desktop Questions (macOS and Windows)
@kenmcd It's Khmer MN -
Bold shortcut doesn't work
Handyann replied to Handyann's topic in Affinity on Desktop Questions (macOS and Windows)
@walt.farrell @thomaso I can make it bold manually with the drop-down next to the font list, so I assumed the ⌘ B would work. @Brian_J Bold is available, but I haven't defined a style - I didn't realise I needed to just for this. -
Hi all. Sorry to be asking yet another question. Is anyone else having issues with a non-working Bold shortcut - ⌘ B - in APub please? I'm on a MacBook running Sonoma and I just get the 'nuh-uh' buzzer sound. Other shortcuts seem to be ok, so I'm wondering if this is a bug or if it's been changed?
-
Is pixel erase the only way?
Handyann replied to Handyann's topic in Affinity on Desktop Questions (macOS and Windows)
@leprGenius! So simple and well within my newbie understanding. Thank you. -
Delete on right click menu
Handyann replied to Handyann's topic in Feedback for the Affinity V2 Suite of Products
@GarryPThank you for your reply. Putting up a screenshot is something I must remember to do when I ask something on the forum! -
Delete on right click menu
Handyann replied to Handyann's topic in Feedback for the Affinity V2 Suite of Products
@Bit Disappointed Thank you for your reply. It’s certainly one way round it, but I’d have thought one more option on the menu wouldn’t break the bank 😊 -
Delete on right click menu
Handyann replied to Handyann's topic in Feedback for the Affinity V2 Suite of Products
@walt.farrell Thank you for your reply. Clicking the delete or backspace key anywhere on the screen just gets me a ‘you can’t’ bleep. The only time it does work, on Designer anyway, is when I’m using text. As I said in my original post, personally I’d find it really useful to have Delete available on the right-click menu wherever the cursor is on the screen. Having to scoot across to the layers panel every time is nearly as bad as having to go down to the trash can in the furthest right corner. -
Delete on right click menu
Handyann replied to Handyann's topic in Feedback for the Affinity V2 Suite of Products
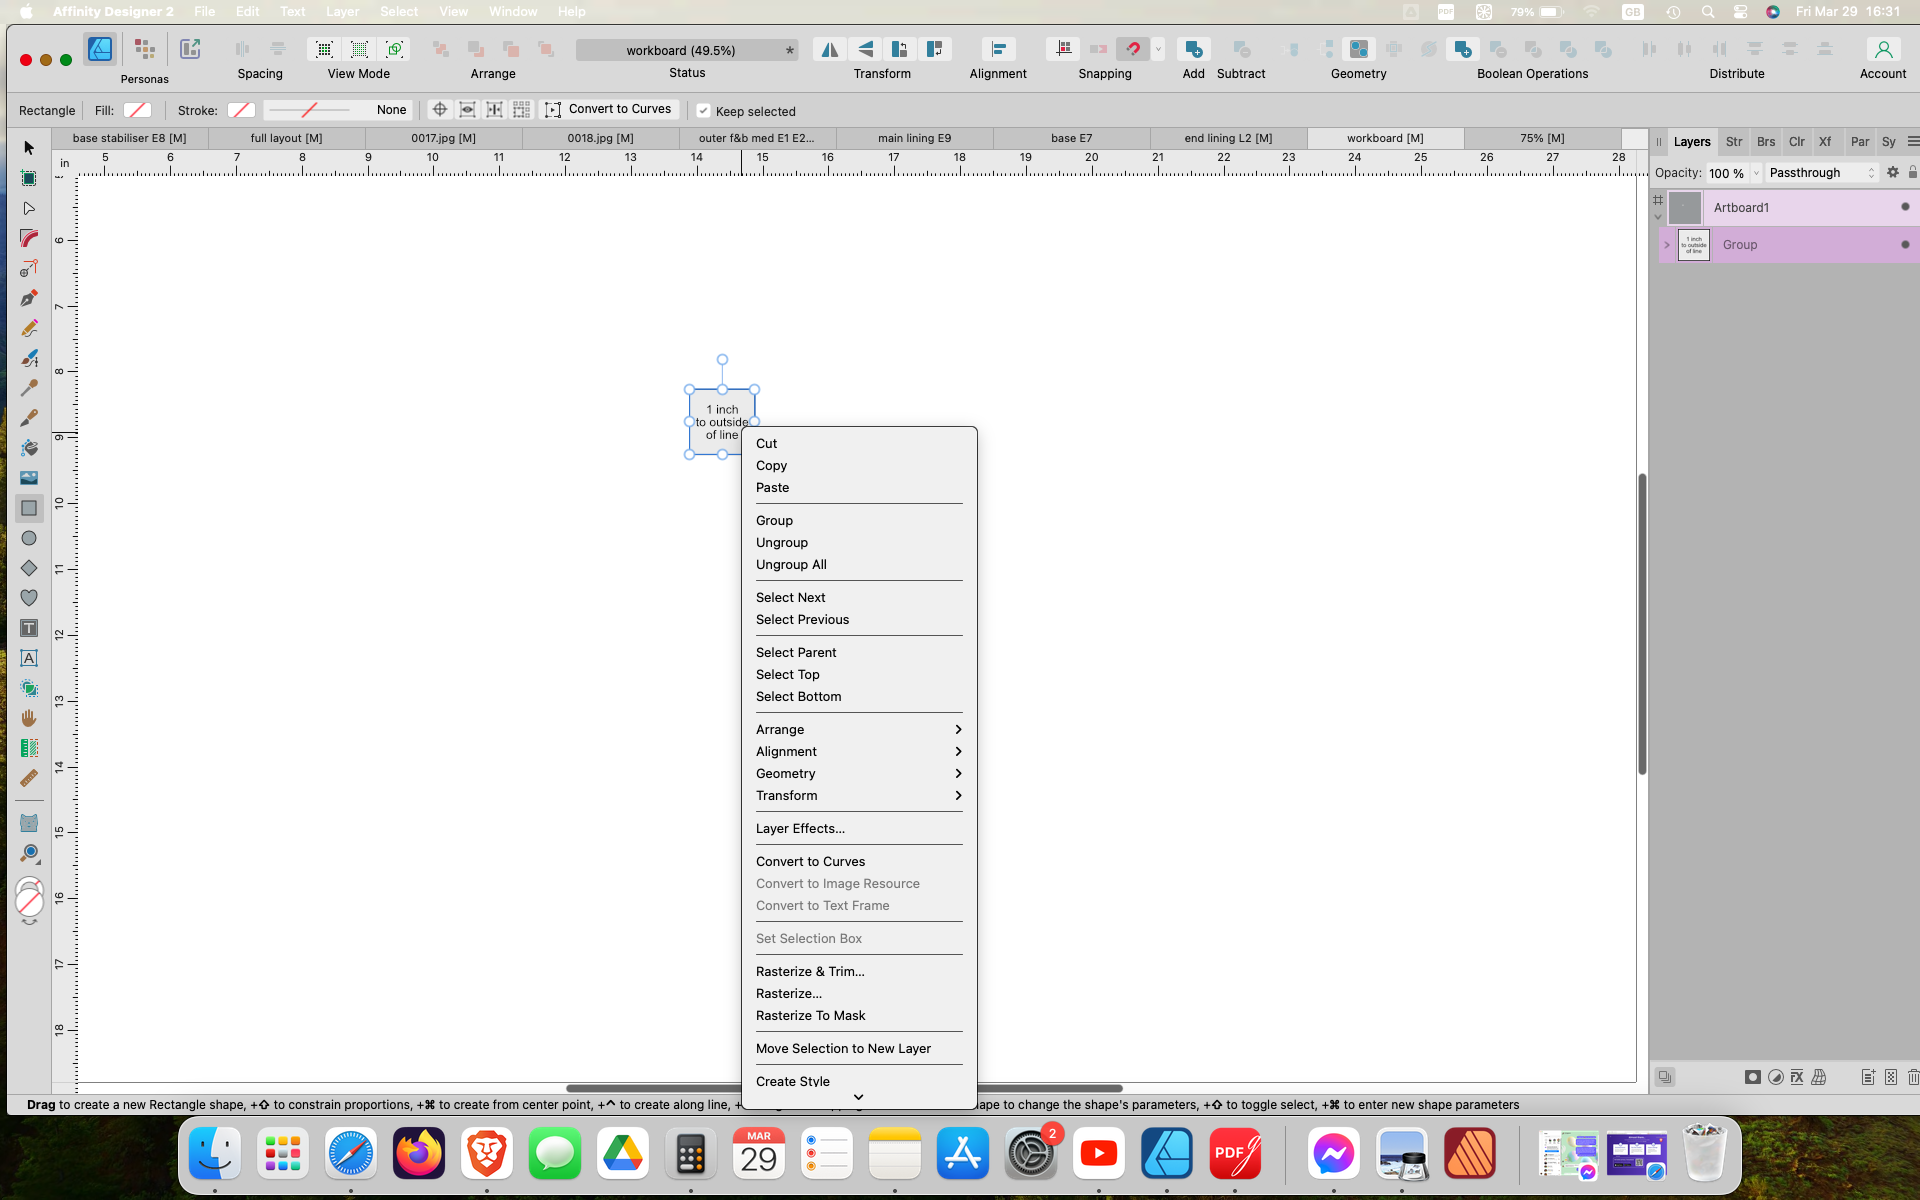
I don't have it on mine for some reason. This is the menu I get if I right-click on a selected item. The only time delete is there is if the item is just text and the text tool is selected. I'm running Mac Sonoma and V2 affinity, although I haven't applied the very latest update yet...
-
Is pixel erase the only way?
Handyann replied to Handyann's topic in Affinity on Desktop Questions (macOS and Windows)
@iconoclast Thank you for the explanation about the brushes. It makes more sense now. -
Is pixel erase the only way?
Handyann replied to Handyann's topic in Affinity on Desktop Questions (macOS and Windows)
@thomaso Thank you. That’s what I was trying to achieve. I didn’t create the brushes by the way, I just used them 😊 -
Delete on right click menu
Handyann posted a topic in Feedback for the Affinity V2 Suite of Products
I would find it really useful to have Delete available on the right click menu for layer items please. I keep automatically going there for it and then remembering we have to go to the bottom of the layers panel, which is not good. Thank you 😊 -
Is pixel erase the only way?
Handyann replied to Handyann's topic in Affinity on Desktop Questions (macOS and Windows)
Thank you both. I’ll explore that after this project deadline. No time to experiment just now. -
Is pixel erase the only way?
Handyann replied to Handyann's topic in Affinity on Desktop Questions (macOS and Windows)
Thank you. -
Is pixel erase the only way?
Handyann replied to Handyann's topic in Affinity on Desktop Questions (macOS and Windows)
@GripsholmLion As you might have gathered, I am very new to this and so probably explain myself badly. I will just trot off and find out the difference between a vector brush and a raster brush. What I do know is that if I draw a shape with the pen tool, then apply the brush, change to pixel persona and erase the unwanted lines, the whole shape becomes a pixel layer. If I then need to return to it at a later date I can’t edit it to remove the brush stroke and replace it with a different one - I have to redraw it. I just asked if there was another way to erase the excess brush lines other than using the pixel eraser. Apparently the answer is no. -
Is pixel erase the only way?
Handyann replied to Handyann's topic in Affinity on Desktop Questions (macOS and Windows)
The brush puts a complete seam allowance accurately spaced around the piece with one click and in a choice of widths. I wouldn’t have the time to do each individually. The screenshot only shows a very small part of the whole piece. There are no nodes to delete as it isn’t a path, even though it looks like an ordinary line. This issue only happens at this very sharp concave point. All the other sides and corners are perfectly fine. Perhaps I’ll just have to stick with covering with white shapes 🤷♀️ Thank you for your time anyway 😊 -
Is pixel erase the only way?
Handyann replied to Handyann's topic in Affinity on Desktop Questions (macOS and Windows)
I'm sorry. I didn't realize it would help. I've added a shot here. As to your reply, I did think of both your suggestions but I can't find a way to get nodes to apply to the brush I used, nor can I use the knife tool on it. The type of erasure I want is simple - total removal of the unwanted lines. The brush is a custom one used to apply set seam allowances to sewing pattern shapes. On the screenshot, the dotted line is the shape curve, the solid line is the brush applied outside the curve and the circled sections are the bits I don't want. I have found a way to cover them using shapes on top, but that seems very clunky for such a sophisticated design software.