harryjsaddler
-
Posts
11 -
Joined
-
Last visited
-
Theory confirmed: when this happens (Print command suddenly disabled), the fix (on Mac OS) is going to Settings > Printers & Scanners and choosing any different printer as the default. That's it. Definitely a bug.
-
Here's a theory: the AF2 Print command fails when the Epson driver is set as the default printer (in the AF2 print options dialog). Right now, I'm printing… the print dialog comes up with another printer, I change it to the Epson printer, and it works.
-
Update: I deleted and reinstalled the printer in System Settings, and now I get the Print options dialog box. From there, I selected "Add printer…", selected the printer, and… poof, now the Print command doesn't work again. It looks like AF2 has a problem with Epson drivers… I noticed another post here about the same problem with another Epson printer. It's intermittent, though, since I was printing earlier in the day and then it stopped working. Any ideas? PS: the printer in question is an Epson 3880, driver version 12.62
-
Still nothing… I tried: Clearing all user data (from Clear User Data screen) Downloading (from Affinity) the current release version (2.2.0) Printer driver is current (note that the Print command never even gets to the print options screen); also, other apps can print to it. Restarted the computer I can't think of anything else to try. Very weird.
-
Sometimes AF2 simply refuses to print. Selecting the Print option in the File menu (Mac OS) does nothing… no response at all. This can happen when I've just printed something, then suddenly it just won't print. Is this a bug, or am I missing something? Affinity Photo 2 Beta 2.2.0 (2005) Mac OS Ventura 13.6, M2 MacBook Pro
-
That did it, thanks.
-
Selecting Batch from the Windows menu produces a top-to-bottom black rectangle instead of the Batch window… see attachment. Does the same for a few other windows, e.g. Macro, Assets etc. Affinity Photo 2 Beta 2.2.0 (1931) 14" M2 MacBook Pro Mac OS 13.5 (22G74)

-
Steps to reproduce: • In new-document dialog, set layout height: 100, width: 200. Click the Save Preset button, set name to "Horizontal". • Change layout height: 200, width: 100. Click the Save Preset button, set name to "Vertical". • The "Horizontal" preset changes to the same layout height/width as the "Vertical" preset. • The same thing happens with the Save and Override button. Affinity Photo beta 2.2.0 (1881). Mac OS 13.2.1, MacBook Pro 14" with M2 chip
-
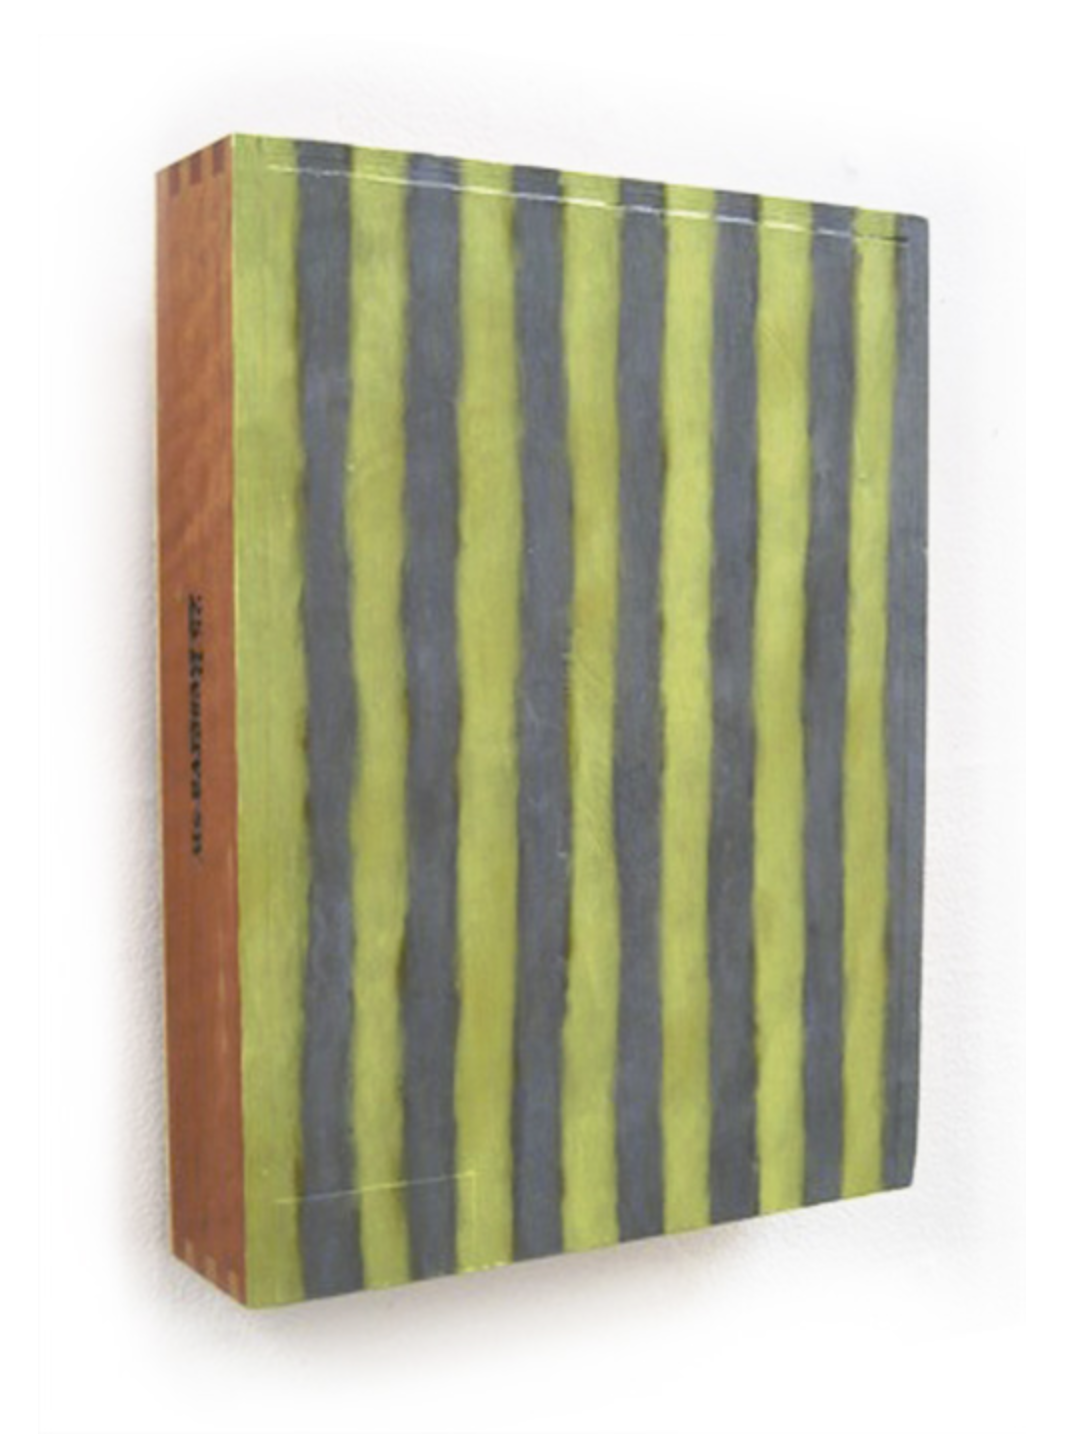
Thanks, David! I agree, that looks pretty good. How about this one? This painting is on a 2" deep stretcher, so the shadow makes that evident to the viewer. This one is on a cigar box… And then there are works on paper with ragged edges, which are a pain to select: d
-
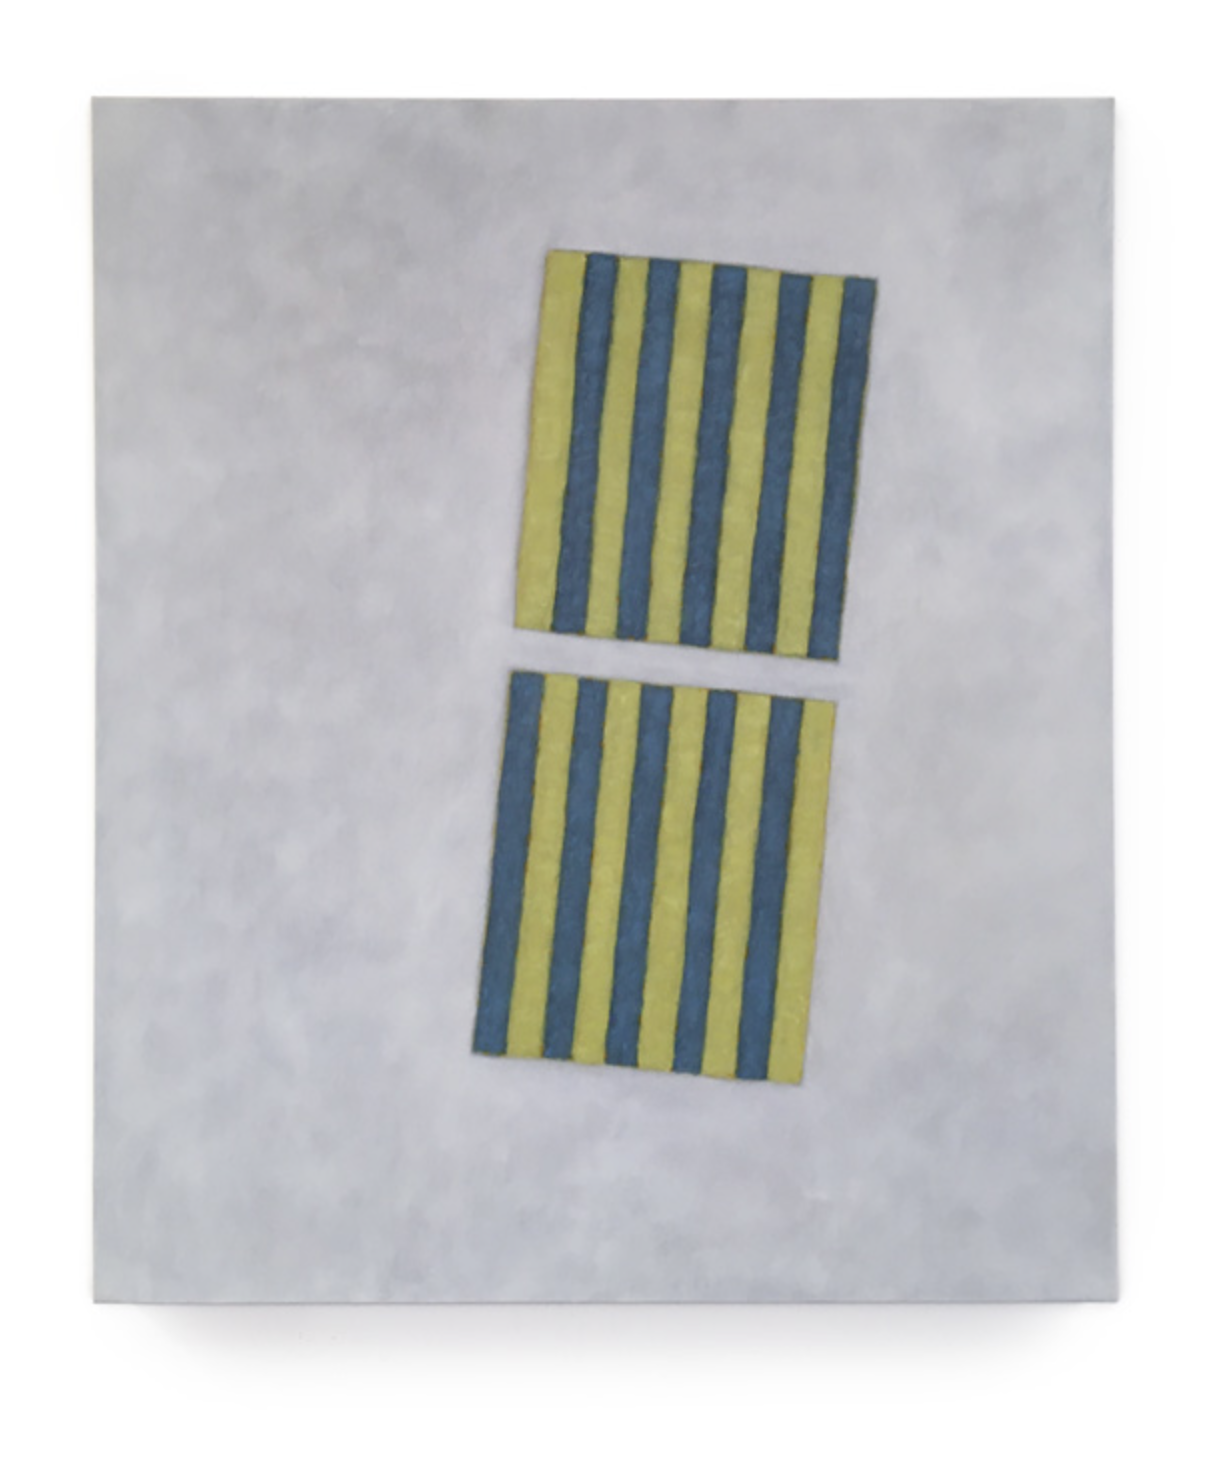
I photograph images of paintings and drawings and prepare them for publishing on the web. I prefer to have the image edges pure white so that the image doesn't appear to have a border on a white web page, but I do want to preserve their shadows against the wall they're photographed on, without resorting to fake drop shadows. See the before and after pix attached. My technique is to hand-select the edges of the artwork – just barely 'cropping' the edge; invert the selection to select just the wall; create a pure white levels layer; then use different paintbrushes to reveal the edge and the shadow (it usually takes 4 different custom brushes). Note that in the final (rightmost) image, there appears to be no wall, but the shadows are (more or less) accurate. The question is: is there an easier way to do this, especially the selection part? Unfortunately, I usually can't use the flood select tool to select the wall, since it and the artwork are usually too close in value / color. I considered shooting against a green screen (for easier selection), but then I'd have green shadows Any ideas?
-
harryjsaddler joined the community
-
When exported as jpegs with default settings, the resulting images look fine in AF, and in MacOS Preview, but are blurry when viewed in a web page. Deselecting 'Embed ICC profile' and 'Embed metadata' solves the problem. I only tried this in Safari (MacOS Ventura). If that can't be fixed, then perhaps there could be an 'export for web' option in the Export Persona.