Maxdanger
-
Posts
182 -
Joined
-
Last visited
-
That makes sense – I do have the 'prefer to keep selection after delete' option enabled. Thanks everyone 😁
-
 Maxdanger reacted to a post in a topic:
Publisher – crash when deleting a page with page reflow disabled
Maxdanger reacted to a post in a topic:
Publisher – crash when deleting a page with page reflow disabled
-
If this isn't supposed to be an allowable command/function, I suppose that would explain the crash. Thanks for checking this out Mike
-
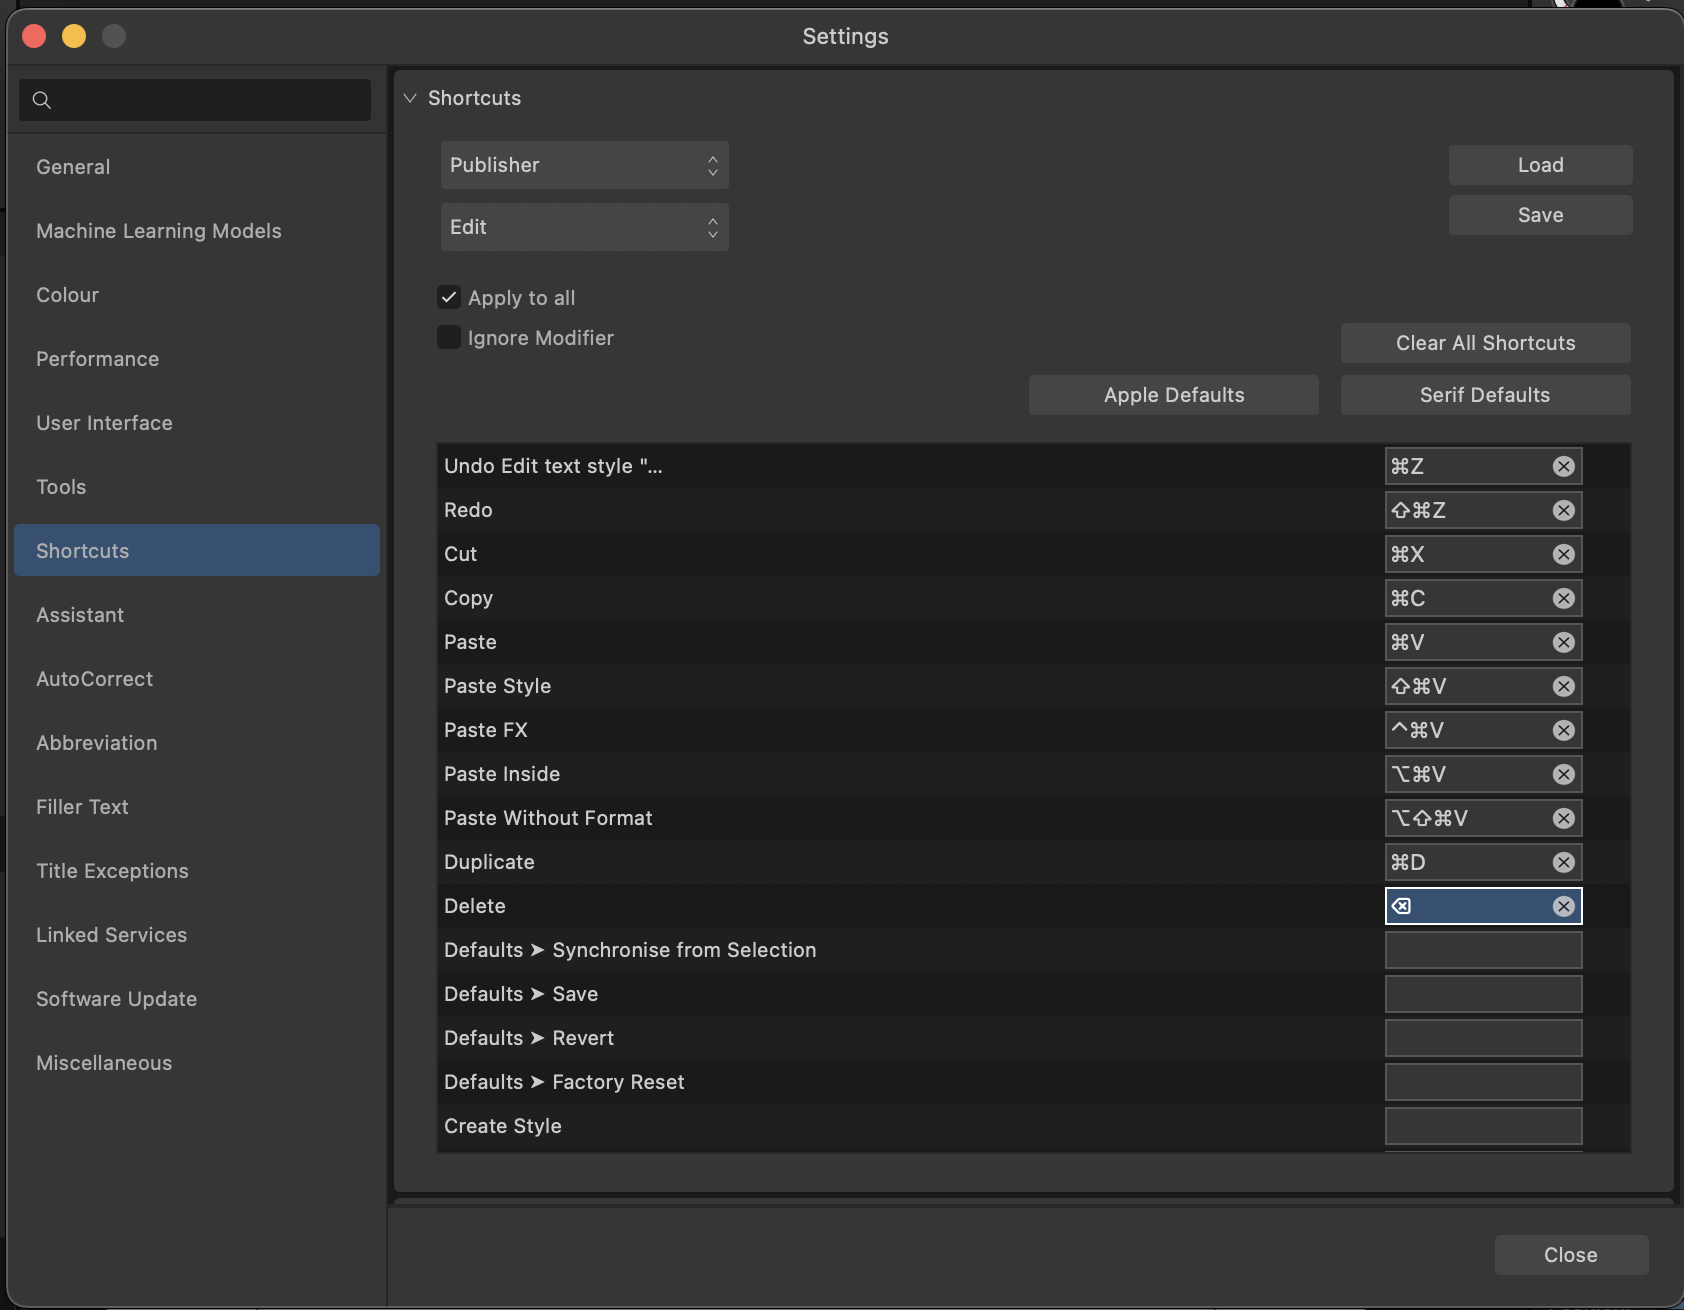
Hi @MikeTO Yes I'm just using the standard keyboard on my Macbook and I'm pressing the backspace button. This is the keyboard mapping:

-
Pretty much self-explanatory from the screen record. I start with a non-facing pages document. I disable reflow pages. I bring the second page up to form a spread with the first page. I use the delete key on my keyboard to delete the third page. Publisher repeatedly crashes. Force quit.mp4 Interestingly, when I use the delete button in the pages panel, Publisher doesn't crash. Crash reports: Affinity Publisher 2 Affinity Store-2025-07-06-133422.ipsAffinity Publisher 2 Affinity Store-2025-07-06-133132.ipsAffinity Publisher 2 Affinity Store-2025-07-06-133403.ipsAffinity Publisher 2 Affinity Store-2025-07-06-133308.ipsAffinity Publisher 2 Affinity Store-2025-07-06-133149.ips
-
Hi @NathanC Thanks for the link - I've uploaded the files. Had to wait until I got home on WiFi due to their size. Let me know if you have the same issues
-
I'm trying to stack some photos I've taken with a Sony A7RV. I imported the RAWs into Lightroom, made some very minor adjustments, then exported as TIFF files. There are 14 light frames and 4 dark frames. As you can see in the screen records, I'm importing the images successfully, even culling the poor light frames, but when I go to stack, the progress bar never advances and the CPU and energy usage are absolutely slammed. I'm using the most powerful Macbook on the market with M4 Max, 16 CPU cores, 40 GPU cores, 128 GB RAM, 8TB storage. I've successfully used Astrophotography stack in the past on more images than this without it breaking a sweat, but now it's causing the fan to spin at max speed and the bottom of the laptop to really heat up. Just to highlight how slow the stacking process is, I ran the exact same images in Starry Sky Stacker in tandem and it breezed through the images. Here I have recorded with sound so you can hear the fans spin up: Metal, all images.mp4 Side note - PLEASE can you update how the progress bars display as when it hangs or takes a long time like this, the Astrophotography Stack progress bar is shown above all other apps which means it means I can't use them correctly 😆 I then tried disabling Metal compute and ran only 3 light frames. Exactly the same issue of hanging occurs: No Metal, 3 images.mp4 I've also tried installing an older version, and running the ARW files instead of TIFF, but I've had no luck. I'm happy to upload the TIFF and/or ARW files to a Dropbox link if you need to test on your own machines.
-
Maxdanger reacted to a post in a topic:
Designer - stroke width not applying to symbols with different stroke colour
-
Say you're working on a logo and want to view the design with a black stroke on white background, and white stroke on black background simultaneously. This is an ideal use case for symbols. But as soon as you change the stroke colour of a symbol, this breaks the link to any changes made with the stroke width tool: Stroke Width symbol.mp4 Repositioning of nodes and handles is preserved, but the stroke width isn't. I can't see this being intended behaviour so can only presume it's a bug. And on the topic of bugs, I also came across the repeatable screen redraw issue when using the stroke width tool – the symbol group at the top renders incorrectly, but it's easily fixable by repositioning the group.
-
I really like (the late) Alyn Wallace's videos. Very informative and he covers this issue using Photoshop here: Photoshop's toolset for filling in pixels are superior to Affinity Photos at the moment – content aware fill, generative fill, and this remove tool (around 8:20 mark) are able to handle this much easier. When I do this in Affinity, it's a mix between the inpainting brush and the healing brush tool. I had a quick go with your images and it is possible to blend them with masking, but it takes a bit of fiddling and I've not done a great job, so would need much more time to get a better result. Blending fg and stars.afphoto In terms of taking easier to work with images, you can always take your sharp foreground image, then move the camera and take the stars unobstructed. I don't do this myself as I prefer not to do composites. Or if you do a shorter tracked exposure, you'll get less blurring which will be easier to blend together. Depending on your sensor size and aperture, that may not be possible. So if that's the case, for a scene like this I'd personally just do a load of shorter exposures (15-25 seconds depending on the sensor size and resolution) untracked, and stack them together using Sequator (Windows) or Starry Landscape Stacker (Mac). That'll reduce noise and reveal some fainter information. For the best detail though, a star tracker is needed – but like with this case, it's not always easy to merge the results into a final image.
-
Maxdanger reacted to a post in a topic:
Photo – Live high pass filter incorrectly renders on the canvas
-
 Maxdanger reacted to a post in a topic:
Photo – Live high pass filter incorrectly renders on the canvas
Maxdanger reacted to a post in a topic:
Photo – Live high pass filter incorrectly renders on the canvas
-
That’s really interesting, thanks for confirming. I have an M1 MBP I can test on so will see what that does
-
I think the thing that stands out to me is when I go down the destructive approach with High Pass filter and do a merge visible layer, the result is exactly as expected. Yet with identical settings, the live High Pass filter softens the merged layer substantially. So I suppose either there's a difference in processing between the live and destructive filter versions and I am just unaware of this nuance, or there's an issue with how the live filter is being applied or rasterised. Thanks for testing and looking into this - appreciate it
-
Maxdanger reacted to a post in a topic:
Photo – Live high pass filter incorrectly renders on the canvas
-
NotMyFault reacted to a post in a topic:
Photo – Live high pass filter incorrectly renders on the canvas
-
Thanks @NotMyFault Yep agree with this. I just zoomed in much further on the video to really highlight the issue. I still think there's a difference in what I see when I view the filter at 100% zoom and when I merge visible. It's interesting that the live clarity filter doesn't have the same issue - perhaps this is due to blend mode for the high pass being overlay as you suggest in point 3. Yes also appreciate this and that I am working on a high resolution image with multiple layers etc. I'm using pretty high end hardware though (top spec MBP in my signature) and I'm not getting any lagging or slowdown in any other operations, so I'm fairly comfortable that it's not a case of the live filter needing more time to render properly. This could be the issue, but sadly the high pass filter can't be applied with a normal blend mode as it's just a monochrome grey image which would ruin the end photo. I've testing the high pass vs live high pass filter with identical settings, and the standard high pass works as expected - when I merge visible using that layer in the stack, the view I get on the canvas matches what I see even at a high zoom level. The live high pass when rasterised is much softer: High Pass.mp4 I've uploaded the file to my onedrive if you want to have a download and play for yourself https://1drv.ms/u/c/13b7ab2e46dd478a/Ed8JeWOfPF1Kqf6Ar_pW6mwB3nj8sUzscneNrSvXSeHjWA?e=cahMXD
-
I'm working on a 100mp+ panorama, and I've used the high pass live filter to apply a selective adjustment to the milky way. I have a layer stack with a few live filters and adjustments (ie not using the merge visible command and applying each filter to the merged pixel layer). When I add a merge visible pixel layer to the top of my layer stack, I notice that the image is far less sharp than Photo suggests, almost as if it's been put through noise reduction. I've narrowed this down to the high pass live filter. When I disable the filter and merge visible, the new pixel layer is identical to the view on the canvas. But with the high pass layer it's significantly different. Live High Pass filter incorrect rendering.mp4 I'm happy to upload the file to a link if the dev team want to investigate this further, but it's >3GB so haven't uploaded to the forums for obvious reasons.
-
Maxdanger reacted to a post in a topic:
Publisher - pinning is unpredictable and displays unexpected behaviour
-
Click zone for transformation handles doesn't always work
Maxdanger replied to Maxdanger's topic in V2 Bugs found on macOS
Thanks @MikeTO I didn't see reports when I searched so apologies for duplication. I exclusively use my laptop without a mouse so the workaround doesn't work for my workflow. -
I've done some further testing on this and have isolated the issue to the purple curves in this screen recording: Odd bounding box.mp4 As soon as I delete the troublesome curves, the pinning functions as expected. There's something odd happening with the curves though – if I select each curve individually, all appears fine (there is no bounding box extending further than you'd expect, or odd rotations or skewing in the transform panel). But when I add the corresponding/mirrored curve to the selection, you can see that suddenly it's interpreted as having been massively skewed and rotated... This bounding box that extends outwards looks to be causing the problem with pinning. Why the app thinks the curves have been skewed or rotated is beyond me. I drew each line on one half of the diagonal individually, then I duplicated and rotated 90 degrees to complete the drawing. So I suppose 2 bugs: How did the skewing & rotating occur? The resulting bounding box can mess up pinning (and maybe other alignment functions I'm yet to discover).
-
If I want to rotate or skew using the transformation handles, I often find the cursor changes to the transformation tool I want to use on mouse over, but the moment I click, it swaps back to the resize mode, so it's very difficult to get the rotate or skew modes to engage: Transformation click zones too small.mp4 It's very hit and miss. Sometimes it works, sometimes it doesn't. This is present in all apps, not just Designer.