TariqMK
-
Posts
17 -
Joined
-
Last visited
Everything posted by TariqMK
-
AI generative Fill in Affinity
TariqMK replied to WMax70's topic in Affinity on Desktop Questions (macOS and Windows)
This is a scenario where silence will hurt their business. Not the same. This is less about 'new features' than it is 'catch up'.- 461 replies
-
- 1
-

-
- artificial intelligence
- ai
- (and 3 more)
-
AI generative Fill in Affinity
TariqMK replied to WMax70's topic in Affinity on Desktop Questions (macOS and Windows)
Please note that if you drop the ball entirely on this and AI in general, this could have catastrophic consequences for the Affinity Suite as we know it. You might not have any immediate plans, but if this doesn't change (and users arent made aware of it), then its too big of a feature gap for people to ignore. AI has even changed the definition of what a "photo" is, so you simply cannot afford to ignore it. This is truly a potential divergence point for Affinity. I hope the right path is chosen.- 461 replies
-
- 6
-
-
- artificial intelligence
- ai
- (and 3 more)
-
Hi Bruce, Thank you very much, you answered exactly my query! I hope they will bring the feature to edit curves per overlay layer in the future too. Thanks again!
-
I just wanted to thank everyone for the time they spent troubleshooting with me on this issue, I learnt a lot about Colour Profiles and now I know that I cant take it for granted that every image will look the same on every screen, I will have to tweak the final image accordingly on a device basis!
-
Apologies if the title wasn't clear, hopefully I can elaborate. When I import a RAW Image into AP, I have the option to use a certain brush (I forget the name) which allows me to selectively apply edits to the bits I select. However, sometimes I want to add some edits to 'Part A' of a picture, and different edits 'Part B' of a picture. This doesnt seem to work as the edits are applied to all 'Parts' of a picture I select using this brush tool. Is there any way I can apply some edits to some parts and some to others of a RAW Image before I develop it?
-
Ok so I was doing some research on colour profiles and found that like you said, monitors have their own colour profiles built in. I found that all this time my own monitor was not on the default sRGB settings. So I turned it back to factory defaults (with sRGB) and instantly the screen got brighter. However: Now I am experiencing the same issue and changing the colour profile does not help at all. My Affinity edits are 'flat' (artistic style) in my AP Edit, but when I export they look different. Any idea what I can do now? Why did changing a colour profile fix it last time, but now nothing is changing it?
-
1. Does that mean I have to change my camera to shoot in 8 bit? 2. Sadly I am unable to print the photo at this time, I have watched a video on colour profiles however and am understanding a bit more about the process. Colours are much more complicated than I would have thought a week ago! 3. To answer your final question, I had already developed the CR2 RAW Image 3. I did some test exports to sRGB and Apple RGB but sadly the issue persisted. HOWEVER! Just now I saw a Colour Profile that had the name of my monitor on it (I dont remember configuring this anywhere, maybe AP just picked it up from Windows??) and now my exported image is EXACTLY like my edit! However now on my iPhone/iPad it doesnt seem to have changed. How to best interpret these findings?
-
Thats a great point. I opened the PNG Export in Affinity Photo and can confirm that it looks like I intended it to look (i.e. the colours are exactly how I thought I originally exported them). What does this mean? That AP is using a different "standard" for colour than my PC and iPhone/iPad?
-
I am viewing the exported photo in on the same local PC (Windows 10) using the default photo viewer. I should also note that I notice the same problems with darkness when I view it on my iPhone and iPad (screen brightness etc doesnt change anything). Is this perhaps a bug with Affinity Photo?
-
I guess I should be choosing a colour profile when exporting?
-
No problem, here is my workflow, only Affinity Photo is used. 1. RAW File (.CR2) > Affinity Photo 2. Apply Pre-Develop edits to Image (no change to colour profile from the default) 3. Develop Image 4. Add additional edits as desired 5. Export to PNG using File > Export using default settings (no change to colour profile from the default)
-
Thank you for the instructions, I was able to get the following information:

-
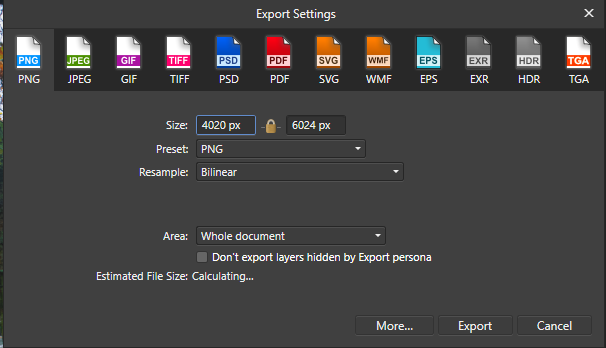
Hi Chris, Thanks for replying, to answer your questions: 1. I am exporting locally to my PC 2. I am using Windows 10 with Affinity 1.8.5.703 3. Where can I find this information? 4. Where can I find this information? I am using .CR2 RAW files to import into Affinity Photo 5. I just realise that when I export photos, I actually go to File > Export and export into JPG. However it seems that I probably should be using the Export Persona to do this. How can I see what my export settings are when I do it via File > Export? I have attached to this reply the screenshot of my settings when I export this way.
-
I’m using all default settings with regards to colour modes and defaults, I can confirm the names later but I haven’t touched any of those settings. (Not sure if that’s good or bad)
-
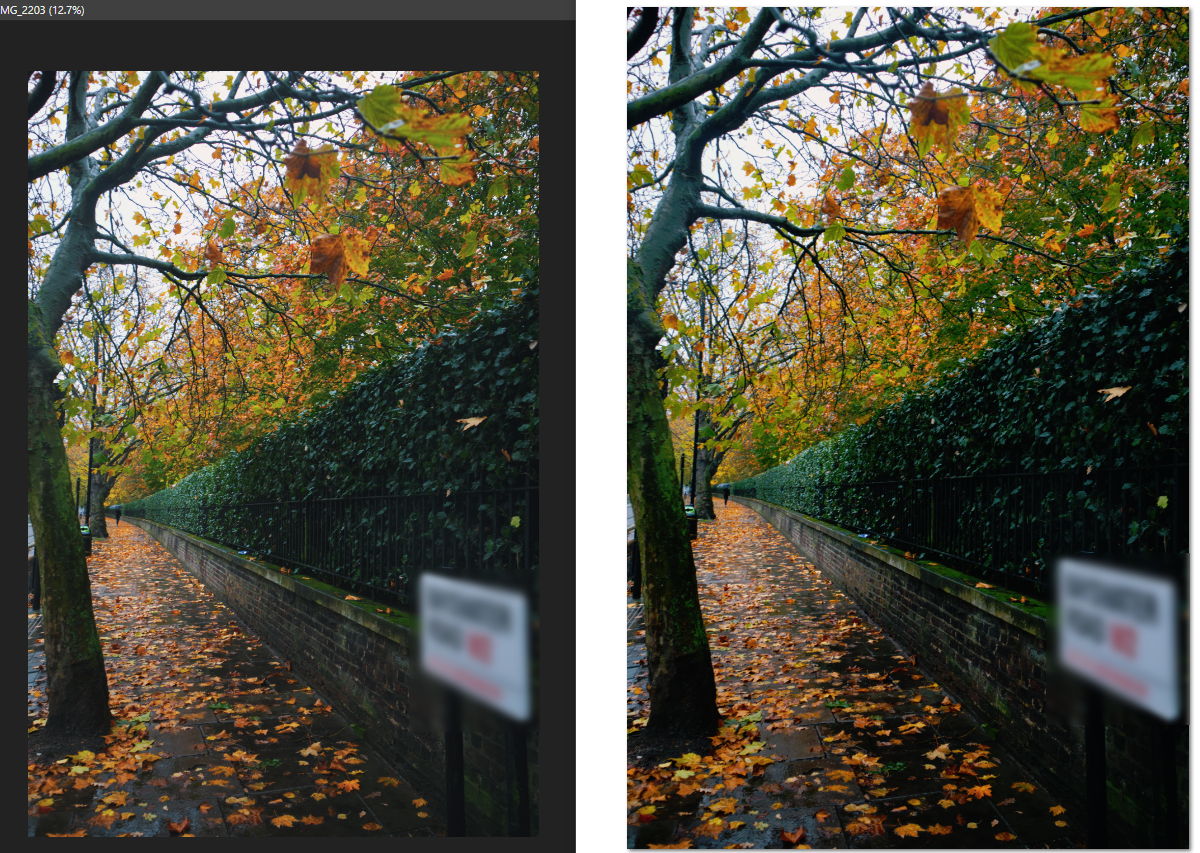
On the left is a picture of my edit in AP. When exported, the image looks vastly different. Notice the shadows on the ground and the bushes on the right. What is going on here?
-
Chart/Graph Tool???
TariqMK replied to Paul Bunyar's topic in Feedback for the V1 Affinity Suite of Products
Has anything been updated/announced in this regard? -
I have tried dragging my SVG files already in a document to the Assets sidebar, but it doesn't accept it. What do I need to do? I am trying to make my own file of .afassets icons. Solution: - Embedded documents cant be made into assets. You have to double click them, group everything then add it. Once added as an asset you can then export as an afassets file. Please feel free to delete this post.