ONiel
-
Posts
32 -
Joined
-
Last visited
Everything posted by ONiel
-
Again a problem which should be so easy to do, and IS easy to do in software like GIMP or Photoshop... but seems impossible in Affinity Designer.. I have a white background with a stripe in the middle. Everything right from the stripe should be transparent, everything left should be white. I tried using the selector brush on the right part and pressed 'Delete' but that did not work. File in attachments, I am curious how this is done in Affinity... transparent.afdesign
-
That looks awesome! Could you put that in an Affinity file?
-
Hello I am trying to make a logo for a local restaurant which asked for a new website. This is what I have right now: The text-part in the font Nunito looks okay I guess. But the bottom thing which needs to represent a mouth with a tongue looks a bit shitty I think... This is what I did to create it: I used a brush to create the mouth. I thought a brush would make nice thin/elegant corners of the mouth. Then I used a pencil with a fat stroke to create the tongue. I used a thinner pencil to create the 'incision' in the tongue. I grouped all that, and give a colour overlay as effect. The result is, questionable... How could I make this idea more professional? What tools should I use and what steps should I follow for a better result? I took some inspiration from this image. Full Affinity-file in the attachments. Thanks! logotest.afdesign
-
I have found such a template. The one in the attachments for example. It's easy to remove the background to make it transparent. 7.psd But I don't understand how to insert my own phone-screen-image in the mockup. There is one layer called "REPLACE ME", but when I select it the "replace image"-button described here doesn't show up. I also tried just inserting my own phone-screen-image using the basic Place Image Tool, then I gave it the same properties (X, Y, W, H) as the REPLACE ME-layer. But that still doesn't give my own image the correct angle to fit in the angled iPhone. Thanks for your reply already. Thanks for your reply! Could you elaborate on how you created the selection inside the cellphone? Thanks!
-
Hello I am trying to make an image for my website displaying how my app would look on an iPhone. To do this I just downloaded a transparent iPhone image, gave it a background using a big rectangle, and copy/pasted a screenshot of my app on it. The result looks quite okay.... But I still have the issue that the background-rectangle (the one with the big gradient) extends the borders of the iPhone. How do I cut this image out so it only has the borders of the iPhone and everything out of those borders transparent? My ultimate goal is to create a 3D-mockup of the app on my iPhone from an angle. With a subtle shadow beneath the iPhone. Is there a better, more elegant, or more professional way to achieve this instead of what I am doing now? Afdesign-file and png of what I currently have in the attachments. Thanks! PS. While typing this question I realize that what I want, the 3d mockup of my app, is not possible with my current work because the base-image (the iPhone itself) is 2d... mobile_bon_on_iphone.afdesign

-
Hi Affinity is doing annoying again. I have drawn a simple line and I am trying to export it without whitespaces on the side! I try making a section and then doing "Export selection without background"... Still whitespace... Annoying af. section_separator.png is the output... annoying_af.afdesign
-
I did Layer > Create new pixel layer. and now?
-
How would I do that?
-
At this point I guess I just want my money back... Affinity lacks to much basic features or are to complex...
-
This just gave me a round rectangle on top of my image...
-
No. The whole picture is the 'background'. Deleting the background deletes the whole picture...
-
I don't understand anything of it... In GIMP there is a select-by-color tool you hit the 'ESC' key on your keyboard and the background is transparent... That's all I need... Why is it so idiotic complex in Affinity???????????
-
But this is temporary for a quick showcase. And I'm not responsible for designing these icons. I just need to implement them on the site but I at least want it to be transparent (this is how I got it).
-
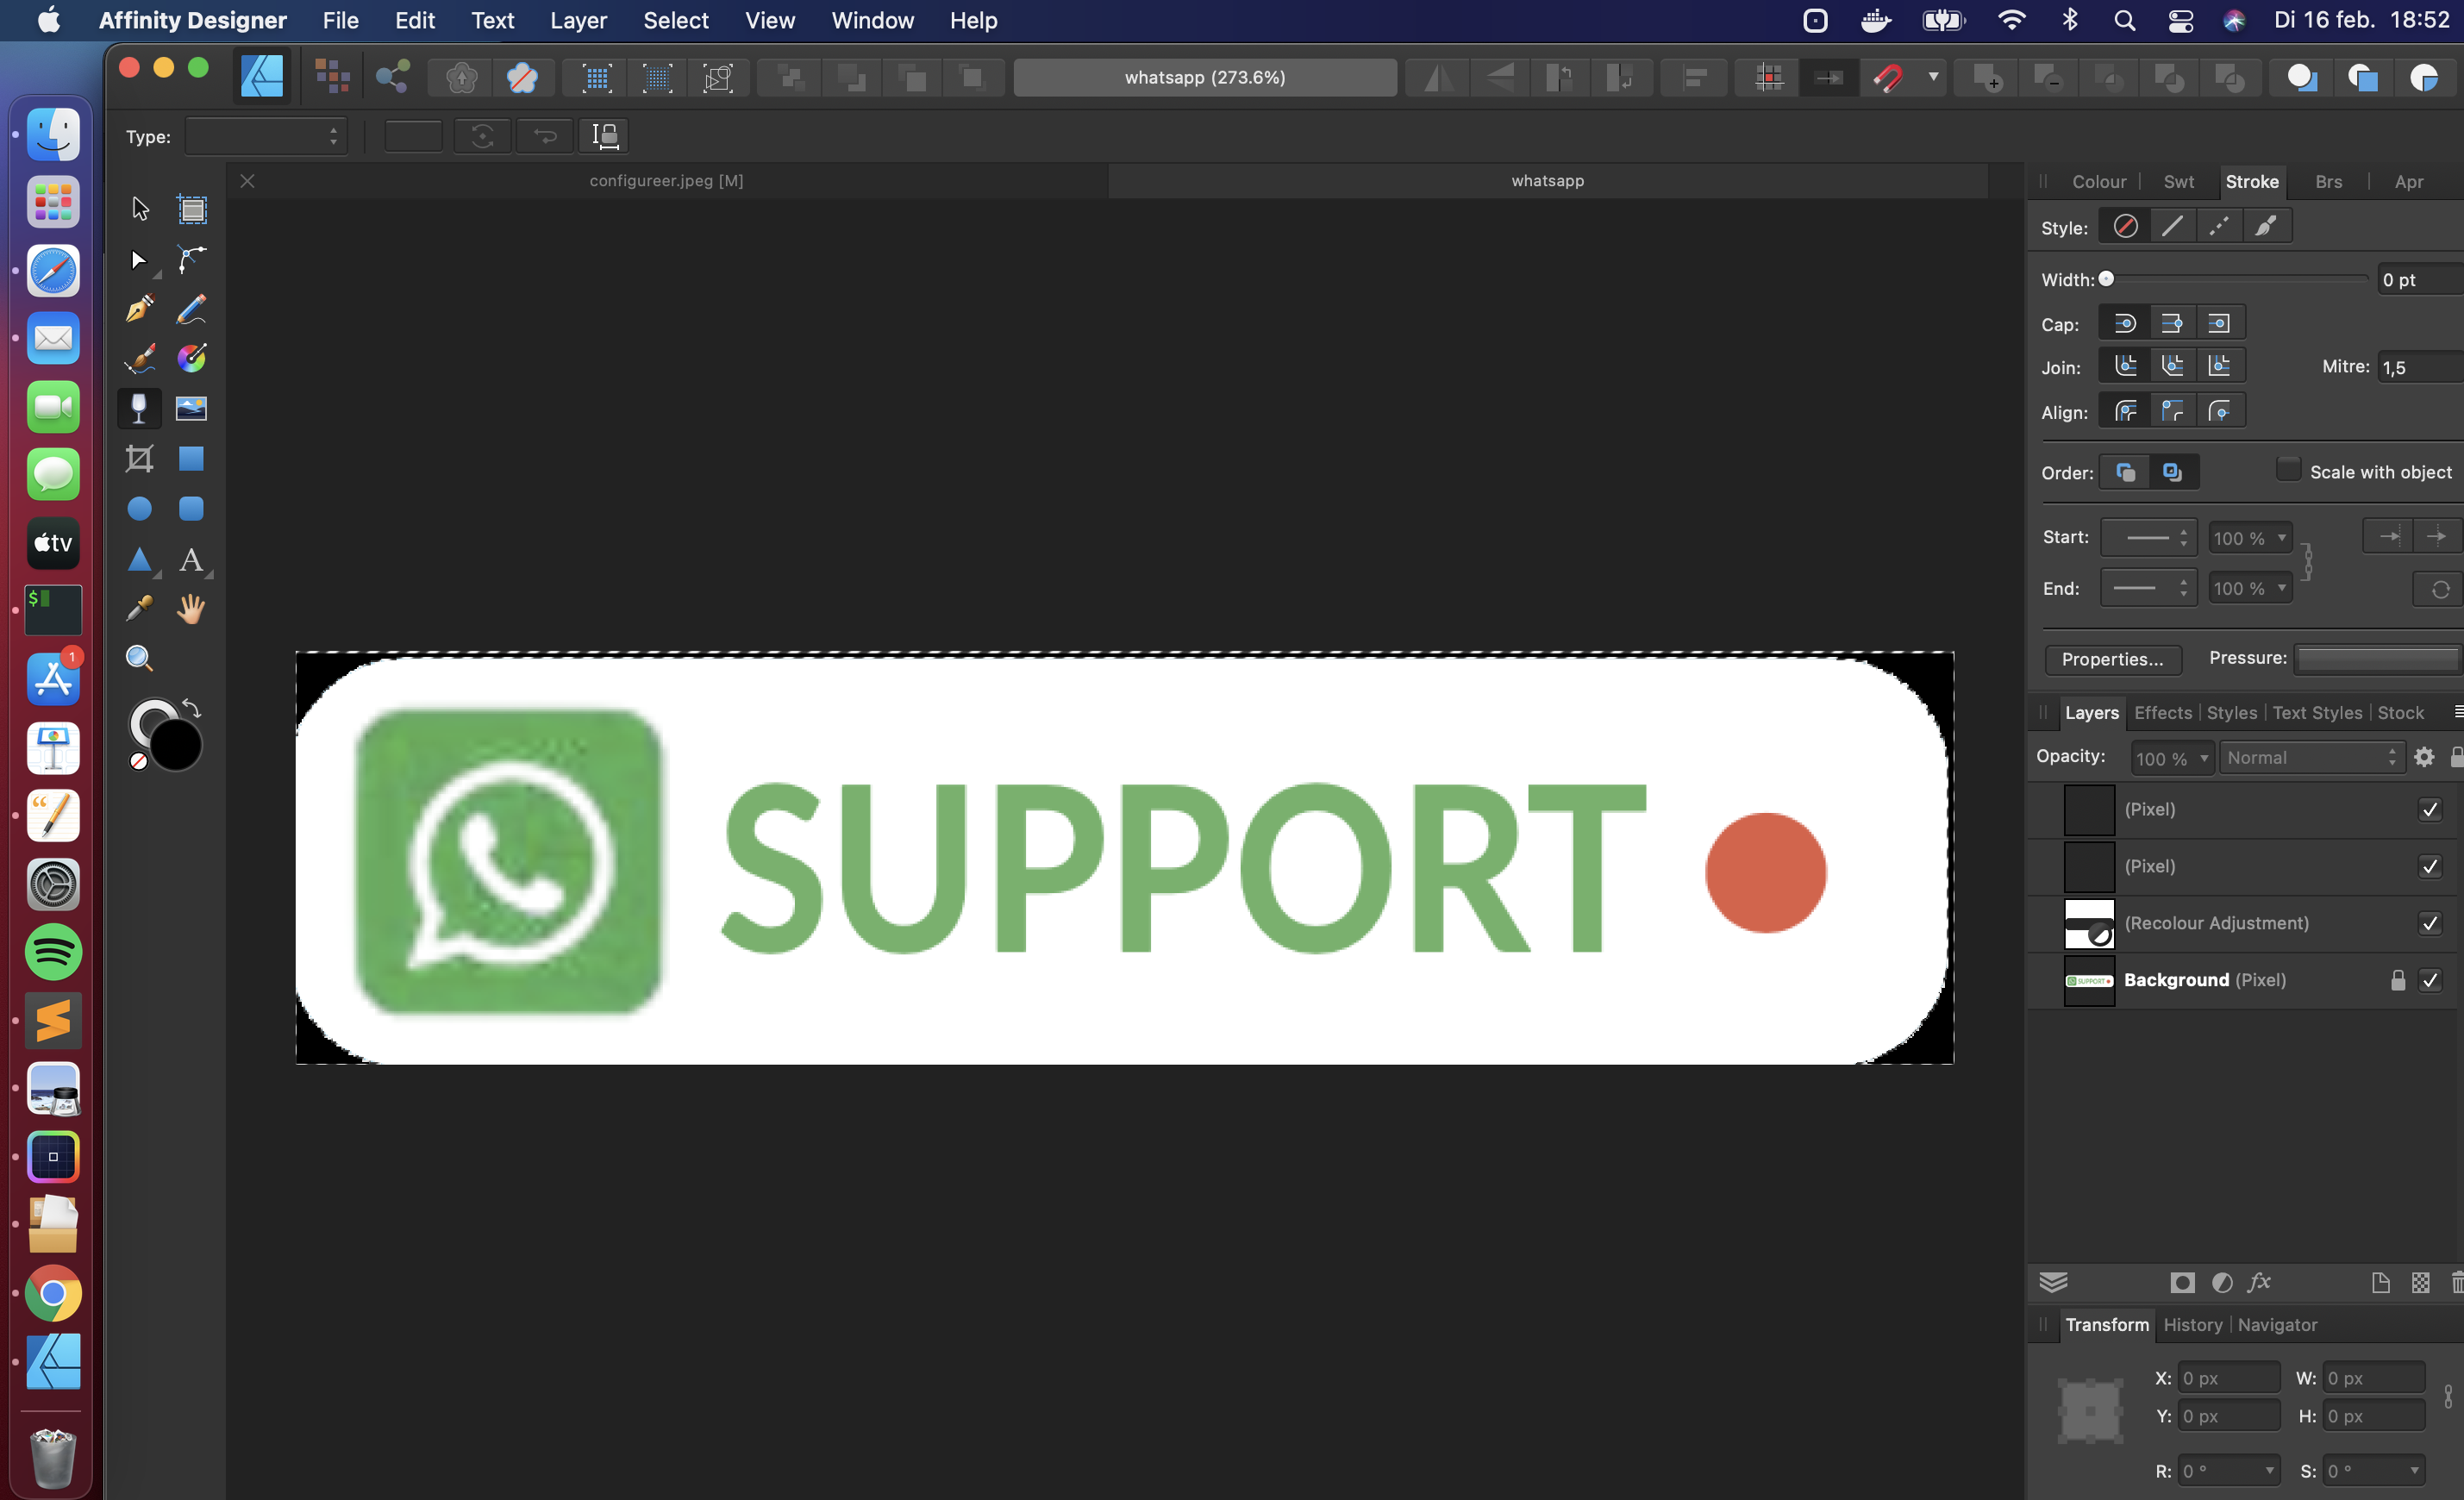
Hello I have the following picture: I just want to make the black parts on the sides transparent. How do I do that? I have found the select-by-color (I think), but no tool/wand to make it transparent... Thanks. whatsapp.afdesign
-
I've got it. Works in AF Designer.
-
@firstdefence How do I edit the text? I can't edit the part 'Firstname Lastname'. It's some kind of pixel?
-
Thanks mate!
-
@firstdefence First of all I want to thank you a thousand times for your help. That looks amazing. Not having a tool to change the perspective in a designer-tool sucks to be honest. Now I really need to buy a whole other software-package only to change the perspective? This is the result as it will be used on my site:
-
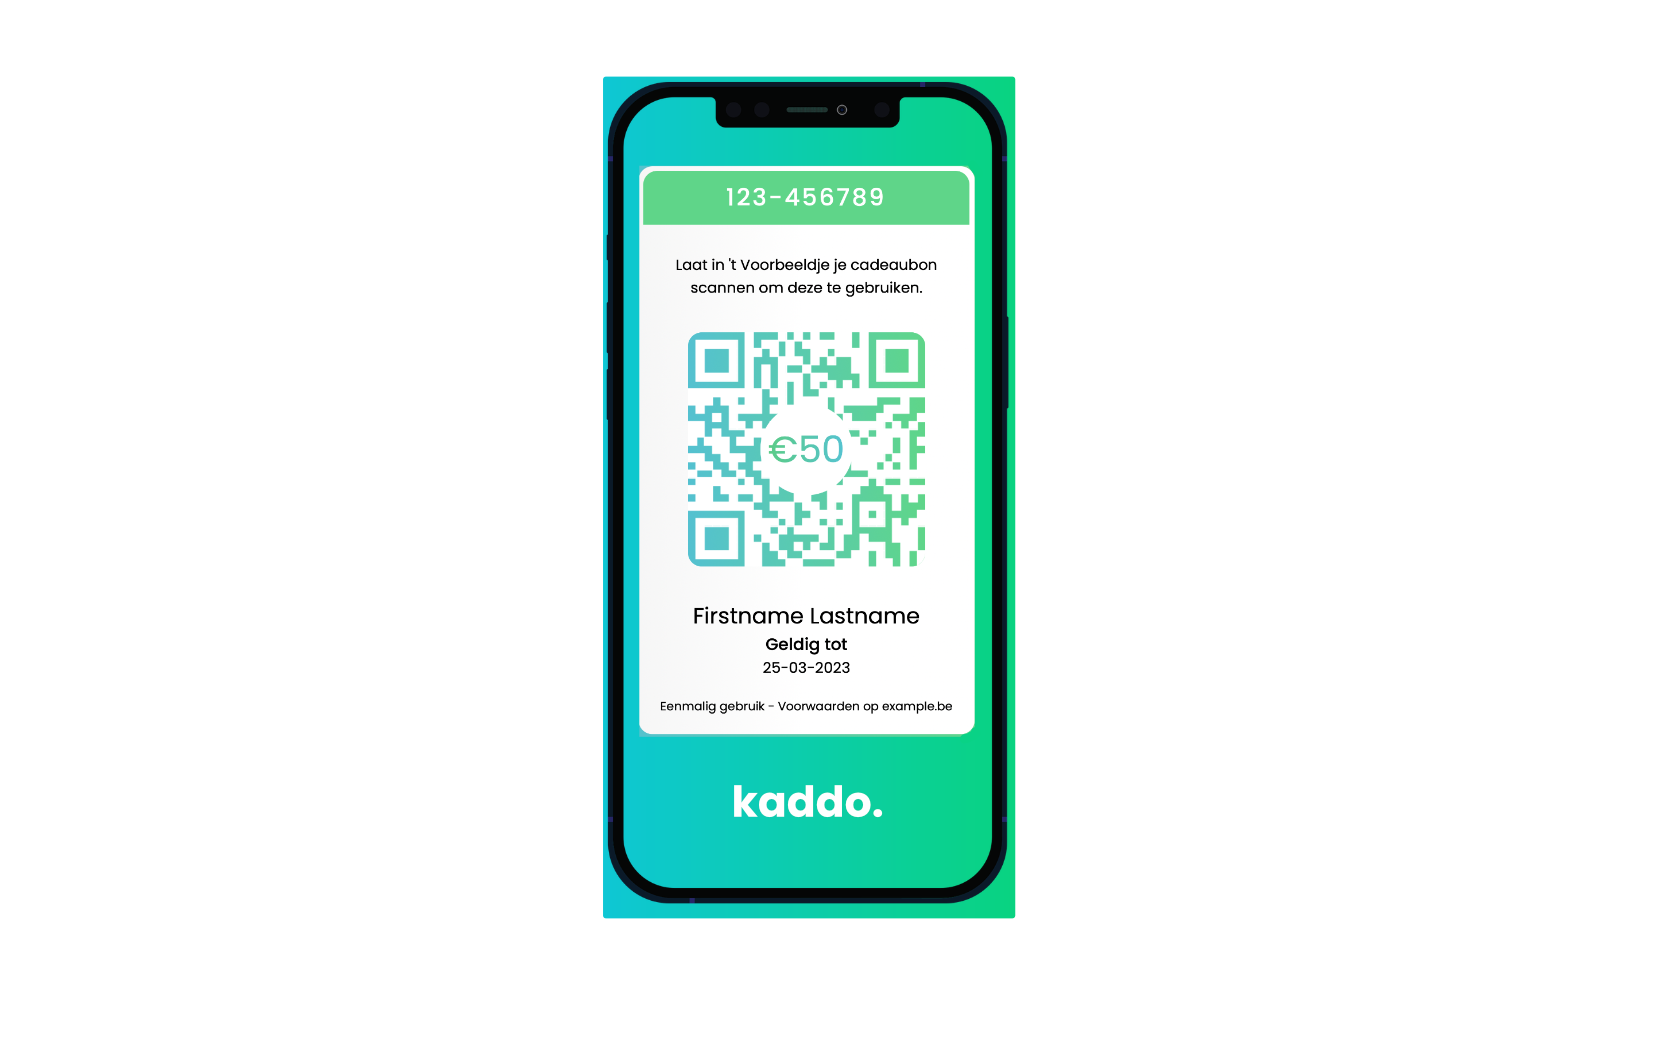
Hello I currently have the following: This is a voucher I want to display on my website. I want to display it similar to how e-books are often displayed. 3D, in some kind of angle, and with a shadow underneath it (it's okay if the shadow is round and not rectangular). So the two questions I have are: How to make this 2D voucher look 3D? To put it in some kind of angle? How to create a shadow in Affinity Designer? It doesn't need to be the exact physically correct shadow. I prefer if it'd be just a round 3D-shadow. I am not asking for a step-by-step tutorial. It'd be sufficient to point me in the right direction and tell me the tools I need to use. Thanks! PS. If you have any suggestions to organize my voucher better, I'd love to hear it! 2d.afdesign
-
How do I create a hollow circle in Affinity Designer? This tutorial only shows it for Affinity Photo.
-
And how do I make the shape of my eraser a square instead of a circle?
-
Really... how hard can it be to make the basic things user-friendly and intuitive? GIMP is free and I could do this in 2 sec with GIMP...
-
Video says it all... I want to crop my image, I use the crop tool, and not a single thing happens....... I just want to get rid of the margins................ Schermopname_2020-08-13_om_22_46_08.mov
-
I have cropped my image, but now I have a big margin of white/transparent pixels... How do I get rid of those? I only want to export the cropped part.
-
Your Affinity Design looks a lot more user-friendly! I don't even see those tools... This is what I see: