ronanski
Members-
Posts
114 -
Joined
-
Last visited
Recent Profile Visitors
The recent visitors block is disabled and is not being shown to other users.
-
 ronanski reacted to a post in a topic:
Restore Brush to Default
-
 ronanski reacted to a post in a topic:
Restore Brush to Default
-
 ronanski reacted to a post in a topic:
Restore Brush to Default
-
 ronanski reacted to a post in a topic:
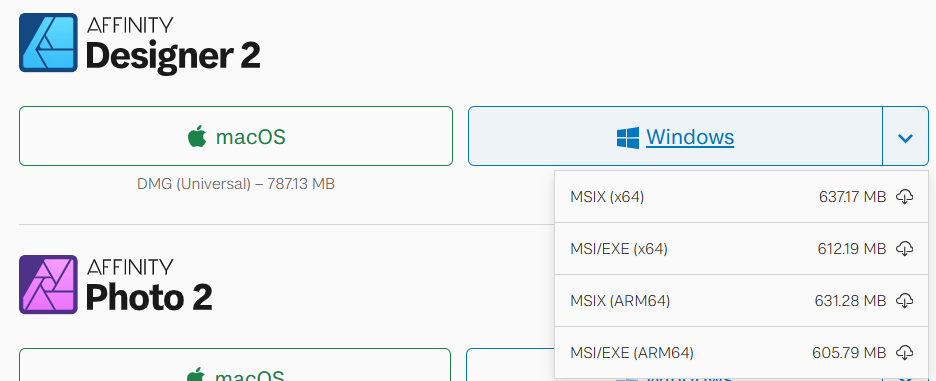
How do I know which version of Affinity V2 for Windows I need?
-
 Evaluation complete. reacted to a post in a topic:
How do I know which version of Affinity V2 for Windows I need?
-
Oh no I was saying the article I saw before I made the post didn't have that bit. I can see it on the article mopperle posted so that's all sorted now. However, new problem... It asked if I wanted to import all my stuff from affinity 1 to 2. I clicked yes and it didn't give me any error or anything but lots of things have not transferred... No templates (downloaded or created), assets (i have all my created ones but barely any of the downloaded ones (all groups but barely 5% of each group) and not the original ios12 group which I think came with the programme), swatches, fonts & brushes I DO have,
-
Well you mention hold the right mouse button after dragging? I don't have mouse just trackpad so that isn't possible but when I right click I just get the menu. Also, in your video when you click the point transform tool the centre of rotation moves into a different place and then you select where it was to drag. If I try drag from here I end up just moving the centre of rotation not the object. And if I do move it out the way and then try click and drag from white dot where centre is (where centre of rotation was) it spins about the new centre of rotation instead of translating. But if I leave centre of rotation where it is I can just click anywhere on object space to drag it and it works fine then
-
 ronanski reacted to a post in a topic:
Align or centre a polygon or star by its rotational centre in designer
-
that doesn't solve the issue. As you can see from the original post the selection box is right to begin with but even with this one selected it does not snap to the centre of this it snaps to the centre of the alternate one. And I always have the origin visible and I know where that is but my point is it doesn't snap to this, only the fake (for lack of a better term) centre.
-
So the only workaround I have found is to create a circle from the rotational centre of star or polygon (this I can do (I can create something from the rotational centre but not move something already created to snap to it or snap it to something else)), then move the star or polygon inside of the circle, then position the circle's centre on the point I want, and then move the star/polygon back outside the circle layer, and then delete the circle. But this is rather laborious and seems silly, and if it gets accidentally moved, or I want to relocate it to a different point I have to do all that again!
-
Hi, I am sure I used to be able to do this, but no longer seems to work. I want to centre a star in this case inside a circle. The star has not been converted to curves and still has it's bounding box allowing for this situation, i.e. the centre of box is centered on the rotational centre, however it will only snap to the centre according to the width and height of the star (as if it had been converted to curves or I had clicked cycle selection box). How do I get the rotational centre to snap/align to something?
-
Designer - Text has pink background
ronanski replied to ronanski's topic in Desktop Questions (macOS and Windows)
Hi, yes I just replied to that one few minutes ago. I did look for a few hours first and couldn't find anything but alas found this just after creating this thread -
Designer - Text has pink background
ronanski replied to ronanski's topic in Desktop Questions (macOS and Windows)
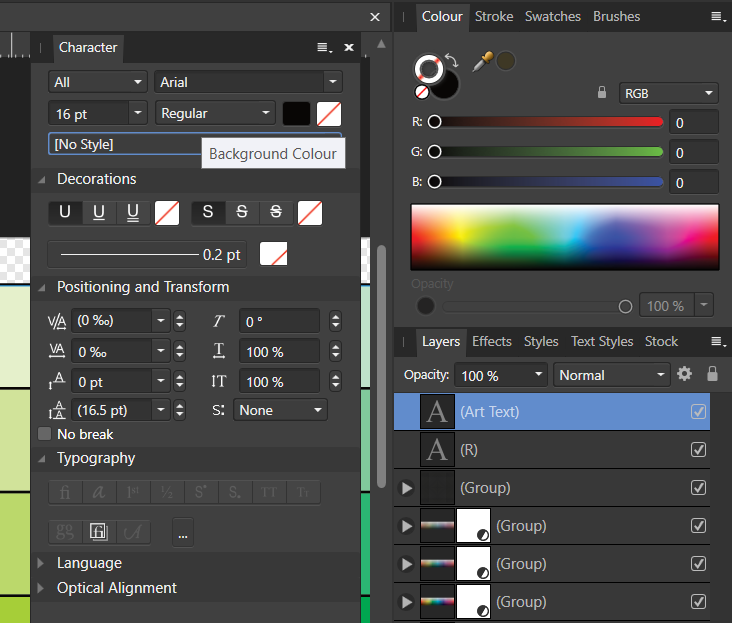
So there is an option to set background colour in designer. As i explained I can change this to any other colour on the character panel background colour option, but if I get rid of it, it reverts to pink. And no I haven't opened anything from anywhere I just created the text in designer and it automatically had the pink background on. However, I finally found another similar thread I didn't see before that addressed this problem... solution: If I go to Edit > Defaults > Revert, this resolved the issue. No idea how it happened in the first place though -
Thank you so much this worked! No idea why it went wrong to start with. Mine had a constant pink background on every text i made.
-
 ronanski reacted to a post in a topic:
TEXT BACKGROUND COLOR
-
Designer - Text has pink background
ronanski posted a topic in Desktop Questions (macOS and Windows)
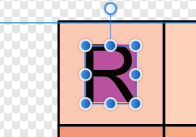
So I have a strange situation where my any text I type now has a pink background. The background is set as transparent/no fill. I can over ride with a different colour but I cannot get no colour it is always pink! There are no effects or styles present. No adjustment layers, and it is not part of a another layer with any kind of filter. Any new text I add as normal on top has a pink background. If I start a new doc this does not seem to happen though.


