mrpleasant
-
Posts
14 -
Joined
-
Last visited
-
It's not working as I expected (painting with white is largely creating white marks rather than revealing the colour underneath). So the question is really am I on the right track with my theory and it's therefore worth persisting or is the whole approach wrong?
-
I've got an issue with a sky replacement where patches of the original sky are showing between foliage where the selection wasn't good enough. One possible solution I'm trying is to create a filled layer with the predominant colour of the new sky then add a black mask to it and paint it in with a white brush using a blend mode that only affects lighter pixels. That should leave the foliage untouched, but overwrite the bright patches. Does that sound plausible?
-
putting photos in asset manager
mrpleasant replied to gkd's topic in Pre-V2 Archive of Desktop Questions (macOS and Windows)
Success! I followed Lynnie's steps above and initially there was no Add from selection option in my menu. I decided to delete the subcategory 'Overlays' that I had created on a previous attempt and suddenly the option appeared and my jpeg was added. I seem to have a category of Default with a subcategory of Assets which is a bit curious (until I understand it better), but at least it worked. Also, now I have an actual asset in Assets, the window appears on the panel when I reopen Affinity Photo. So, thanks to all for your suggestions. Problem finally solved. -
putting photos in asset manager
mrpleasant replied to gkd's topic in Pre-V2 Archive of Desktop Questions (macOS and Windows)
I stand corrected. I just reopened AP after closing it several hours ago and there is no sign of the Assets panel. It seems ticking the item in the Studio menu list is not a permanent thing until it is unticked. I have to admit I don't know my way around the workspace particularly well, having only learned some basic skills that suit my current requirements, but intuitively I would expect something selected to view to remain a part of the visible toolset until manually deselected. Need to do more research. -
putting photos in asset manager
mrpleasant replied to gkd's topic in Pre-V2 Archive of Desktop Questions (macOS and Windows)
That suits me! My fear was I would add them to the Assets panel and then delete them from Downloads, only to find they vanished out of AP. But I'm jumping the gun. I need to actually add them as Assets first... -
putting photos in asset manager
mrpleasant replied to gkd's topic in Pre-V2 Archive of Desktop Questions (macOS and Windows)
If I use the menu option View/Studio/Assets to display the Assets panel, it appears on the right-hand side under the layers panel, etc. It appears to be docked, but I'm not sure... As soon as I click on my Finder window to begin selecting my jpegs to drag into the Assets panel, the Assets panel vanishes, then reappears when AP becomes the active window again. If I quit AP and reopen it, the Assets panel is still there, suggesting I have made it a fixed part of my workspace. Out of interest, when I do eventually get this working, will the jpegs I select also get moved from their current location (Downloads) and put in an Affinity Photo folder somewhere? -
putting photos in asset manager
mrpleasant replied to gkd's topic in Pre-V2 Archive of Desktop Questions (macOS and Windows)
Alas, it does! As soon as Affinity Photo isn't the active window, the Assets window(?) vanishes! It's toying with me. If I click the menu and choose import asset my jpeg files are greyed out and not selectable. When I see how advanced the Asset Manager is, with the option to store thousands of objects in a totally configurable collection of categories and subcategories it seems unbelievable I can't add a single item. I keep thinking I'm missing something that must be staring me in the face. -
putting photos in asset manager
mrpleasant replied to gkd's topic in Pre-V2 Archive of Desktop Questions (macOS and Windows)
I've been trying to do this, but as soon as Finder overlays the Affinity Photo window the Asset box vanishes! Importing doesn't' let me select the jpegs as I think it only allows afasset files to be selected - ? All I want is to create an Asset subcategory of Overlays and start building up a collection of texture and colour jpegs. I'm missing something obvious.... -
Doing vs learning
mrpleasant replied to mrpleasant's topic in Pre-V2 Archive of Desktop Questions (macOS and Windows)
Thanks, all. Very useful. -
Doing vs learning
mrpleasant replied to mrpleasant's topic in Pre-V2 Archive of Desktop Questions (macOS and Windows)
That's what seemed to be happening, but nowhere (yet) have I read that the 'parent' layer in that relationship with another layer starts behaving like a mask. Interesting though. I shall definitely follow more of these technique videos as they are a very good way of learning. -
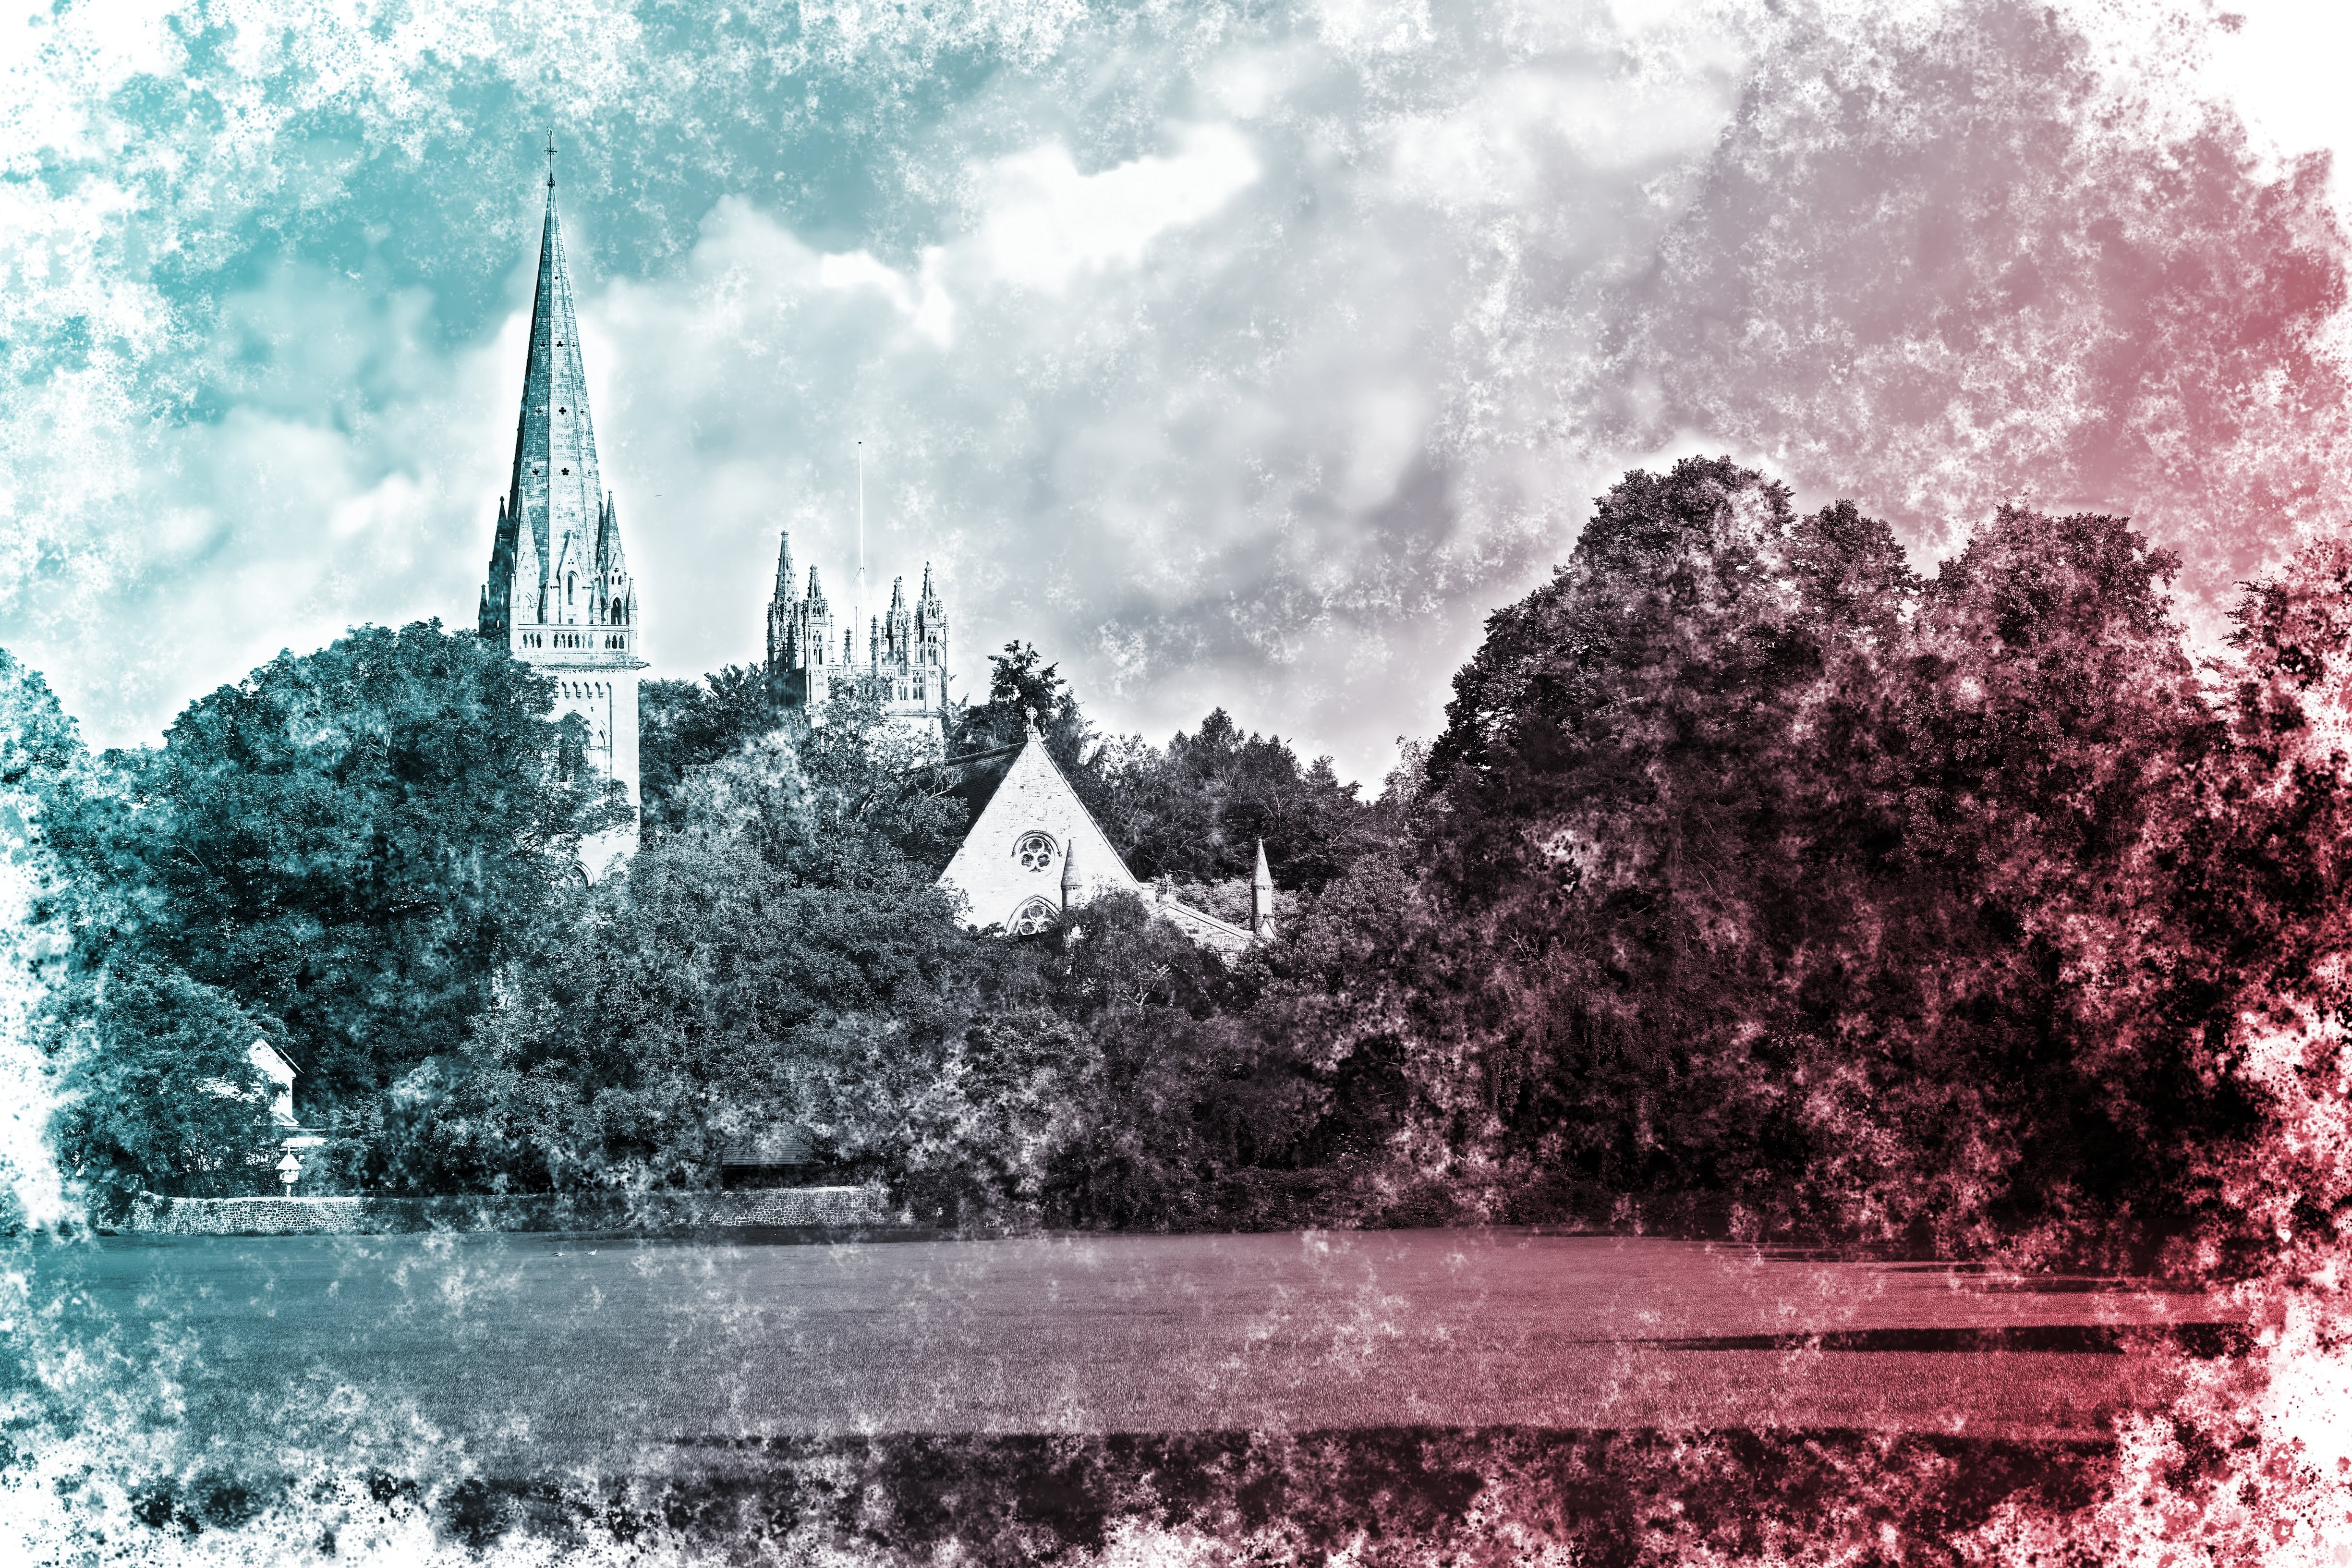
I recently watched a YouTube video on how to apply a paint splatter effect to a photo in AP. I blindly followed the instructions - which were very clear - and have repeated it several times since, each time experimenting a little to really get a feel for it. I'm fairly confident I now understand WHY I'm doing certain things, but one step refuses to make sense. If anyone can shed some light I'd be very grateful. These are instructions: Use the rectangle tool to draw completely around the image, then drag the resulting layer underneath the background layer Select the background layer, then click the pixel layer button so a new pixel layer is added to the top of the pile Select the brush tool with a strong Grunge texture, paint over the image so most of it is covered with a fairly heavy stipple (in black) Drag the background layer 'into' the pixel layer so it becomes integrated with it. At this point suddenly the image becomes visible again, but textured Add a black and white layer to the top of the stack and adjust the colour sliders to create the best effect Duplicate the white rectangle layer and drag the copy to the top of the stack Apply a gradient to the rectangle and change the colours to something appealing Finally, change the blend mode of the gradient layer to Overlay which reveals the final image All of the above are mainly making sense now, except 4. It's as if the pixel layer becomes a mask, with the black brush strokes revealing the underlying image, but the unpainted areas revealing the white 'canvas' of the very bottom white rectangle. Even if that explanation is correct, I don't know why it works. Can anyone explain how the relationship between the original background and the painted pixel layer changes by dragging the one into the other? I've attached an example in the hope this makes sense.

-
 Dan C reacted to a post in a topic:
Best file format starting point
Dan C reacted to a post in a topic:
Best file format starting point
-
This has been my understanding for years, but all those AP tutorials I've been watching on YouTube, etc. started raising questions in my mind. Whenever I explored the 'download the example images' links they took me to jpg files, whereas the same kind of links for Capture One and the like offered RAW files. Thanks for the thoughts; I will, as far as possible, always work with TIFFs in AP.
-
Thanks for the replies. Firstly, the forum admin team were on the case very quickly about my brainless username! Hopefully my email address hasn’t already been harvested by thousands of spammers… Regarding the file format question, it’s partly hypothetical because I’ve only ever shot RAW in all my years of serious digital photography and processed the end result in either Lightroom or Capture One Pro and that will continue. All my highlight recovery, tone mapping, colour grading, etc. is done that way. Pixel-based editing (if that’s the right term) is quite new to me and Affinity Photo is quite obviously the biggest bargain in the photo editing world! It’s worth the price for the in-painting brush alone. I find I’m using it far more than I thought and the question quickly occurred to me that maybe working on my jpegs exported from Capture One wasn’t necessarily the best approach. If the Affinity Photo experts think even pixel edits are best done on a TIFF file rather than a JPEG then that’s the workflow I will adopt. It’s hard to believe anyone would expect good results doing shadow detail retrieval on a JPEG, but I wasn’t sure if that ‘rule’ extended to more creative editing work.
-
Hi, I'm very much a beginner with Affinity Photo after years of only editing my photos in RAW form in apps like Lightroom and Capture One. What I've always understood is that a JPEG file is the final form, with edits 'baked in'. The idea of adding an HSL or brightness and contrast layer to a JPEG file seems very strange - surely this will push a compressed image too far? I understand adding pixel layers with creative effects or combining images, but what is the expert opinion on adjustments? My expected workflow will still be doing essential edits in a RAW editor, but should I export the end result as a TIFF file, for example, for more creative work in Affinity Photo in order to preserve quality and avoid artefacts?