eftee74
-
Posts
21 -
Joined
-
Last visited
-
 Stef71 reacted to a post in a topic:
Auto alignment for layers
Stef71 reacted to a post in a topic:
Auto alignment for layers
-
Auto alignment for layers
eftee74 replied to Stef71's topic in Feedback for the Affinity V2 Suite of Products
Very useful missing function for layer blending- 1 reply
-
- 1
-
-
dmstraker reacted to a post in a topic:
luminosity range mask curve limit effect, plus periphery effect on blur
-
I don't think it's very different. Steps from 1 to 7 (not 4) are necessary for having a luminosity selection, that can be saved as spare channel. Then the others if you want to use it on a black mask for blending.
-
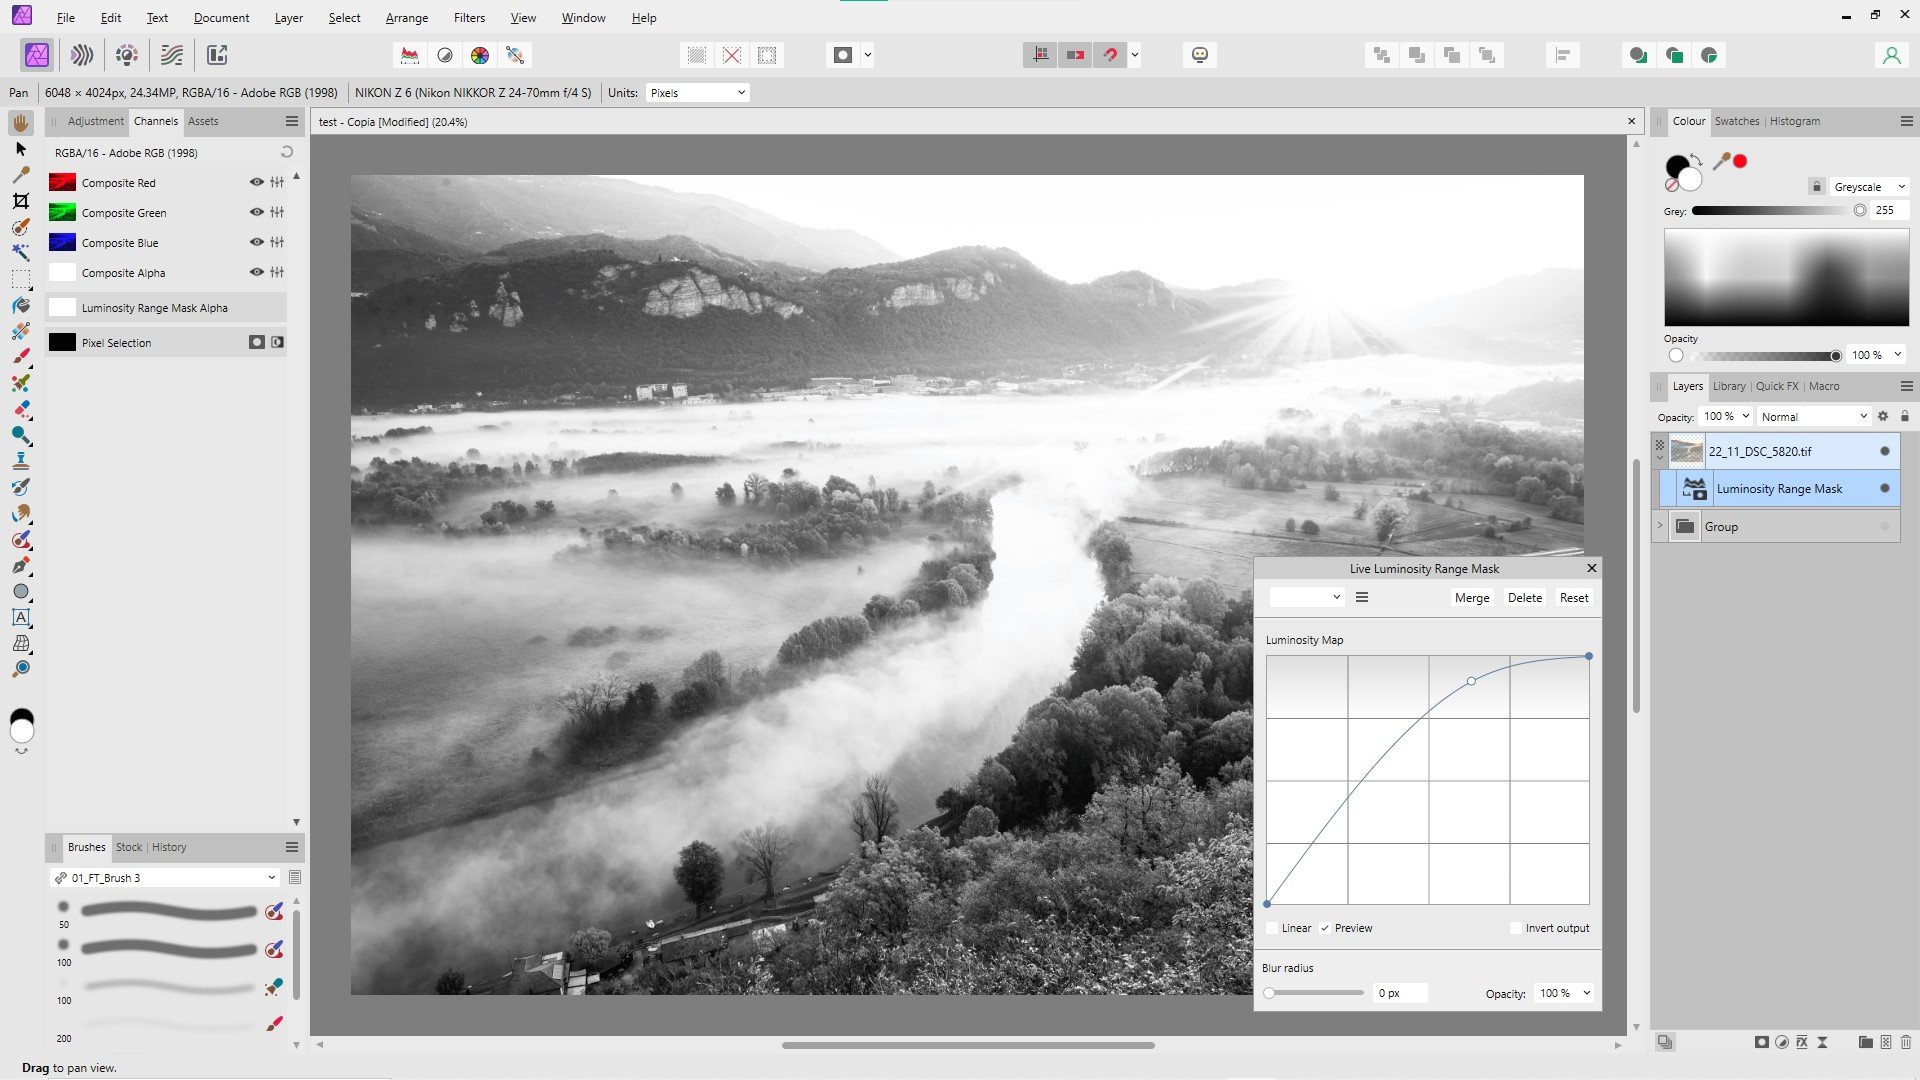
I’m trying to find the best way to use new live luminosity range masks in Photo V2 for exposure blending. I think it’s possible to reduce computational time, memory usage and file size, compared to traditional workflow. Instead of creating a set of luminosity masks saved as spare channels (really tricky and requires a complex macro), now I just use a preset of curves for luminosity range masks suitable for lights, darks and midtones. Assuming there are two or more staked pictures with bracketed exposure and starting from the first one that has to be blended with the base exposure underneath, I’m following these steps: 1. Add a live luminosity range masks as child of the picture layer that must be masked 2. Select preview for viewing the mask in black and white 3. Tweak luminosity range mask curve or use presets form the menu 4. Add an empty (black) mask as child of the same picture layer (it hides the visibility of the picture layer) 5. Select the picture layer 6. Make “Selection From Layer” (“Ctrl+clik” on the layer thumbnail or “Ctrl+Shift+O” or from “Select” menu) 7. A new luminosity selection is available as marching ants appear on the screen 8. Delete the luminosity range mask 9. Hide marching ants (optional) 10. Select the empty (black) mask 11. Paint with a white brush (choosing proper opacity) on the black mask with the active luminosity selection to reveal the picture layer Steps form 4 to 8 can be recorded as macro to speed up workflow. I have never used Photoshop, but I think new Live Luminosity Range Masks could be more effective than functionalities offered by some panels available for Photoshop. I hope it could be useful and eventually improved by your suggestion.
-
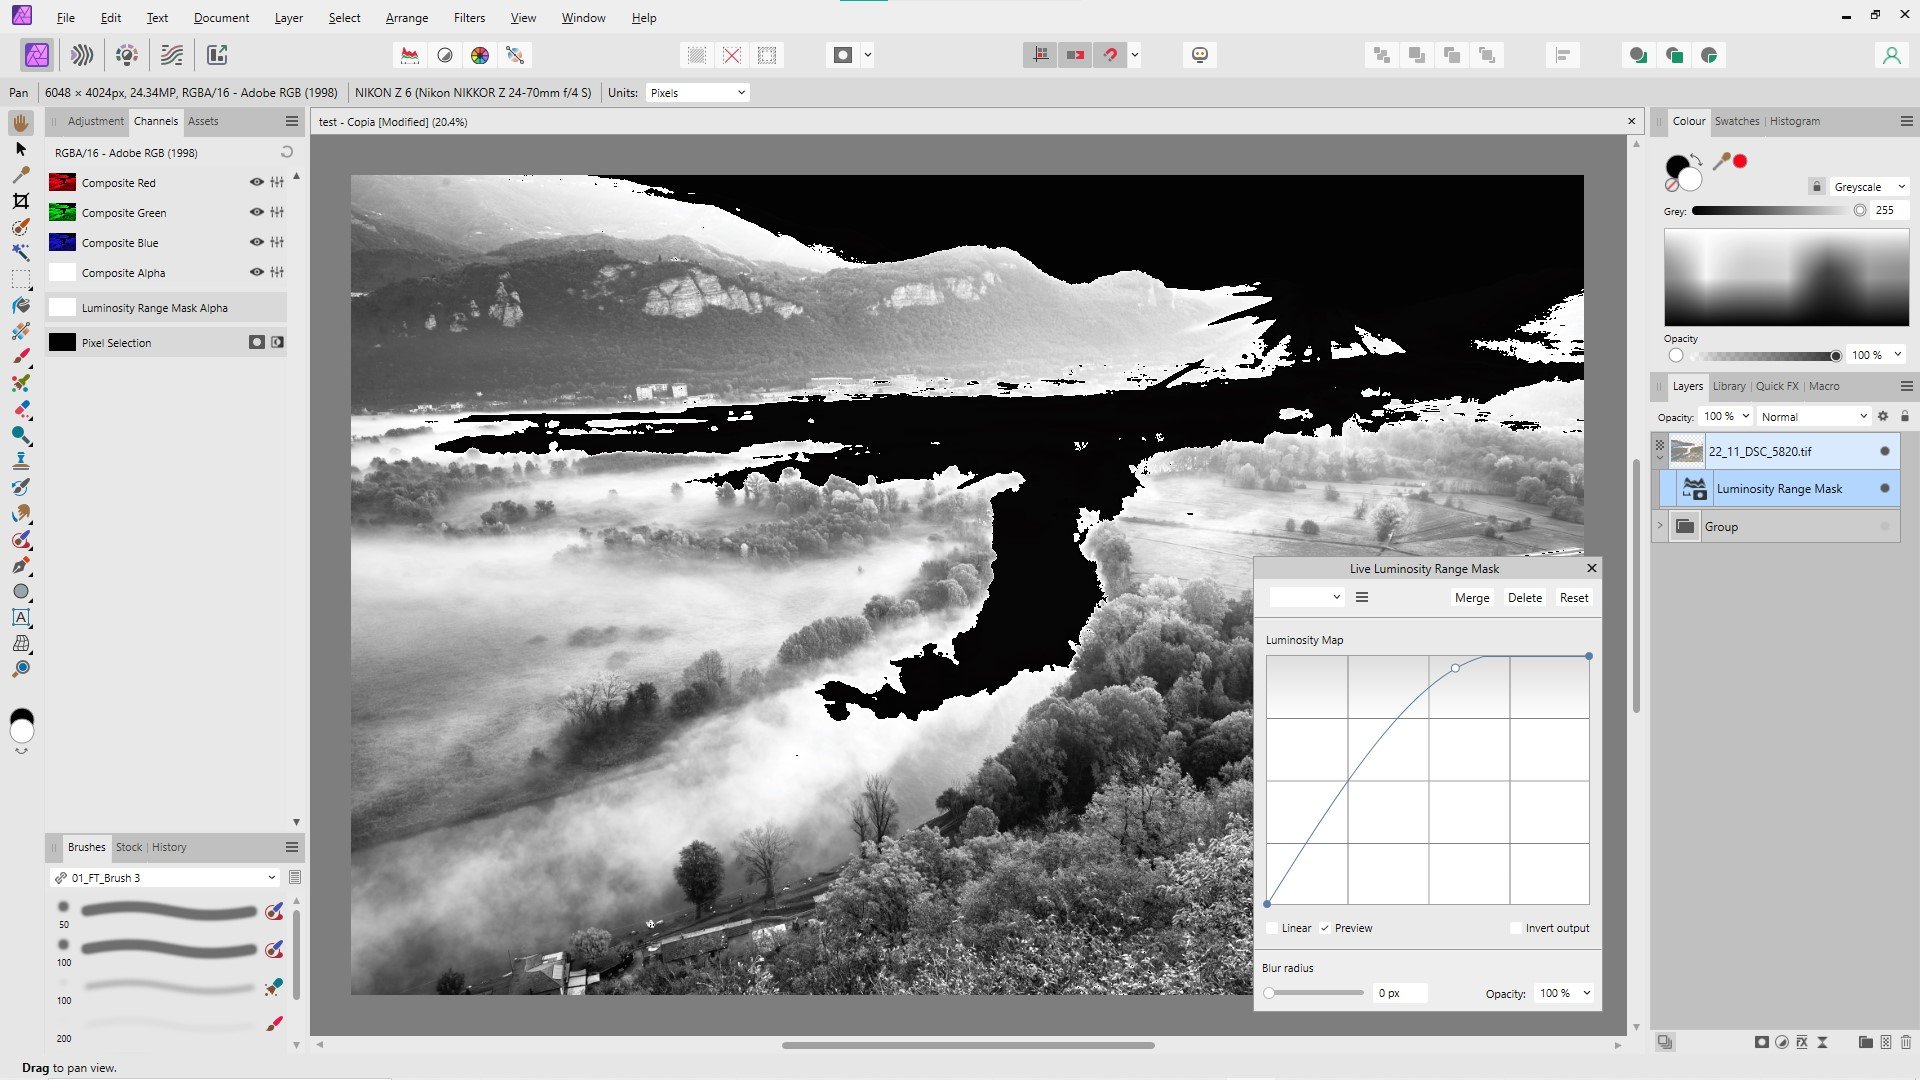
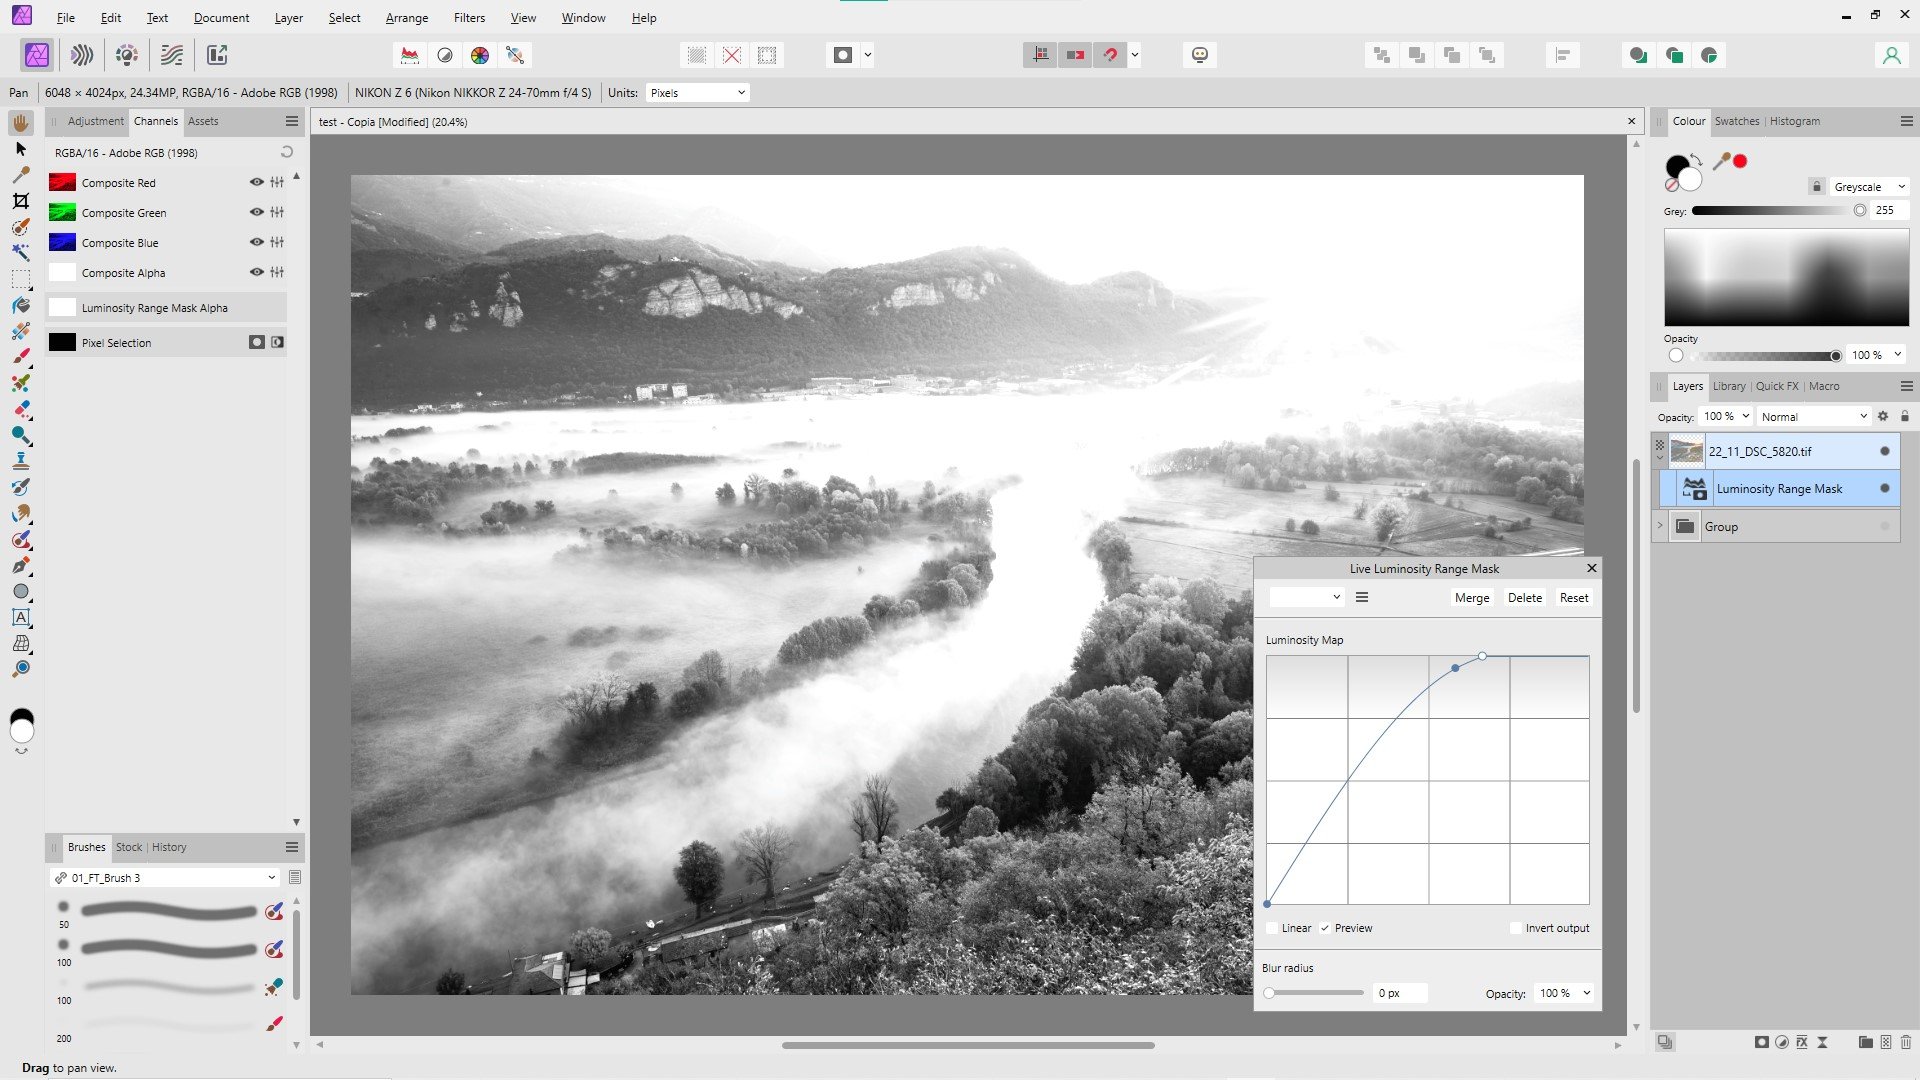
I have the same issue. See three examples with luminosity range mask in preview mode. Mask in the first picture is ok, but as soon as the curve touches the uppest x-axis (second picture) pure white becomes suddenly black . I'm able to partialy workaround it moving the most right node to the left. The curve in the third picture is very close to the second one, but pure white remains as is.

-
I decided to upgrade to V2. Anyway thanks for the reply. I hope it won't be necessary a new topic in V2's section.
-
I'm testing AP V1 without HW acceleration and also increased ram usage limit to 32 GB (max) from 24 for. Main system specification are: Win 10 22H2, Gigabyte AB350 Gaming 3, Ryzen 7 1700, RAM 32 GB 2666 MHz DDR4, Radeon RX 580 4 GB, Samsung evo 860 (system), Samsung evo 850 (data).
-
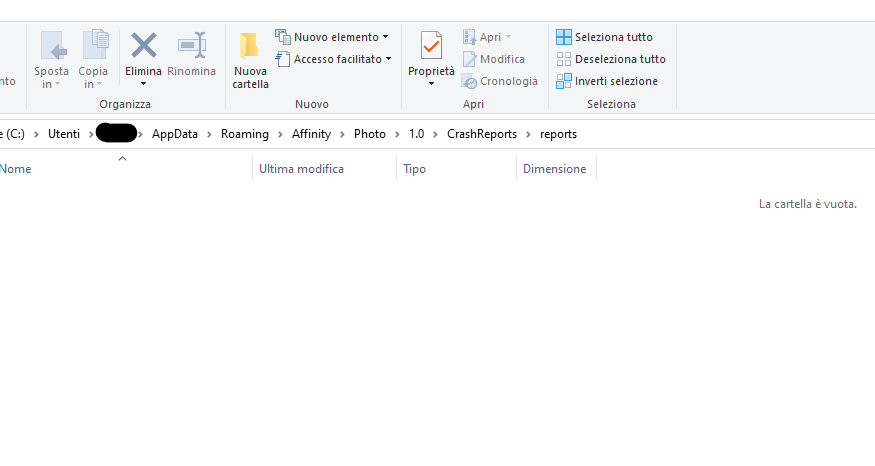
I don't have that folder. I'm using V1. Anyway I found this folder C:\Users\xxxxx\AppData\Roaming\Affinity\Photo\1.0\CrashReports\reports\ but it's empty.
-
Thank you for your answer. I have already tried most of the fix mentioned in that page. Nevertheless AP is the only software showing that issue. Moreover sometimes the application crashes without any memory error. In this cases no option to recover from autosave.
-
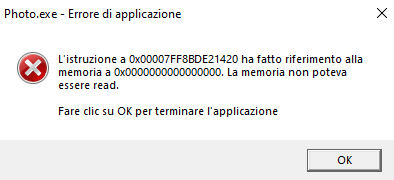
I'm having unspected crashes recently. Today I had a stange memory error message, shown in the picture. Never happened before. Traslation is: The instruction at 0x00007FF8BDE21420 referenced memory at 0x0000000000000000. The memory could non be read.
-
eftee74 reacted to a post in a topic:
Affinity Photo v2 .exe file location
-
I'm wondering if there is any user who tried to run AP V2 from capture one 23 on windows 10, working around this issue.
-
I have seen the same issue on capture one forum. Unfortunately it seems that open or edit with doesn't work.
-
 eftee74 reacted to a post in a topic:
Affinity Photo v2 .exe file location
eftee74 reacted to a post in a topic:
Affinity Photo v2 .exe file location
-
Has anyone tried using capture one with photo V2? I mean using the command "open with" or "edit with" affinity photo from capture one.
-
Colour sampled from swatches
eftee74 replied to eftee74's topic in Pre-V2 Archive of Desktop Questions (macOS and Windows)
In this case the colour profile is the same (AdobeRGB) both in "Preferences>Colour" and "Document". -
Colour sampled from swatches
eftee74 replied to eftee74's topic in Pre-V2 Archive of Desktop Questions (macOS and Windows)
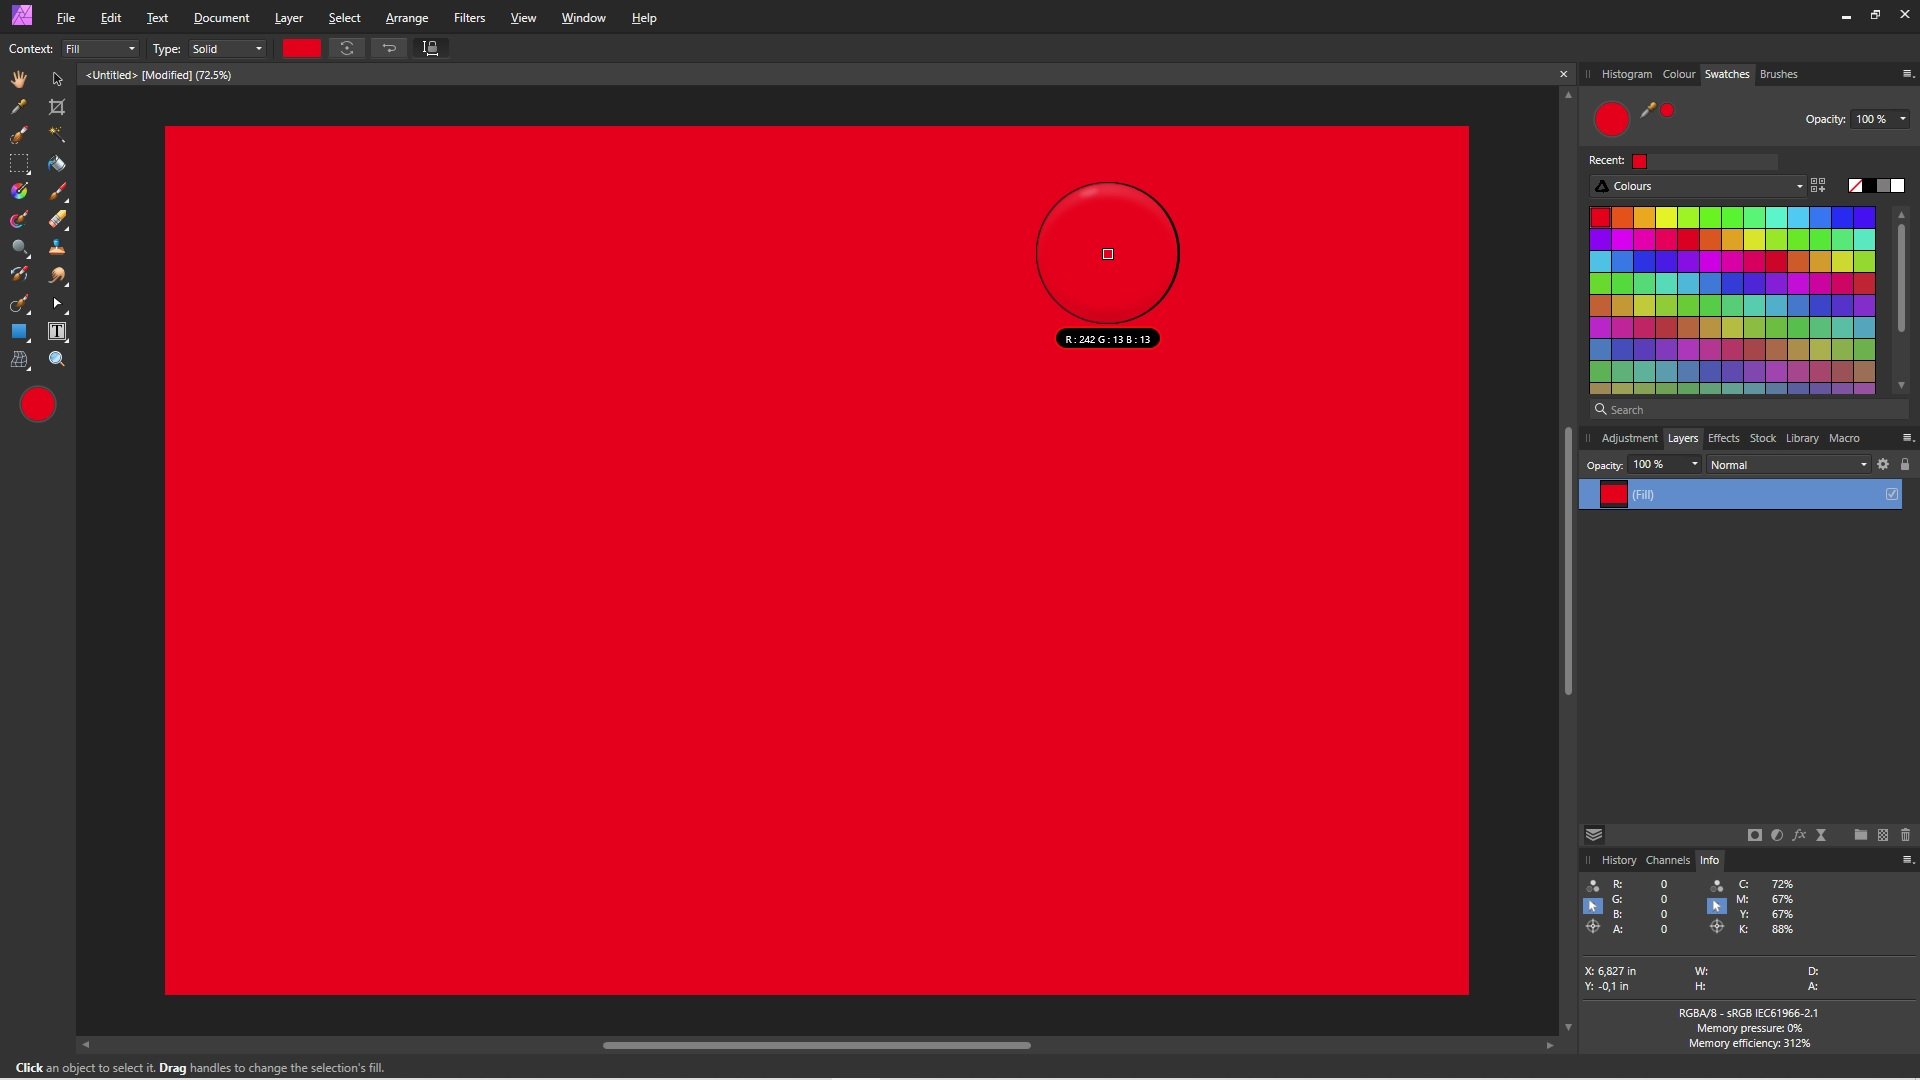
I'm using 1.8.5.703 on Windows 10. It happens with any colour picker (eg swatches, gradient tool). Attached a couple of screenshot with just the fill layer.
-
Using the colour picker in the "magnified" mode, the RGB values on the document (e.g. fill layer) are different from the same colour in the swatches panel. For example, in a new layer filled with R:242 G:13 B:13 the corresponding colour on the swatches panel is R:220 G:51 B:17. It's the same for every choice. Is the swatches panel able to show the right colour? Thank you