LizBrown
-
Posts
27 -
Joined
-
Last visited
-
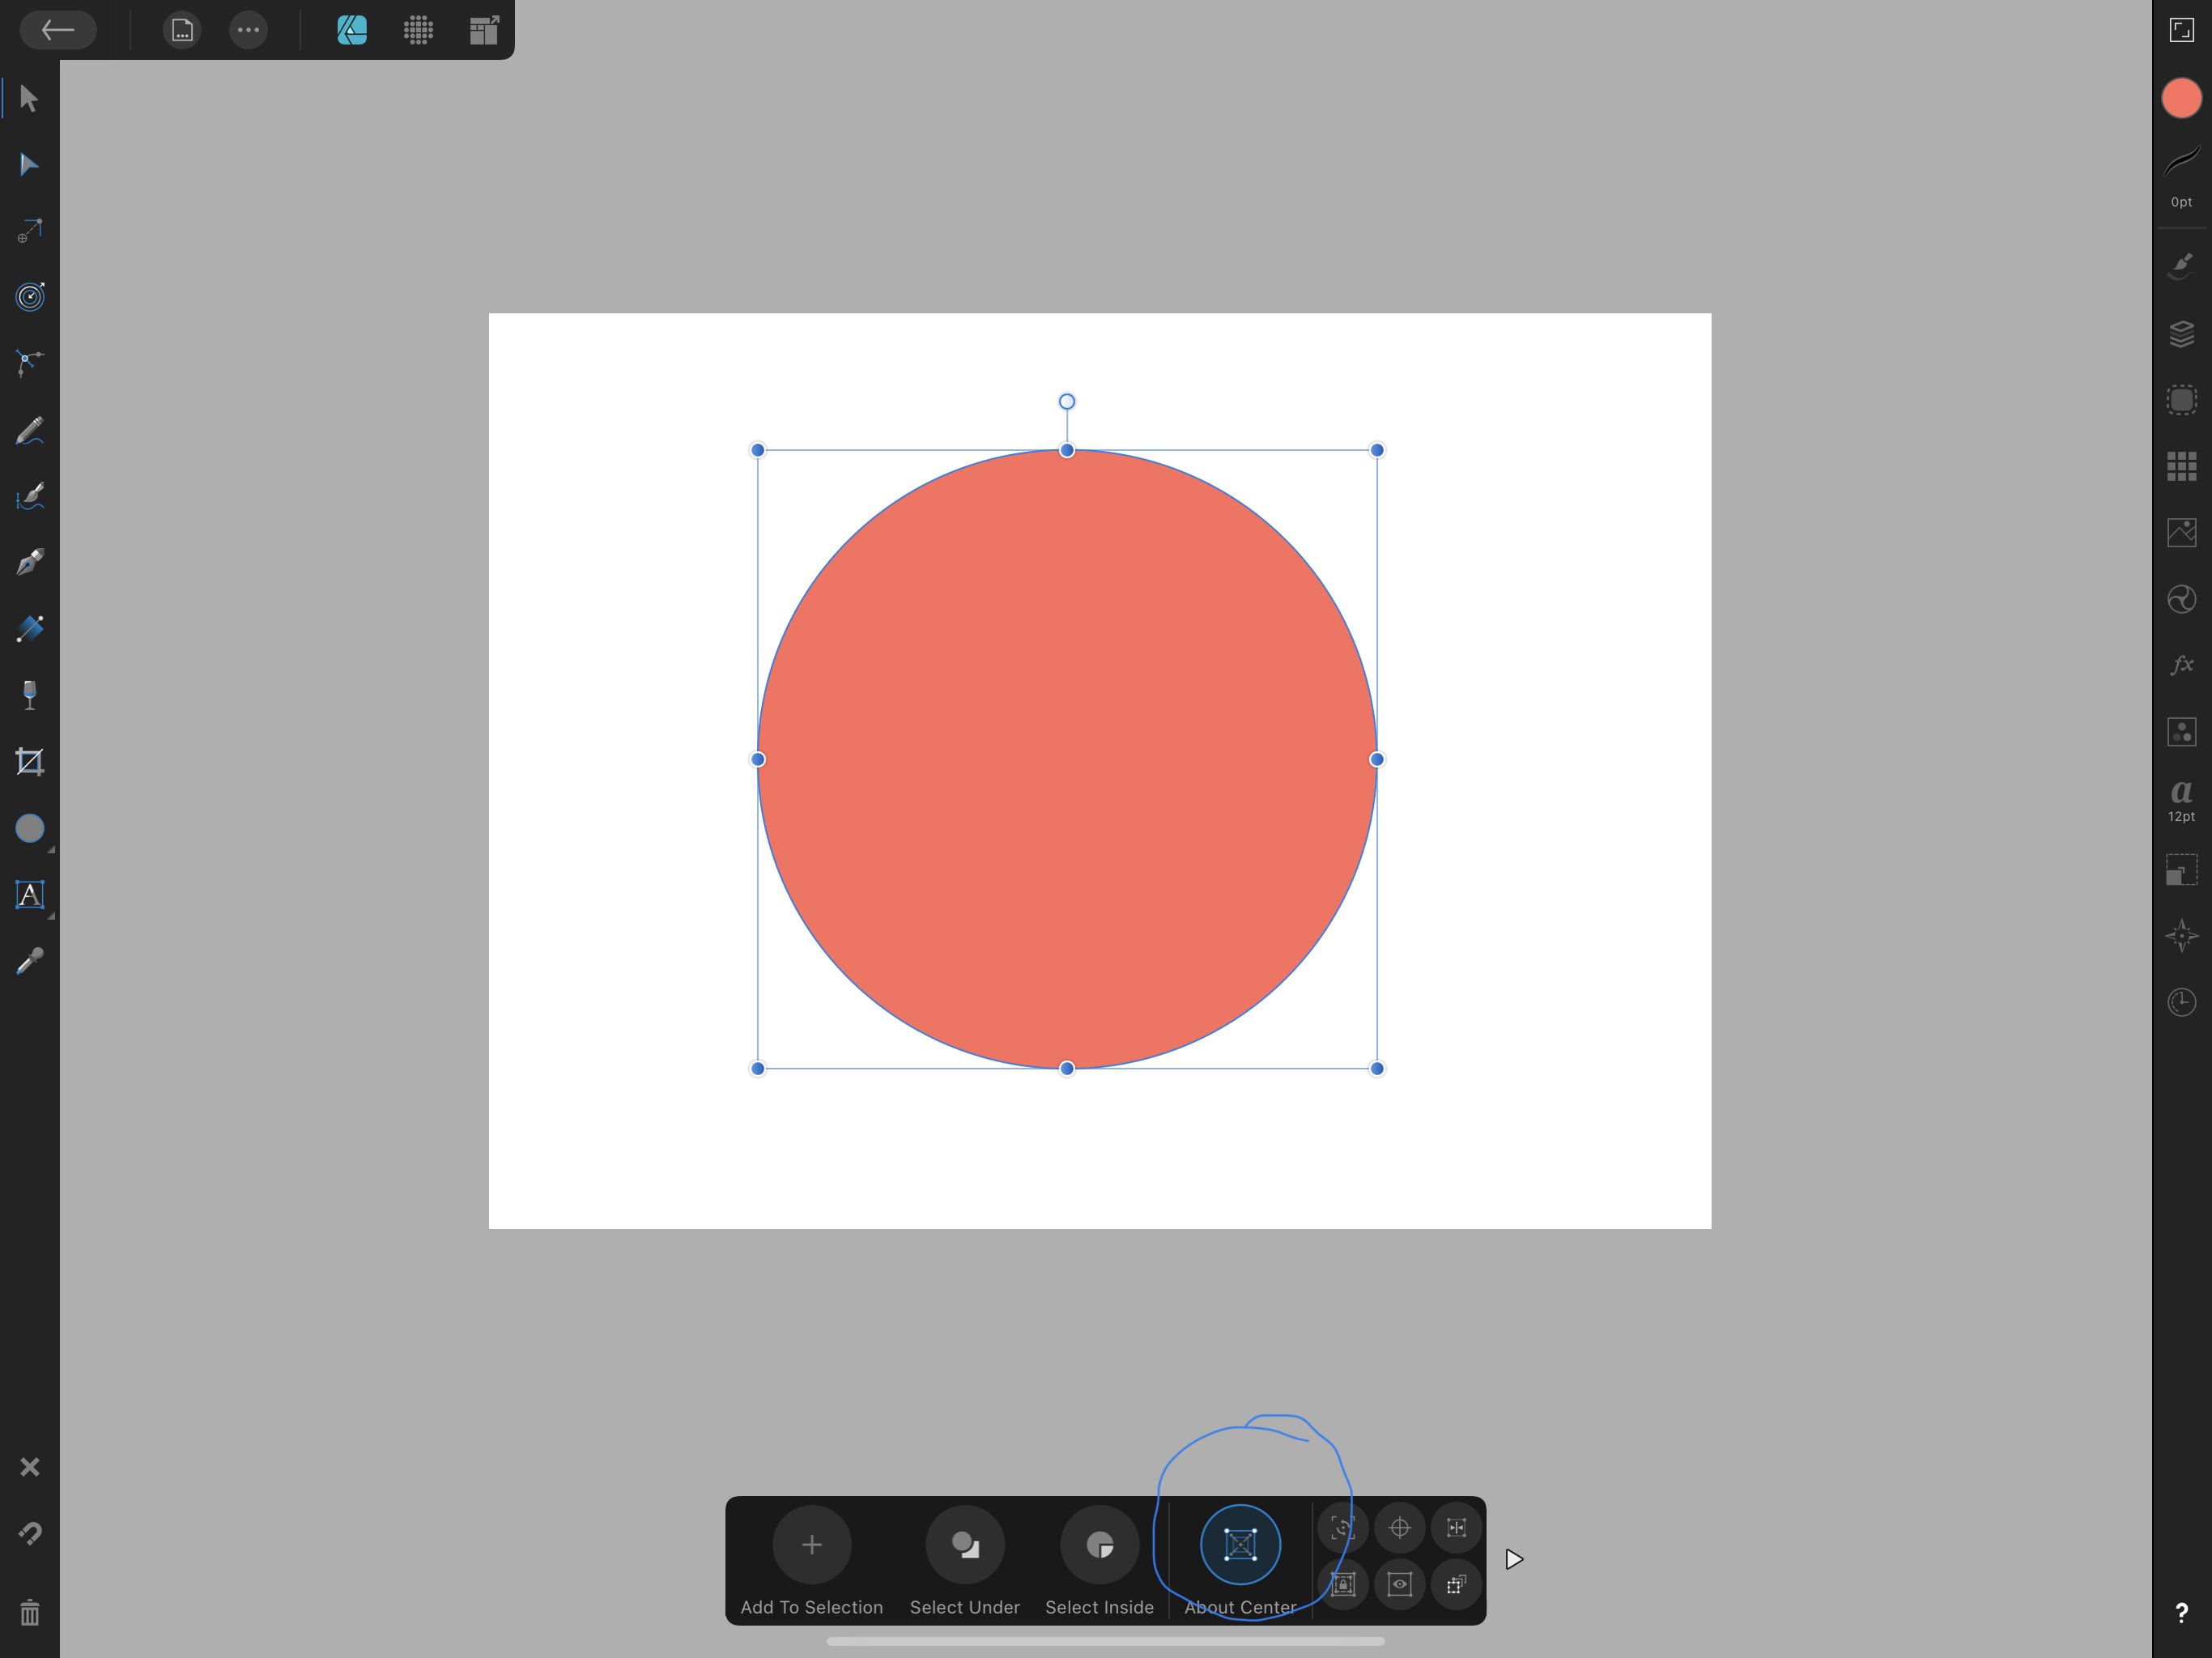
Hello, I'm using the new Affinity V2 and trying to find the About Center tool that I used to use in V1. It allows you to resize from the center out rather than from the corner. I tried the Anchor option in the transform menu but it doesn't seem to make any different to the sizing behavior. Does anyone know where this tool is now? Thank you! ~Liz

-
Palette Creation Menu Resets Every Time You Add a Color
LizBrown replied to LizBrown's topic in V2 Bugs found on iPad
Good to know, thank you! -
Hello, I've been trying to create a palette in the same way I did in Affinity V1 and the palette menu keeps resetting and not allowing me to add new colors. I've had 20+ students report the same problem to me, all on different kinds of iPads. Here are the steps I'm taking: 1) place an image on the canvas with some colors on it 2) Open the Color menu, then go to Swatches 3) Tap the hamburger menu and tap Add Application Palette, then create the palette 4) Sample a color, make it a fill, then tap Add Current Fill to Palette (this one works) 5) Sample a new color, make it a fill, then tap Add Current Fill to palette (you can't because it's grayed out) 6) Reset the menu by going back to the color wheel, then find your palette again (now add fill to palette works) This happens every single time you want to add a new color to the palette so it takes a very long time to create a palette!
-
Awesome, thank you!
-
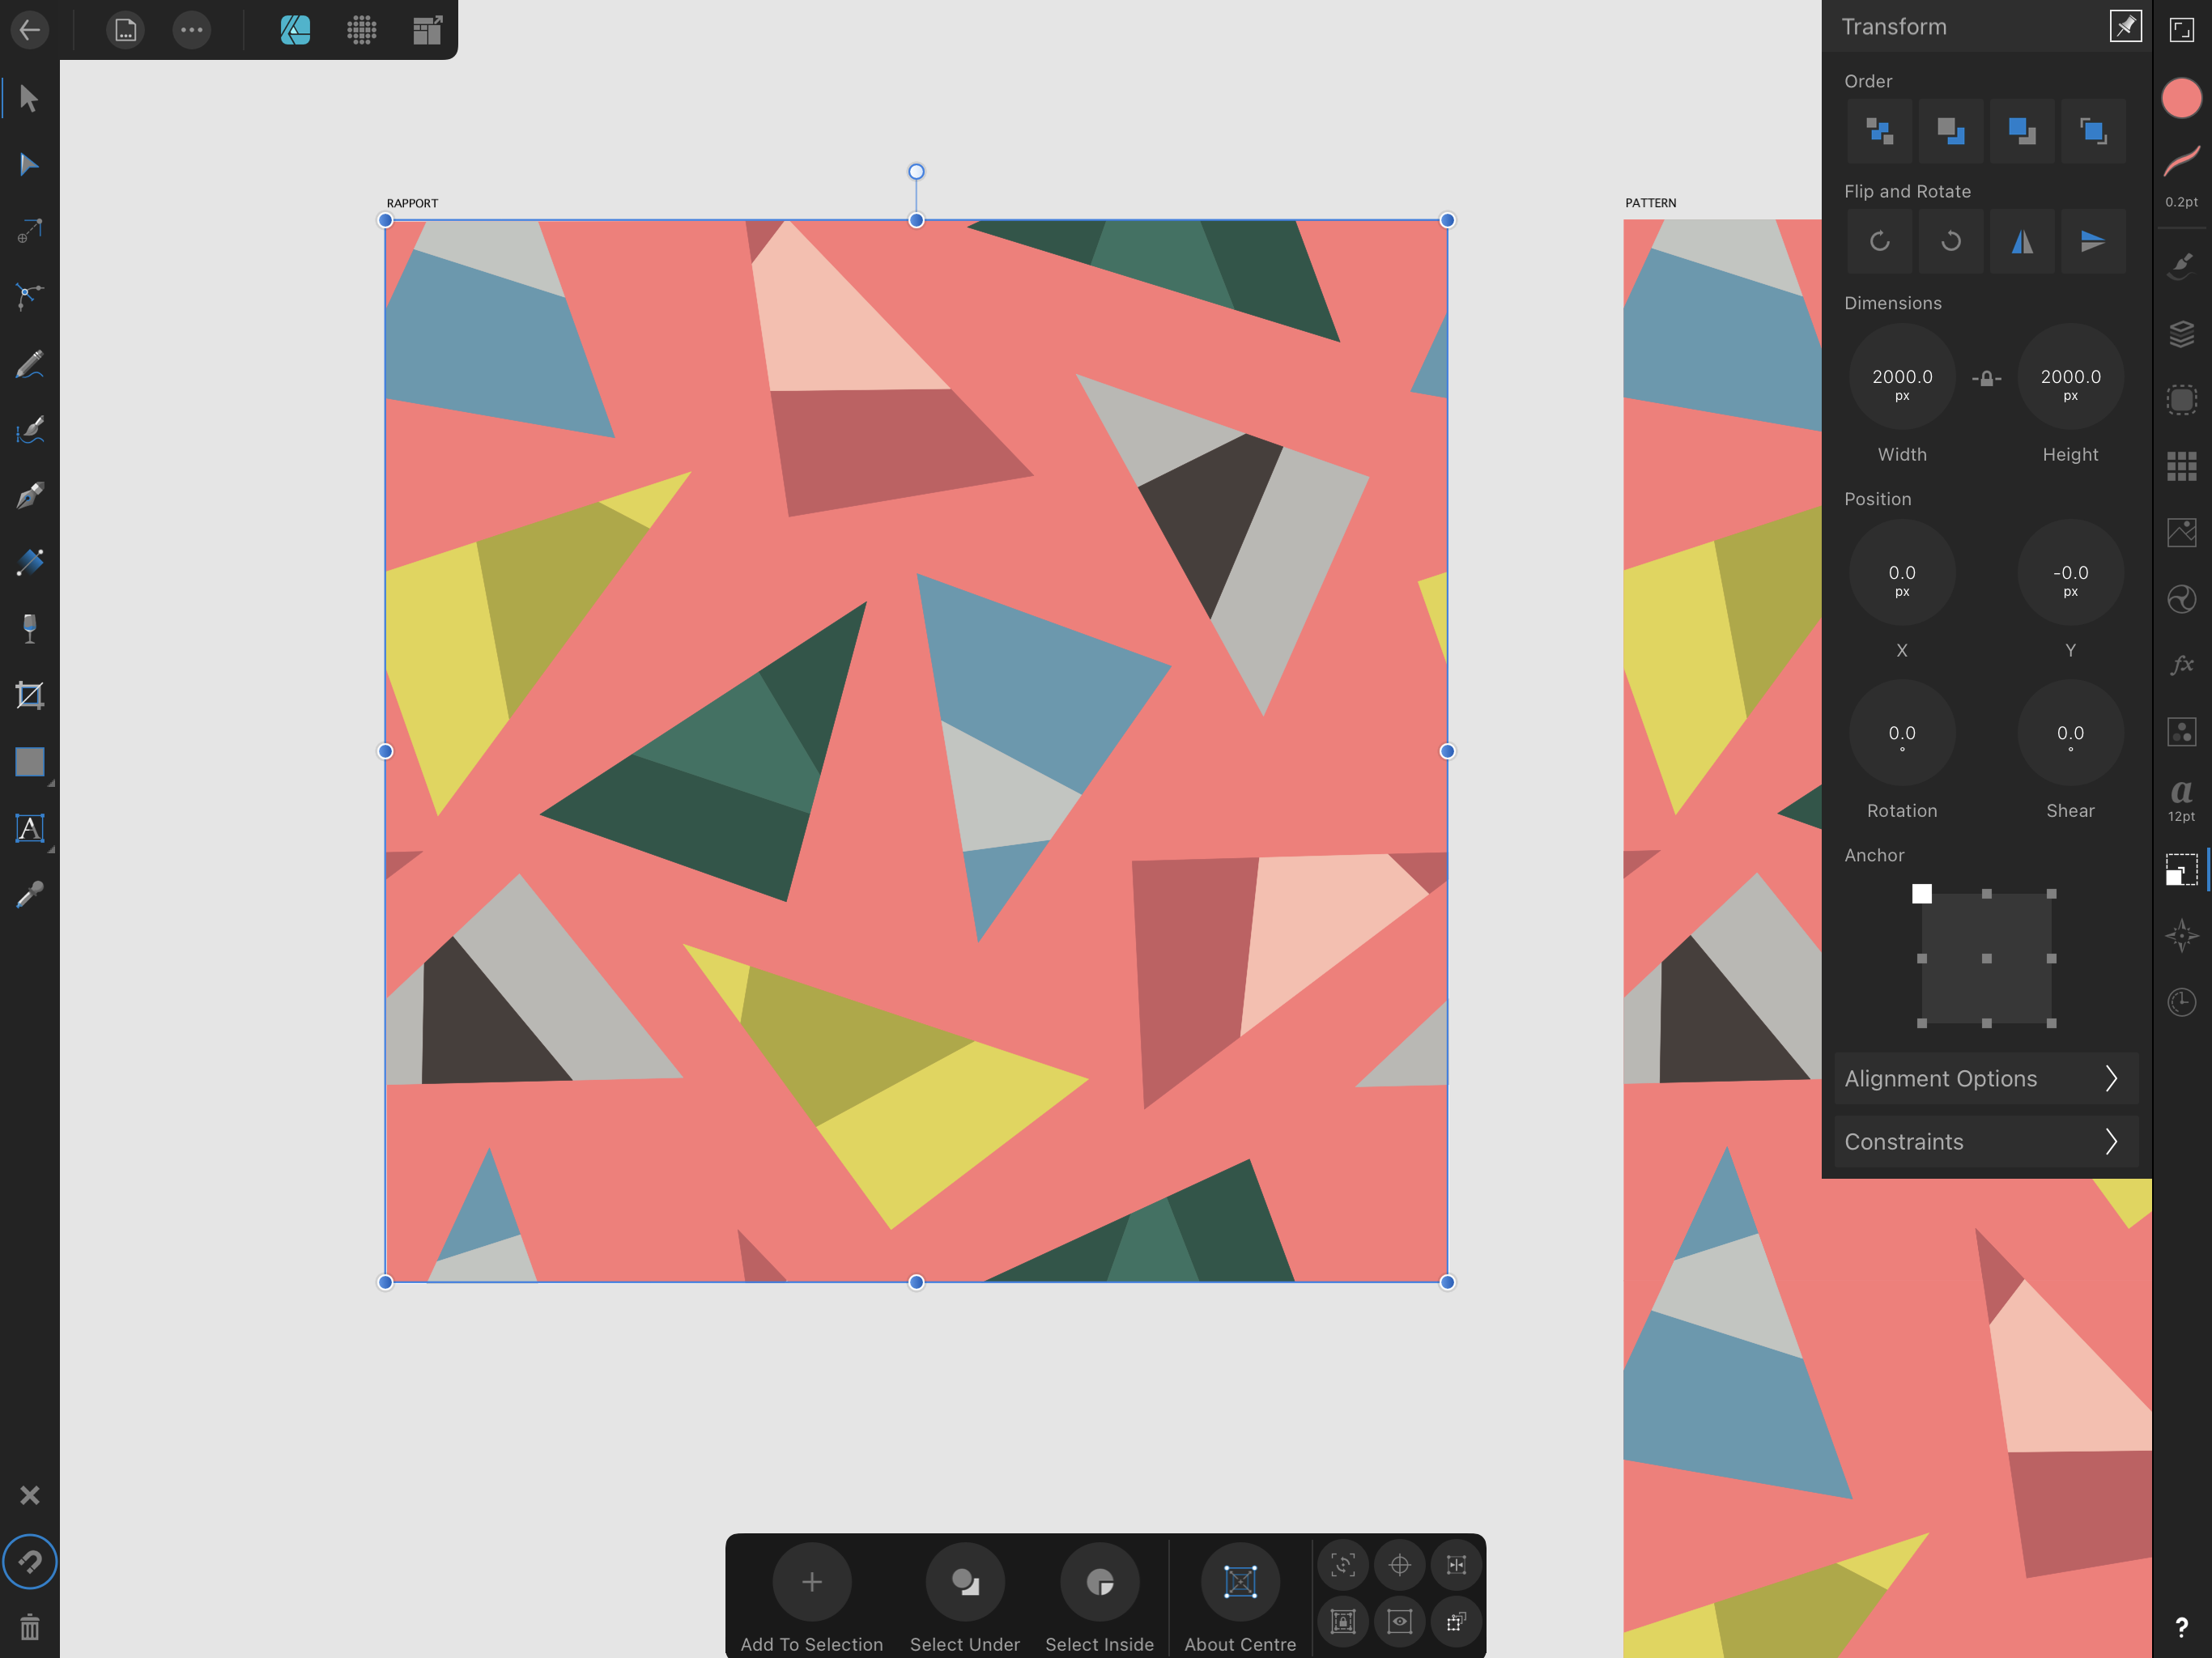
Hi everyone, I have a student who created this Affinity file and when she saves it there are areas outside the artboard in the export. The artboard is 2000 x 2000, but on the export page it always says 2005 x 2005 for the exported area for Artboard 1. I attached the file in case you need to see it. I can't seem to repeat this on my iPad, but other students of mine have had the same issue. Thanks for any help you can give! ~Liz exercise 1 - 2000x2000 pattern Eli.afdesign
-
Hi everyone, I used to use the ‘save selection with background’ option all the time in affinity for iPads, but it seems to not work correctly anymore. It doesn’t save the background, so essentially it does the same thing as ‘save selection without background’ I uploaded a screenshot to show you what I mean. Anyone know a workaround for this? Thanks in advance! Liz IMG_2672.MP4
-
Clipping Mask Work Around?
LizBrown replied to LizBrown's topic in Pre-V2 Archive of Affinity on iPad Questions
Wonderful, thank you! That makes much more sense! -
Hi everyone, I'm trying to create a clipping mask effect (so that a texture appears only on a specific shape). I'm using masks, but it seems like it takes a ton of steps so I'm thinking I might be doing this wrong. The steps I'm doing are: 1) create a vector shape 2) create a raster texture layer above it 3) duplicate the vector shape and drag it above the texture 4) group the top vector shape and texture 5) turn the top vector shape into a mask 6) group all three layers so they can be moved as a set This is just one element, but imagine if I draw 20 leaves and 20 shadows, do I have to do this 20 times so that each vector leaf has some texture on it? Then there are 20 leaf highlights, 20 leaf veins....seems like there is an easier way! Thanks for your help. Liz RPReplay_Final1587239074.MP4
-
Some Brushes Not Showing Texture
LizBrown replied to LizBrown's topic in Pre-V2 Archive of Affinity on iPad Questions
She created a new file and didn't have the issue, so it must have been something weird with that file. Thanks for your help! ~Liz -
 LizBrown reacted to a post in a topic:
Some Brushes Not Showing Texture
LizBrown reacted to a post in a topic:
Some Brushes Not Showing Texture
-
Some Brushes Not Showing Texture
LizBrown replied to LizBrown's topic in Pre-V2 Archive of Affinity on iPad Questions
Hi Alfred, we both have the same iPads and operating system: iPad Pro 12.9” Second Generation, software version 13.3.1. There are no other apps running at the same time. -
Hi everyone, I teach classes on Affinity and one of my students sent me this screen recording. When I use these same brushes on my iPad, each brush has a texture. When she uses them in this recording, some have a texture while others are just a typical monoline. Does anyone know why she is seeing this issue? I can't seem to replicate it on my iPad, so I don't know what to tell/ask her! Thanks for your help. ~Liz large.MOV
-
Ok I will try that, thanks Gabe.
-
Hi Gabe, Here is a document where I put four .png versions of the repeat block beside each other. Beside the blue line showing the squares, there is a semi transparent line. You have to zoom into the pixel level to see it, but it is enough to show up on prints. What file type did you use in your screenshot example? Maybe that is the type I need to use? Also when you go to file-> Export, are you adjusting any of the settings on that page? I've always used the defaults but maybe I'm missing something on that page. Untitled.afdesign
-
Hi Gabe, Yes the first post image shows how you can see the line. The line is only visible after you export the file. It doesn't exist on the original repeat block. So first, export the repeat block (any flattened file type like png, jpg, pdf, etc.) then open a new document and place the exported repeat block file on the canvas. Then duplicate that block so that the two repeat blocks are beside each other (this is how a seamless repeat is put together on fabric, wallpaper, etc.). There will be a fine semi-transparent line between the two blocks. So if you uploaded this repeat block (regardless of the file type) to a site like Spoonflower, Society6, etc or sent it to a client who requested a flattened image, it wouldn't print correctly because there is a line between the repeat blocks.
-
Alfred reacted to a post in a topic:
Pixel line on the edge of images
-
Thank you Alfred! Got it. chiang mai 1 Copy Copy.afdesign