Brittney
-
Posts
14 -
Joined
-
Last visited
Everything posted by Brittney
-
 The Problem is fixed. Turns out the contrast setting on my monitor was the culprit. For some reason increasing it causes the checkerboard pattern to go completely white, even though it is still there, hence why my screenshots looked wrong to me but correct to all of you.
- 5 replies
-
- 3
-

-
- document transparency
- transparent background
- (and 3 more)
-
After receiving all of these comments, I looked at these screenshots again, but on my phone. And everyone is right, there is nothing wrong here. But on my PC, the checkerboard area looked solid white. It's strange. I'll try calibrating the monitor. Thanks everyone.
-
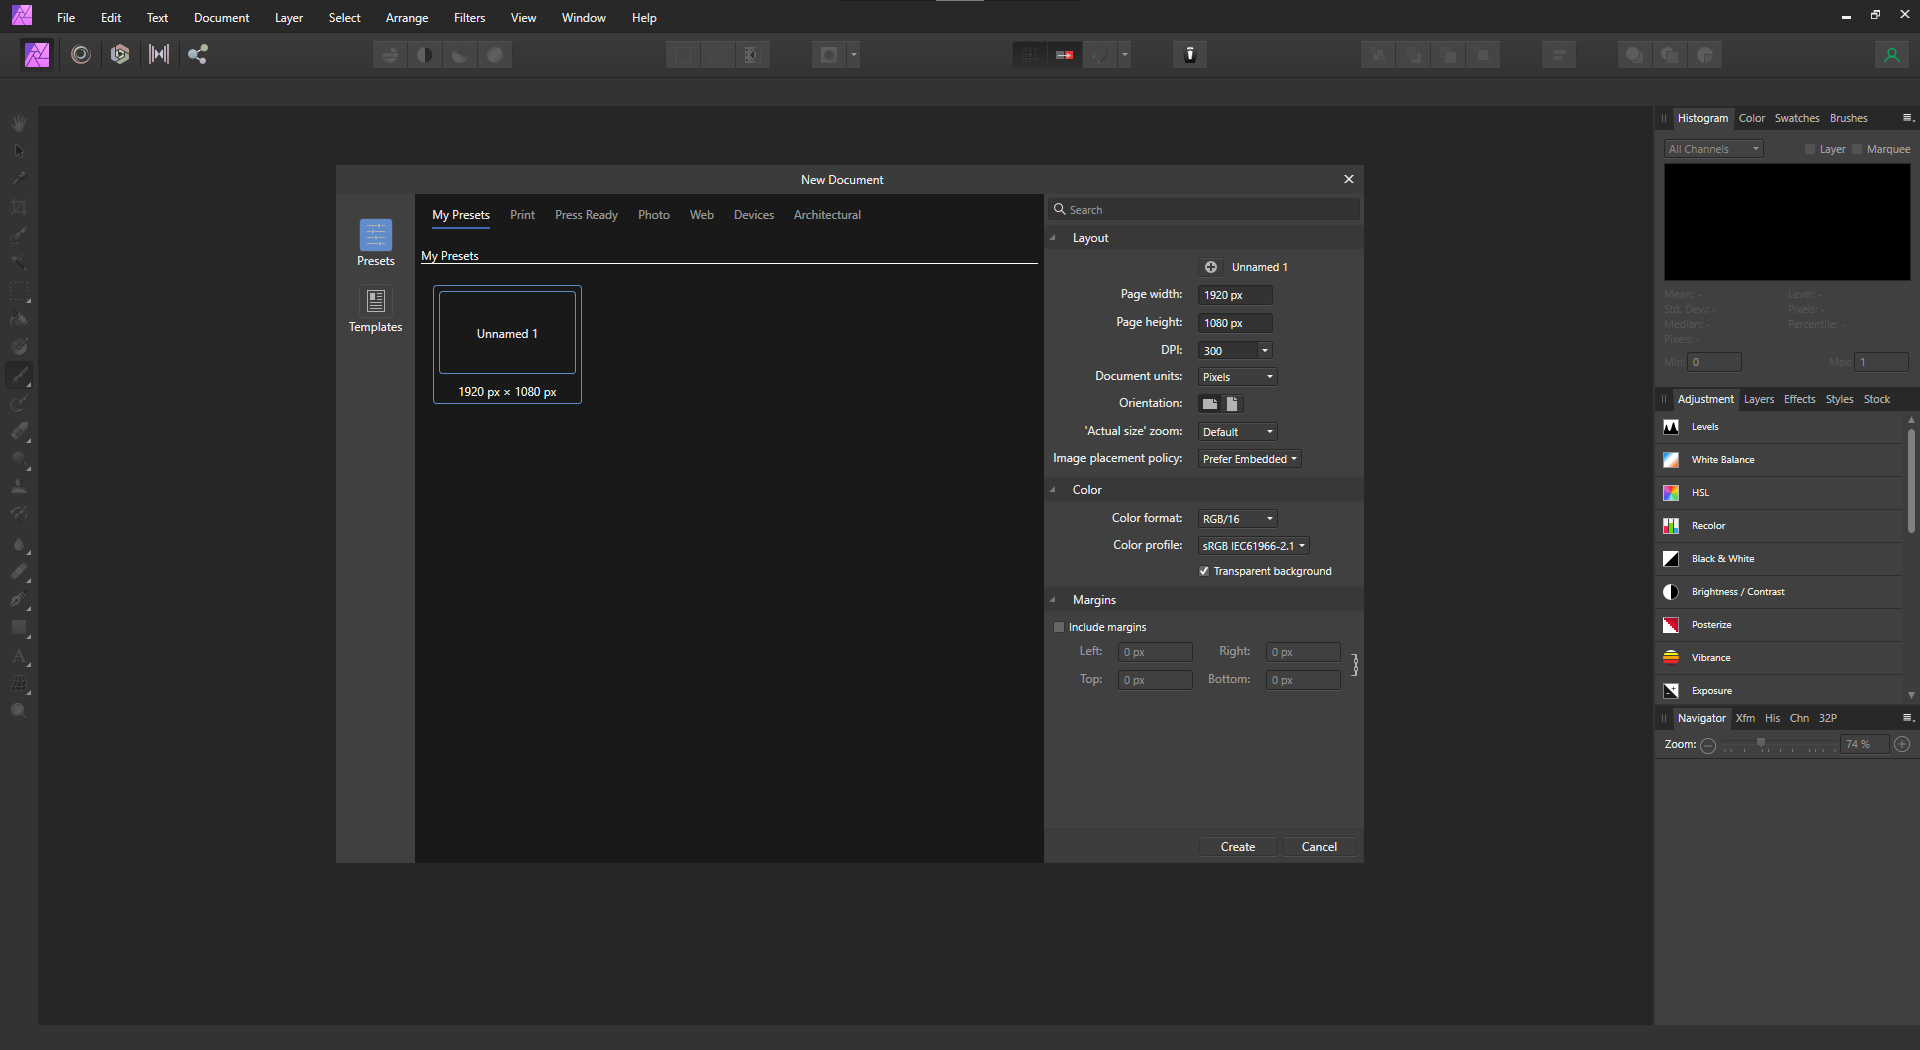
Up until yesterday, when I would create a new Affinity Photo document and check the box next to "transparent background" it would work as expected. Once the document was created, I'd see a canvas with checkers in it. However, suddenly without warning this stopped working and now all I see is a white background even with this option ticked. I tried completely uninstalling the application and reinstalling. The problem persisted. And for some reason when I would paint on the document with the brush tool, it would erase instead of draw before I uninstalled and reinstalled. Then I did the reset trick when opening the application to clear everything. The transparency problem is still not fixed, though painting now works as expected. I've also just noticed that if any other window hovers over the document area, the transparency checkers show around that windows borders in my Affinity Photo document. How do I fix this issue? I'm using Affinity Photo for Windows and I have Windows 10. I've attached 3 files: one showing my new document settings, one showing the new document and the menu option that shows its supposed to be transparent, and one showing the weird checkers that show up when a window hovers over the document.

-
Okay, that's what I needed to know. Thank you. I will have to revise my workflow to allow for this way of applying filters. Now that I understand them, I can do that. I'm so glad you mentioned mipmaps. That cleared up what you were trying to say. I now understand what the filter is doing, as I at least understand mipmaps. I feel this issue is resolved now.
-
Hi MEB, Thank you! I appreciate your response. I understand what you are saying here. Thank you for the clear explanation. Now I am left with a few questions. If you would be willing to answer them, I'd be very grateful: 1) In reference to the quoted part of your comment, does this mean that I have to be at 1:1 zoom when adding the filter to the layer/image, when merging the filter with the layer/image, or when merging the entire image as a whole? This is the only part of what you said that I'm still a little unsure about. 2) Is there a way to make the image appear exactly the same when looking at it at different zoom percentages? (Maybe this is the same question as the one below?) 3) I prefer to work so I can see my entire image most of the time because I can't really tell what's going on with the rest of the image when zoomed too 100%, especially since I tend to work with larger files. Zooming in I reserve for working with fine details. To see my work accurately this way, would I have to keep making merged copies of my layers at 100% zoom and then zoom out to view it? Would this even work? 4) I assume there is no option to change how the filters are applied (so that there is no need to zoom to 100% to view it accurately) through the preferences panel, is that right? It's something built into the program with no option to turn it on or off?
-
Yes. I mean exporting it. Sorry for the confusing. I did try that. It doesn't work. The exported image has the undesired results, every time I've tried it. In regards to the zoom thing, I feel a little confused. I've tried multiple times with differing zoom percentages to apply the effect, every time to no avail. None of the other adjustments or filters seem to have this trouble. Every thing else exports as I expect it to look. It seems to only occur with the live blur filter. Maybe I'm just missing something. The thing is I want none of the changes to be permanent until I have finished my process, then I want to merge them all into a final image, either by merging the visible layers to a new one or just exporting. That is, with my desired effect intact. The iterative process you mentioned sounds like, unless I'm mistaken, I would need to merge the adjustments as I go?
-
Thanks for your responses. v_kyr, I agree with you here, this could be it: JFisher, I'm not quite sure I understand. I get this problem regardless of how far in or out I zoom, even at 100%. I don't have this issue with anything other than merging multiple filter or adjustment layers. (It seems to happen most often when using a combination of the two.) In my personal experience, I have never seen this specific problem anywhere else but Affinity Photo. Do either of you happen to know of anyway around it that could produce the results I'm wanting when taking the image out of the program?
-
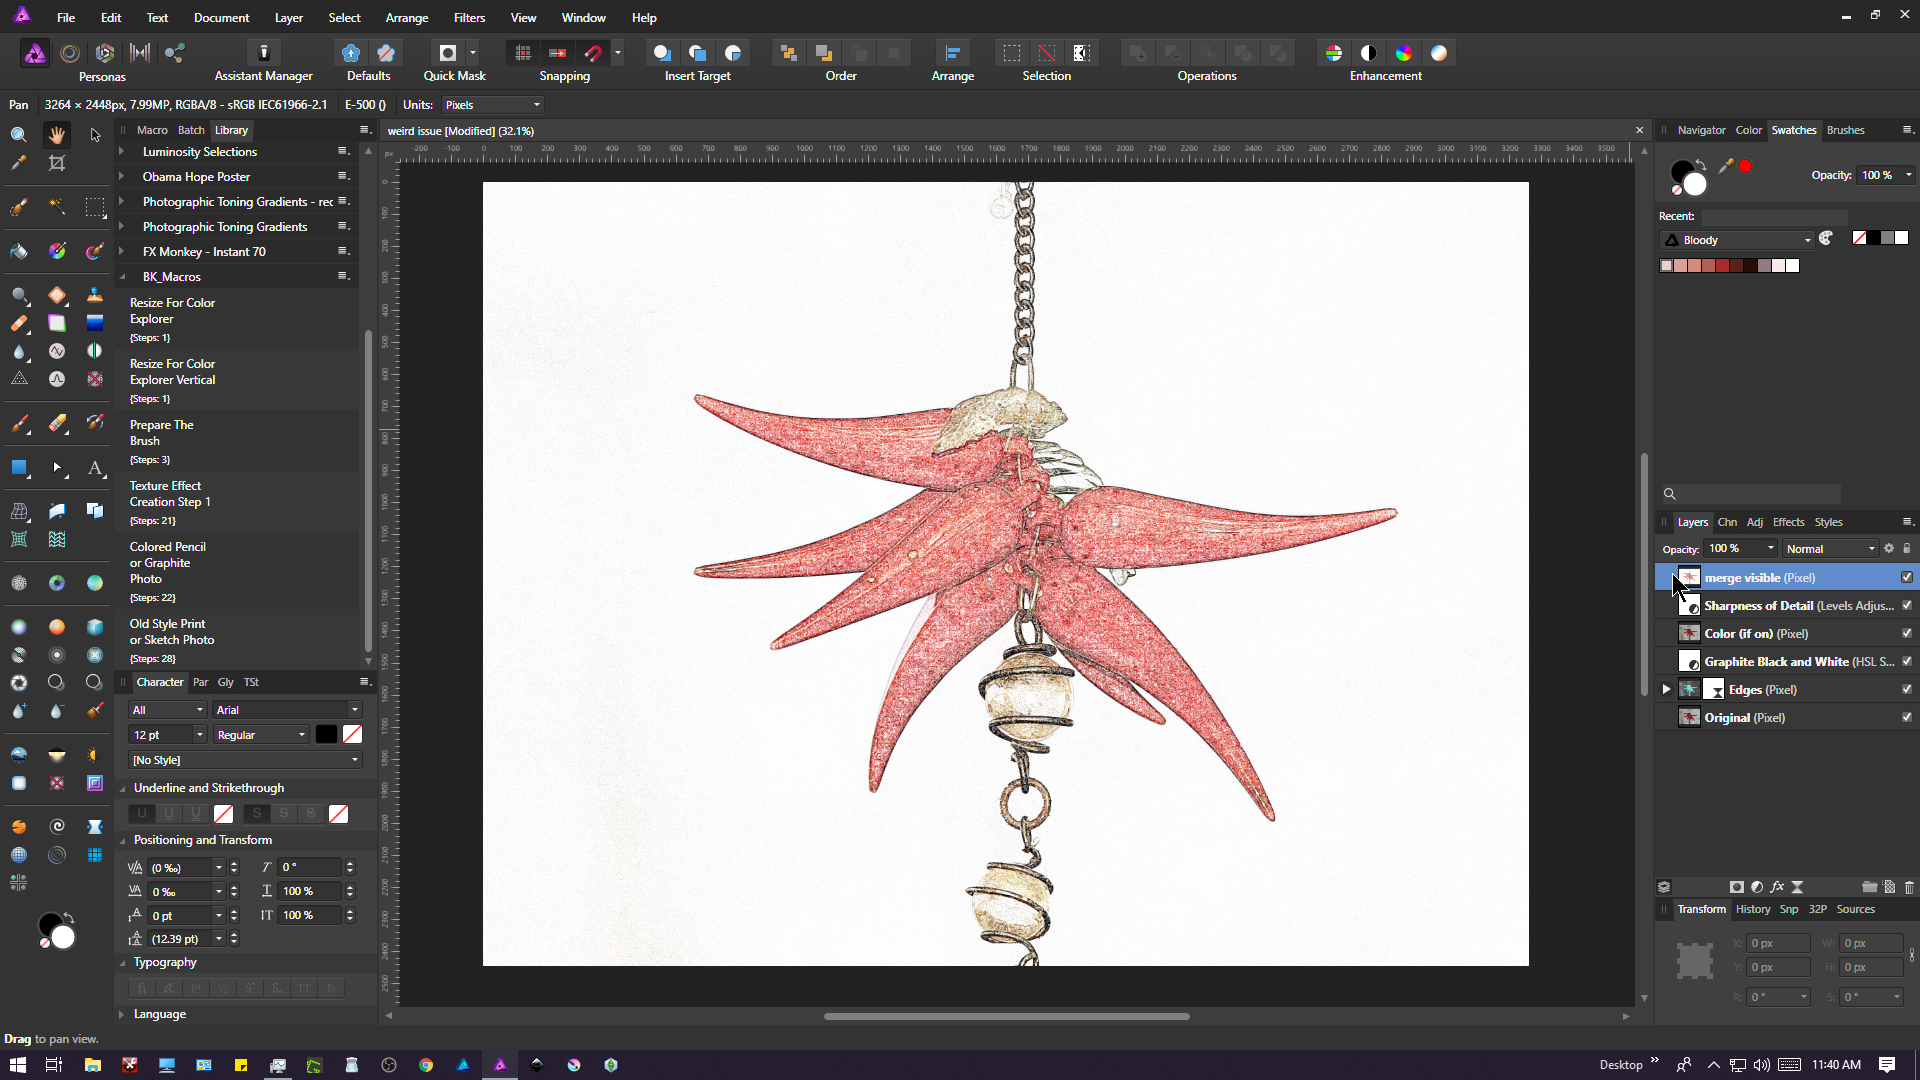
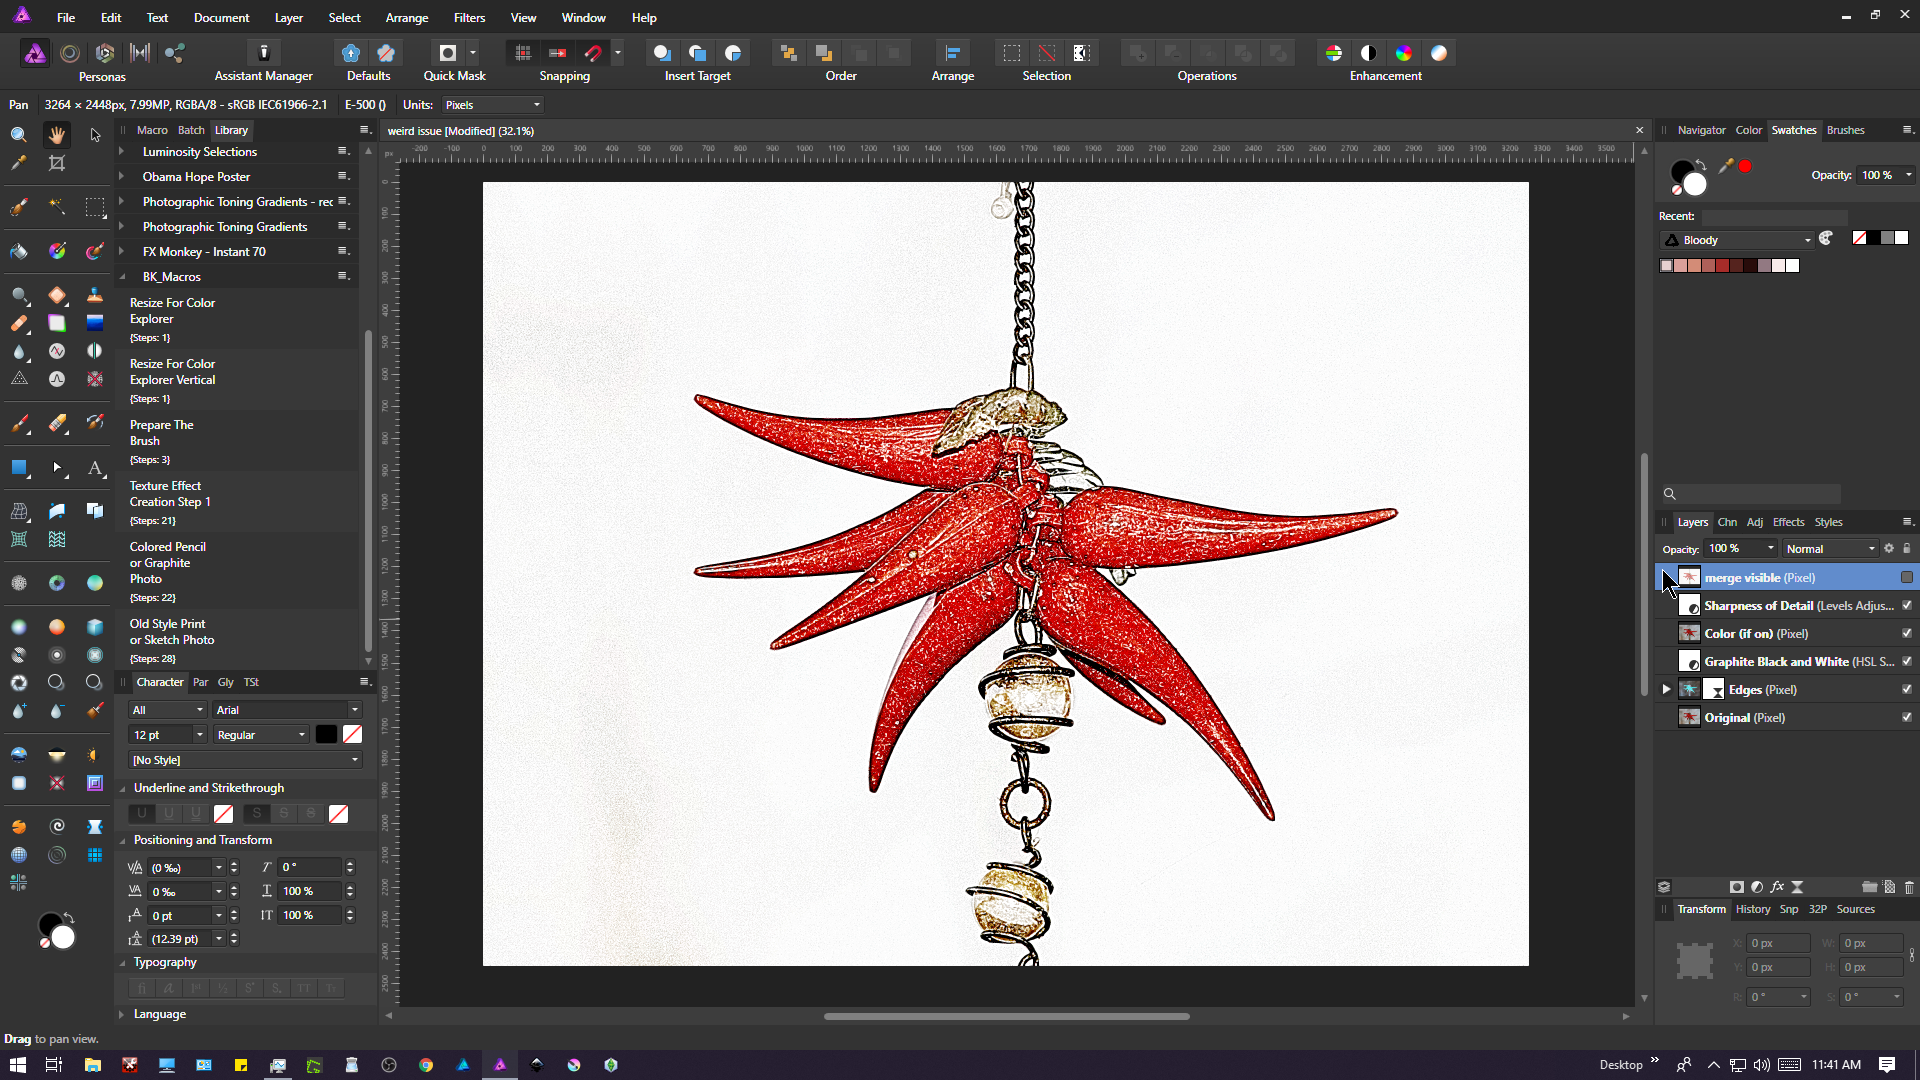
I have been dealing with a weird issue in Affinity Photo for Windows. I notice it happens a lot when I try use a few adjustments and/or live filters and then flatten my document or make a new layer from a merged copy (Layer > merge visible). What I see inside of Photo looks far different once I've made a merged version than it did as layers. This happens when I export the image, with or without merging the layers, as well. This is very frustrating as I want my image to appear as I have it, before merging or exporting. I zoomed pretty far in to see if the pixels looked the same when turning the merged layer off and on, but there is a noticeable difference between the two versions. I also tried zooming way out, and that makes it even more obvious. I have not yet found a solution or workaround for this. Any help is very appreciated. Attached files: 2 images, one showing what happens when I merge, and one showing what the image is supposed to look like. I've also attached my project file encase it is needed. weird_issue.afphoto
-
Thank you so much.
-
Thank you for your reply. I didn't know there was a thread about it. Hopefully someone knows of a way around this and fills me/us in on it. Until then, I guess I will just have to use a different program to achieve the effect I want. I agree, I hope it gets fixed as well. It's quite misleading... at least it is for me.
-
Hello Affinity Forums! This is my first post here, so I'm not sure if this is the right place for my question. I'm sorry if it isn't. I am still kind of new to Affinity Photo and I'm looking for a way to combine a photo with a texture as I can do with programs like Gimp, Paintshop Pro, and Photoshop. Essentially, I have been able to add the texture over a photo to work sort of like a bump map. It blends nicely and makes the photo wrap around the visual texture. So, for example, if I apply a crumpled paper texture to a photo, the photo then looks realistically crumpled. (See attached examples.) I usually did this with blend modes, especially if I used the High Frequency layer from a separation frequency. Or, in Paintshop, I could use the displacement filter. The problem is that in Photo, the blend modes seem to do something different than they do in other programs and it doesn't map the texture to the image the way I expected. I tried the displace filter, but it seems to just add a bunch of scattered "noise" instead of displacing to the actual texture. Am I doing something wrong? Or is there a completely different way to do this in Affinity Photo? I have looked everywhere and still haven't found a solution. The suggestions I've tried just don't seem to work. I really don't want to have to finish my work in a different program, as that breaks up my workflow. Thank you for your time and efforts in answering my question. Examples.zip