johanna
-
Posts
12 -
Joined
-
Last visited
Everything posted by johanna
-
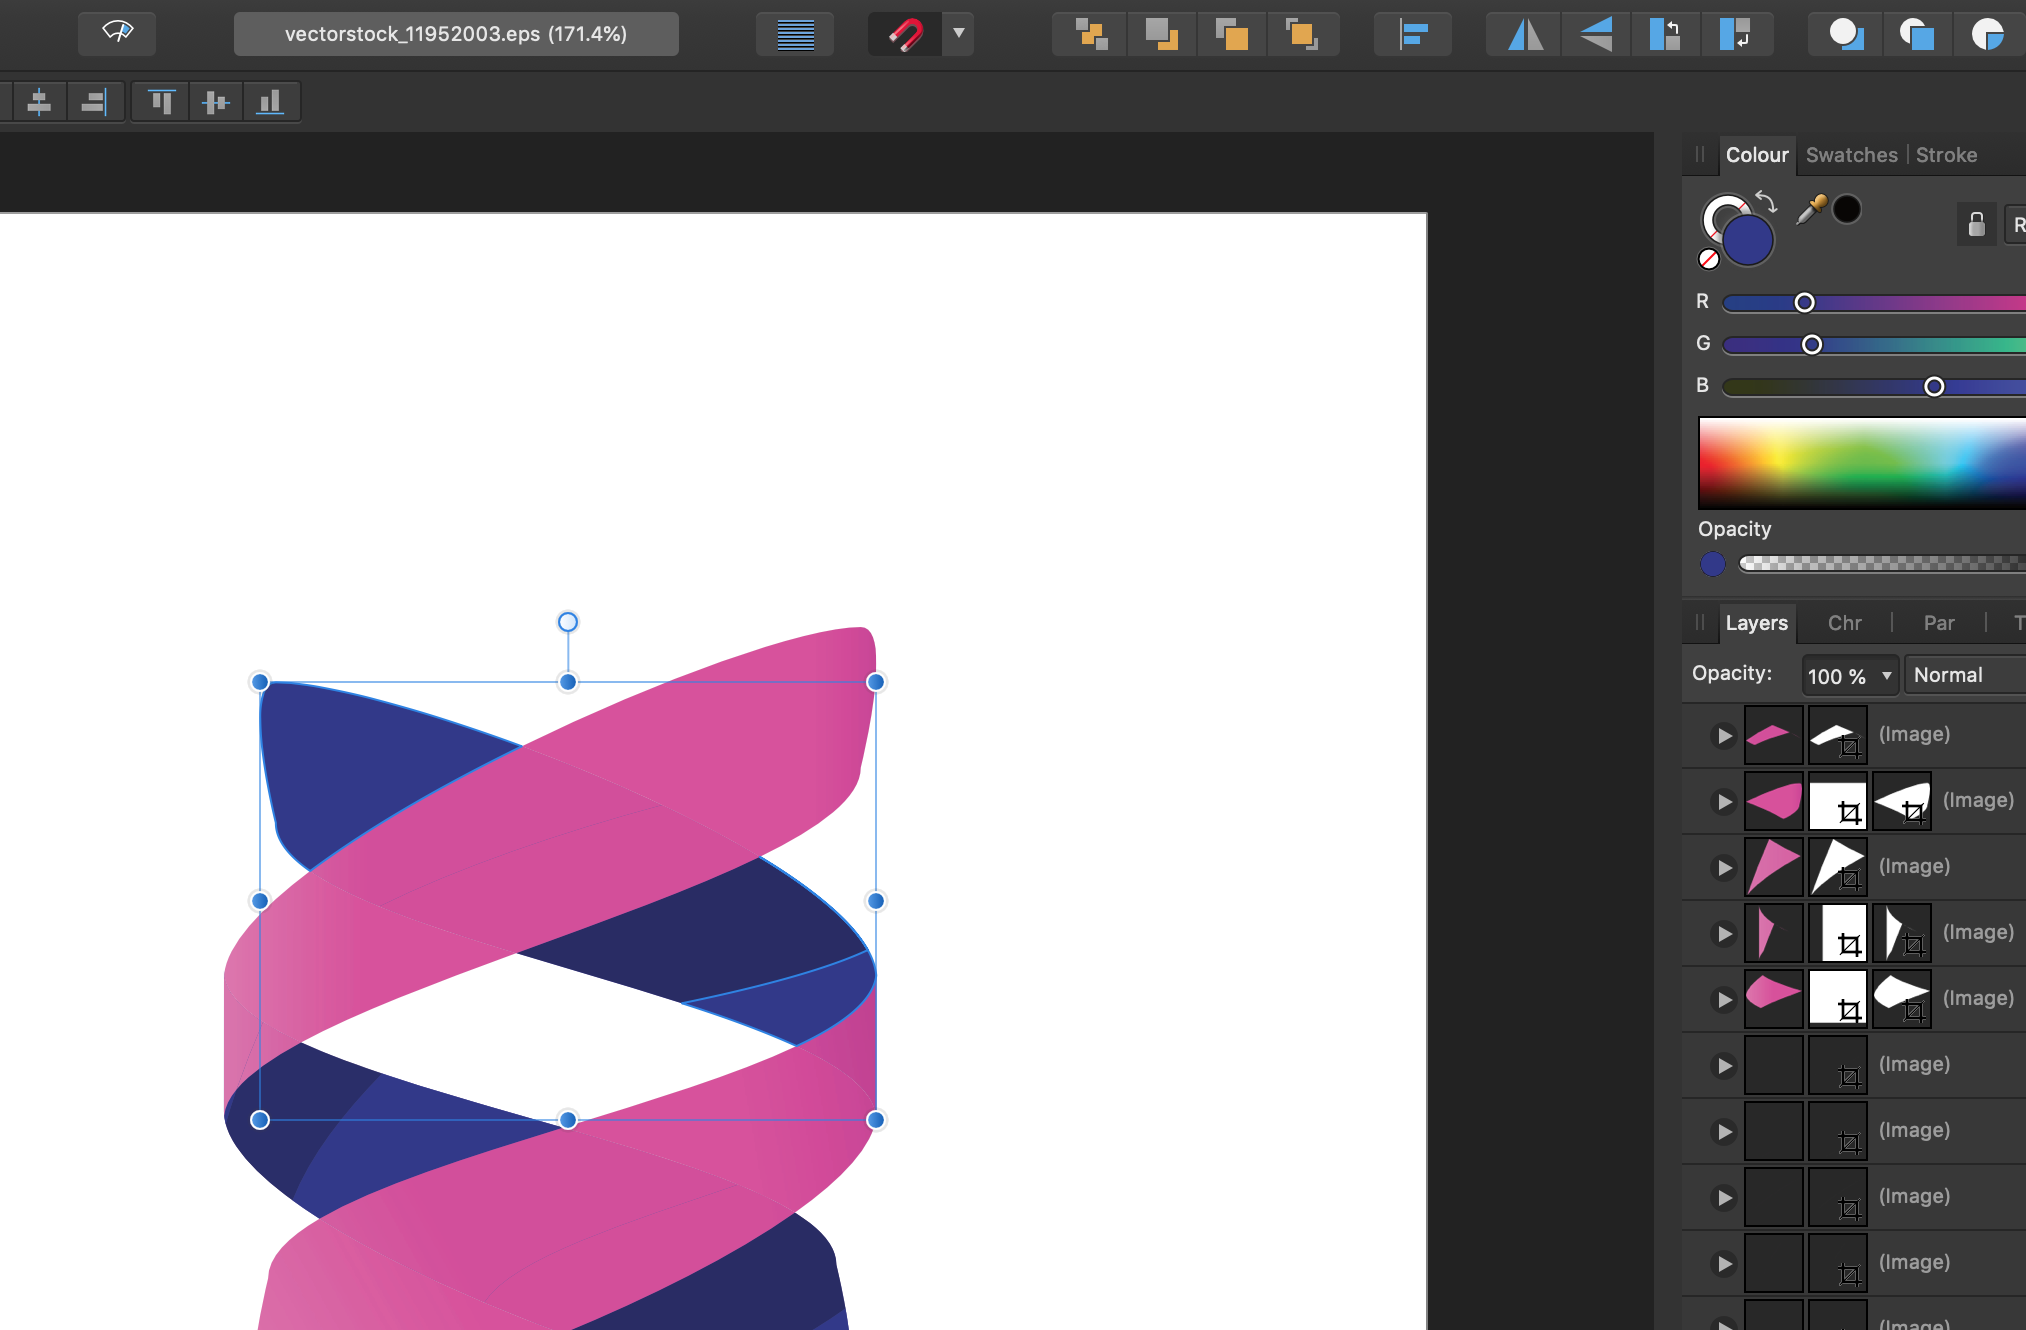
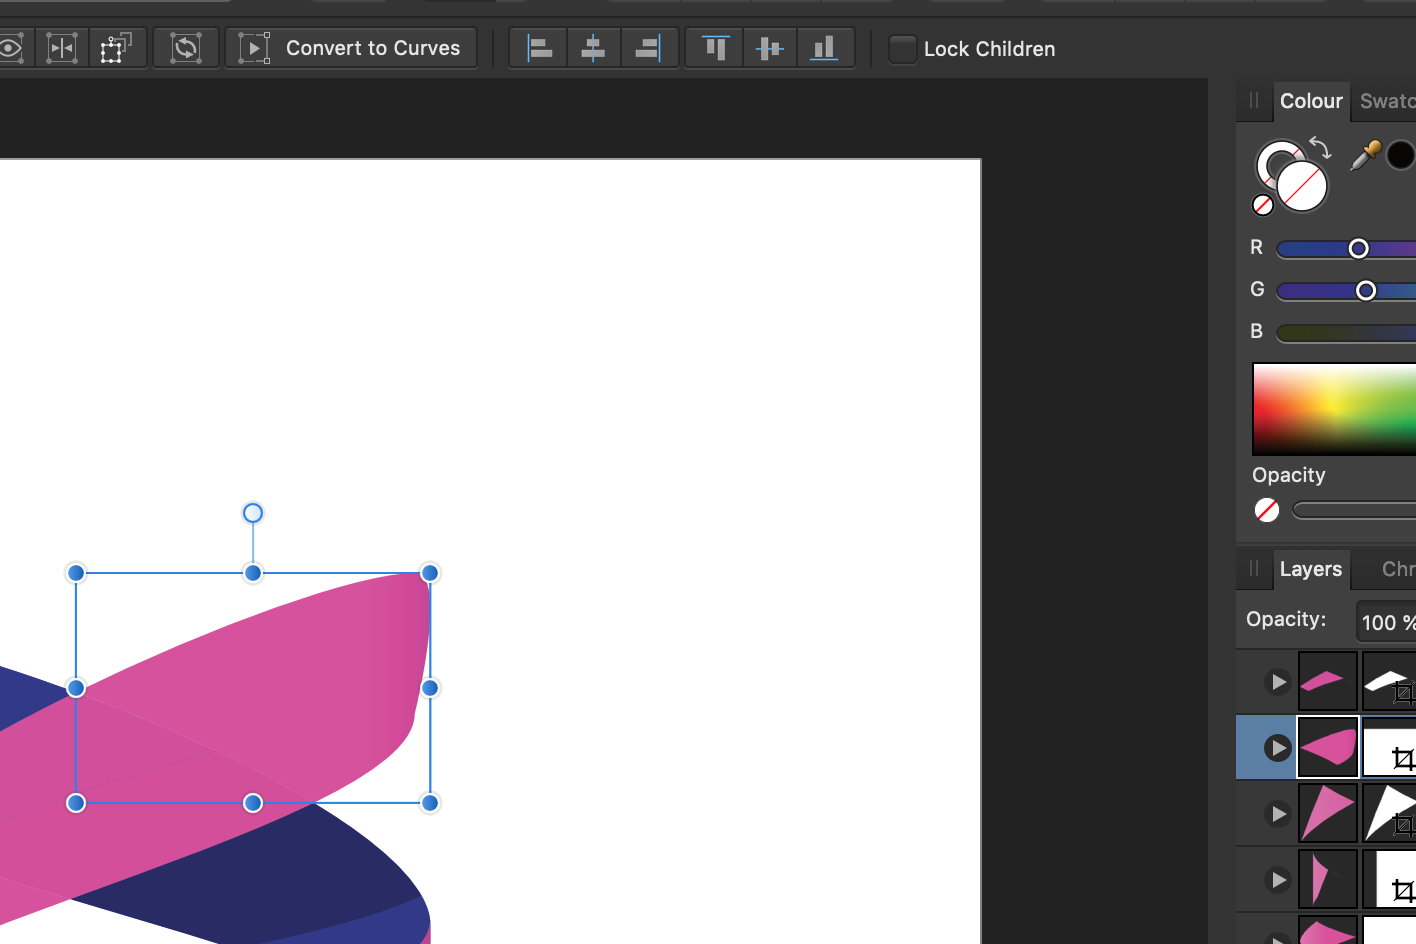
Hi there, I bought this stock vector image and want to change the pink to yellow. The blue shapes are easy – when I select them the slides in the RGB panel move accordingly (see 01.png) and I am able to adjust them, just like I expected. However, when I select the pink shapes the RGB panel behaves as if their transparent (see 02.png)? Where does the pink even come from? I tried to fill the pink parts with yellow by simply moving the slides, and it worked somewhat, but the shape edges shine through in a way that doesn't look good (see 03.png), and the nice semi-transparent effect is lost as well. I must be able to change it in a better way. How?

-
Exported PNG & JPG are blurry
johanna replied to lusyo's topic in Pre-V2 Archive of Desktop Questions (macOS and Windows)
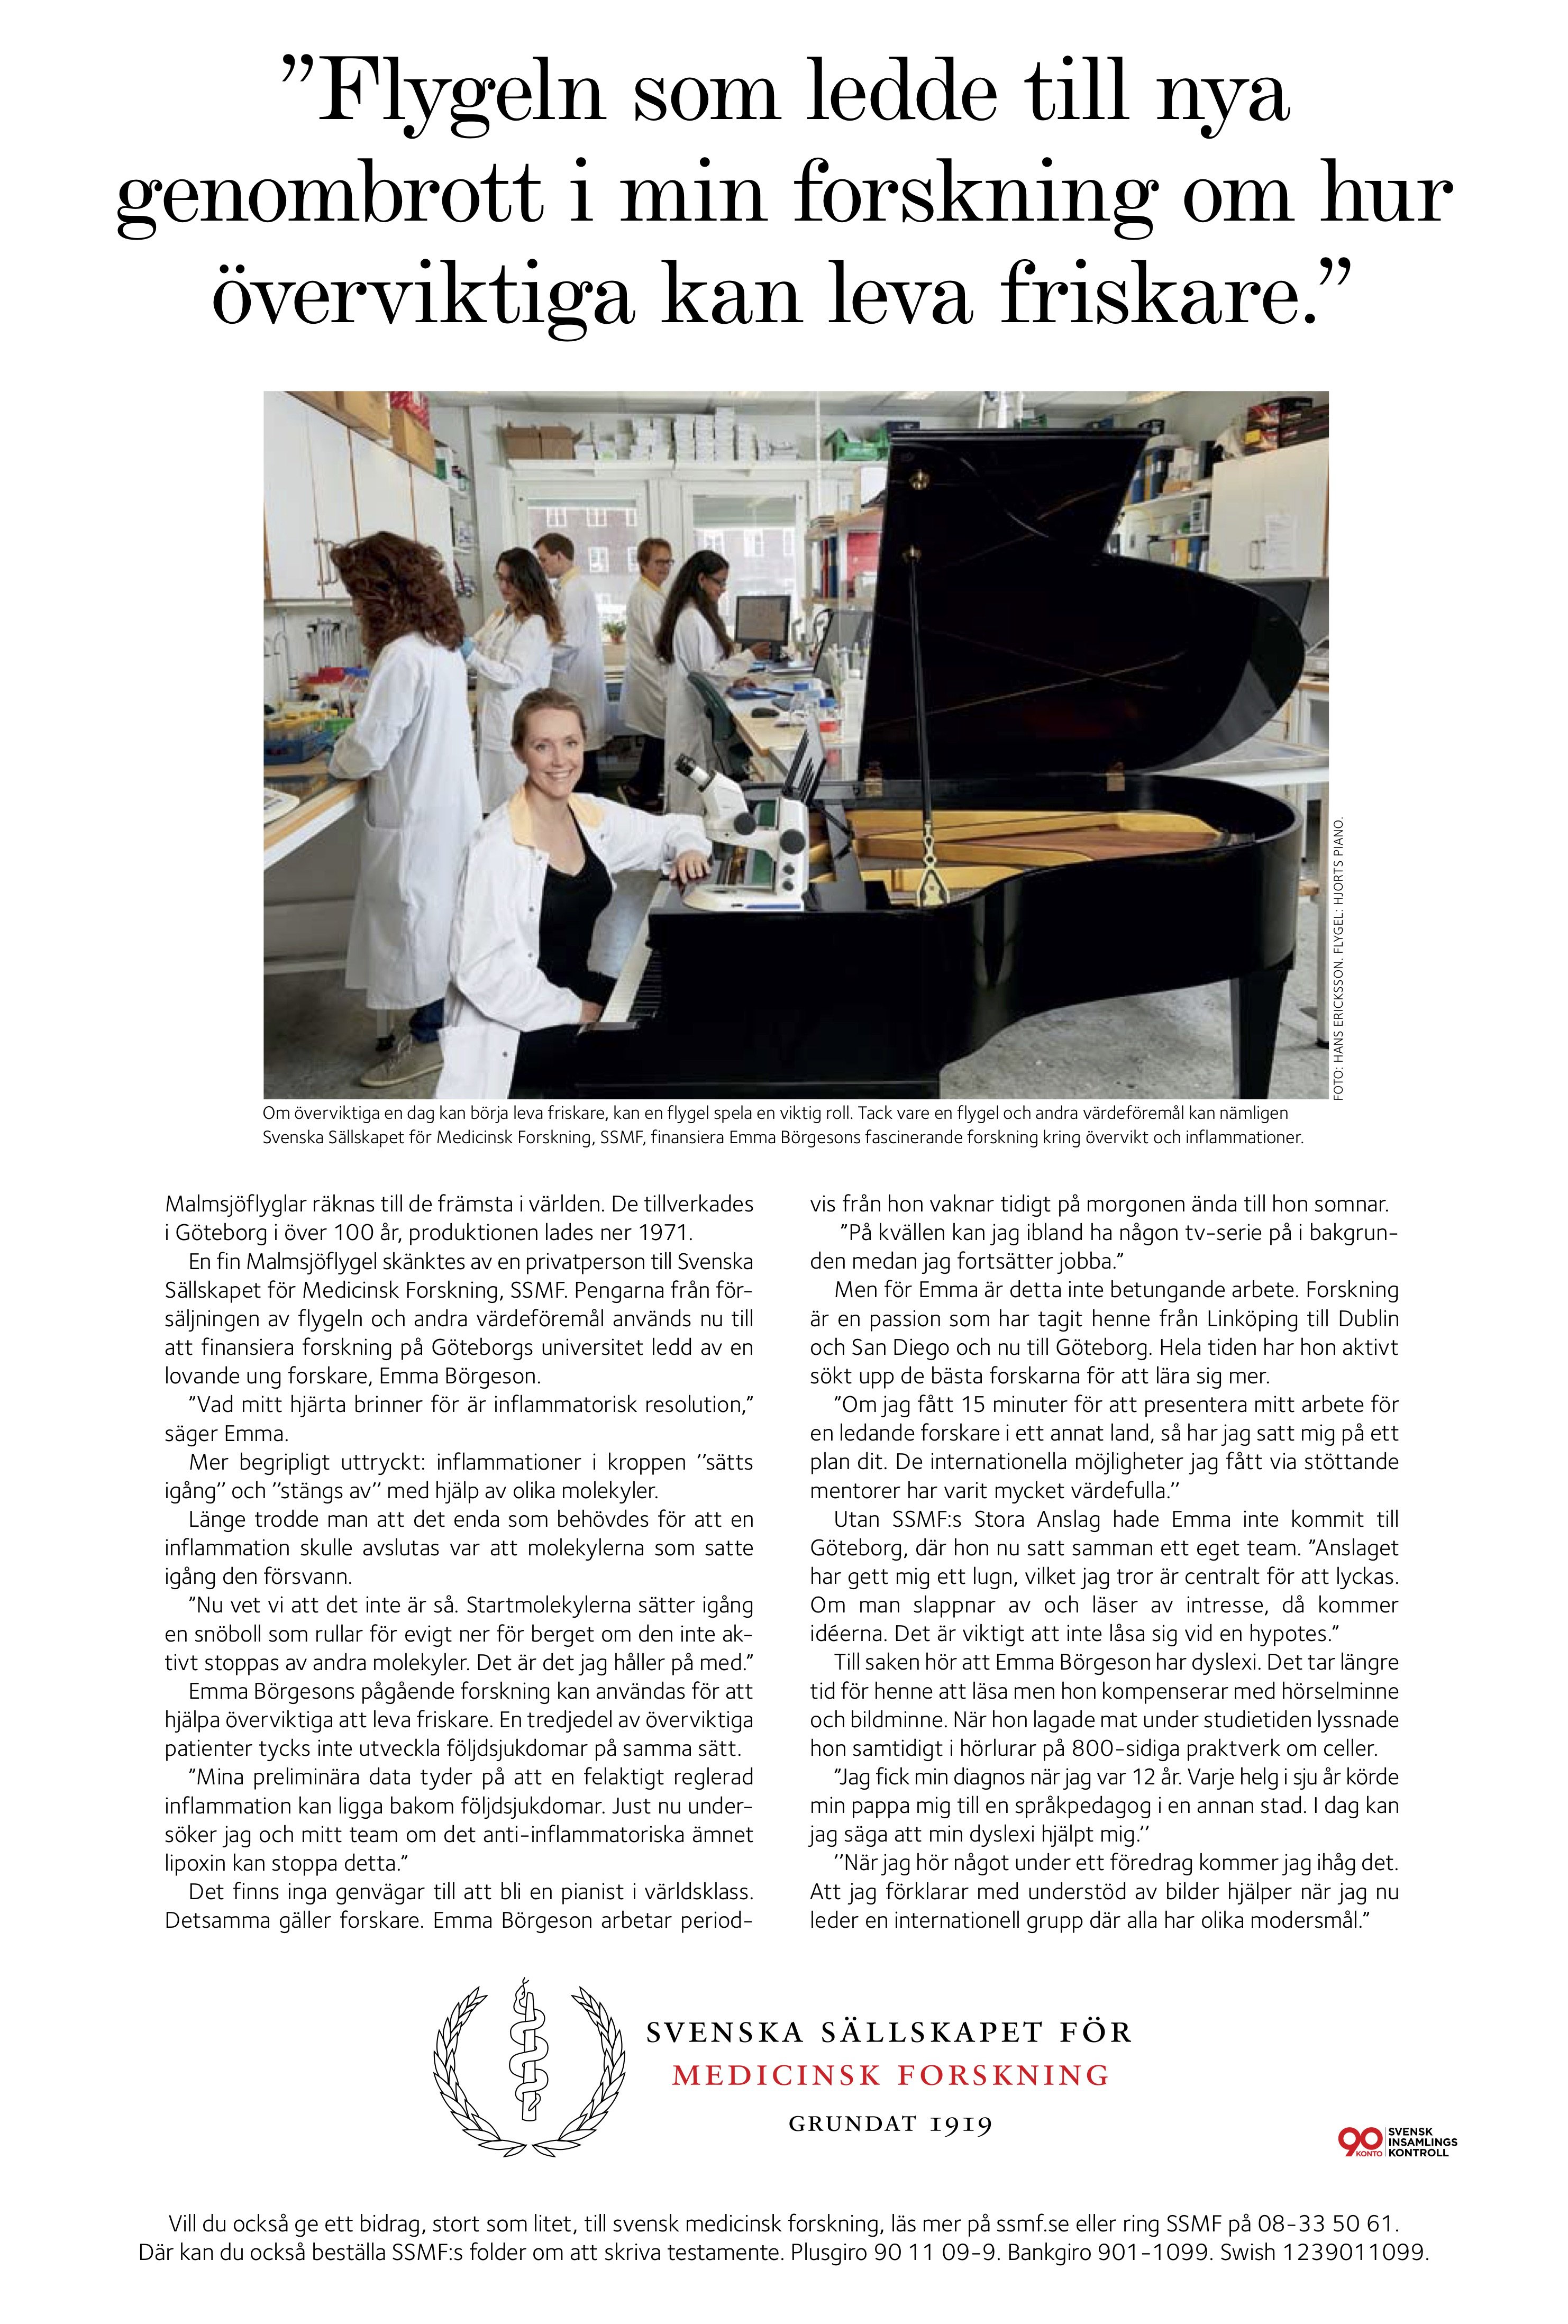
I think both resample methods work, but resampling twice gives a blurry export when combined with altering the canvas size. And because both resizing the image before export and exporting require resampling, resizing the canvas + resizing the image + exporting = blurry image. My test image is supposed to be a thumbnail on a website. It's not supposed to be readable, but it's supposed to not look awkward. I can at least myself clearly see the difference between the blurry one and any of the sharp ones, small as they are, and so can my client, who's now happy with the sharper image. All is well and I can continue to use Affinity Photo for exports of this kind. By the way, the ad is for a medical research fund. A person gave their grand piano to the fund so that the fund could sell it and use the income to sponsor a lot of awesome medical work. The placement of the piano in the lab is of course just meant to grab the reader's attention. -
Thanks, but it doesn't seem to be what I'm looking for. Let's say I have a white 200 px x 200 px image. When I choose pink as the matte custom colour and increase the canvas to 250 px x 250 px, I would expect there to be a 25 px thick pink border around the otherwise white canvas, but that doesn't happen. When I choose pink as the fill custom colour, the whole canvas is filled with pink right away. I don't want that either. However, if I increase the canvas size further the extra pixels are also filled with pink, which is good.
-
Open PDF with embedded fonts?
johanna replied to johanna's topic in Pre-V2 Archive of Desktop Questions (macOS and Windows)
Too bad! I hope it will be fixed in a future version. -
In Photoshop, before I enlarge the canvas I can choose what colour to fill the extra pixels with. How can I do this in Affinity photo? This far, I've first enlarged the canvas and then manually filled the extra pixels using either the the Flood Fill or Paint Brush tool, but there ought to be a better method. Brush painting is tedious, and in Photoshop, using the Paint Bucket tool sometimes has unintended effects on nearby elements, and I don't want to risk that happening in Affinity Photo.
-
I work at a web agency, and in my job I often get to create or fine-tune web content where the source material is sent to me by clients. One client often sends me PDFs, and I'm supposed to create a thumbnail image out of the PDF cover and link that to the PDF on the website. I finally found out how to actually export a sharp image (see https://forum.affinity.serif.com/index.php?/topic/35497-exported-png-jpg-are-blurry/&page=2&tab=comments#comment-361625), but before I could start playing around with the JPEG I actually had to export it from the PDF. This didn't work in Affinity Photo, because the app wanted me to replace the fonts in the PDF with other fonts (see pdf_import.png), which made the PDF look totally weird (and even more weird when I unticked the box "Replace missing fonts"), so instead I used the Mac app called Preview to export the PDF document into an unaltered JPEG image. Is there really no option in Affinity Photo to import/treat a PDF as a rasterised image using the fonts embedded in the PDF?
-
Exported PNG & JPG are blurry
johanna replied to lusyo's topic in Pre-V2 Archive of Desktop Questions (macOS and Windows)
The fact that I couldn't properly export a simple, cropped JPEG was driving me mad, so I spent the good part of today exporting and comparing all possible sorts of combinations of PNGs and JPEGs in order to avoid having to buy another app. This is what I found: If you a) change the canvas size, and b) resize the image (thus resampling the image – resampling is a requirement when resizing) before exporting it, thus resampling the image twice (since resampling is also required during export), the result will be blurry. In simpler terms: canvas resize + image resize = blurry export. If you a) change the canvas size, and b) leave the image unresized and unsampled until you export it (in which step resampling is required), the result will be sharp. In my example, when I chose Nearest Neighbour or Lanczos 3 (non-separable) during export it even became too sharp. If you need to resize the image, you can still do it in the export dialog. This has the added benefit of keeping the original image in its original size. The result will be the same whether the original image is a JPEG or a PNG. The result will be the same whether you change the DPI of the image or not. The result will be the same whether the canvas size is changed before or after the resampling is done. The result will be the same whether the exported image is of the same format as the original or not. With my image, I found that these resampling combinations also kept the image sharp, but all other combinations made it either blurry or too sharp: Bicubic before export + Nearest Neighbour during export Bilinear before export + Nearest Neighbour during export Lanczos 3 (separable) before export + Nearest Neighbour during export Compare attached images: original.jpg Untouched, 300 DPI JPEG. blurry.jpg Canvas enlarged 15 px on each side. Image resized to 72 DPI, which made the height adjust automatically from 4423 px to 1061.5 px. Height manually adjusted to 300 px before image resampled using the Bilinear (default) method. Image exported without size change using the Bilinear (default) resampling method. The method above is the method that a lot of people seem used to from Photoshop. It has always produced sharp results in Photoshop for me. sharp-with-compensated-size.jpg Canvas enlarged 15 px on each side. Image resized to 72 DPI, which made the height adjust automatically from 4423 px to 1061.5 px. Height manually adjusted back to 4423 px before image resampled using the Bilinear (default) method. Image resized from 4423 px to 300 px height in the Export dialog, then exported with Bilinear (default) resampling method. sharp-without-compensated-size.jpg Canvas enlarged 15px on each side. Image resized to 72 DPI, which made the height adjust automatically from 4423 px to 1061.5 px. Image resampled without further height adjustment using the Bilinear (default) method. Image resized from 1061.5 px to 300 px height in the Export dialog, then exported with Bilinear (default) resampling method. In the two small sharp images, the woman by the piano looks exactly the same even when zoomed in closely, but the text is a tiny bit smoother in the one without compensated size. I think which of these two alternatives is the best is a matter of preference from case to case.
-
Nice! Thank you.
-
I'm using the latest version of Affinity Photo (1.6.7) on the latest version of macOS High Sierra (10.13.6). I have a JPEG image (see 300dpi.jpg) with a DPI value of 300. When I go to Document > Resize Document… the DPI value is, as expected, listed as 300. If I change the value there to 72 DPI and export the image as a new JPEG (see 72dpi.jpg) and open up that image – even if I close and restart Affinity Photo – the DPI value under Document > Resize Document… still says 300 instead of 72. When I load the new supposedly 72 DPI image into GIMP and try the corresponding function there, it does say 72 DPI. This must be a bug, right? Or where else can I see the actual current DPI of the image?
-
Thanks for all your replies. Since I have a Mac, I think my best shot might be to just download Photoshop Elements and use its Divide Scanned Photos function. I will try to use the batch script at https://forums.adobe.com/message/9287004#9287004
-
Thanks so much for your quick and friendly replies! Do you mean that Affinity could "see" the whitespace and crop the photo to the correct size automatically or would I need to specify a ratio beforehand? I guess both alternatives would be fine, better than nothing.
-
I'm new to Affinity and I'm currently in the process of digitalising my family's old photos – thousands of them, in a few different sizes. I want to scan them in a high resolution and to save time I'd like to put three of them in the scanner at a time and then after scanning all photos preferably have Affinity automatically 1) find the three photos in each images 2) slice each of the three photos into a separate image 3) straighten up the photo in each image 4) crop each image so there's no whitespace around the photo. Is this doable? If so, how? (My scanner can of course auto crop, but it doesn't do it perfectly and I only think it works with one photo at a time.)