

tterihaj
-
Posts
15 -
Joined
-
Last visited
Posts posted by tterihaj
-
-
12 minutes ago, gdenby said:
Hi, tterihaj,
The file confuses me some. It starts w. the main wedge. It seems to be close to 45 degrees, but not quite. I can't tell, but I think it is 44.2 +/- .05. That makes every thing hard to line up.
Also, the "measures" are oddly constructed. Seems to be a bunch of thin overlapping rectangles. Polygons w. corner nodes overlapping should allow better placement of object on upper layers.
I have to take care of something else just now, but will try to get back in an hour or so with some solutions.
Ok thank you. I think i could fix it with circle zig zag shape as described above. but i have problem forming circle zig zag shape...
-
Thank you for all usefull info and help. I tried making this zig zag lines seamlessly into my design but i just can not get it. If anyone is kind enough to help me out here is the file.
-
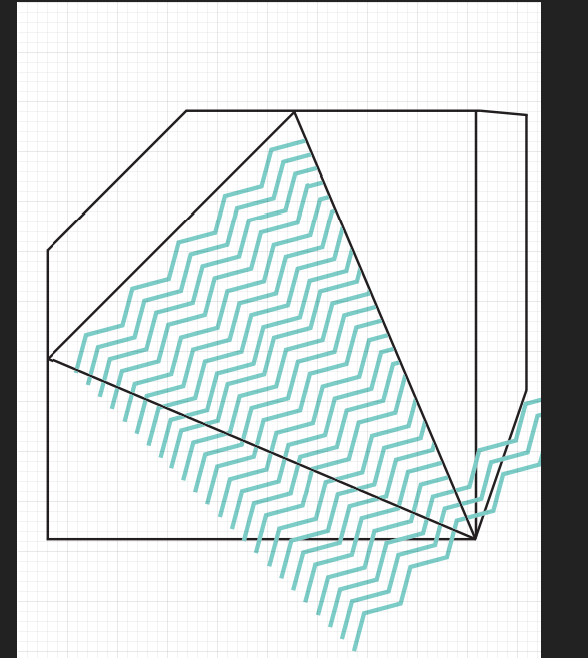
Thanks for help firstdefence. But from pictures below You can see what i have problem with. I dont get smooth transition of zig zag lines on other cones face. Any idea how to fix that?

-
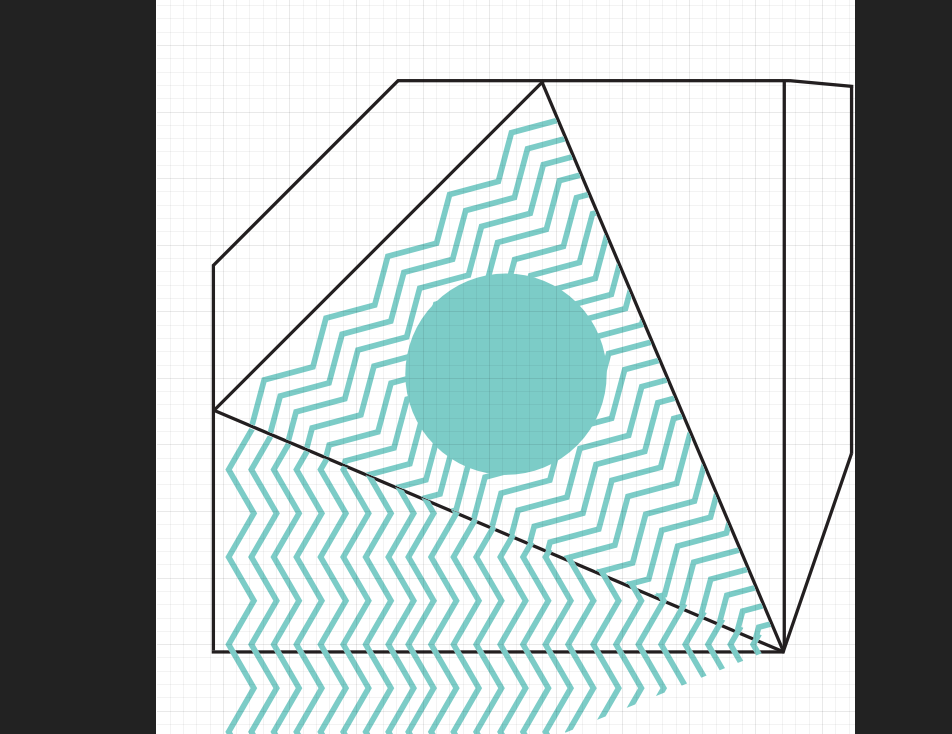
Hello. I am trying to create design from picture above. I have problem with zig zag lines. I want to get effect like on screenshoot 1.
Screenshoot 2 is showing my package template. I would like to get zig zag lines go smoothly from one side of the package to another one.
Any ideas how i could make this work?
-
Just now, R C-R said:
Edit how? Do you want a single shape filled with a single color (or gradient) & an overlay of unfilled triangles (just strokes) creating the triangulated pattern, or something else?
I would want an overlay of unfilled triangles (just strokes) creating the triangulated pattern
-
-
Just now, Alfred said:
I don’t think you should actually be using ‘Add’ at all for this! If I’ve understood what you’re trying to do, you should simply select all of the triangles and group them: any fill that you subsequently choose will be applied to the group as a whole.
Yes i did that already. I grouped all triangles. But If i would sell such design, wouldnt it all triangles need to be in one single shape which you could than edit with pen tool. I am sorry i can not explain it better but i hope you get what im trying to say.
-
17 minutes ago, Alfred said:
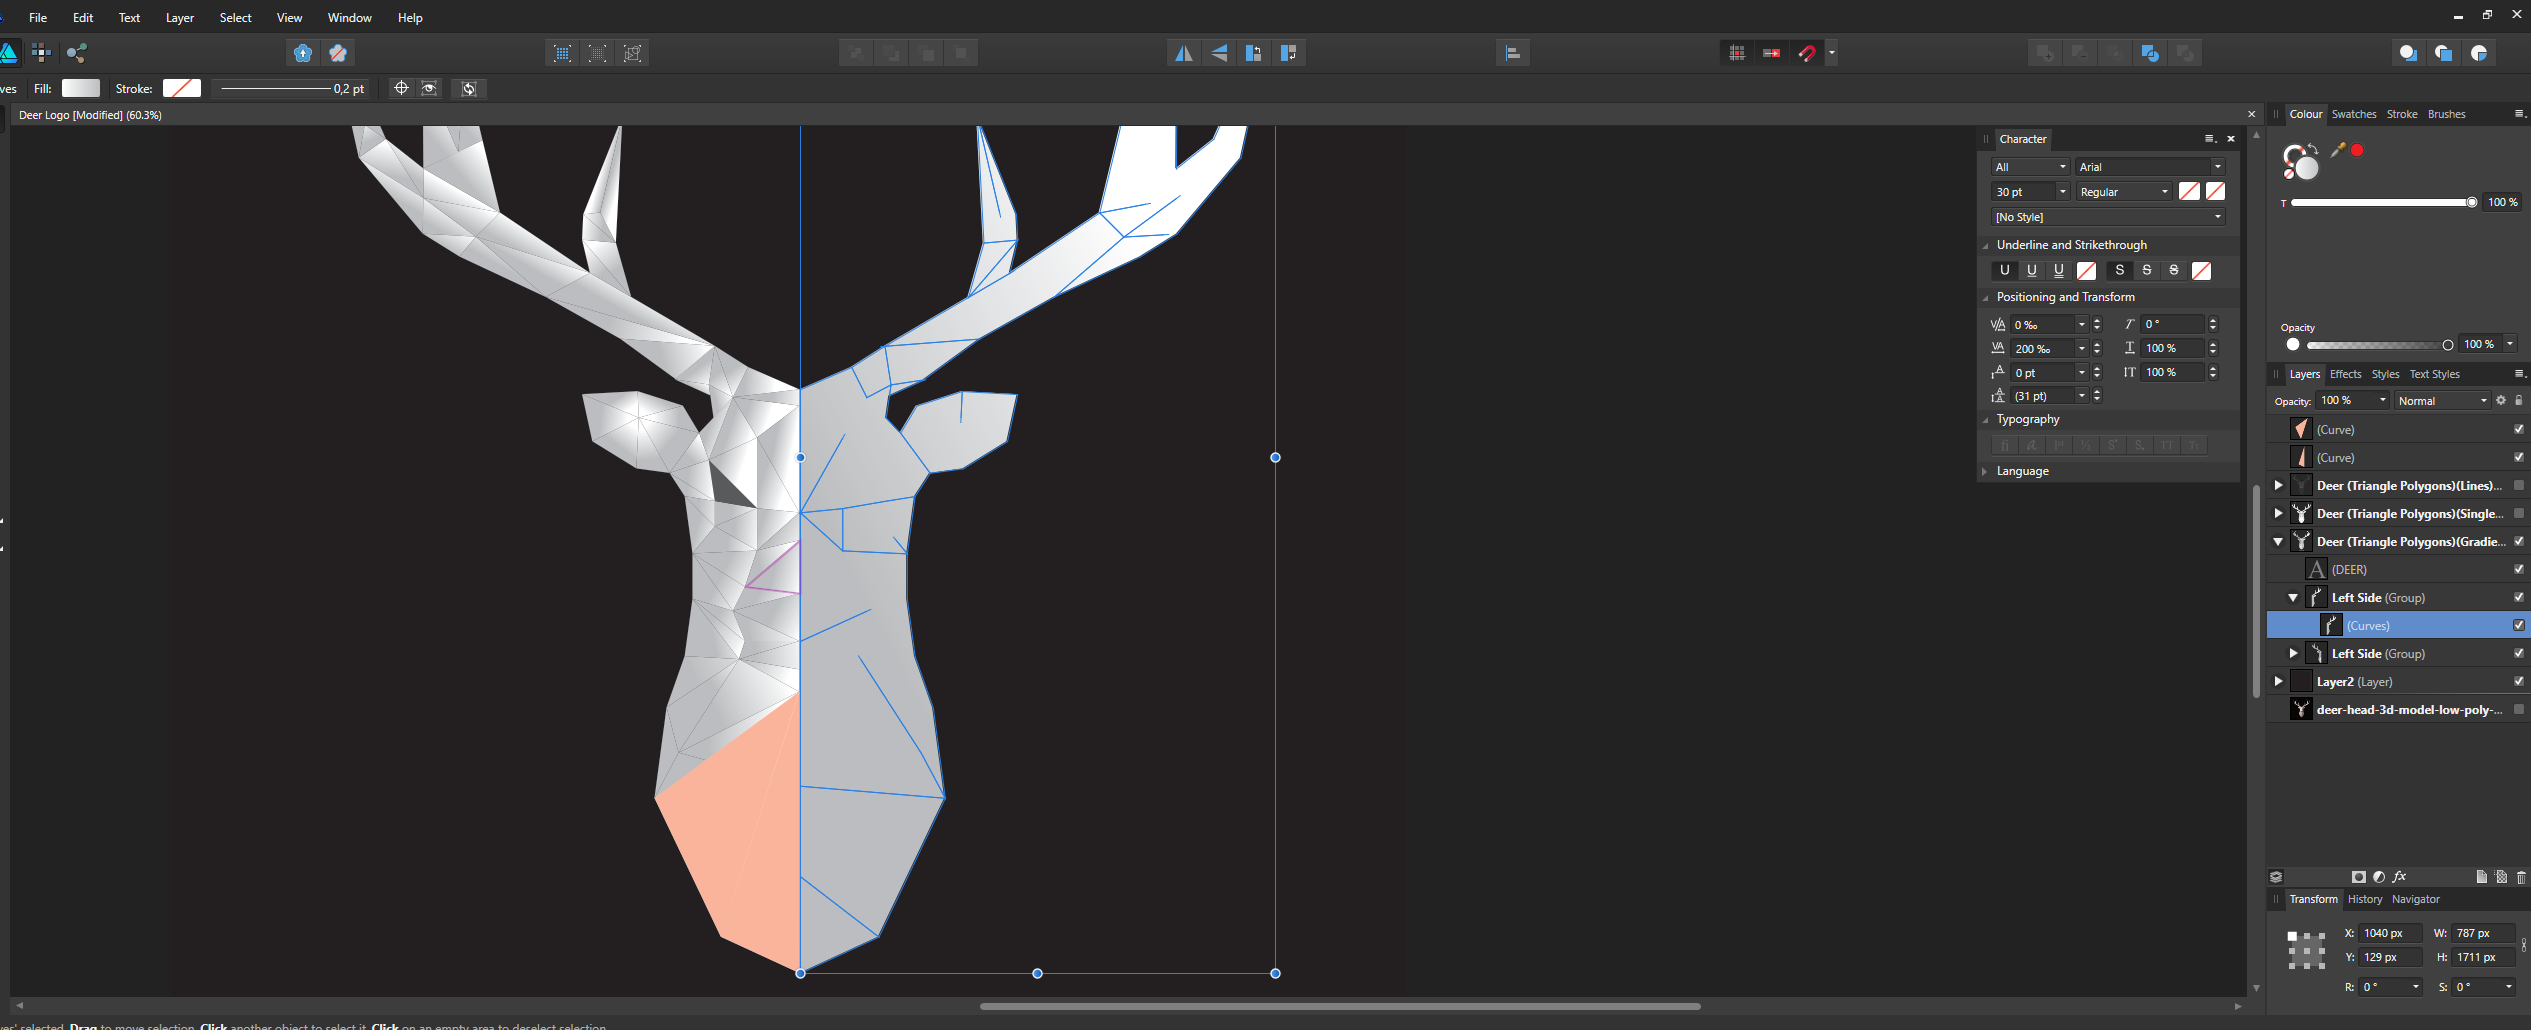
The lines are gone because the triangles are gone! If you want to adjust the shapes, there’s no way to do it after you’ve added them together: you have to go back to the original triangles, make your adjustments, create copies as described earlier and then add them together again.
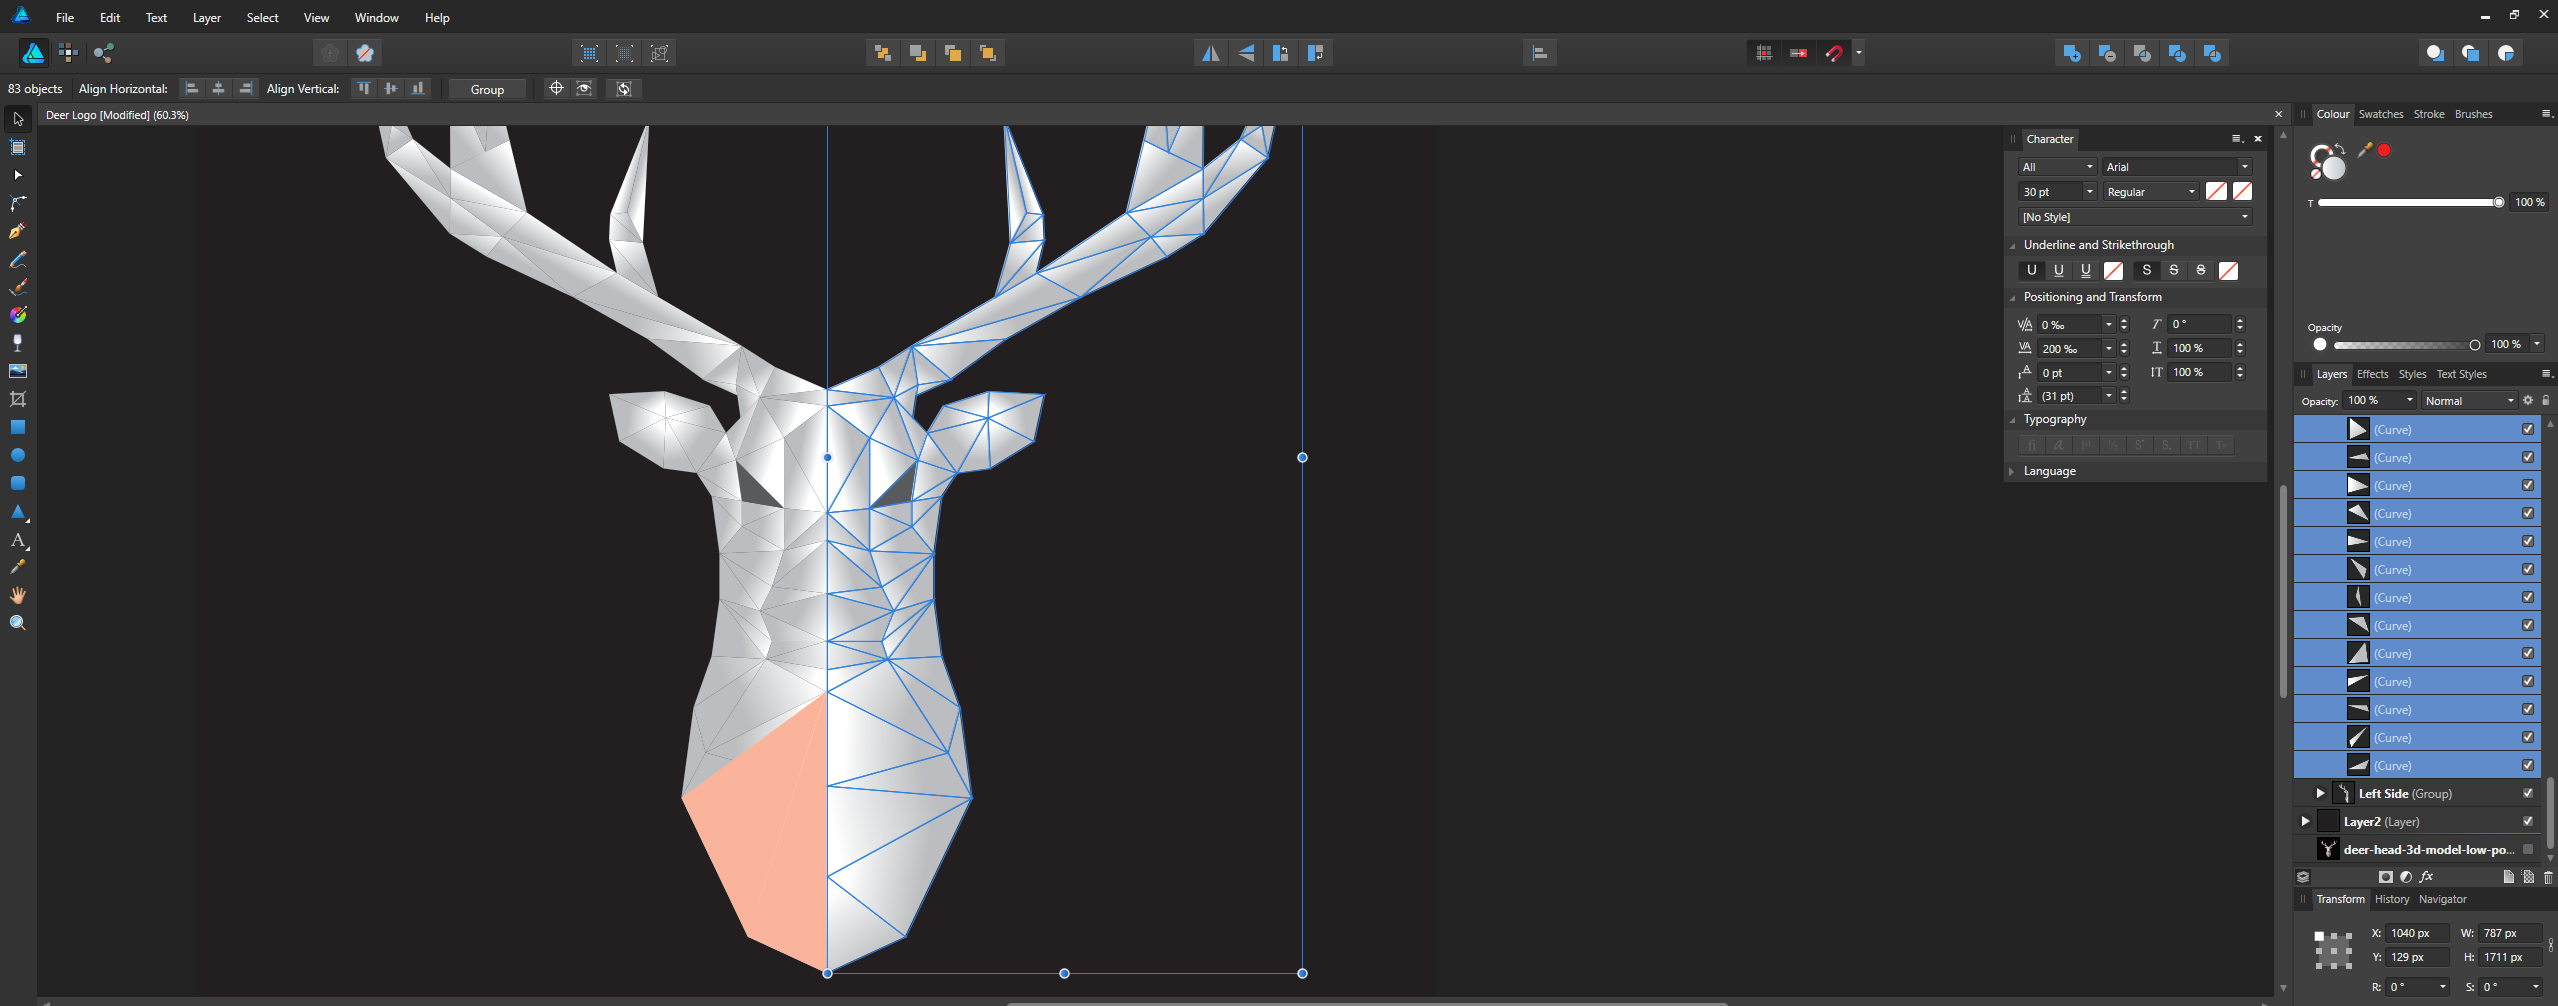
Well i exported it as eps and imported it in illustrator and i got wanted result (screenshoot). But I cannot get it in affinity. I adjusted triangles with node tool so they overlap eachother, than i used "add" operation to join them into one shape, than lines dissapeared/they are gone. Sorry i am not so experienced user but after "add" opertaion should i use original triangles to substract the shape i got or?
-
48 minutes ago, Alfred said:
Your screenshot shows the shape as it appears when selected with the Move Tool. You need to switch to the Node Tool if you want to adjust the nodes/points.
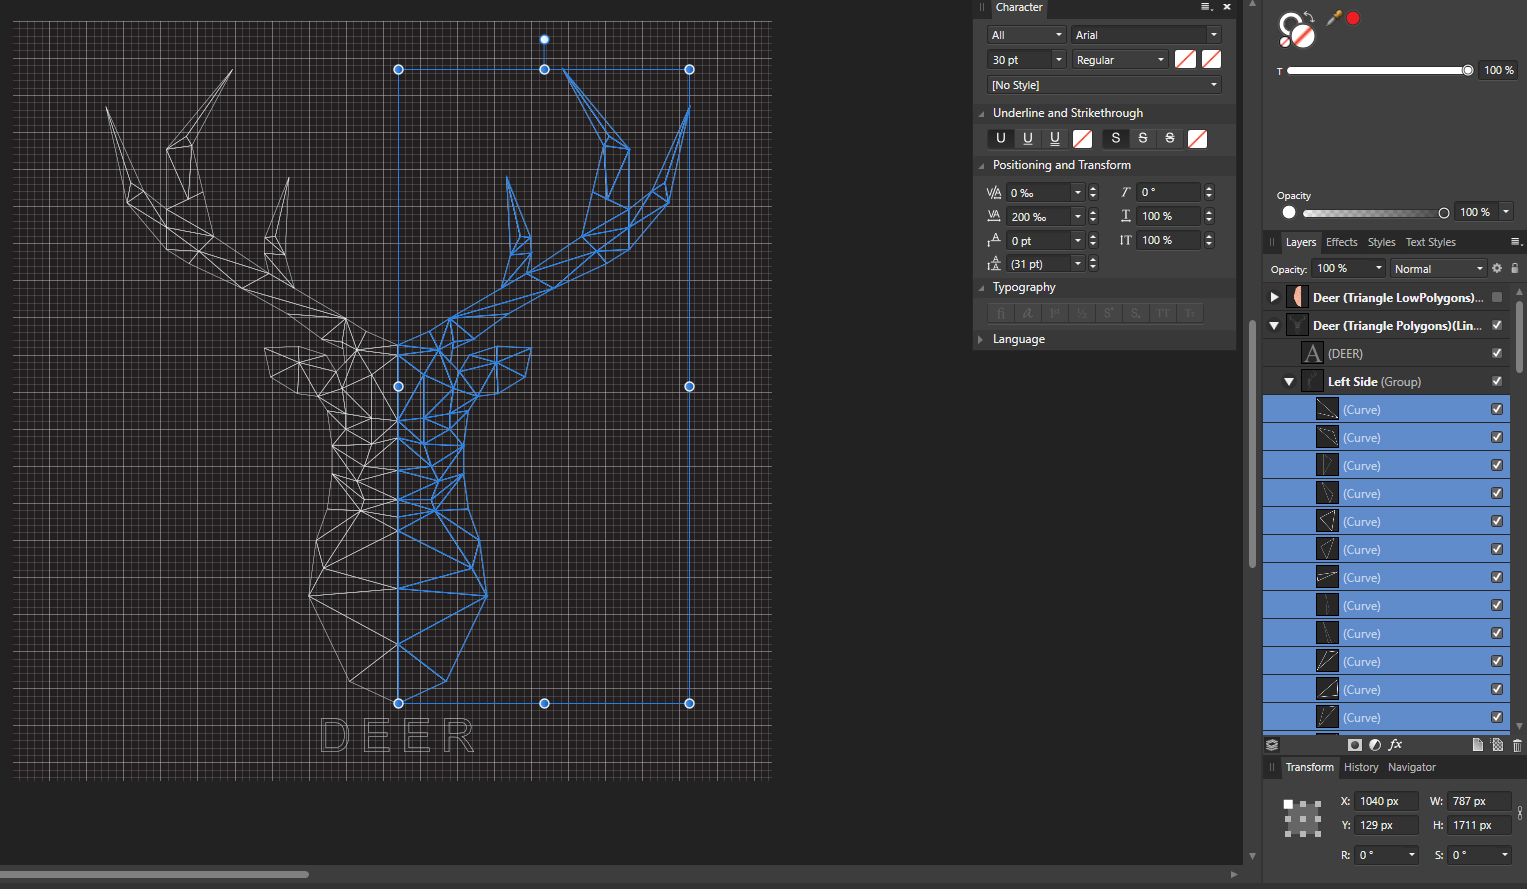
I switched to node tool and to pen tool and it still is not the effect i wanted. Lines between triangles are gone.
-
Alfred, I tried it your way but i didnt get wanted result (its diplayed on screenshot), I got whole shape yes but with no lines seen between them. I want to join all this triangles/curves into one whole shape, so when i go to pen tool, i can adjust all the points of this triangles/lines, something like owenr showed with G shape.
-
Thank you for the help. One more question. I dont really get what you mean by "Node Tool and drag on the middle of the edge of one of the triangles so that it curves outwards to overlap the edge of the adjacent triangle, and then repeat with the remaining triangles until they all overlap slightly". What do i need to do with node tool exactly? like add points and overlap them over triangle which is under one im editing?
-
Hm I dont understand it really. If ill do this than i wont have "lines" between triangles. If i set shapes to have no fill, and to add stroke, than it looks like on picture below. So i dont want to loose this "Line" looking style.
-
I am trying to simplify them in bigger shapes which are easier to edit, since i ll export it as EPS and i want my person who ll download the file to be able to edit it easy.
If there is a way please i would like to know.
-
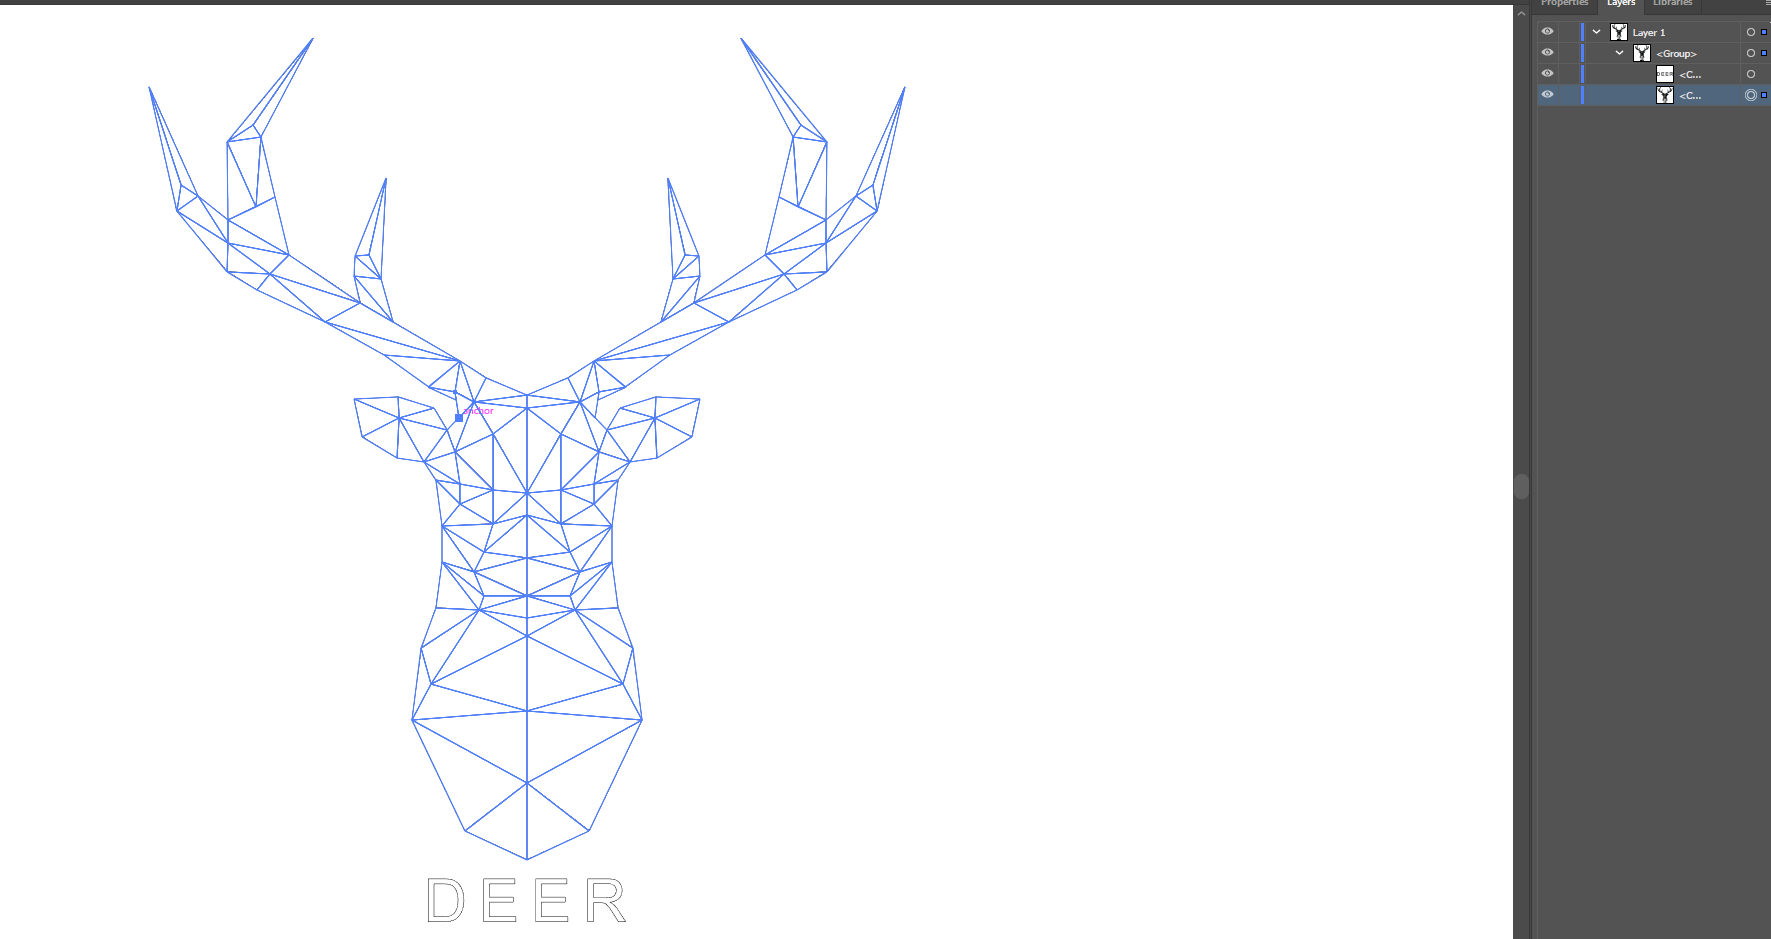
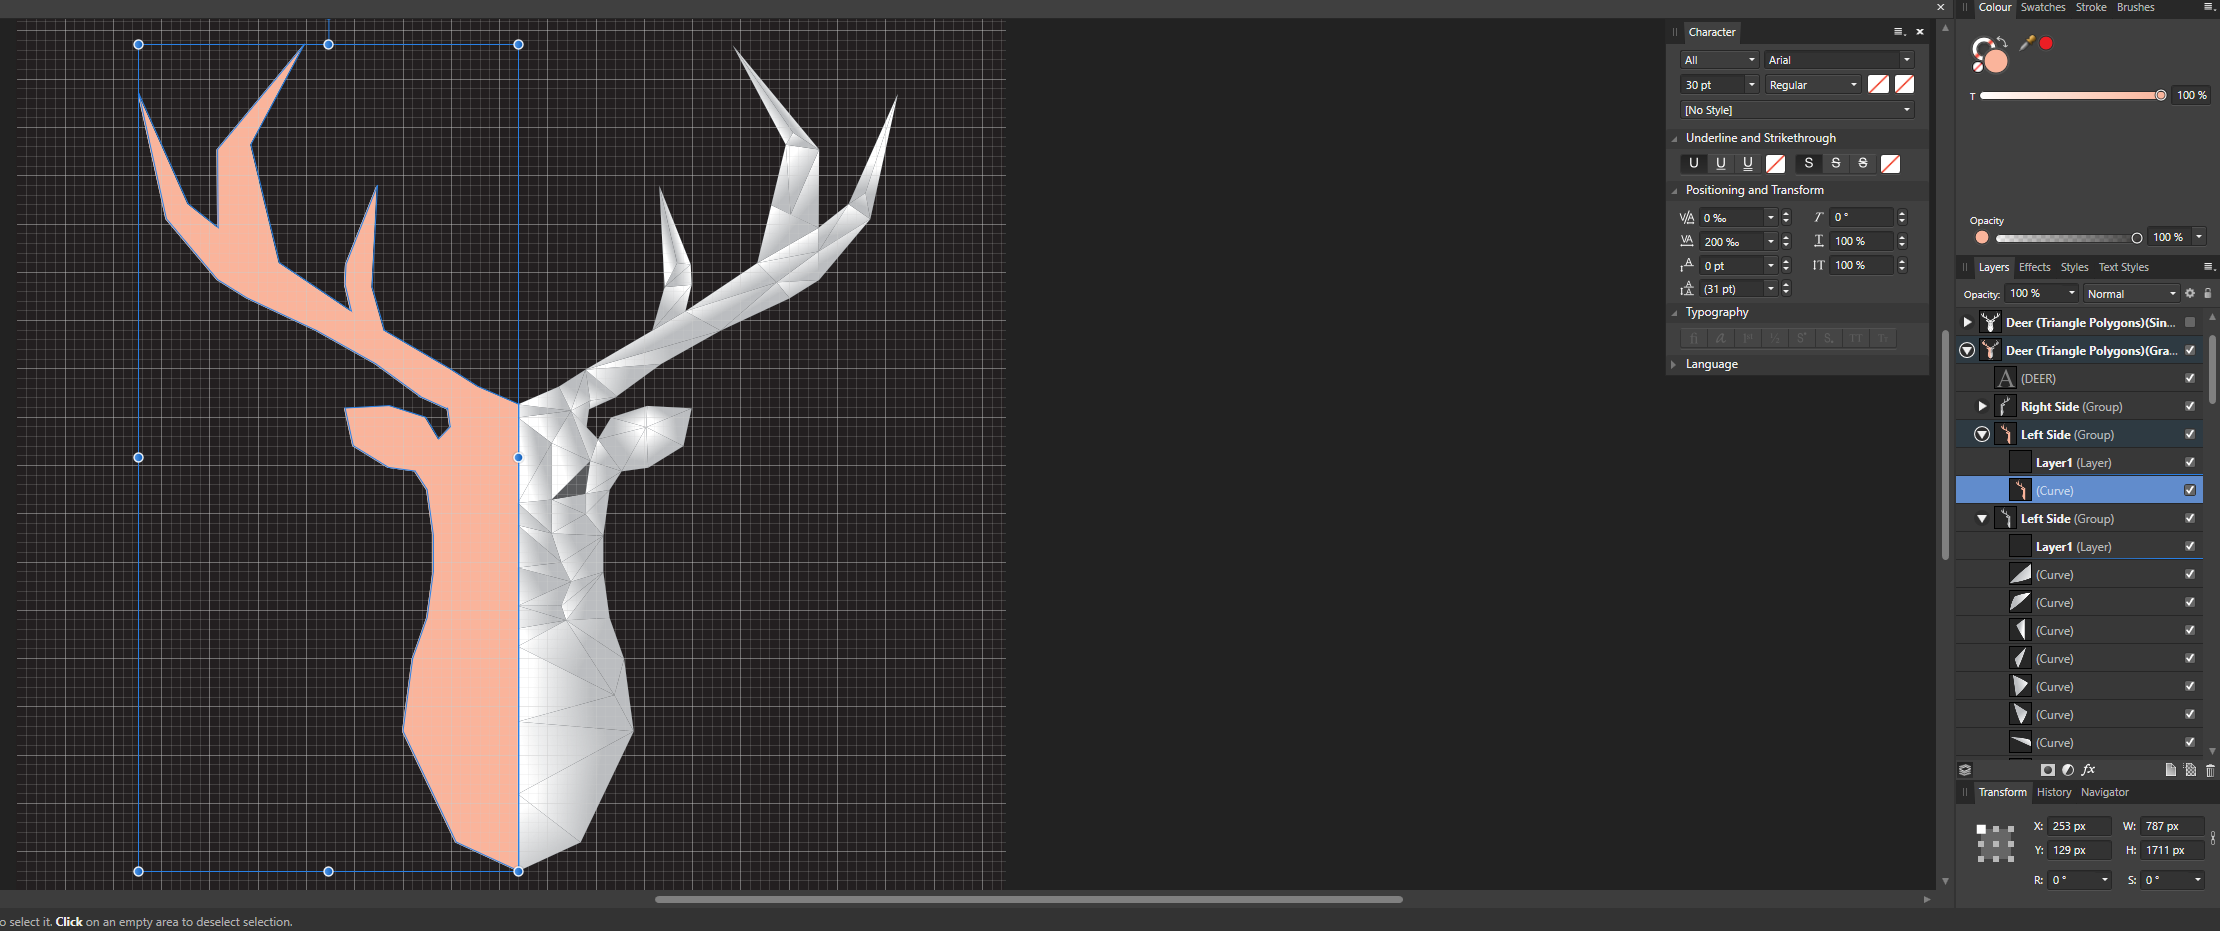
Hello.
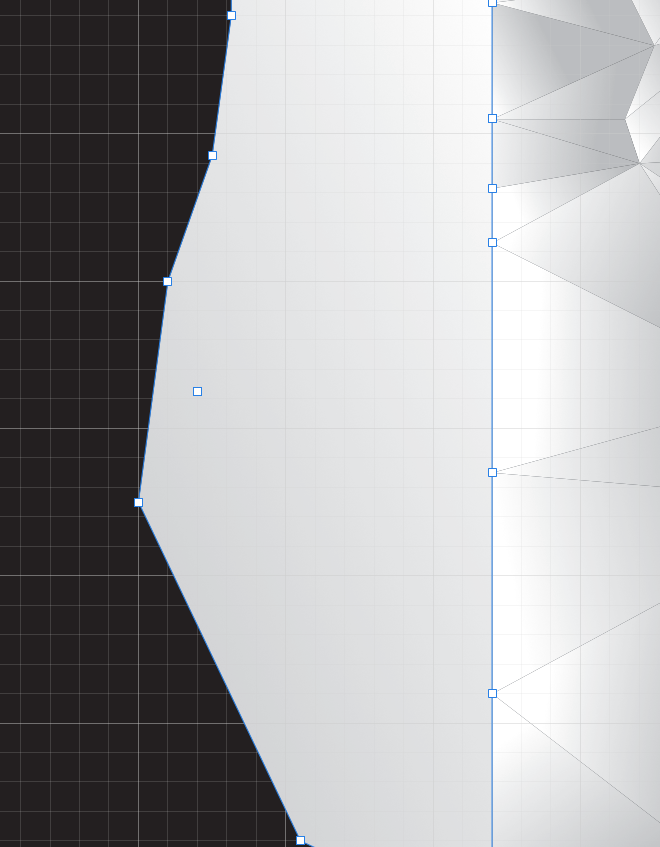
I made abstract deer with triangles. When i try to join shapes (triangles) into one with Operations: Add I get following problem which can be seen on screenshot 2.
Is there any other way to join shapes without getting problem/loosing shapes i made.
Thank you in advance!


How to make this package design?
in Pre-V2 Archive of Affinity on Desktop Questions (macOS and Windows)
Posted
Thanks a lot alfred!