Mr. Mendelli
-
Posts
24 -
Joined
-
Last visited
Everything posted by Mr. Mendelli
-
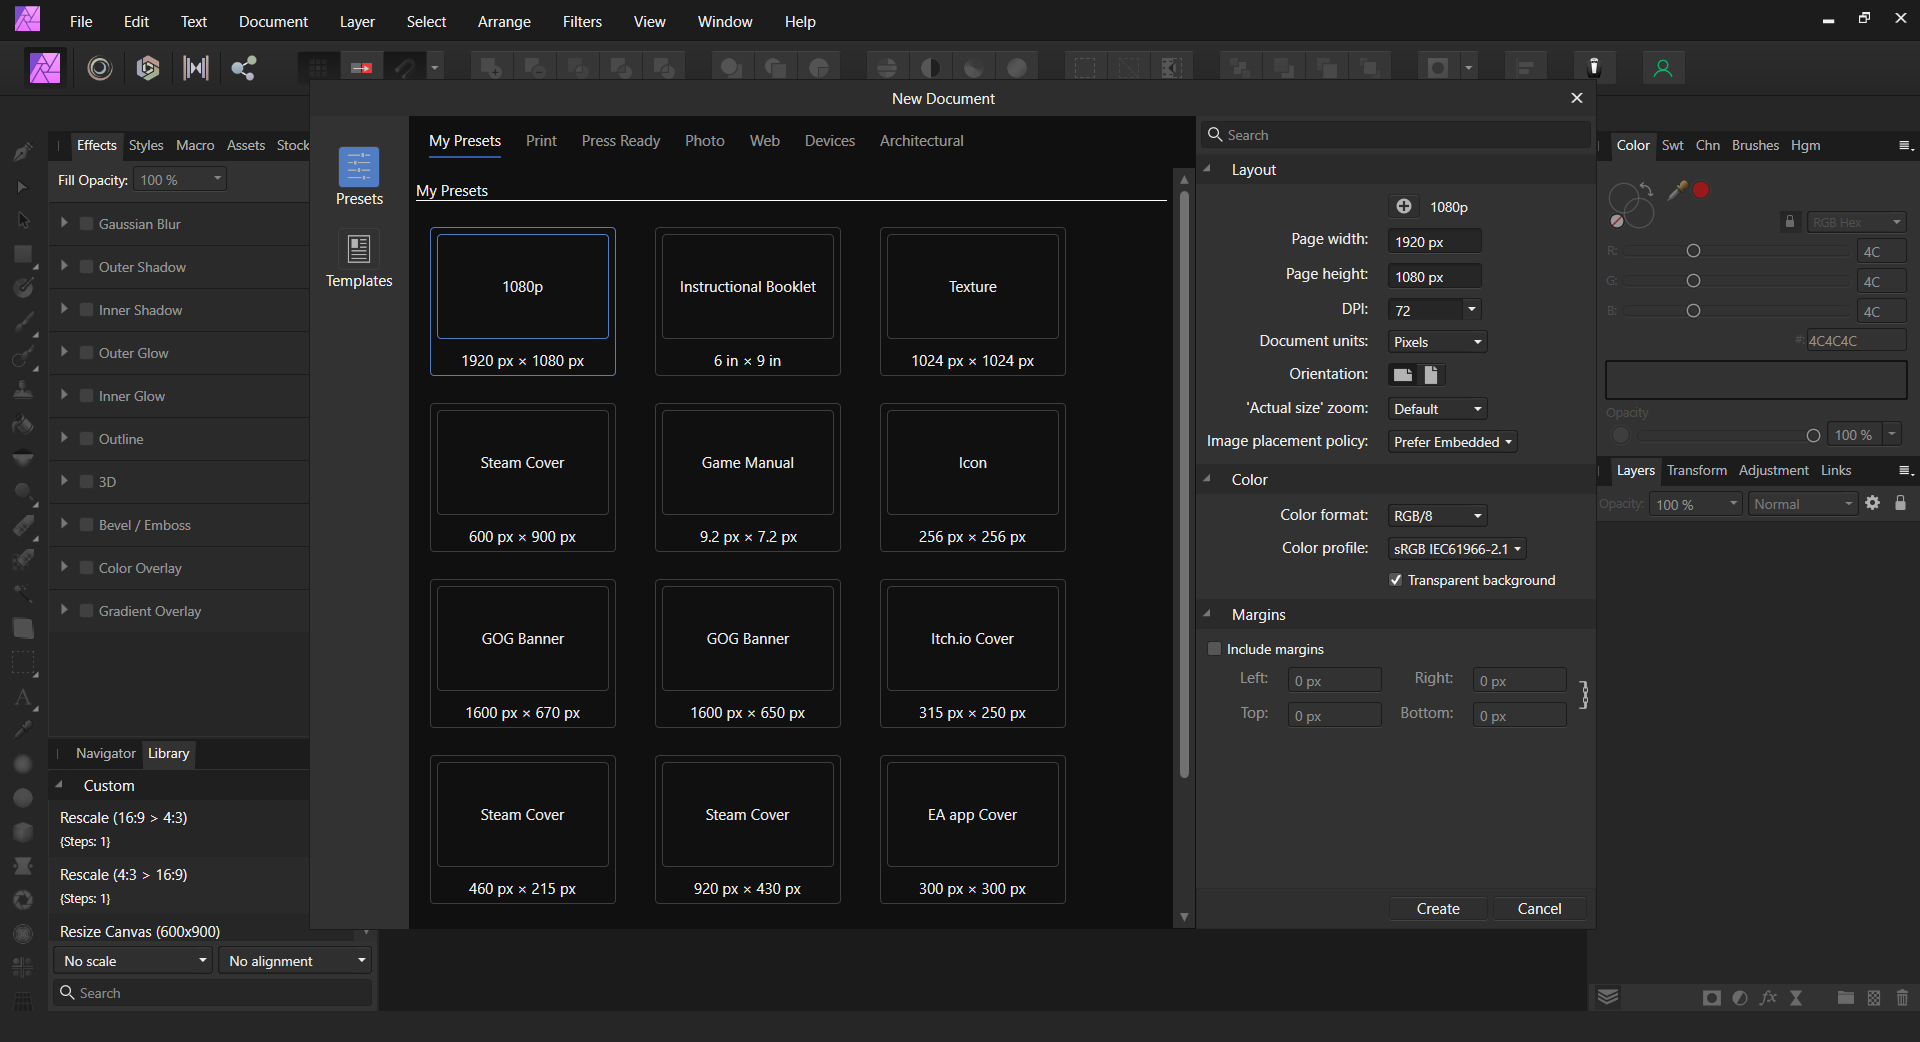
 I would like to rearrange all of my custom presets alphabetically without having to remake all of them. I have tried several different things, and I cannot find a way to do this.
-
Bummer, well thanks for all of the replies everyone.
-
I already tried that (I should have specified so...), it did not work that way for me. All I have access to in the grouped tool is what is in the screenshot.
-
I prefer how this tool is in Affinity Photo, all of the shapes are contained within the one tool button. I can add the individual shape tools, but I like to have my tools as consolidated as possible.
-
I thank everyone for their input. I have this partially figured out now. I can now get the texture to show properly in my texture swapping program I am using (they're packed into a container of sorts) and they show up as they should in that program, but still render as pure black in-game for reasons that elude me. On the note of my partial progress, I think I was either misunderstanding, or this is a bug. I tried the masking method, but before revisiting this from a new angle I was masking the layer I wanted to change directly. Now with the semi-functional method I am making the mask layer it's own layer as well as placing it on top of the stack as the sample document had. I'm not sure why this makes the difference it does, but it's there regardless. Going back the the in-game issue, I believe it's a color format or color profile issue when exporting which is an entire other matter that will need to be addressed at another time in another thread if I am unable to resolve it on my own. Upon closer inspection with my texture tool, I noticed what the issue might be, though I don't know how I'd fix it. It seems the red channel is not being handled correctly. Seen here is what the original looks like in the channels preview in my texture program: ...and this is what it looks like after I make my changes and replace it:
-
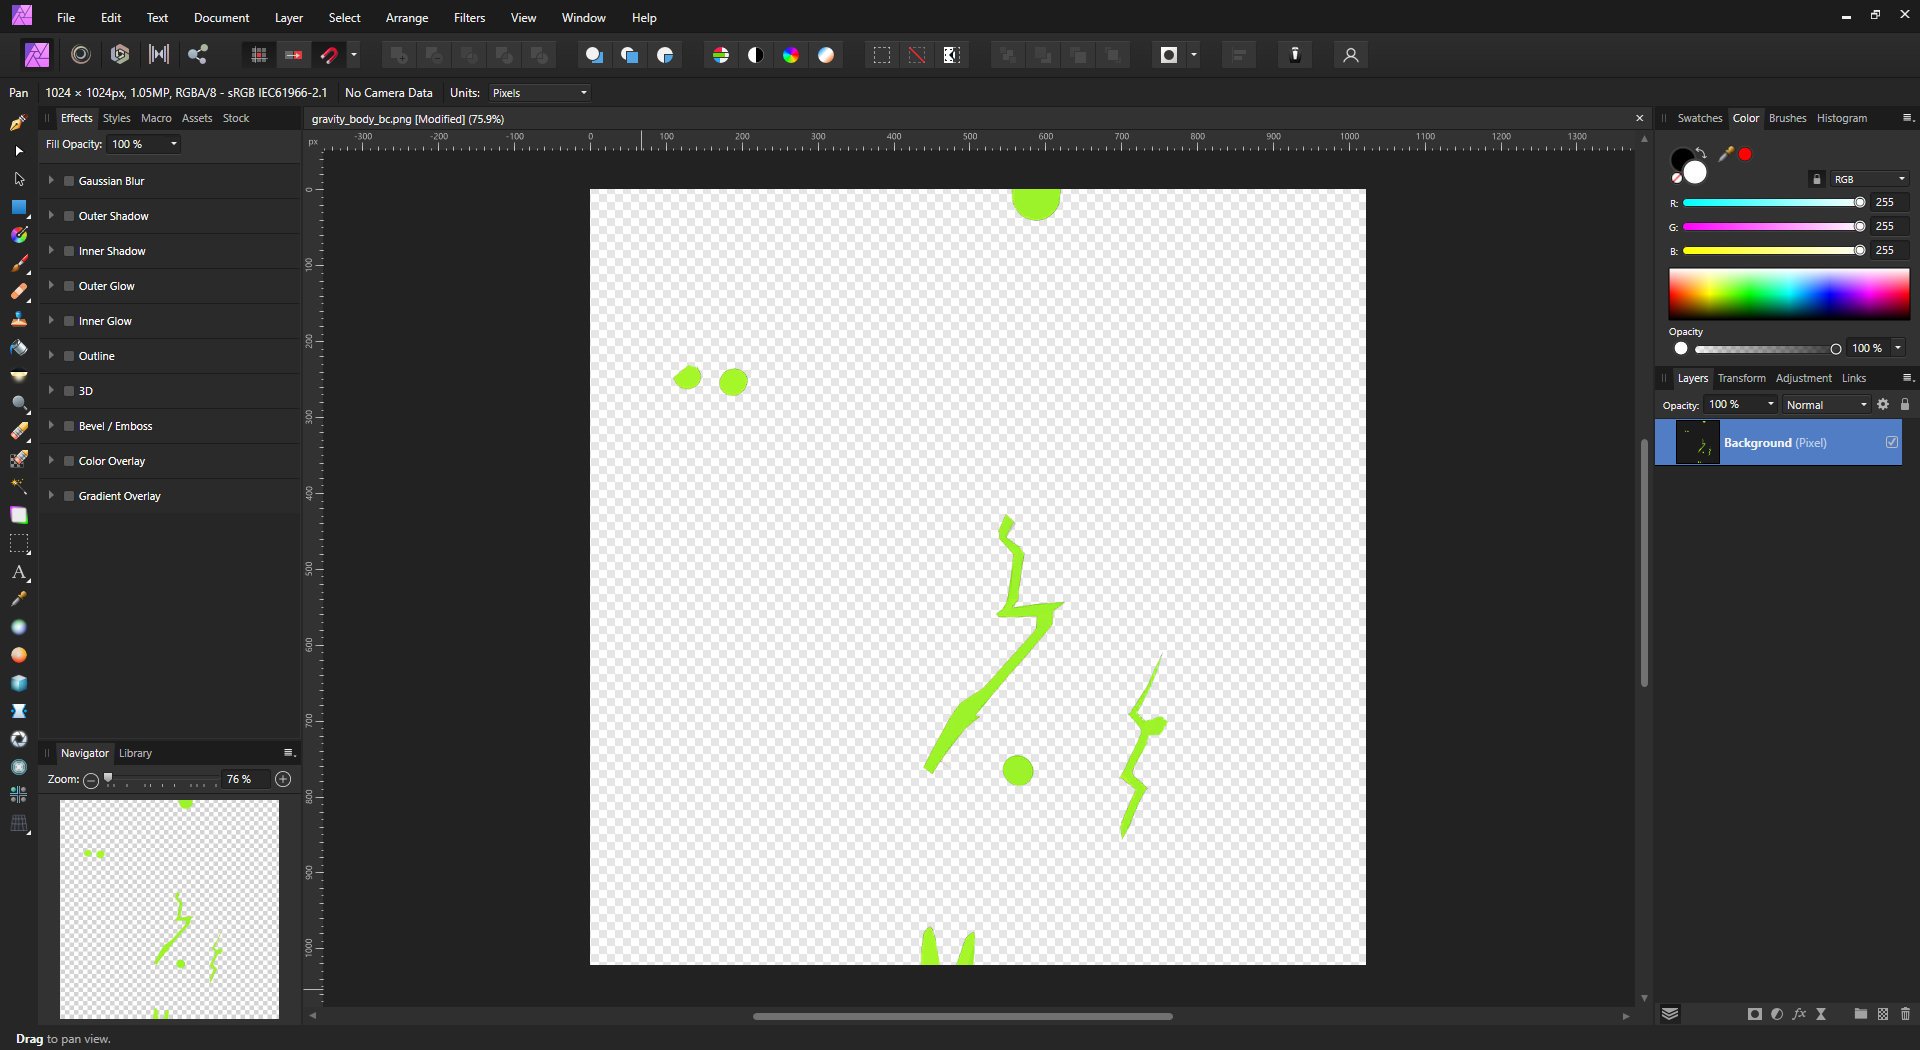
I have been experimenting and this isn't going anywhere for me. I have looked into the Channel Packing video as well as the other proposed suggestions. Method 1 has become too convoluted and I can't tell if I am doing it right, and I believe Method 2 will not work with this type of texture packing due to the colors. At this point I'm just very confused and this feels overly-complex. I was going to try the alpha masking method from Method 1, but I think I need to make a separate layer for R, G, B, and A individually(?). And even if that is what I am supposed to do for that method to work, I have tried and failed multiple times to make an individual layer for each channel. I have attached an attempt document using the mask/erase method. gravity_body_bc.afphoto
-
I will look this over @Lisbon, thank you for the assistance.
-
Thanks, channel/image packing in this context is a new concept to me as of the last few days. Looks like I just need to do some homework to learn a new format as I had to with Direct Draw Surfaces.
-
I am running into some trouble saving edits @Hangman. I need to be able to save and export these textures the same way they are when I extract them from the game. Do I need to make changes to the channels as well after I make my edits to cement them? Currently the "hidden" portion of the texture is being replaced with all black pixels. I'd like to add that while there are other tools that can work with this type of image, I would prefer to use Affinity Photo for workflow purposes.
-
For this particular texture, yes. There is another that has more layers than this I will have to test though. If I can't manage to get all of the layers visible that I need than I will report back. Additionally, I will have to experiment with re-encoding and packing back into the game to make sure that my edits carry over properly.
-
Thank you for the detailed explanation @Hangman, this is working for me on my end so far.
-
It's a portable network graphic: gravity_body_bc.zip
-
I am working with texture files for a game that uses an image format that packs channels in a given image file in a strange way, essentially each channel is akin to it's own layer. Pictured in my screenshot is the A (alpha) channel, it makes it seem like this is all that is there, but after speaking with someone else doing the same kind of work with this game's textures, they use GIMP which they said is the only software they know of that can reveal the other channels with this format. They haven't used Affinity Photo and this is my first time working with this format and I would like to know how (if) Affinity Photo handles this format. I have experimented with changing the color profile but I can't seem to get the rest of the texture to reveal its self. Here is a video demonstration they provided of how it is supposed to work: https://gyazo.com/5fbae0474f53d5694840ff2497b50f4c
-
I think this is down to how the algorithm that is used to determine angles, I don't thinks it's impossible to do, just not with current versions. I've come across other people with the same problem. I experimented with tons of profiles on the effect and it always handles acute angles the same way.
-
I can send a similar one later today, due to some disclosure reasons I cannot release the entire document in question.
-
Thank you, that did it.
-
I am trying to make this layer consistent for all angles with the 3D layer effect. Notice the outer obtuse angles (right) go inward on a straight line, but the inner acute angles (left) are rounded. I want them to be straight lines as well. I have adjusted the layer effect in every way I can see and have made a custom profile but as far as I can tell the 3D effect does the same thing to any acute angles on a layer. Is there a way to make all angles go in at a straight line?
-
I've been using Affinity Photo more lately and there are a few things I'm still trying to figure out. One thing I use often in Photoshop is the crop to pixels feature, you just make a selection and click the crop tool, the crop tool then automatically snaps to the outer most pixels around the selection then you just apply the crop for a pixel-perfect alignment. I have tried this in Affinity Photo as well as manually cropping and it doesn't seem to be able to do this. In some cases it's easy enough to manually crop, but this is not ideal for anything with semi-opaque pixels or glowing effects where clipping may occur if it is not cropped accurately. Is there a way to do this in Affinity Photo?
-
I hope to see this feature in the future. Keep up the great work on Affinity.
-
I am trying to stitch a panorama with Affinity Photo, but have encountered some issues. When I stitch the image, it is done so incorrectly. Most of the photos I add aren't aligned properly and this has happened in multiple projects. I usually use use PTGui to do this, and it has a feature for manually adding control points. How do I do this in Affinity? I've done some digging and can't seem to find any advanced stitching options. Any help is appreciated.
-
I'm fairly new to Affinity Photo and I've been figuring out how to do the things I learned in Photoshop in Affinity. One thing I had in CS6 was a macro that cropped an image, confirmed the crop, then finished by saving the image. I have figured out how to make most of my original macro, but adding 'Save' doesn't seem to be an option. If I stop the recording, save becomes an option again. Is this possible with Affinity Photo, or is there an alternative option for this?
.png.255de33cd491c204ae880d5ea4ebd232.png)