

momokoo
-
Posts
14 -
Joined
-
Last visited
Posts posted by momokoo
-
-
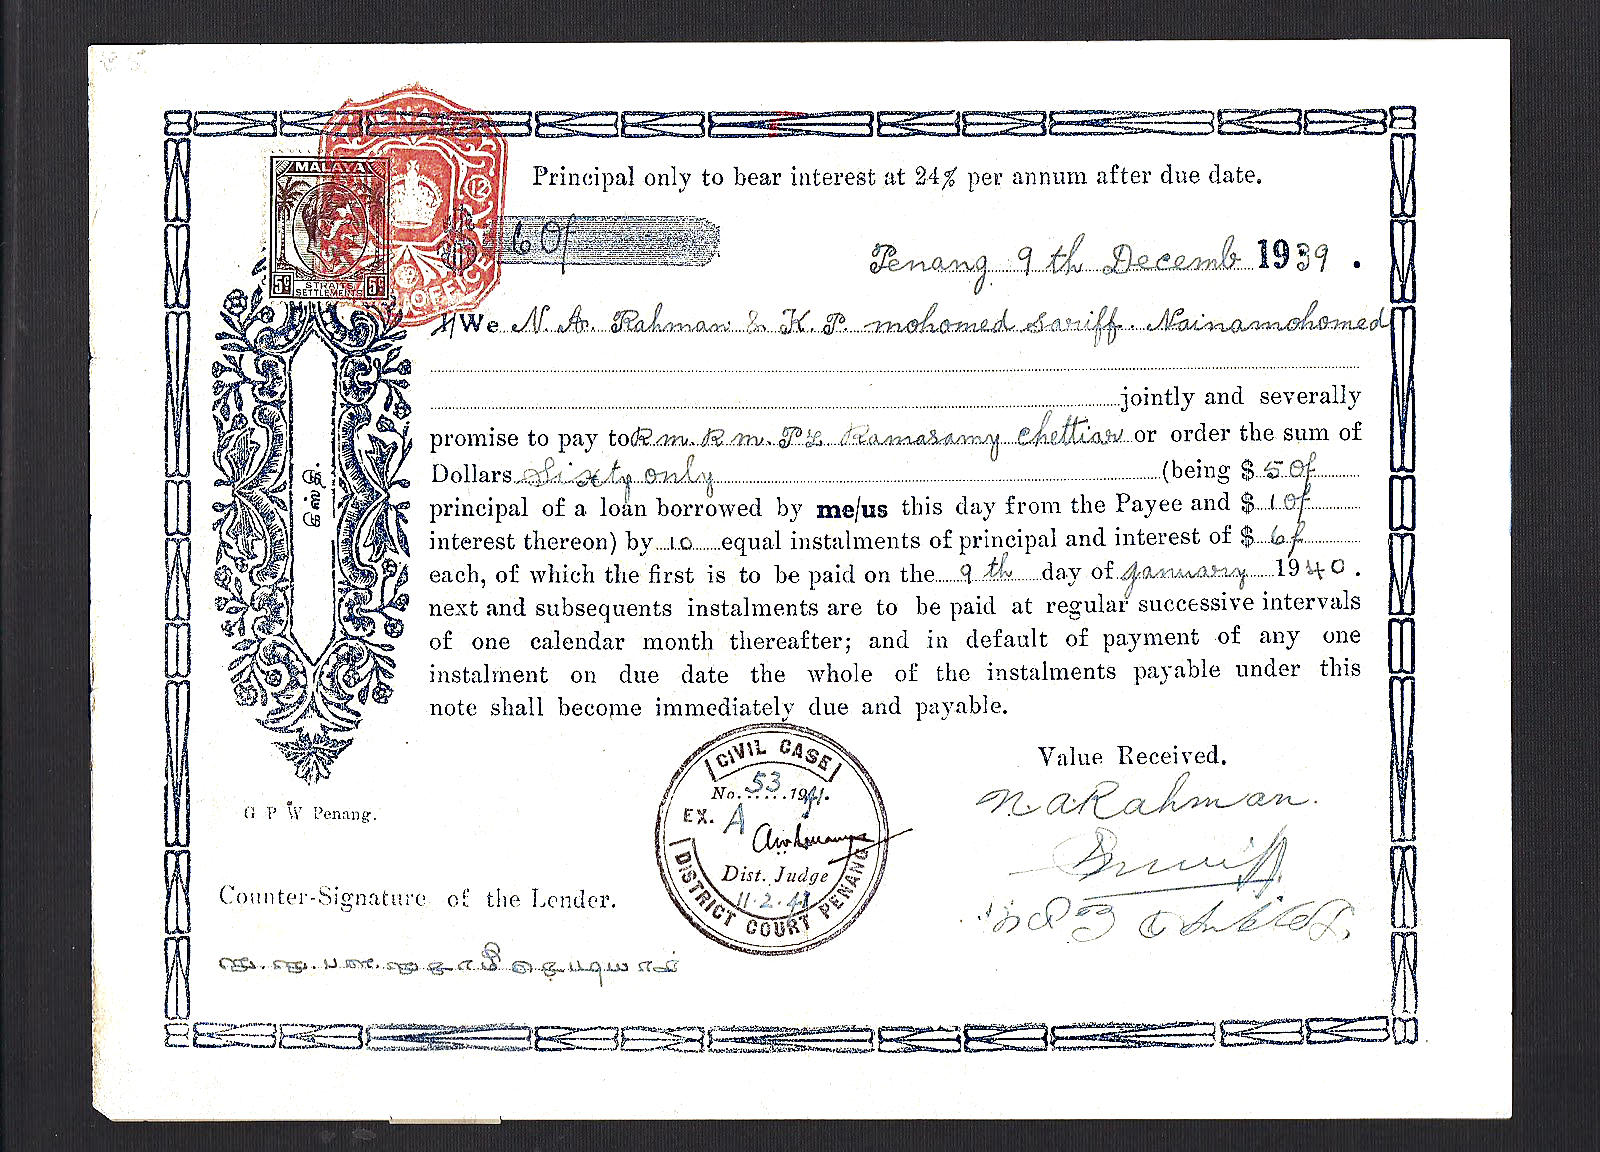
I've also been working on the first example. The result attached.
1. A level adjustments layer was used to turn it almost black and white, leaving just some color for the red stamp.
2. Another used to bring back some contrast (darken).
3. Now I more or less just used inpainting, blemish removal and healing brush.
4. A high frequency layer in combination with dodge brush (set to highlights) not only adds some more contrast and sharpens the document but also helps removing yellow-ish parts around text and the border which would be a pain to remove with a very small brush
5. That little border chain piece at the bottom had so much detail using the cloning brush didn't look good so I just copied the entire thing (select, copy, paste).
It's also a rather sloppy job a couple black dots are left and I only just corrected the border on the right because the rest is just cloning and painting.
Originally I added the high frequency trying to bring back in some texture of the paper but I didn't like that so I used it in a different way.
The version attached does not show the low frequency layer. The red line at the top border is the inpainting brush's red, it's a very rare bug in APh.

-
I'm very happy about the release of Affinity Photo for Windows. It replaces GIMP in my case.
The tutorial videos are also helpful and interesting. I've found a few ways to improve the quality of my scanned images even though it's primarily made for photographs.TWAIN support would be nice to have and save me some time or one step because right now I scan via VueScan and open the file in AP but I do not really need the raw result from VueScan saved on my disk. I could just as well save it with AP when needed if it had direct TWAIN "import". But it's also not a big issue to not have that feature.
The dust & scratches filter is sadly of no use for me because it removes too many details but I'm happy to have the set of healing brush tools. All together they help me get my tasks done faster than before.
I have the problem, that sometimes the selection brush is not working.
When I use it, it does not select anything, but the step is shown in protocol.
Have to uninstall AP, and install it again, than it works again...Did you check if the correct layer was selected? Having a wrong one selected happened to me a few times (e.g. an adjustment layer).

LEGACY: Official Affinity Photo (Desktop) Video Tutorials
in Tutorials (Staff and Customer Created Tutorials)
Posted
Just a quick idea: merge visible, copy that layer and go to "File" -> "New from clipboard"
Now add the soft proof layer there and once done drag the tab out of the Affinity Photo window. That way you can compare them, not with a slider but maybe better than nothing.
On another note: Great videos James. Always interesting to watch. I just wonder how to get so creative to do stuff like the equations with lerp and such and having the result still look good. Perhaps some deeper color knowledge is of use in such cases.