marcr1230
-
Posts
9 -
Joined
-
Last visited
-
 marcr1230 reacted to a post in a topic:
Solar Eclipse Image Processing w/ Photos
marcr1230 reacted to a post in a topic:
Solar Eclipse Image Processing w/ Photos
-
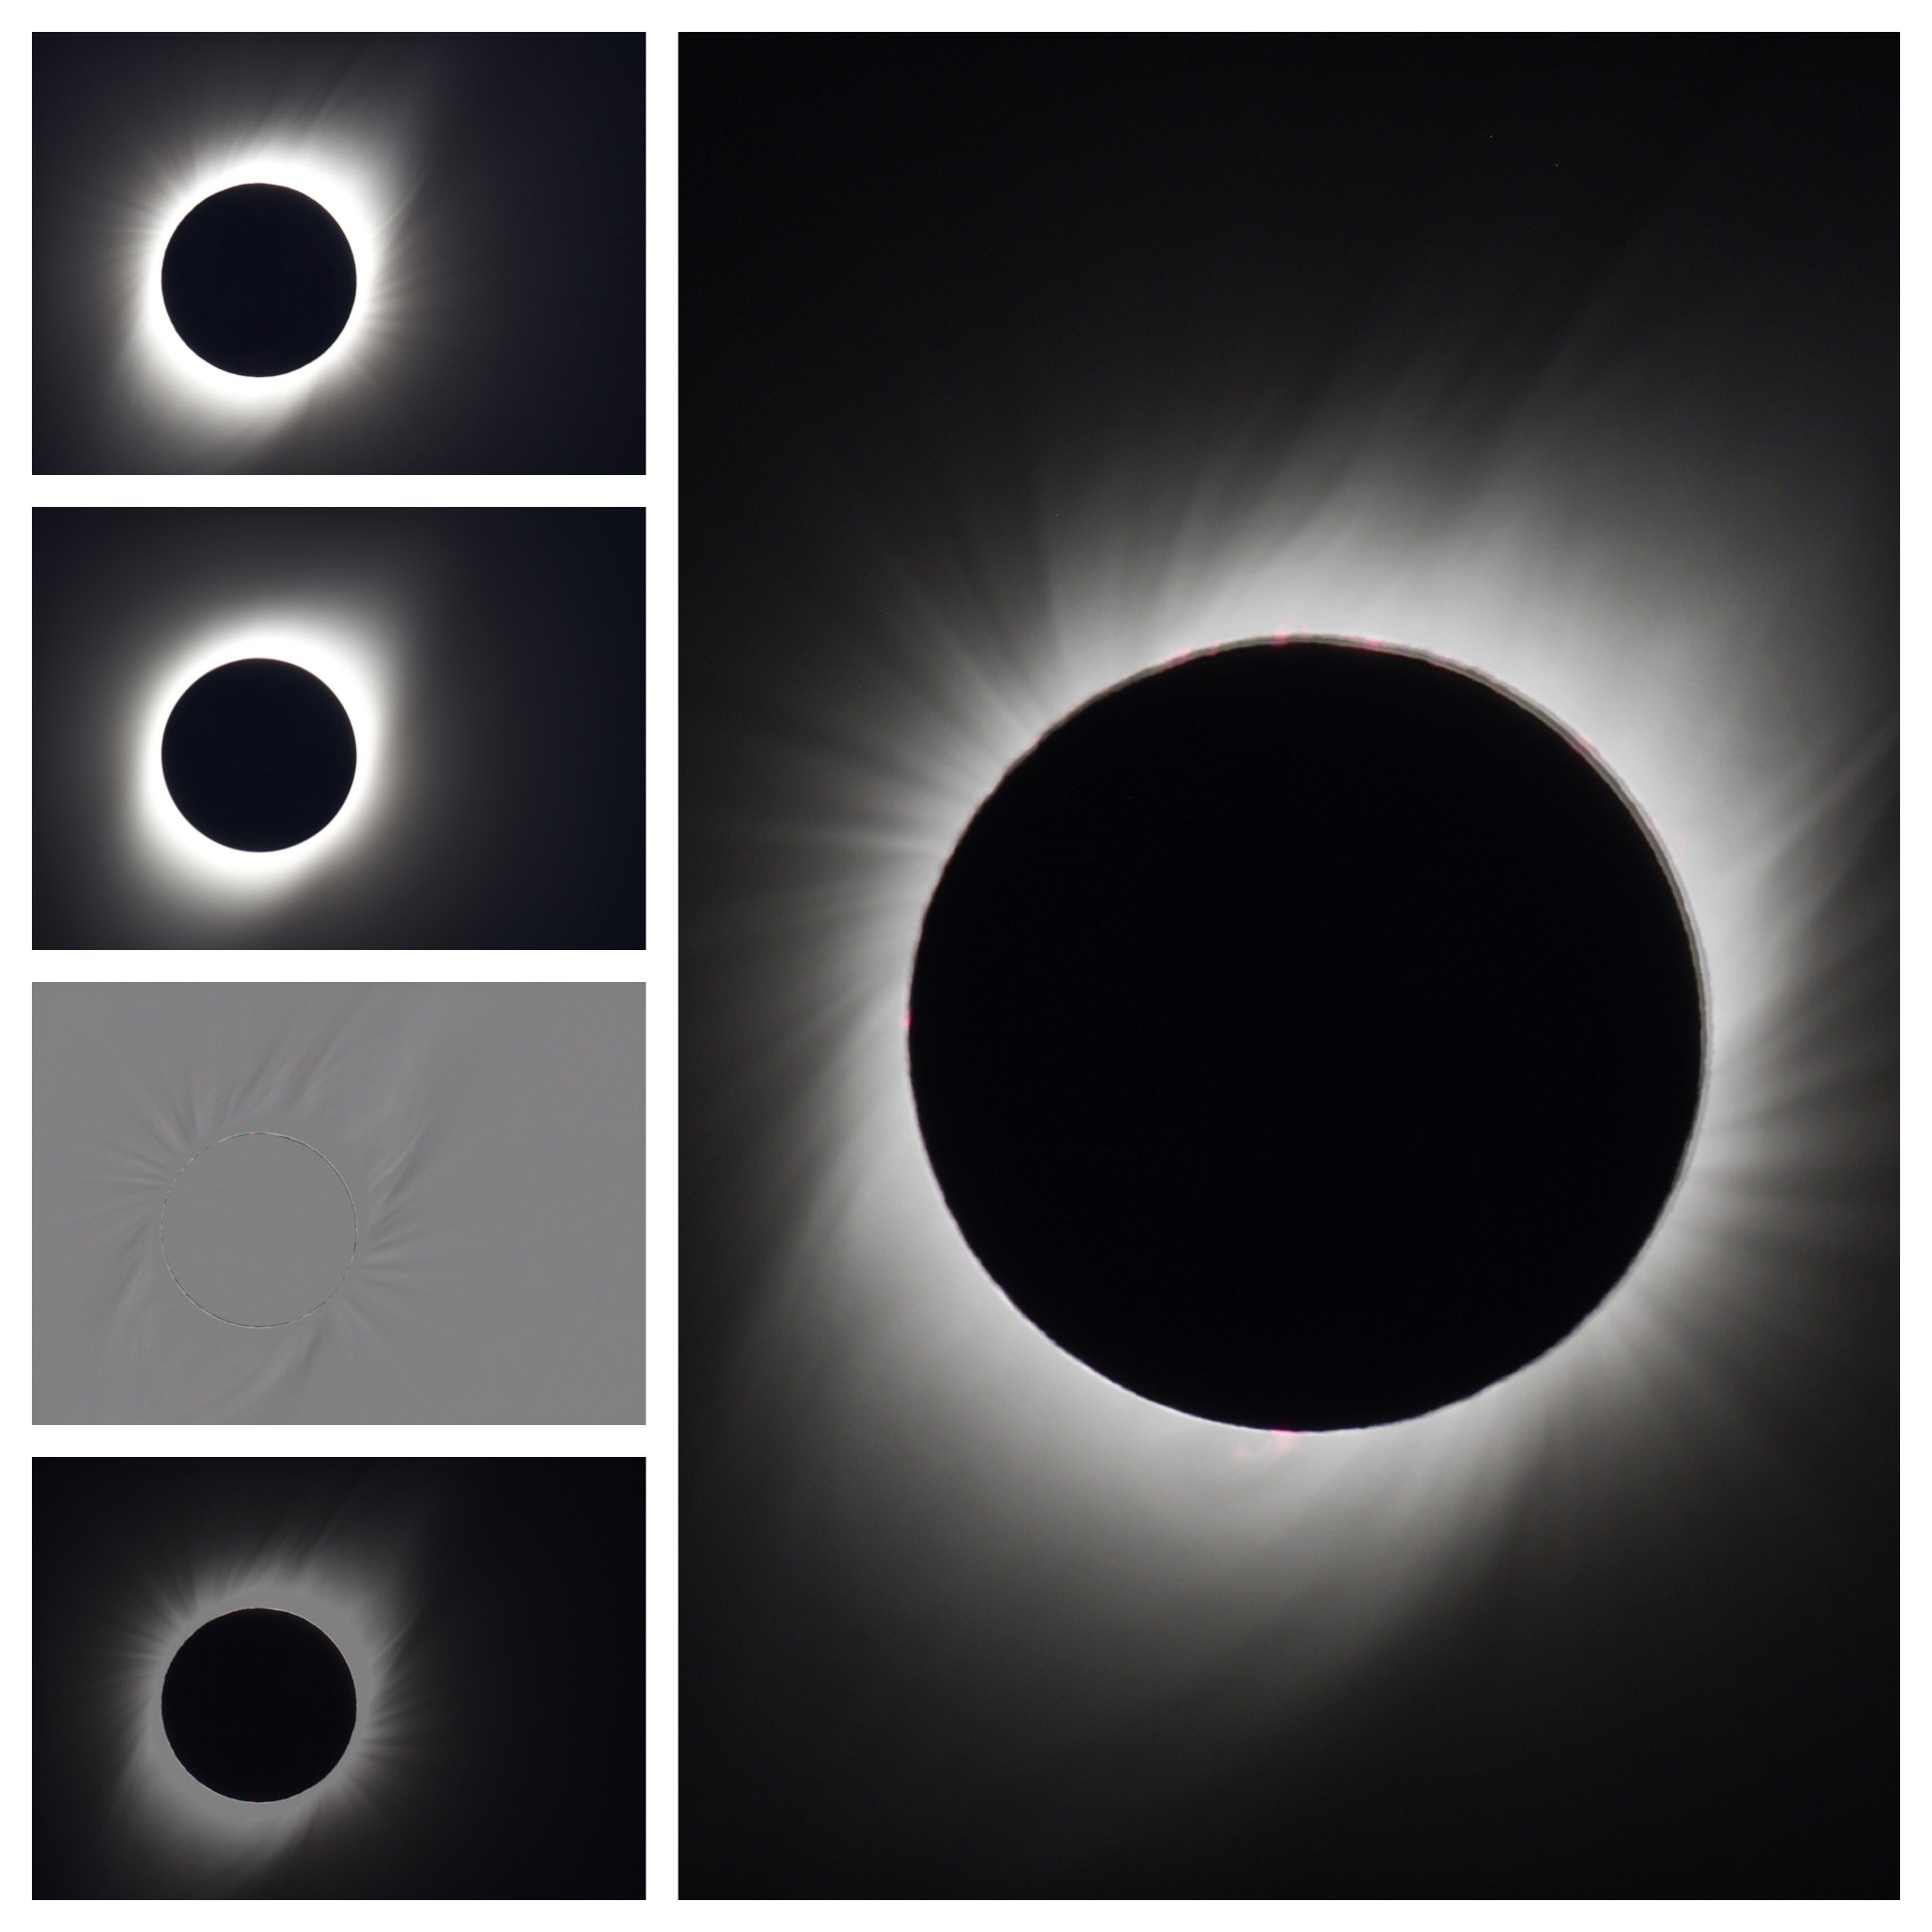
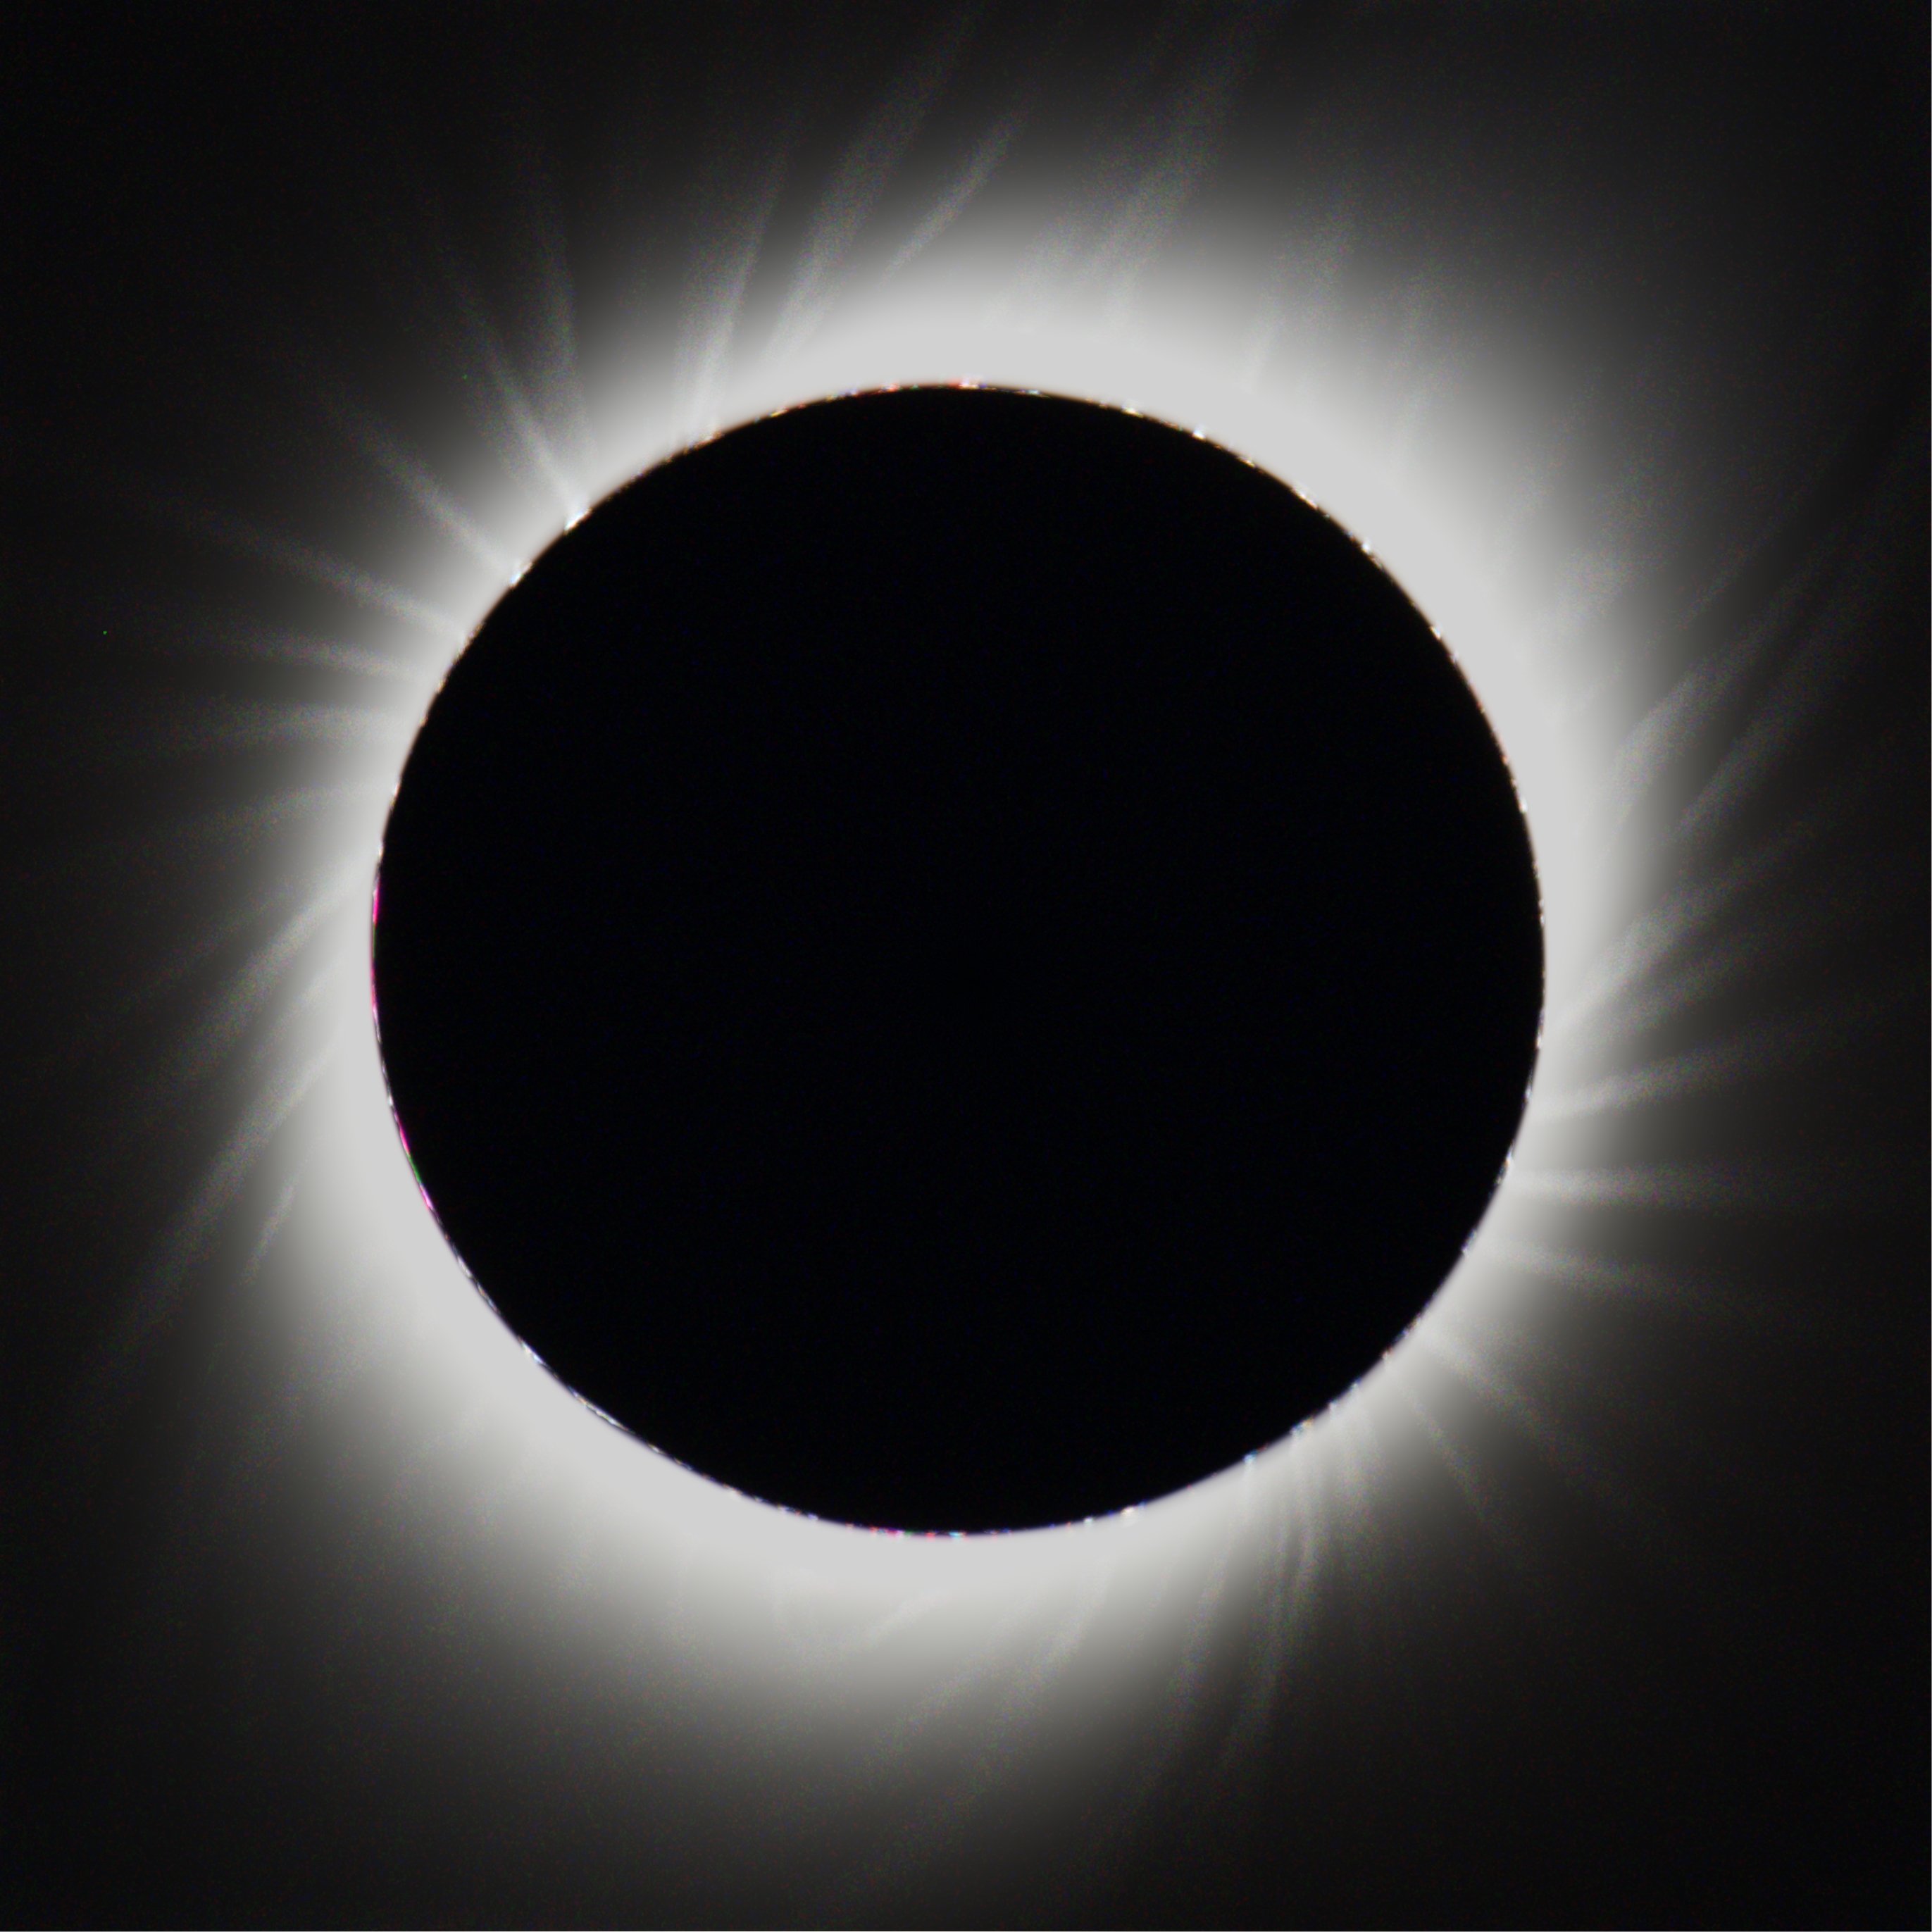
Well - after some trial and error, I realized that the 128 “offset” referred to in the various photoshop tutorials, is equivalent to 0.5 in Affinity-land, which makes sense in retrospect. So the Apply image equation is D = D - S + 0.5 ( using DR,DG,DB etc) As a test, I took 3 images and applied the radial blur method. Below is the series of 4 steps for one single component image, then the composite of all 3 it’s a little crude, but now I can refine the process using 7 images from a bracketed sequence . This was done on an iPad:

-
I’ve been playing with the radial blur technique on some images from the July 2, 2019 eclipse in South America using the affinity photo iPad version First , I’ve empirically found that using a 10-20 angle on the blur result in very little or no effect when I bump the angle up higher 30,60 even 90, then I start to see a significant effect With a 90° angle I get a decent result, but only in one plane, X or Y, depending on whether I choose S-D or D-S I’ve included an image of the original , S minus D, D - S and then the composite of the two ( brightened a bit) I did not add the 128 offset which would lighten up the results overall I understand that I am supposed to use the original minus the blur as an alpha layer on the original, not ready for that yet If anyone can explain why I get the results I do as opposed to the people using PS w 10 or 20° radial blur id appreciate comments and pointers thanks
-
is there a was on the iPad to create a stack of Raw images ( done) and then batch develop them ? I’m trying to merge some bracketed Eclipse images thanks
-
Apply image weirdness
marcr1230 replied to marcr1230's topic in Pre-V2 Archive of Affinity on iPad Questions
This worked to some extent:
-
Apply image weirdness
marcr1230 replied to marcr1230's topic in Pre-V2 Archive of Affinity on iPad Questions
That did help , on to the next obstacle! -
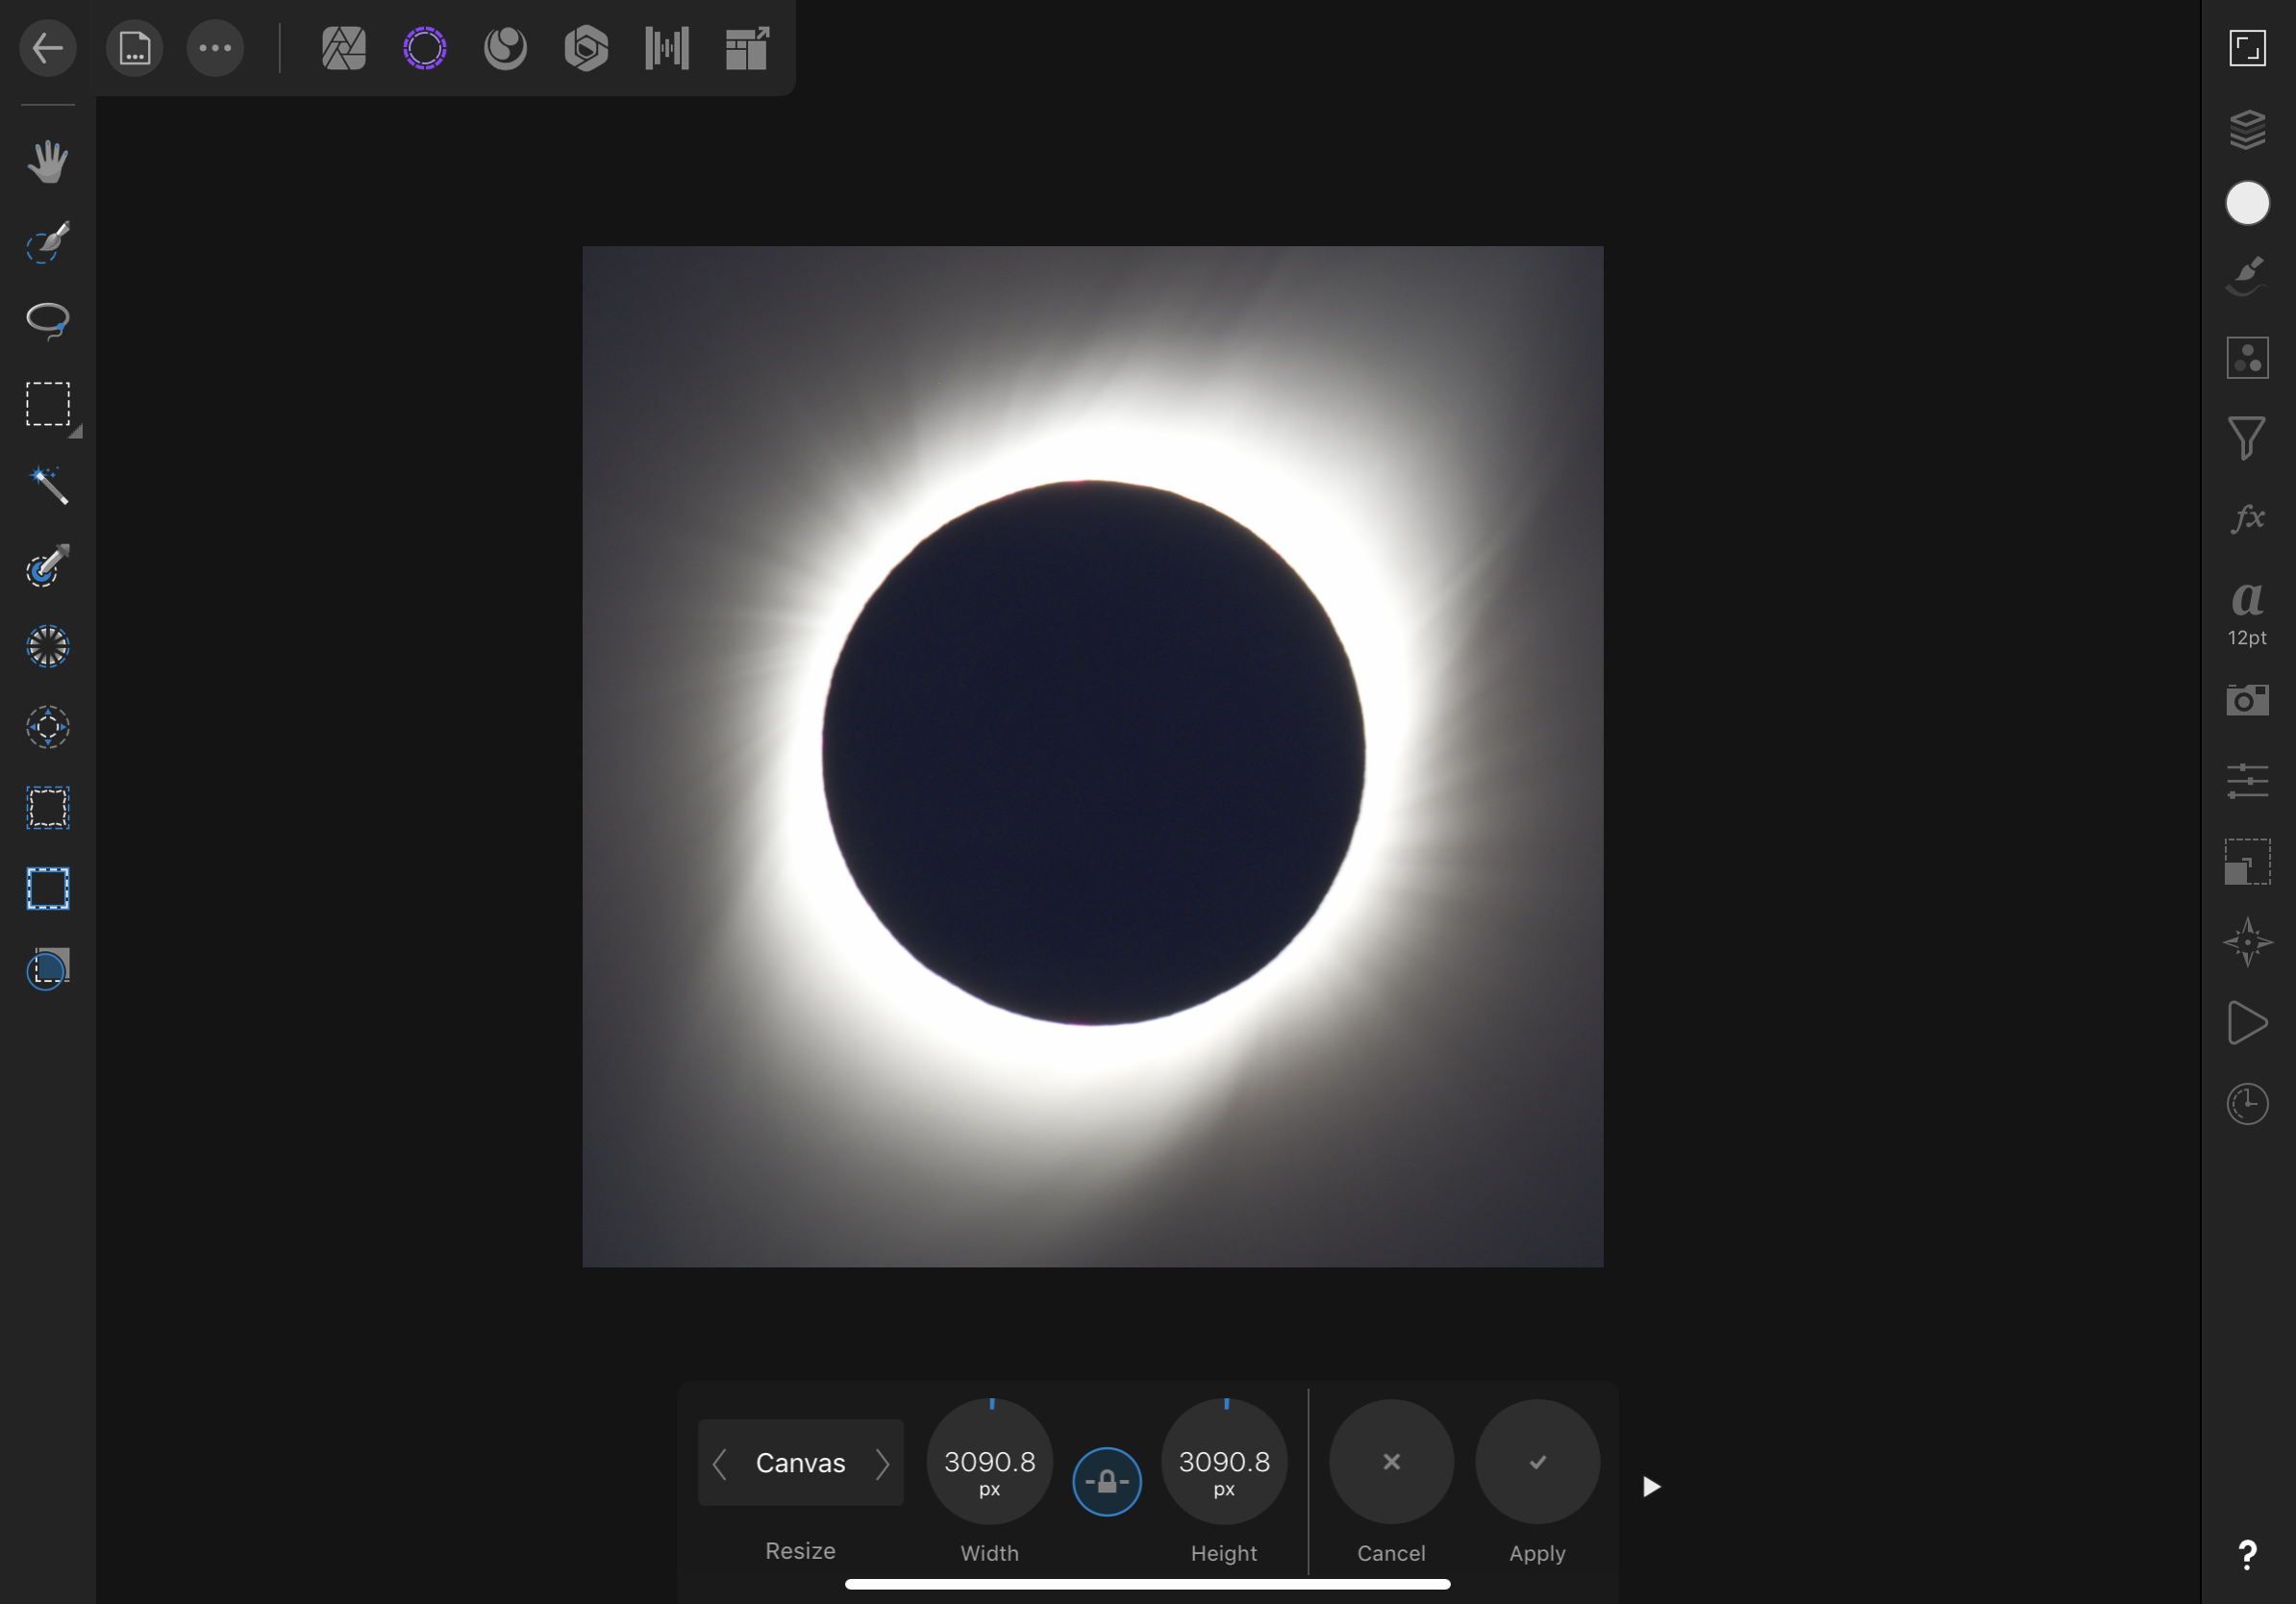
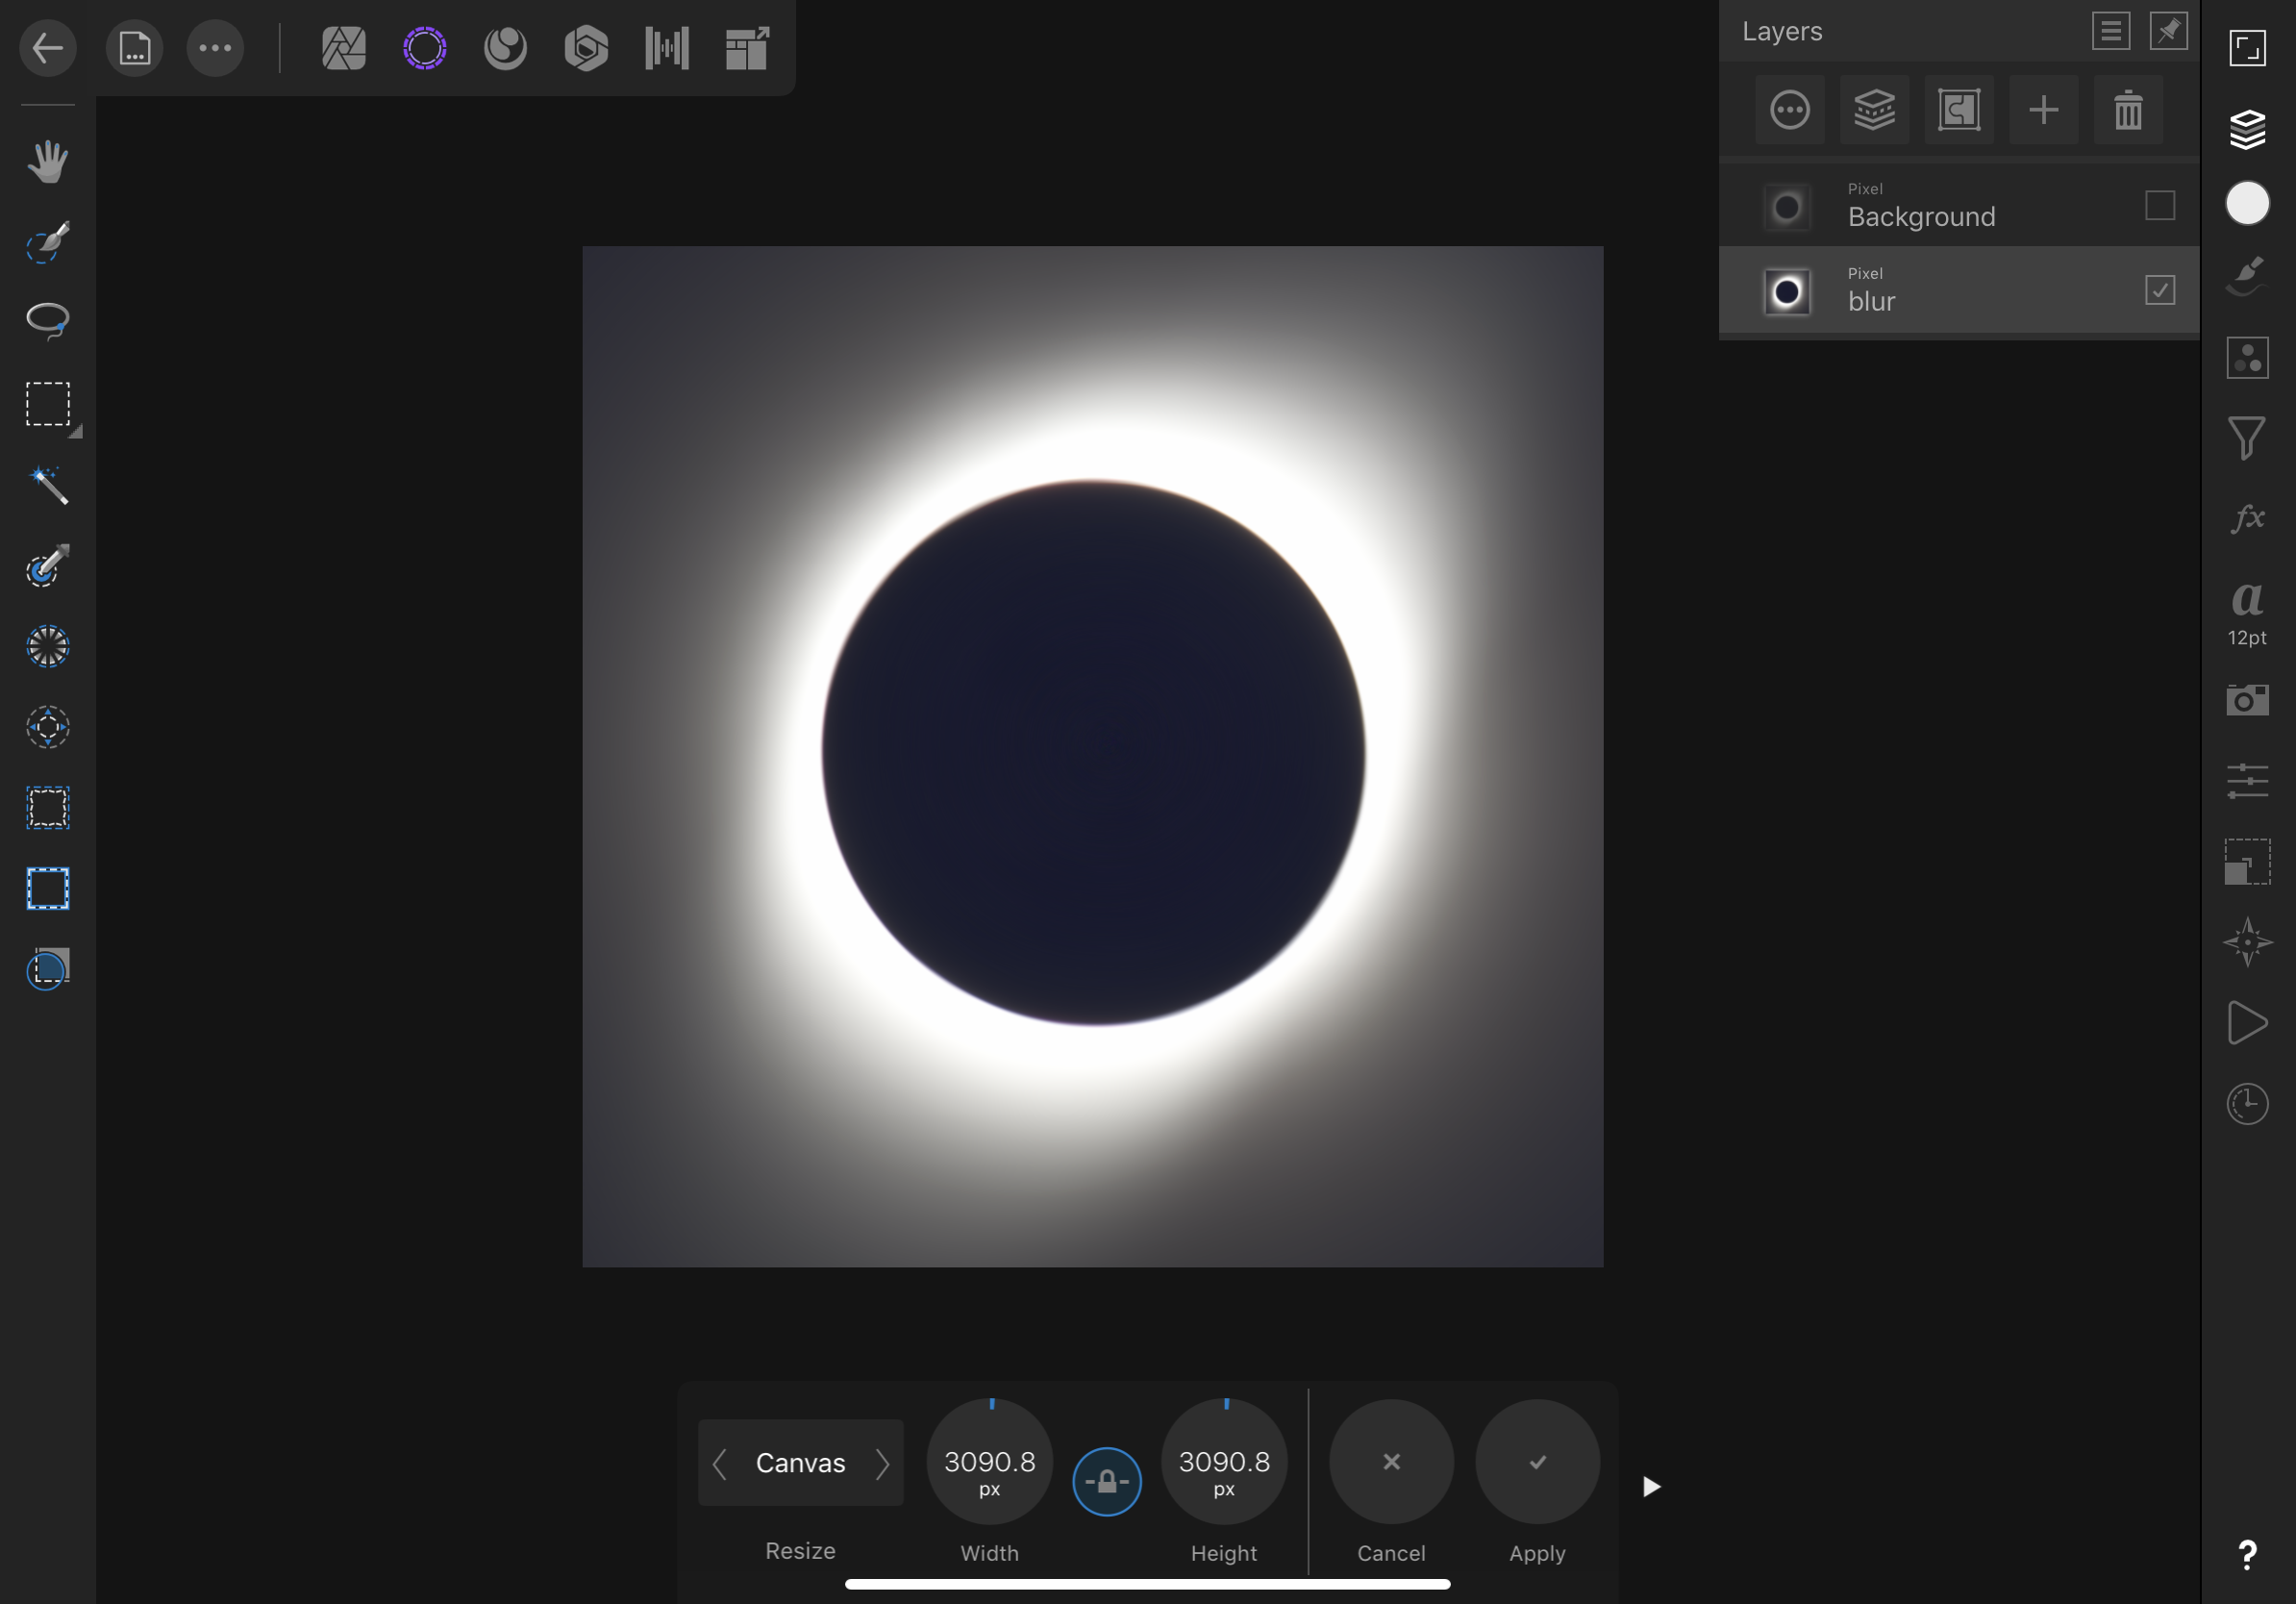
I’m trying to process an eclipse image using a suggested technique 1. crop image to center the moon , cropped to square aspect from 4x3 2. create a duplicate layer and blur the new layer with radial blur 3. export the blurred layer ( in order to import it with apply image) 4. Delete new layer, select original , import blurred image using apply image filter The imported image seems to be rescaled to the original 4x3 aspect, no longer congruent with the original cropped square image - see last image What’s happening here? orig after crop Blurred layer After apply image - using average to highlight the issue
-
Actually - this can be done in 1 pass also - I just realized just cut the left or right most image at a non-overlapping spot (before importing to panorama feature) , and move it to the other end before stitching the reason I want 360 degrees of coverage exactly is that I'm playing with tiny planet photos
-
I figured out a method to do a more exact 360 trim basically you use panorama to stitch together more than 360 degrees -lets say 380 or 390 this leaves overlap on the left and right sides then you cut the panorama in the middle or anywhere inside of the overlapped left and right ends save the 2 portions as separate jpgs, then do a second panorama stitching with these 2, with the overlapped ends now in the middle i,e if your 390 degrees looks like this: AAABBBCCCDDDAAA cut to AAABBB and CCCDDDAAA reverse the order to CCCDDDAAA AAABBB stitch together as: CCCDDDAAABBB voila! maybe this is obvious or there's an easier way, but this is my first try making panoramas...
-
Is there an easy way to overlay the 2 ends of the panorama and trim/stitch so the I get the whole 360 and not 380 (overlap) I will try this, but is it smart enough to stitch vertically as well as horizontally if I have a panorama made of multiple horizontal passes ?