Poorukko
-
Posts
7 -
Joined
-
Last visited
-
EPS Woes - Please Help!
Poorukko replied to Poorukko's topic in Affinity on Desktop Questions (macOS and Windows)
I knew nothing about EPS before today, so this is a steep learning curve! I think the printer wanted EPS as a plan B, as for some reason the PDF files were showing in Corel as "corrupted"... I've re-sent them, so fingers crossed eh... -
EPS Woes - Please Help!
Poorukko replied to Poorukko's topic in Affinity on Desktop Questions (macOS and Windows)
Thanks for looking. The tongue was shaded using transparency tools in the vector environment, so hopefully no rasterisation should have occured... -
EPS Woes - Please Help!
Poorukko replied to Poorukko's topic in Affinity on Desktop Questions (macOS and Windows)
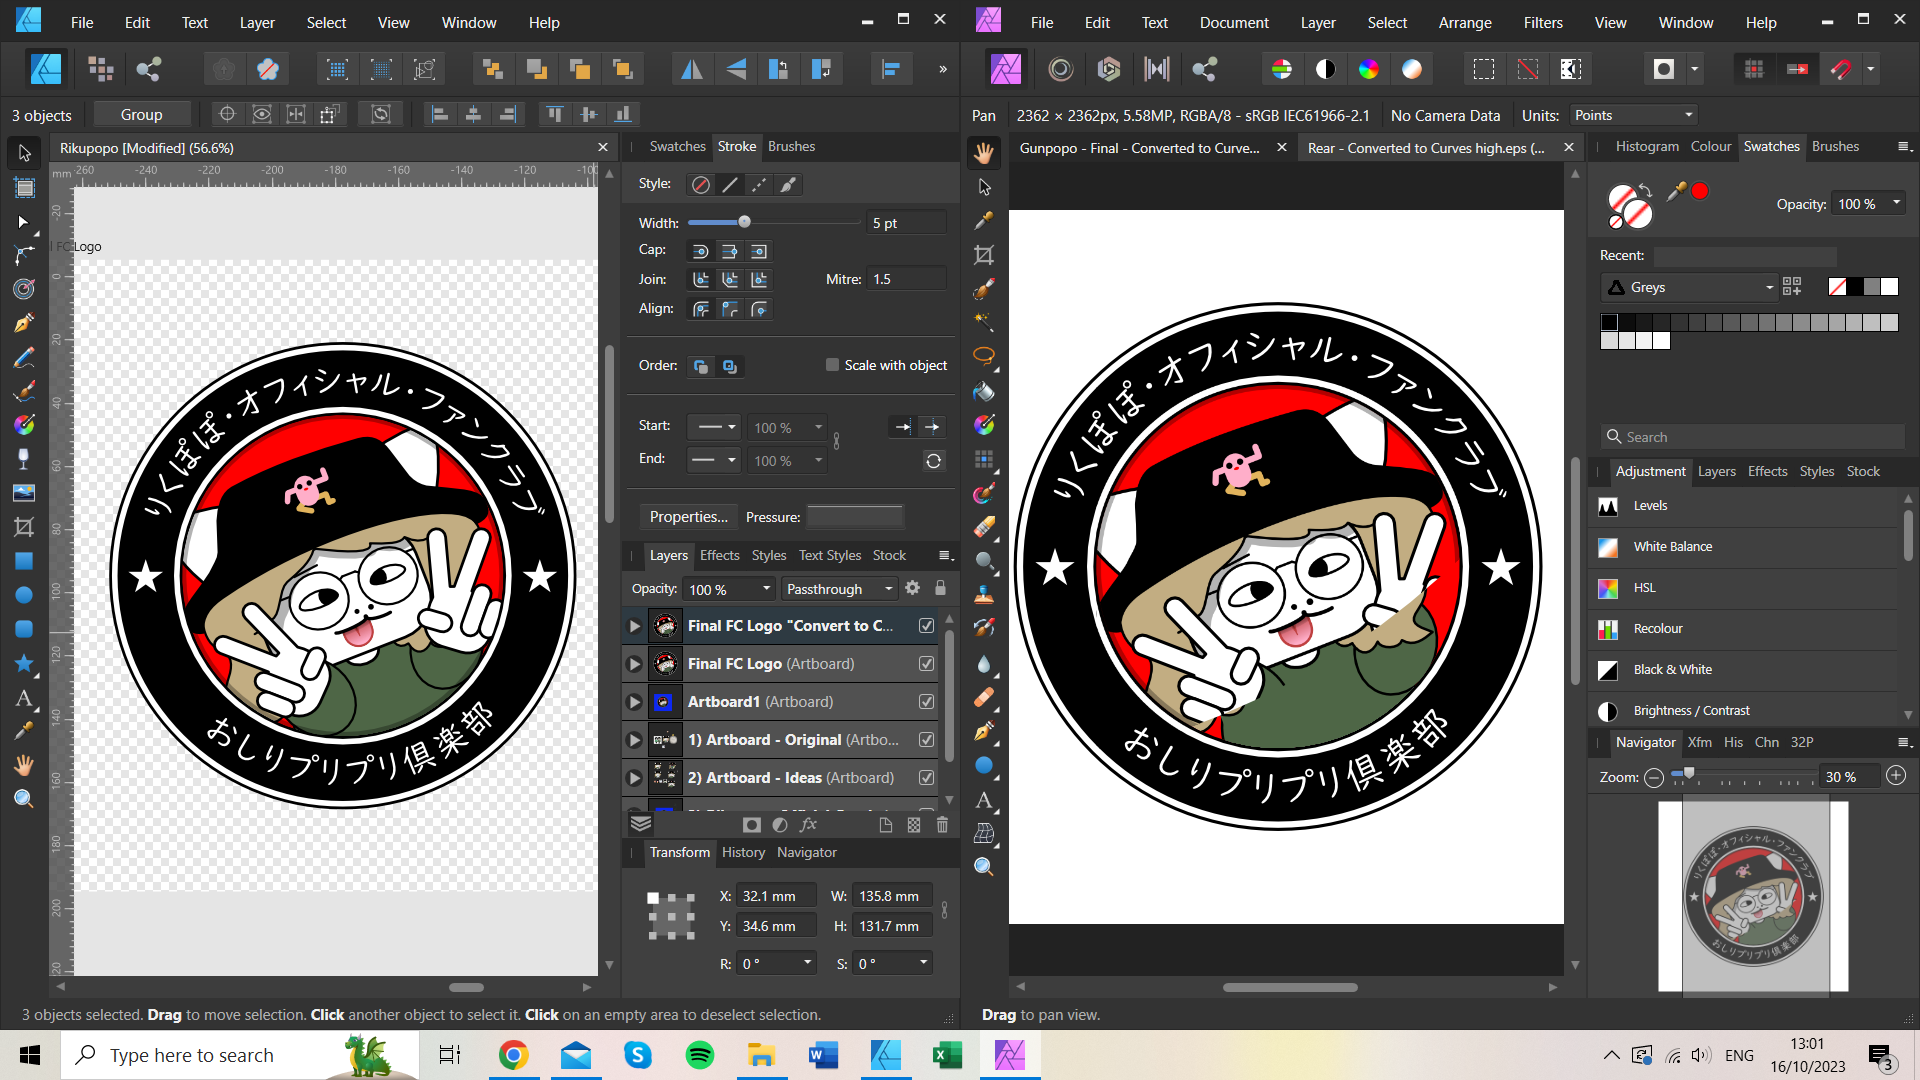
Hi Garry, many thanks for your response! I'm pleased that the PDF's look correct at your end. As suggested I have attached the EPS file. Edit: I believe I have found the source of the problem... Goodness knows why but there is a mask hiding within the image which as far as I'm concerned shouldn't even exist... You can see it in the layer list in the attached screenshot! Rear - Converted to Curves high.eps
-
EPS Woes - Please Help!
Poorukko replied to Poorukko's topic in Affinity on Desktop Questions (macOS and Windows)
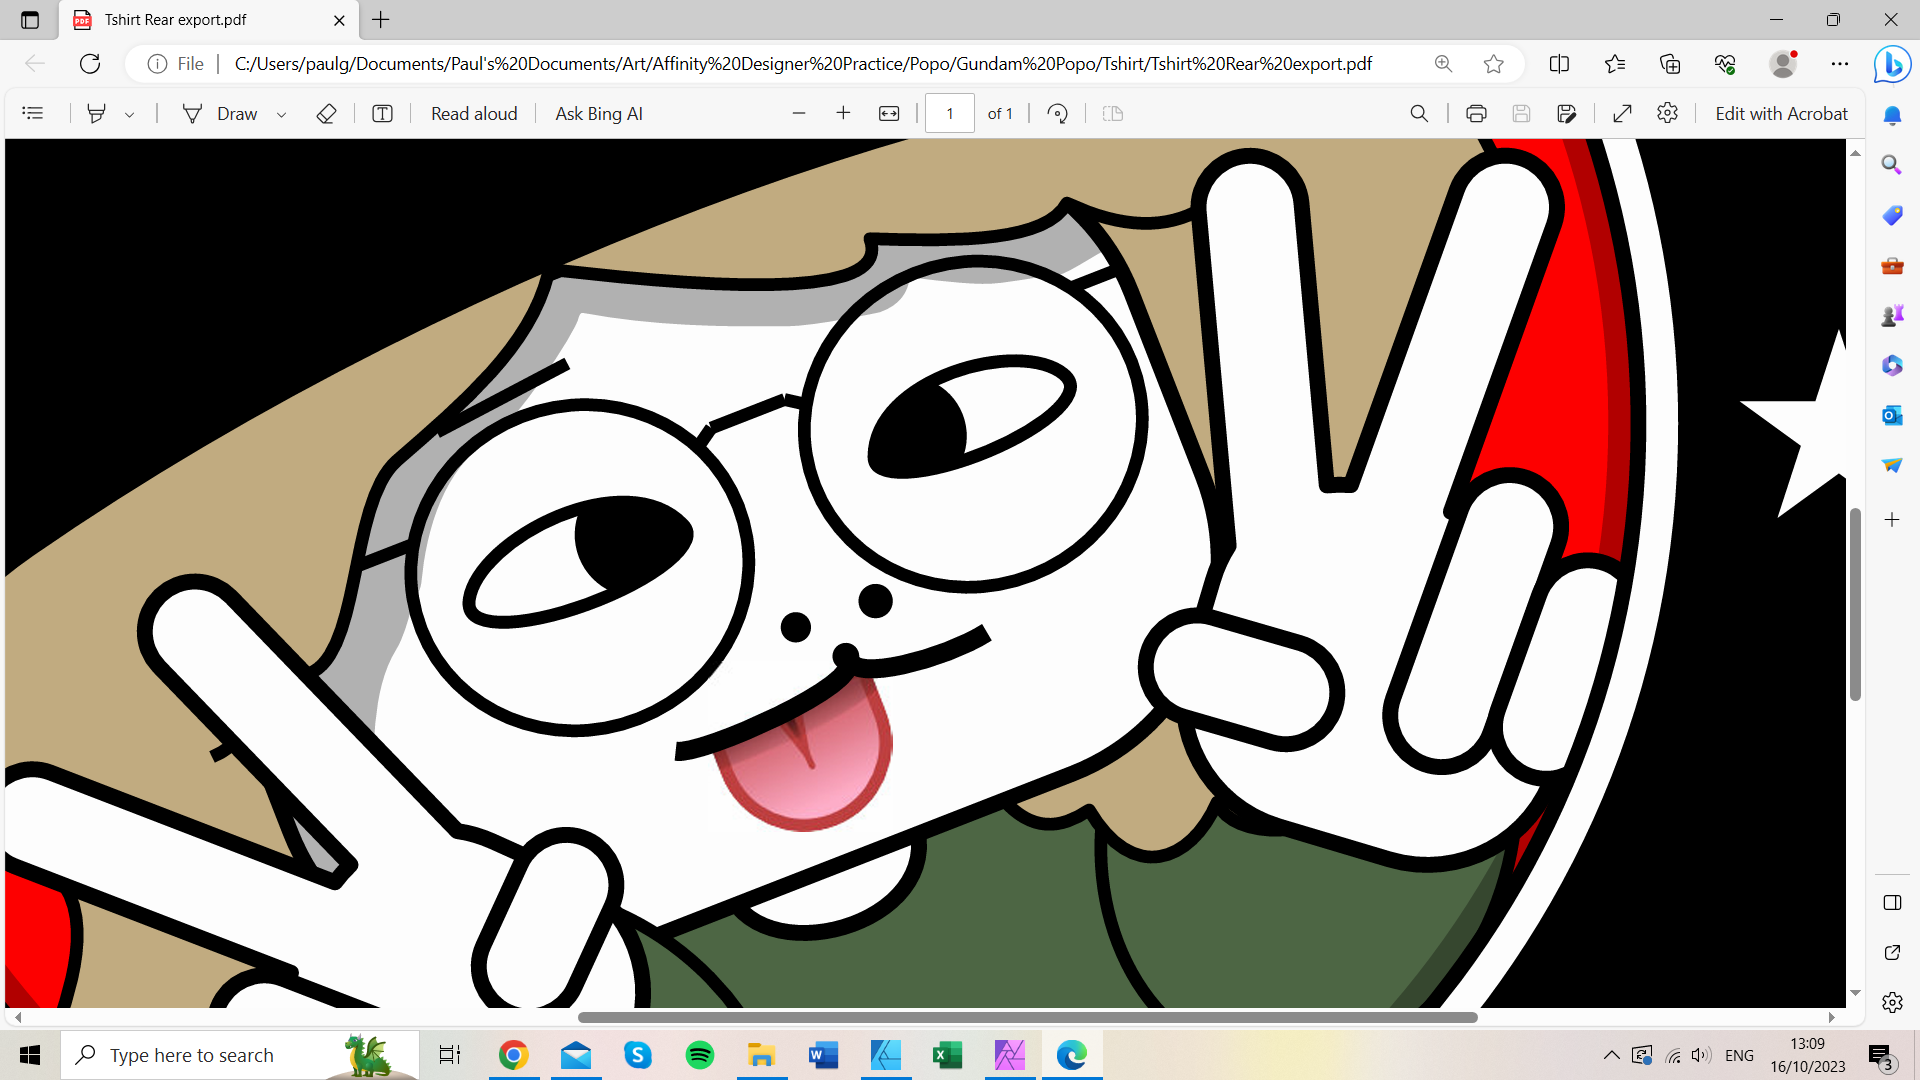
Tshirt rear PDF also attached, for reference Edit: so opening the attachment in this browser the end result is actually perfect! However if I open it from my documents it is not... (see attached screenshot). So I'm wondering how much of this is related to my actual PC. Hopefully the outcome will be better on the printers computer... Edit edit: screen shot within body of message and PDF attachment below! Tshirt Rear export.pdf
-
EPS Woes - Please Help!
Poorukko posted a topic in Affinity on Desktop Questions (macOS and Windows)
Hi all, I'm sending a logo to print for a personal project, however I'm having problems with the quality of the export... When exporting as a PDF, the curved lines used for the mouth result in a flat edge as opposed to the rounded cap set within Affinity Designer. Furthermore, the bridge of the glasses becomes messy. I've tried using different export options (for export / print / digtal etc) with no change. I've also selected all elements and "converted to curves", as suggested by the printer. When exporting as an EPS, parts of the image are lost (see below). In the screen shot below, we have the original vector on the left and the EPS on the right. Please offer me your wisdom, as I'm at my wits end! Thank you!
-
Merge / Flatten... Help Please!
Poorukko replied to Poorukko's topic in Affinity on Desktop Questions (macOS and Windows)
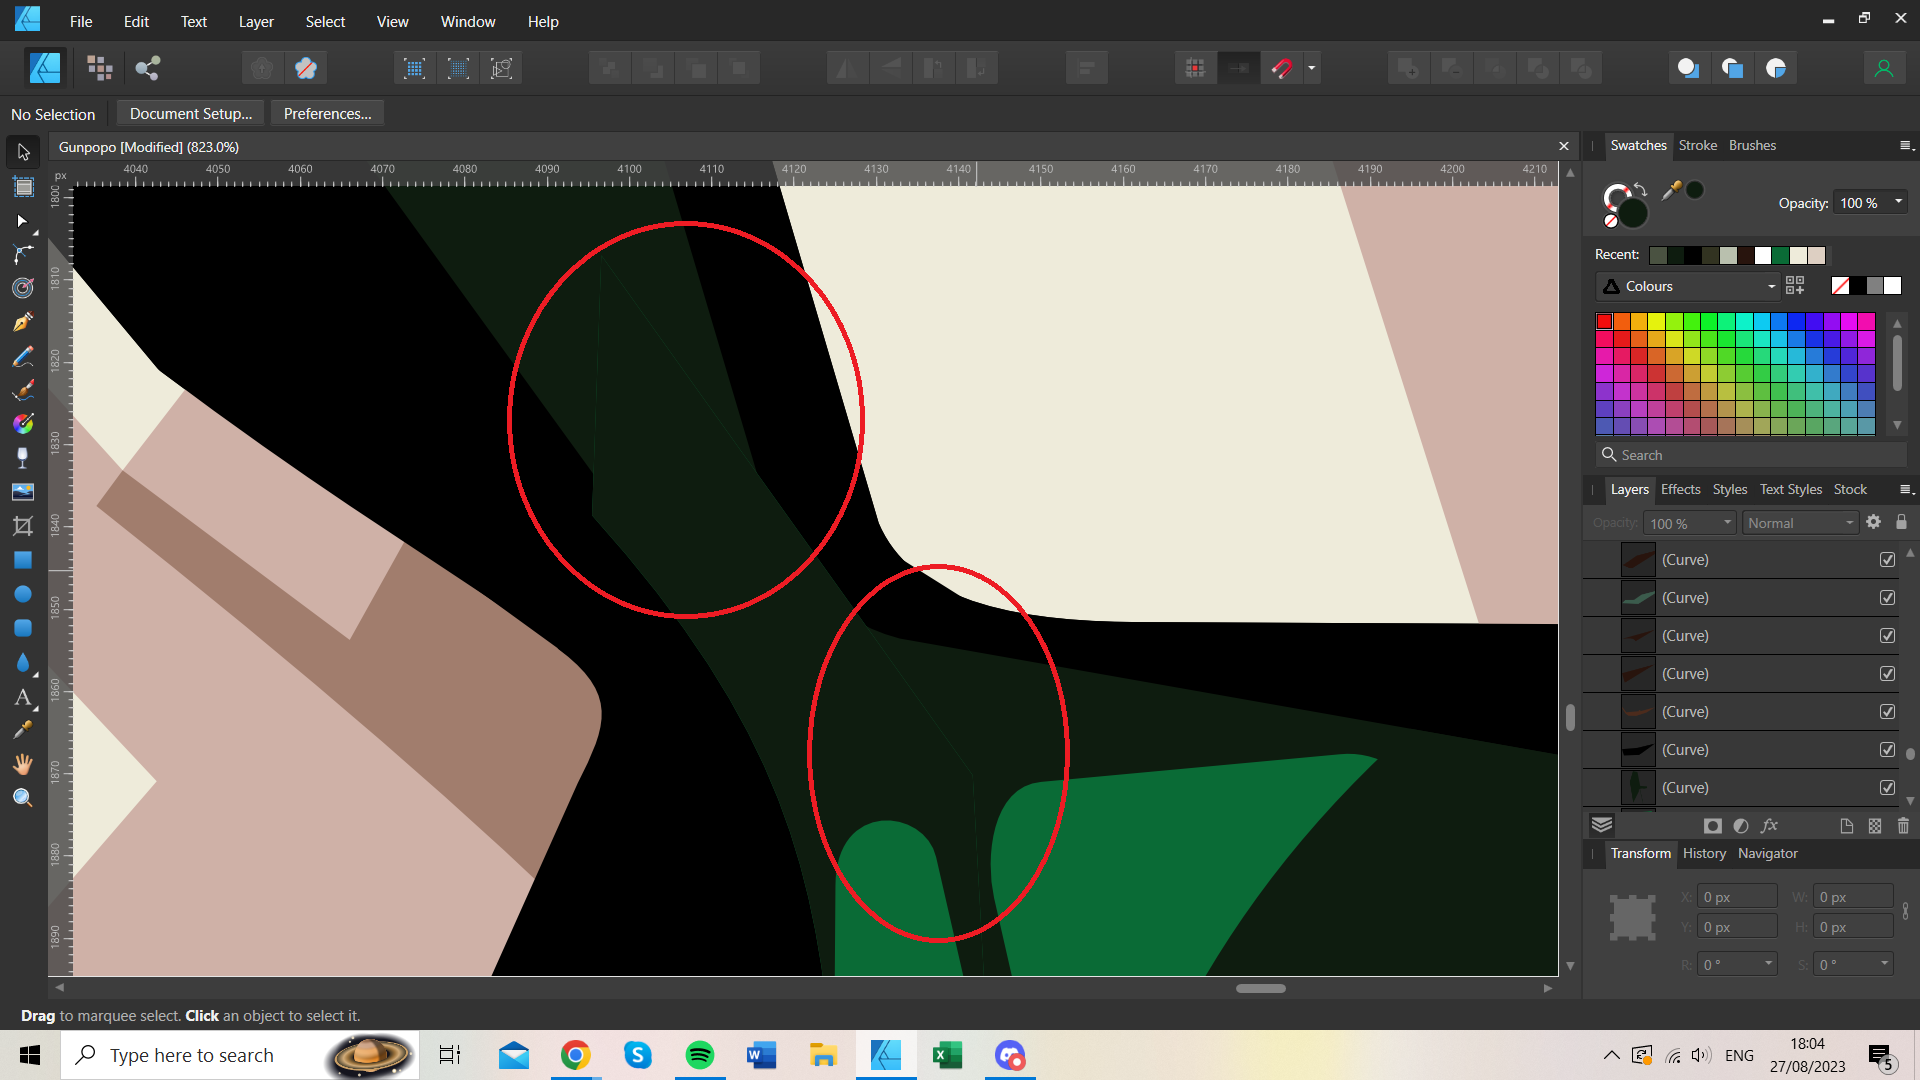
@GaryLearnTech, @debraspicher many thanks to you both for the useful pointers. I will be sure to let you know how I get on when the time comes! In the meantime, I'm finding some frustrating artefacts left behind when masking. Well, the mask seems to leave a noticeably small gap behind. Does anybody have any tips on troubleshooting this? [Edit] To clarify, the olive green section should appear as a solid block, only part of it has a slight emerald green edging to it, from the layer below. In principle, the gap should not exist.
-
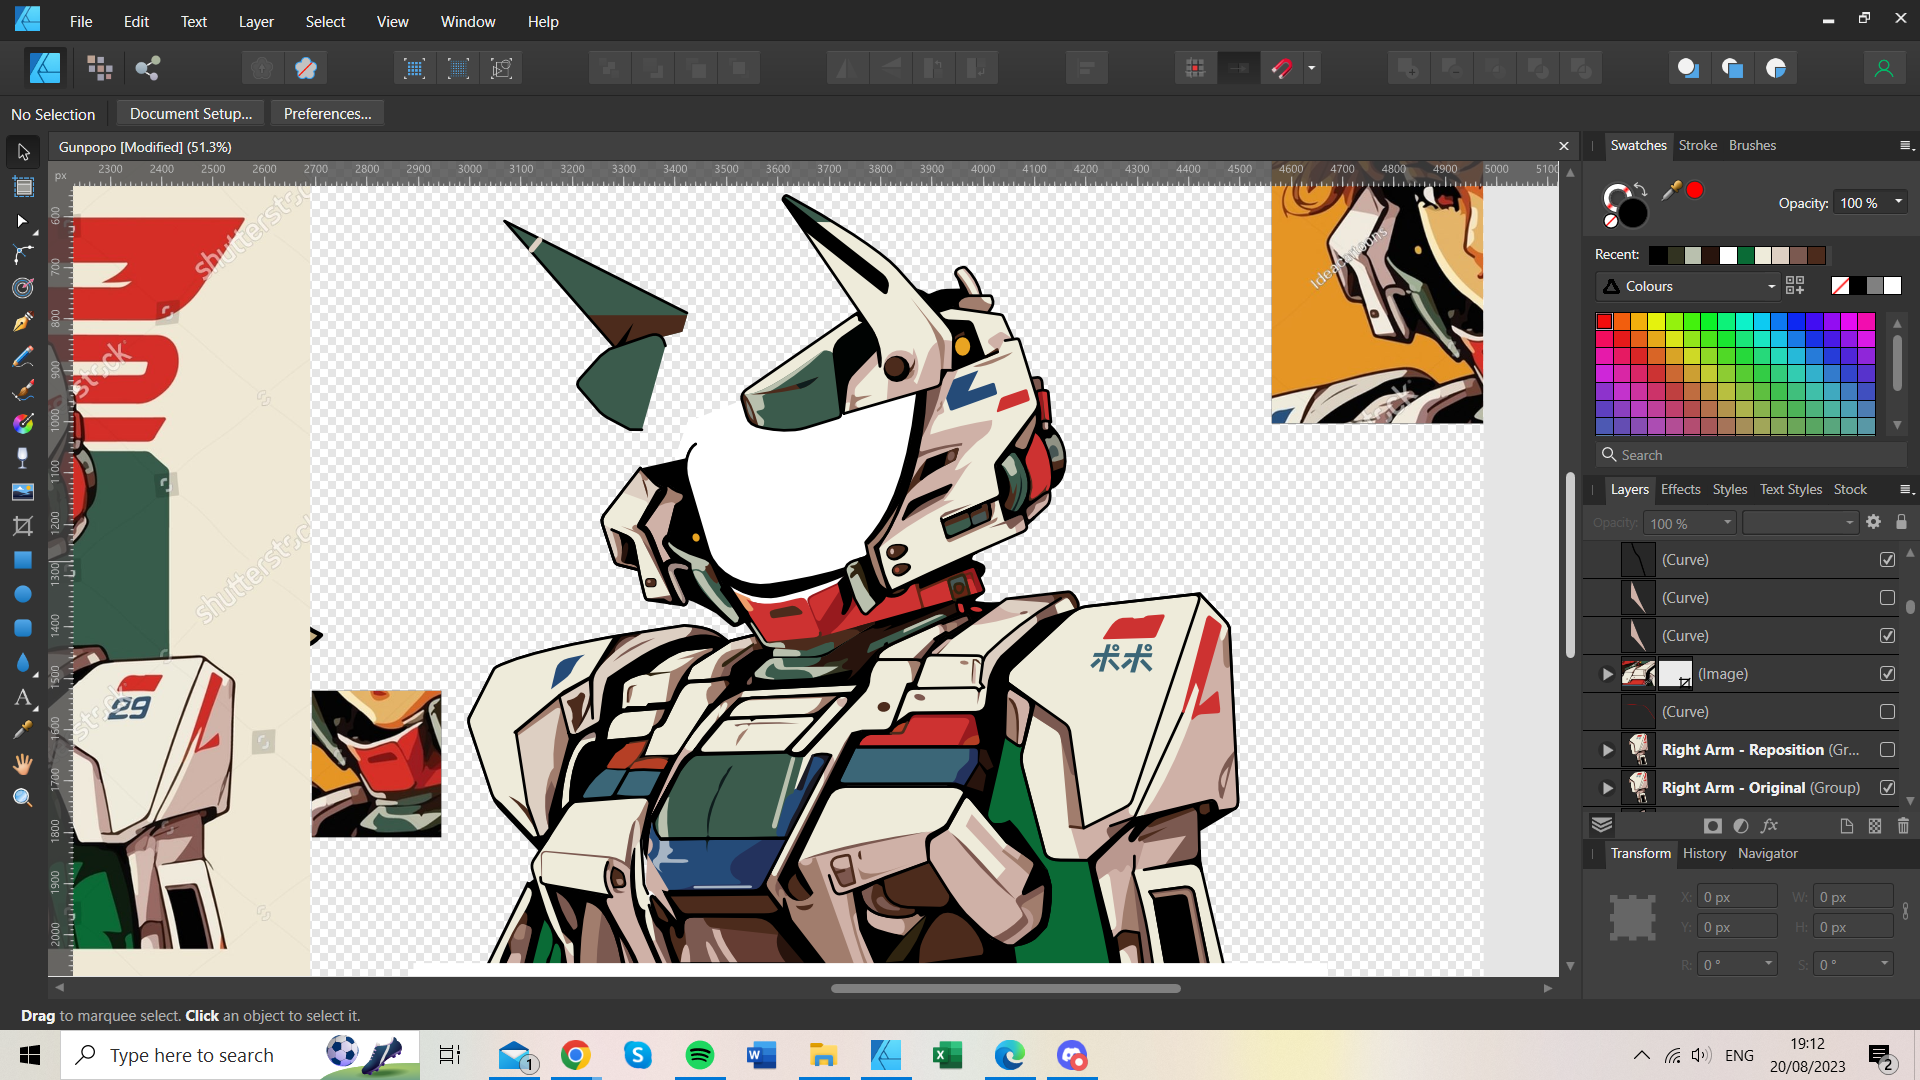
Hi all, First post here. I've been using Affinity as a total digital novice since 2020 and have only followed a small number of token tutorials. As such my knowledge is lacking. I am working on a vector piece that I eventually want to recolour. There are many components and to save me having to painstakingly change the colour of every individual element, I am hoping to God there is an easier way. Is there any means of flattening the image, for example? I mean reducing the piece into the most basic resulting components, as vectors? I ideally wouldn't want to export as a PNG for example and lose all the crisp edges I am working so hard to achieve. Any way of maintaining those vectors would be a great help. Advice? Many thanks in advance!