Our response time is longer than usual currently. We're working to answer users as quickly as possible and thank you for your continued patience.


gumbo23
-
Posts
270 -
Joined
-
Last visited
Everything posted by gumbo23
-
I am doing the prep in Photo for Publisher, so am using both in this project.
-
It seems that if I rasterise the image, then I cannot freely transform it in Publisher. Is there a way around this issue?
-
I have two images within a single image file, and I need to move them closer together. How do I do this?
-
Just to clarify: when the Photo and Designer personas are live, will they give us the functionality of the full applications if we've purchased them? Or does this work in some other way?
-
Thanks - this is working excellently.
-
I'm doing a batch processing of images, using a four-step macro, and nothing is happening. The first four, from a list of 28 images are just hung up, the wheels spinning. When I tried with a batch of just two images they were done immediately as far I can tell. This works for three images too. If I do four - it does nothing at all. It does not show anything as processing - though if I try to quit Photo it stops me, saying that there is a job processing. I've also tried batching seven images, and the first four are just stuck - as in the first list of 28. Is there something else I need to know to get this working? I have over 200 images to process the same way. I have a fairly recent iMac, with 16GB of RAM, and it never slows down normally. So what could be going wrong here? I've followed the Affinity video, going through several times. The only difference is that I am outputting as PNG.
-
Excellent tips - thanks guys
-
I have about 80-90 panoramas to create. Is there a way to batch create them, out of the pairs of scans I have?
-
I am creating panoramas of pairs of scans and they all come out upside down. When the panorama is applied, there is no Transform menu in the bottom right, nor are there the rotate icons. I need a shortcut for rotating these images 180 - what is the quickest and easiest way to do this?
-
This is the one! Rasterising the whole lot was the missing step. Thanks to all for their help! So the steps that worked: 1. Scan document as black and white jpg or PNG 2. Import into Photo 3. Use Layer > New Adjustment Layer > Levels Adjustment 4. Levels: Black - 14% White - 76% Gamma - 1.288 5. Document > flatten 6. Filters > Colours > Erase white paper 7. Export as PNG, selection without background 8. Import into Publisher image frame 9. Give thanks and celebrate!

-
I've tried this - same result again. The grey background is still there despite following all steps. When I create the PNG it looks as it should - so why is the grey background always in the final version that is imported into the picture frame in Publisher? If I paste it onto the page without using the picture frame the result is identical. It is as though it never truly gets converted to a PNG, or the background is not truly erased. When I paste in your version it works fine - so clearly I'm missing a step or two?
-
I tried all this with a different scan - same result! But I could not copy/paste the levels adjustment. It just gave me the old image instead of the new one. What could I be doing wrong here? Are there any videos that could walk me through this process? I could not find any.
-
What is the list of steps to produce this? I don't do this for a living so am very out of practice ...
-
Just to be clear - what is the full list of steps after creating the scan, using this method? you say I should rasterise the first layer - but how is that produced? Do I have to duplicate something in order that there are two layers so that one can be rasterised?
-
How do I find the threshold filter?
-
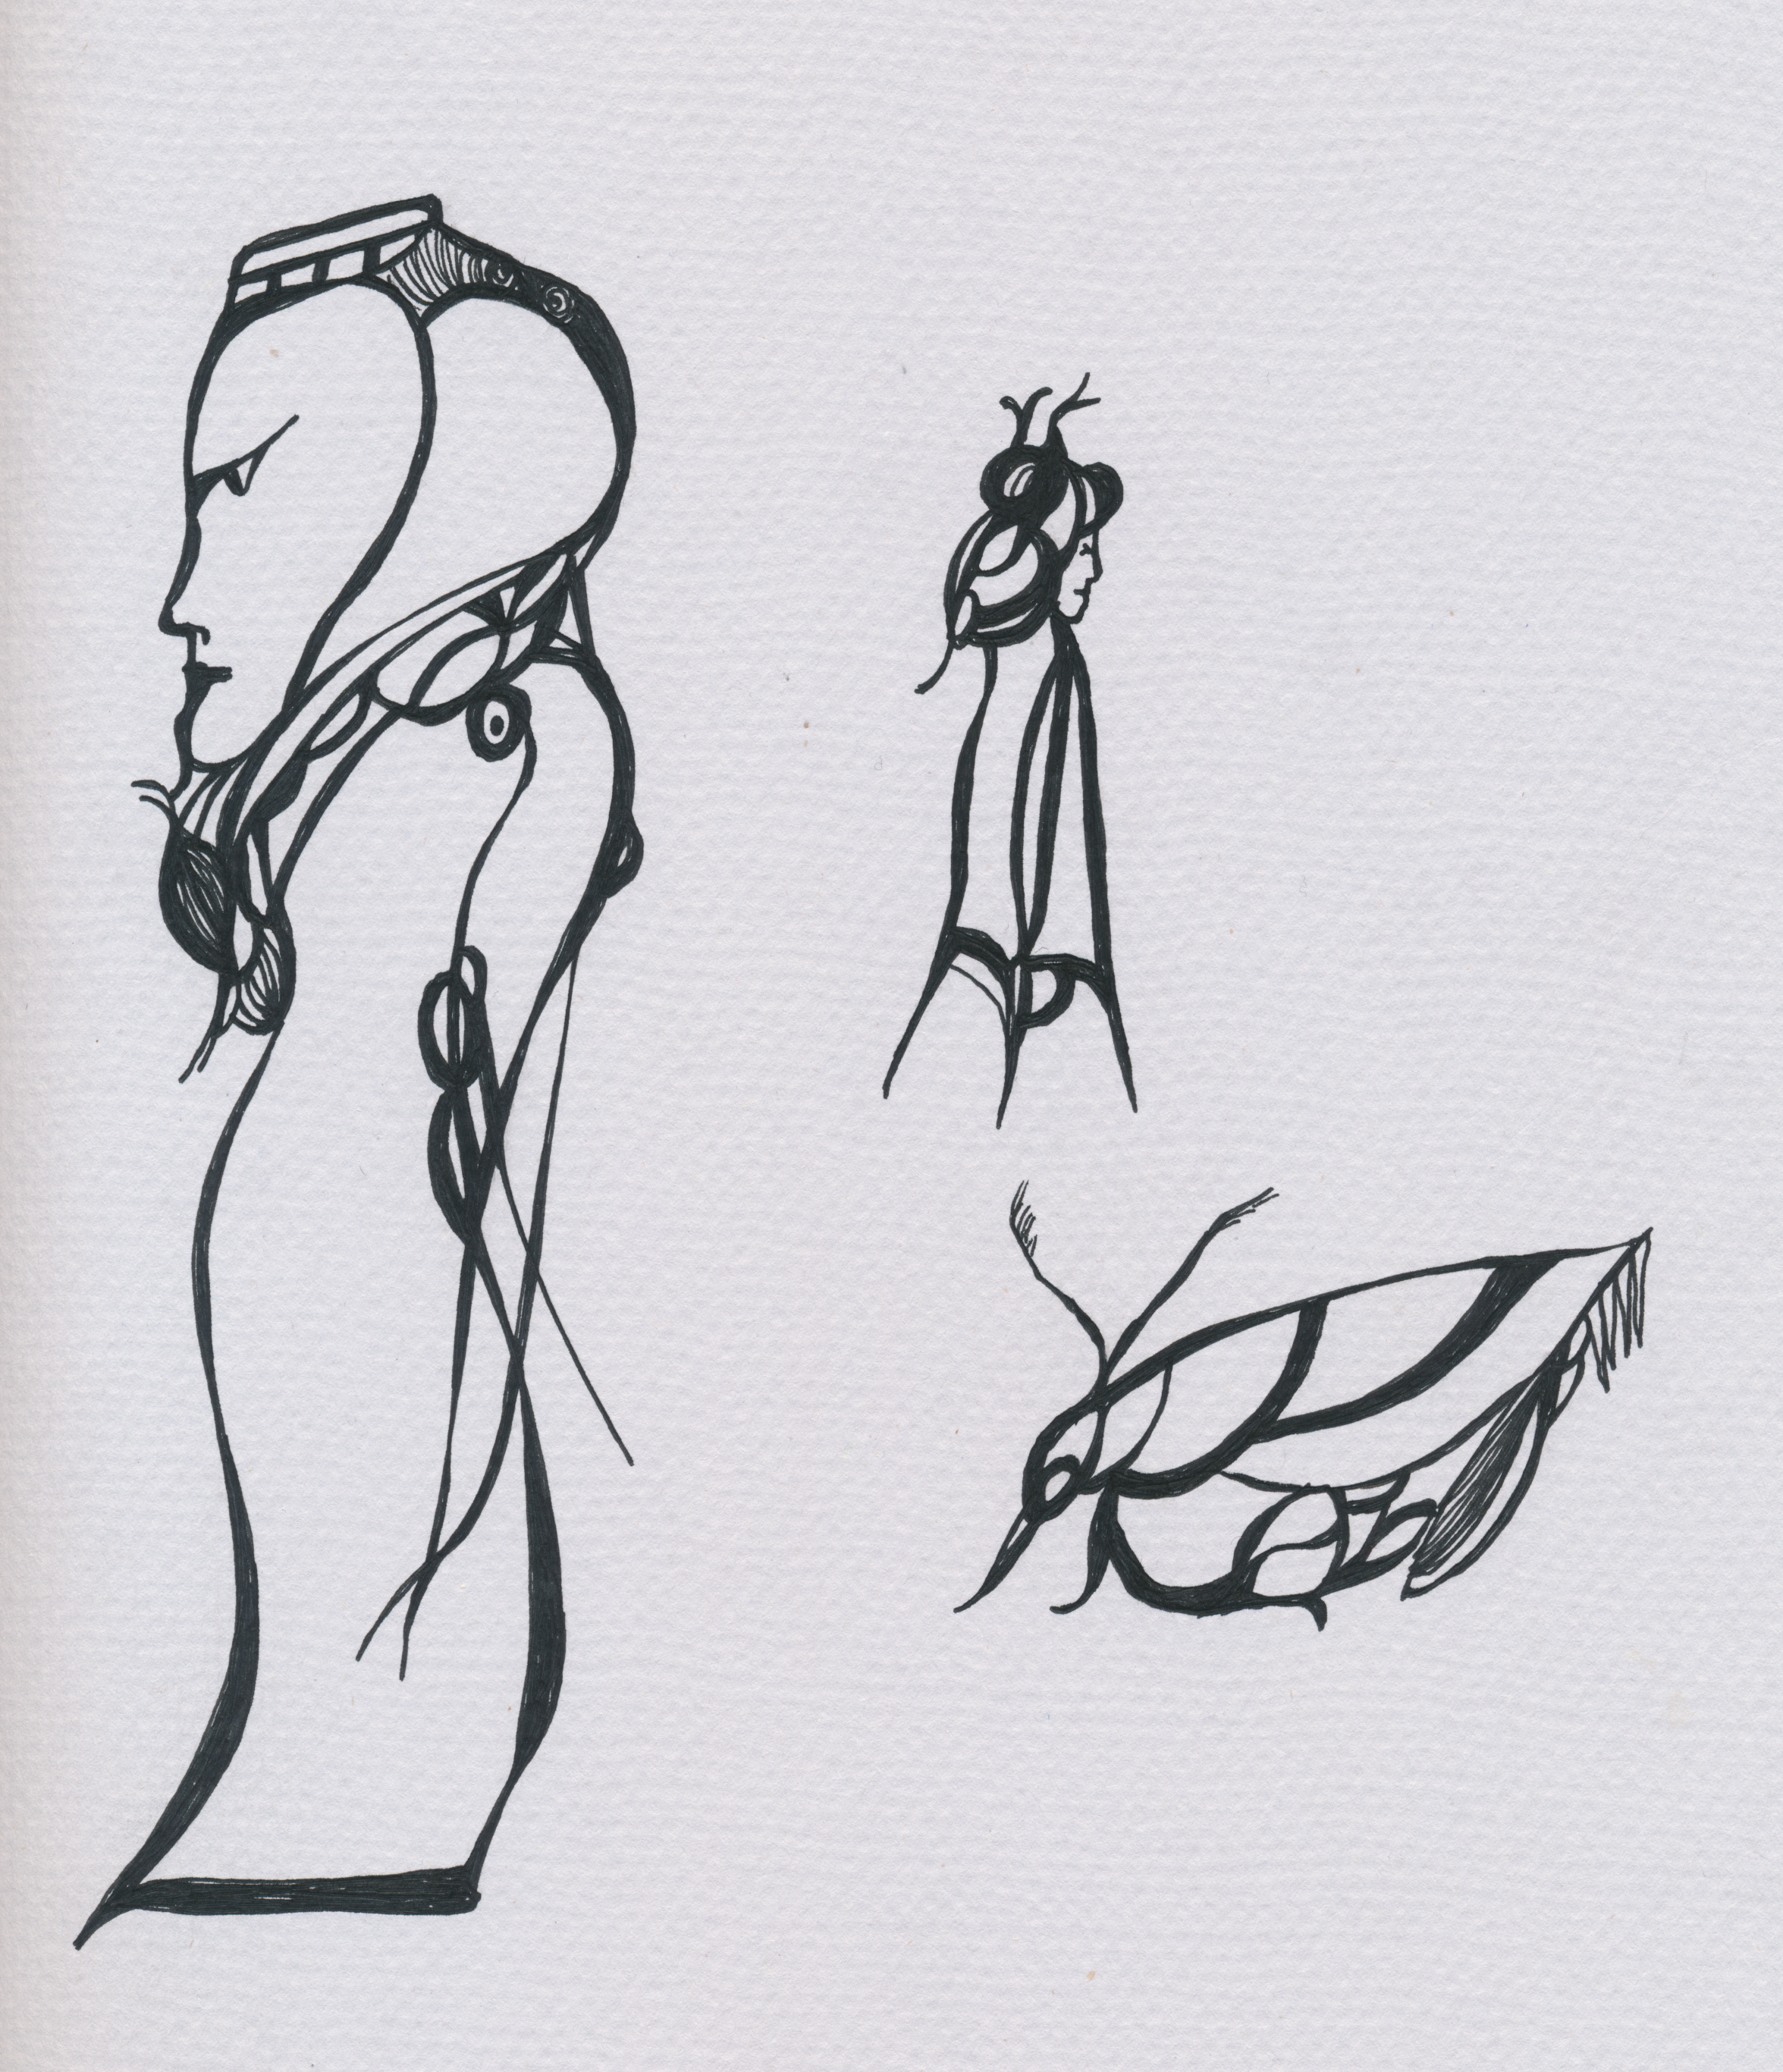
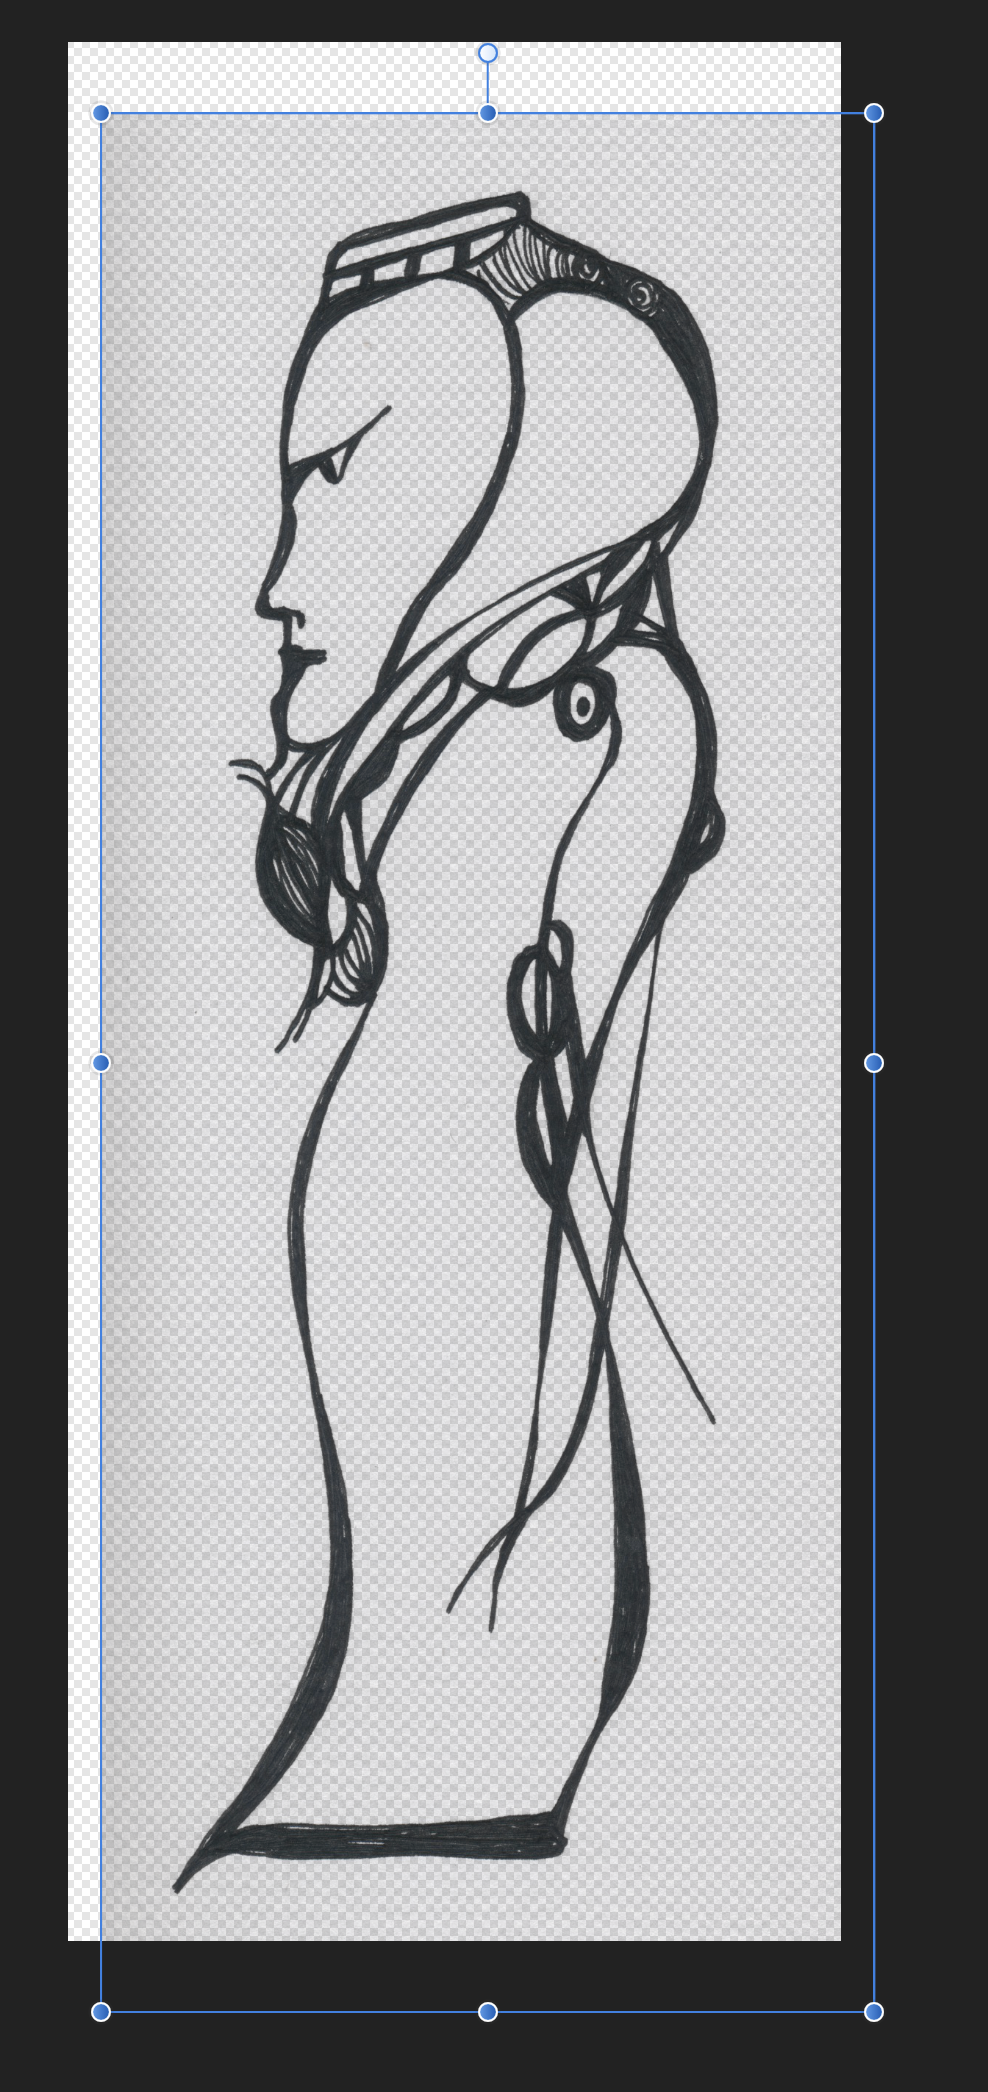
I'll attach both jpg and png here ...
-
Is there a preferred file type to use when scanning the original? I can then send you one of those versions.
-
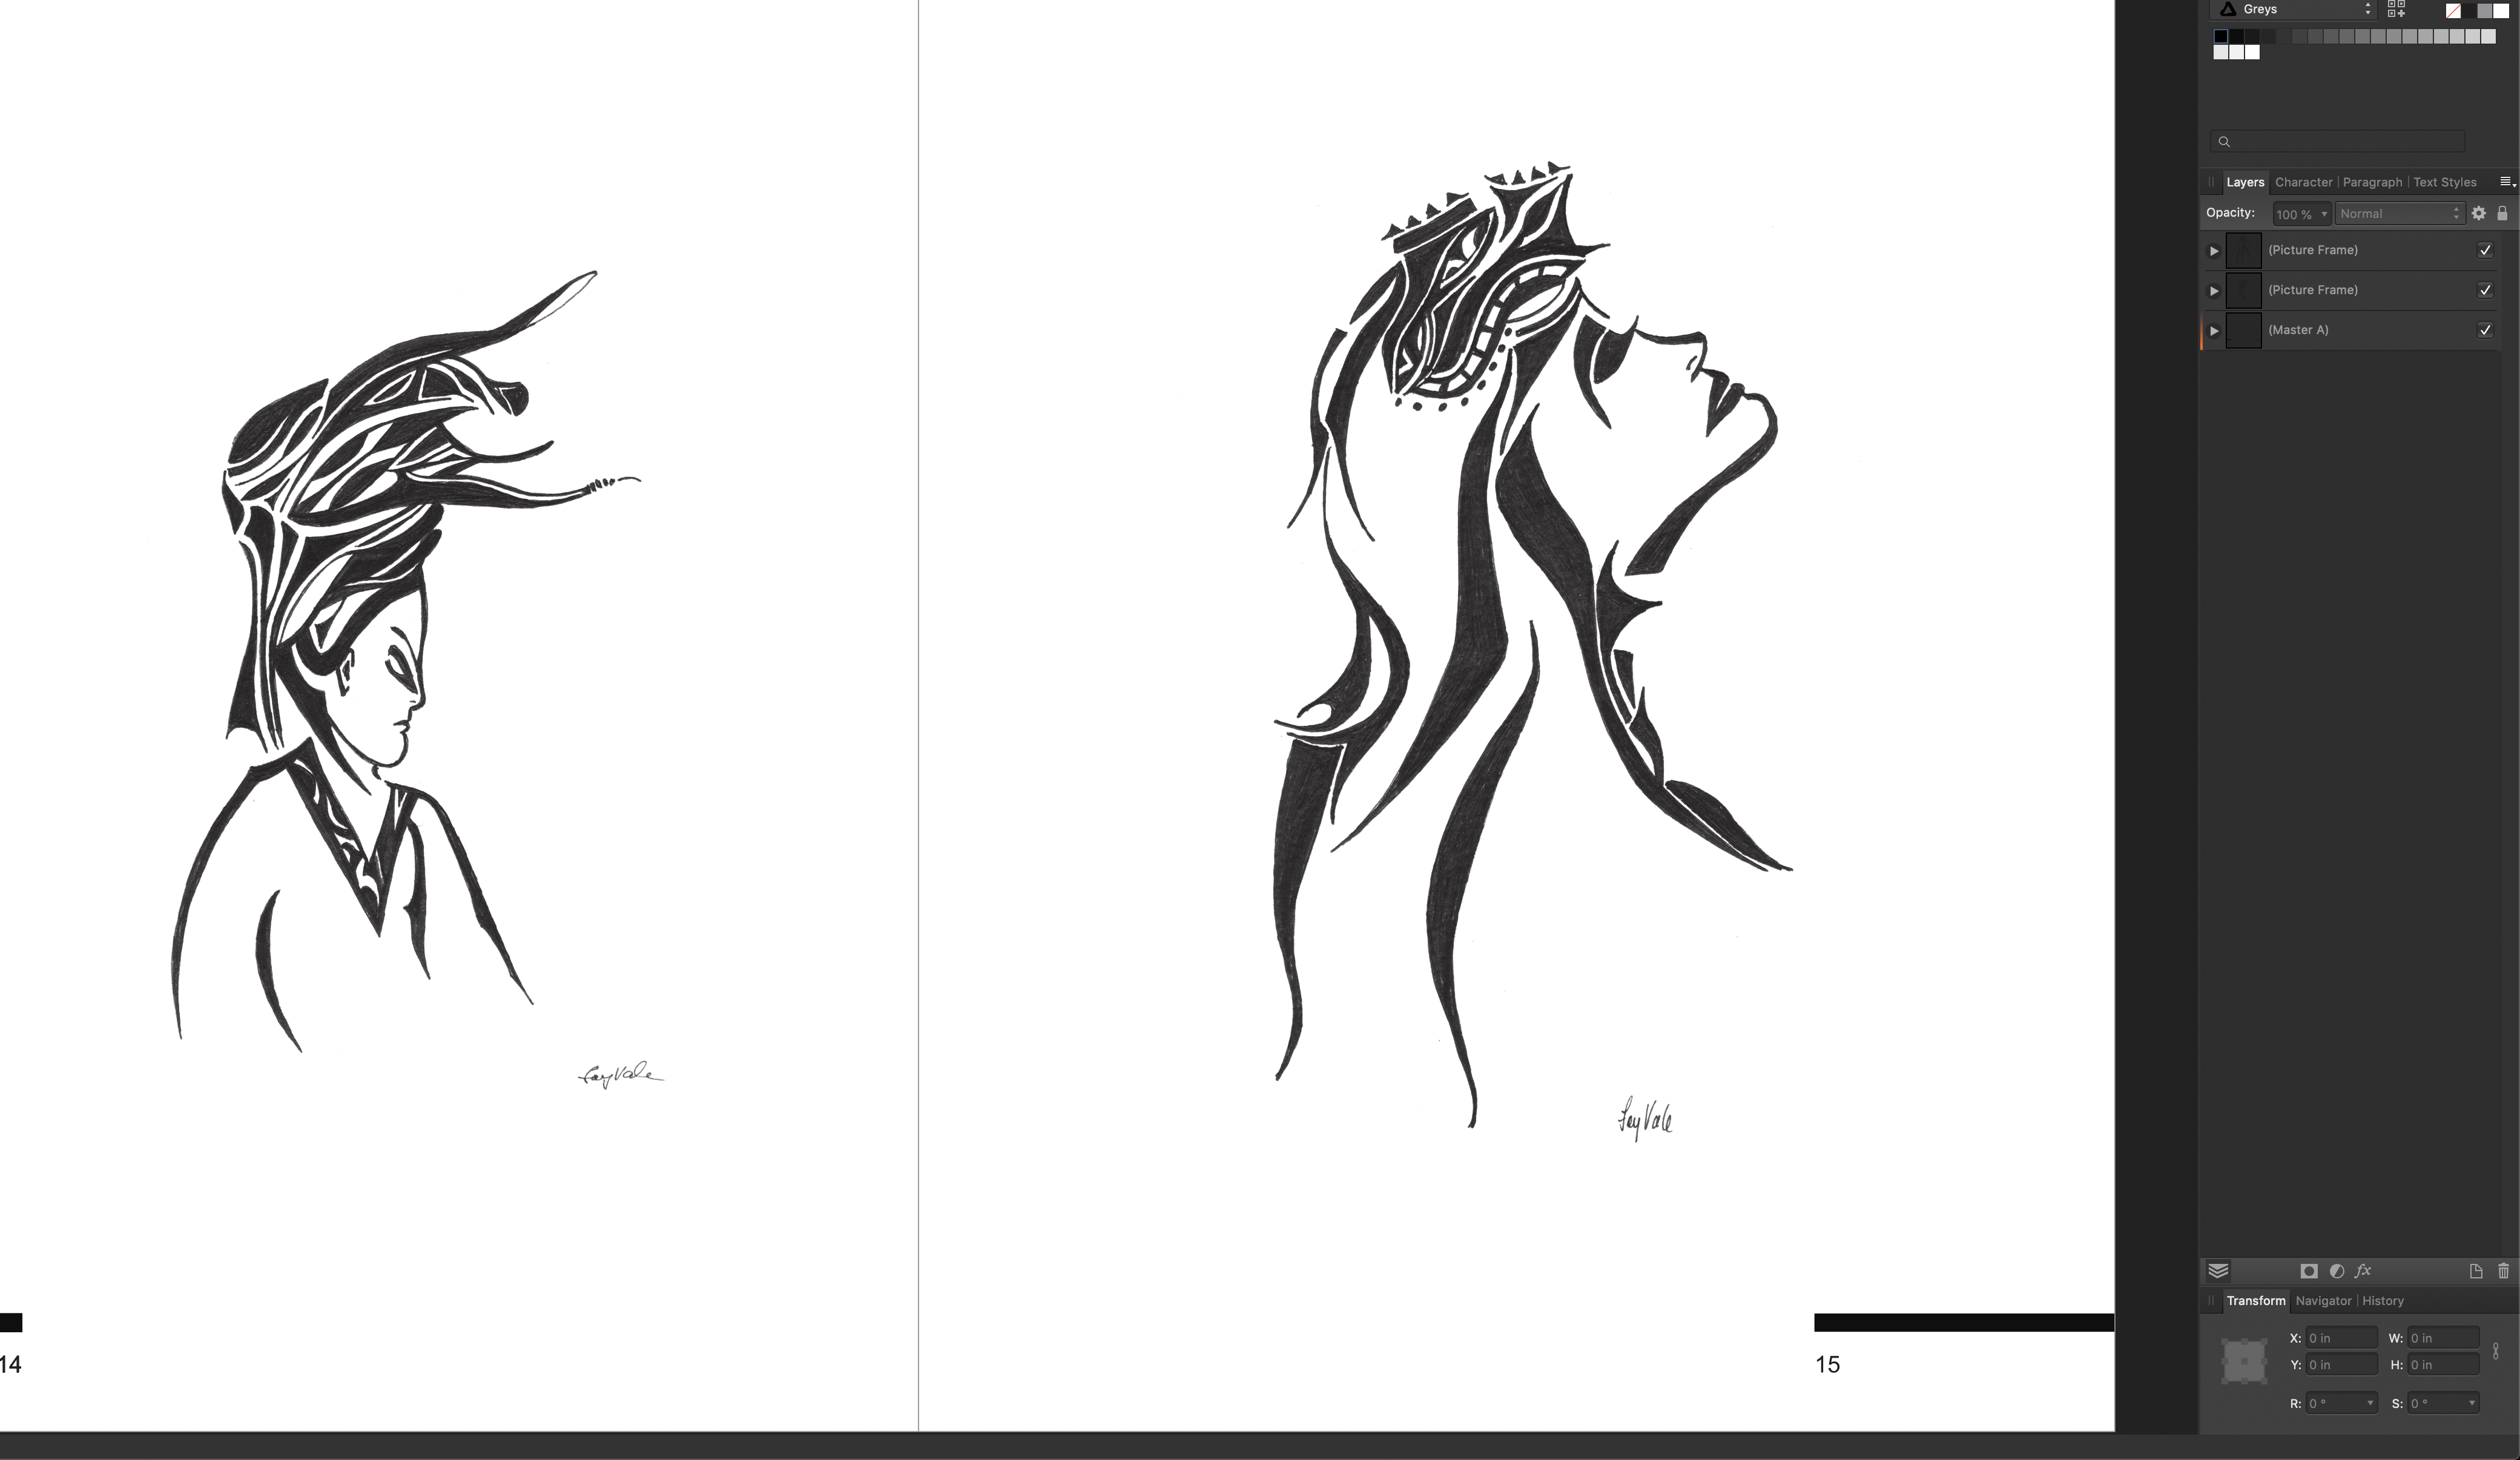
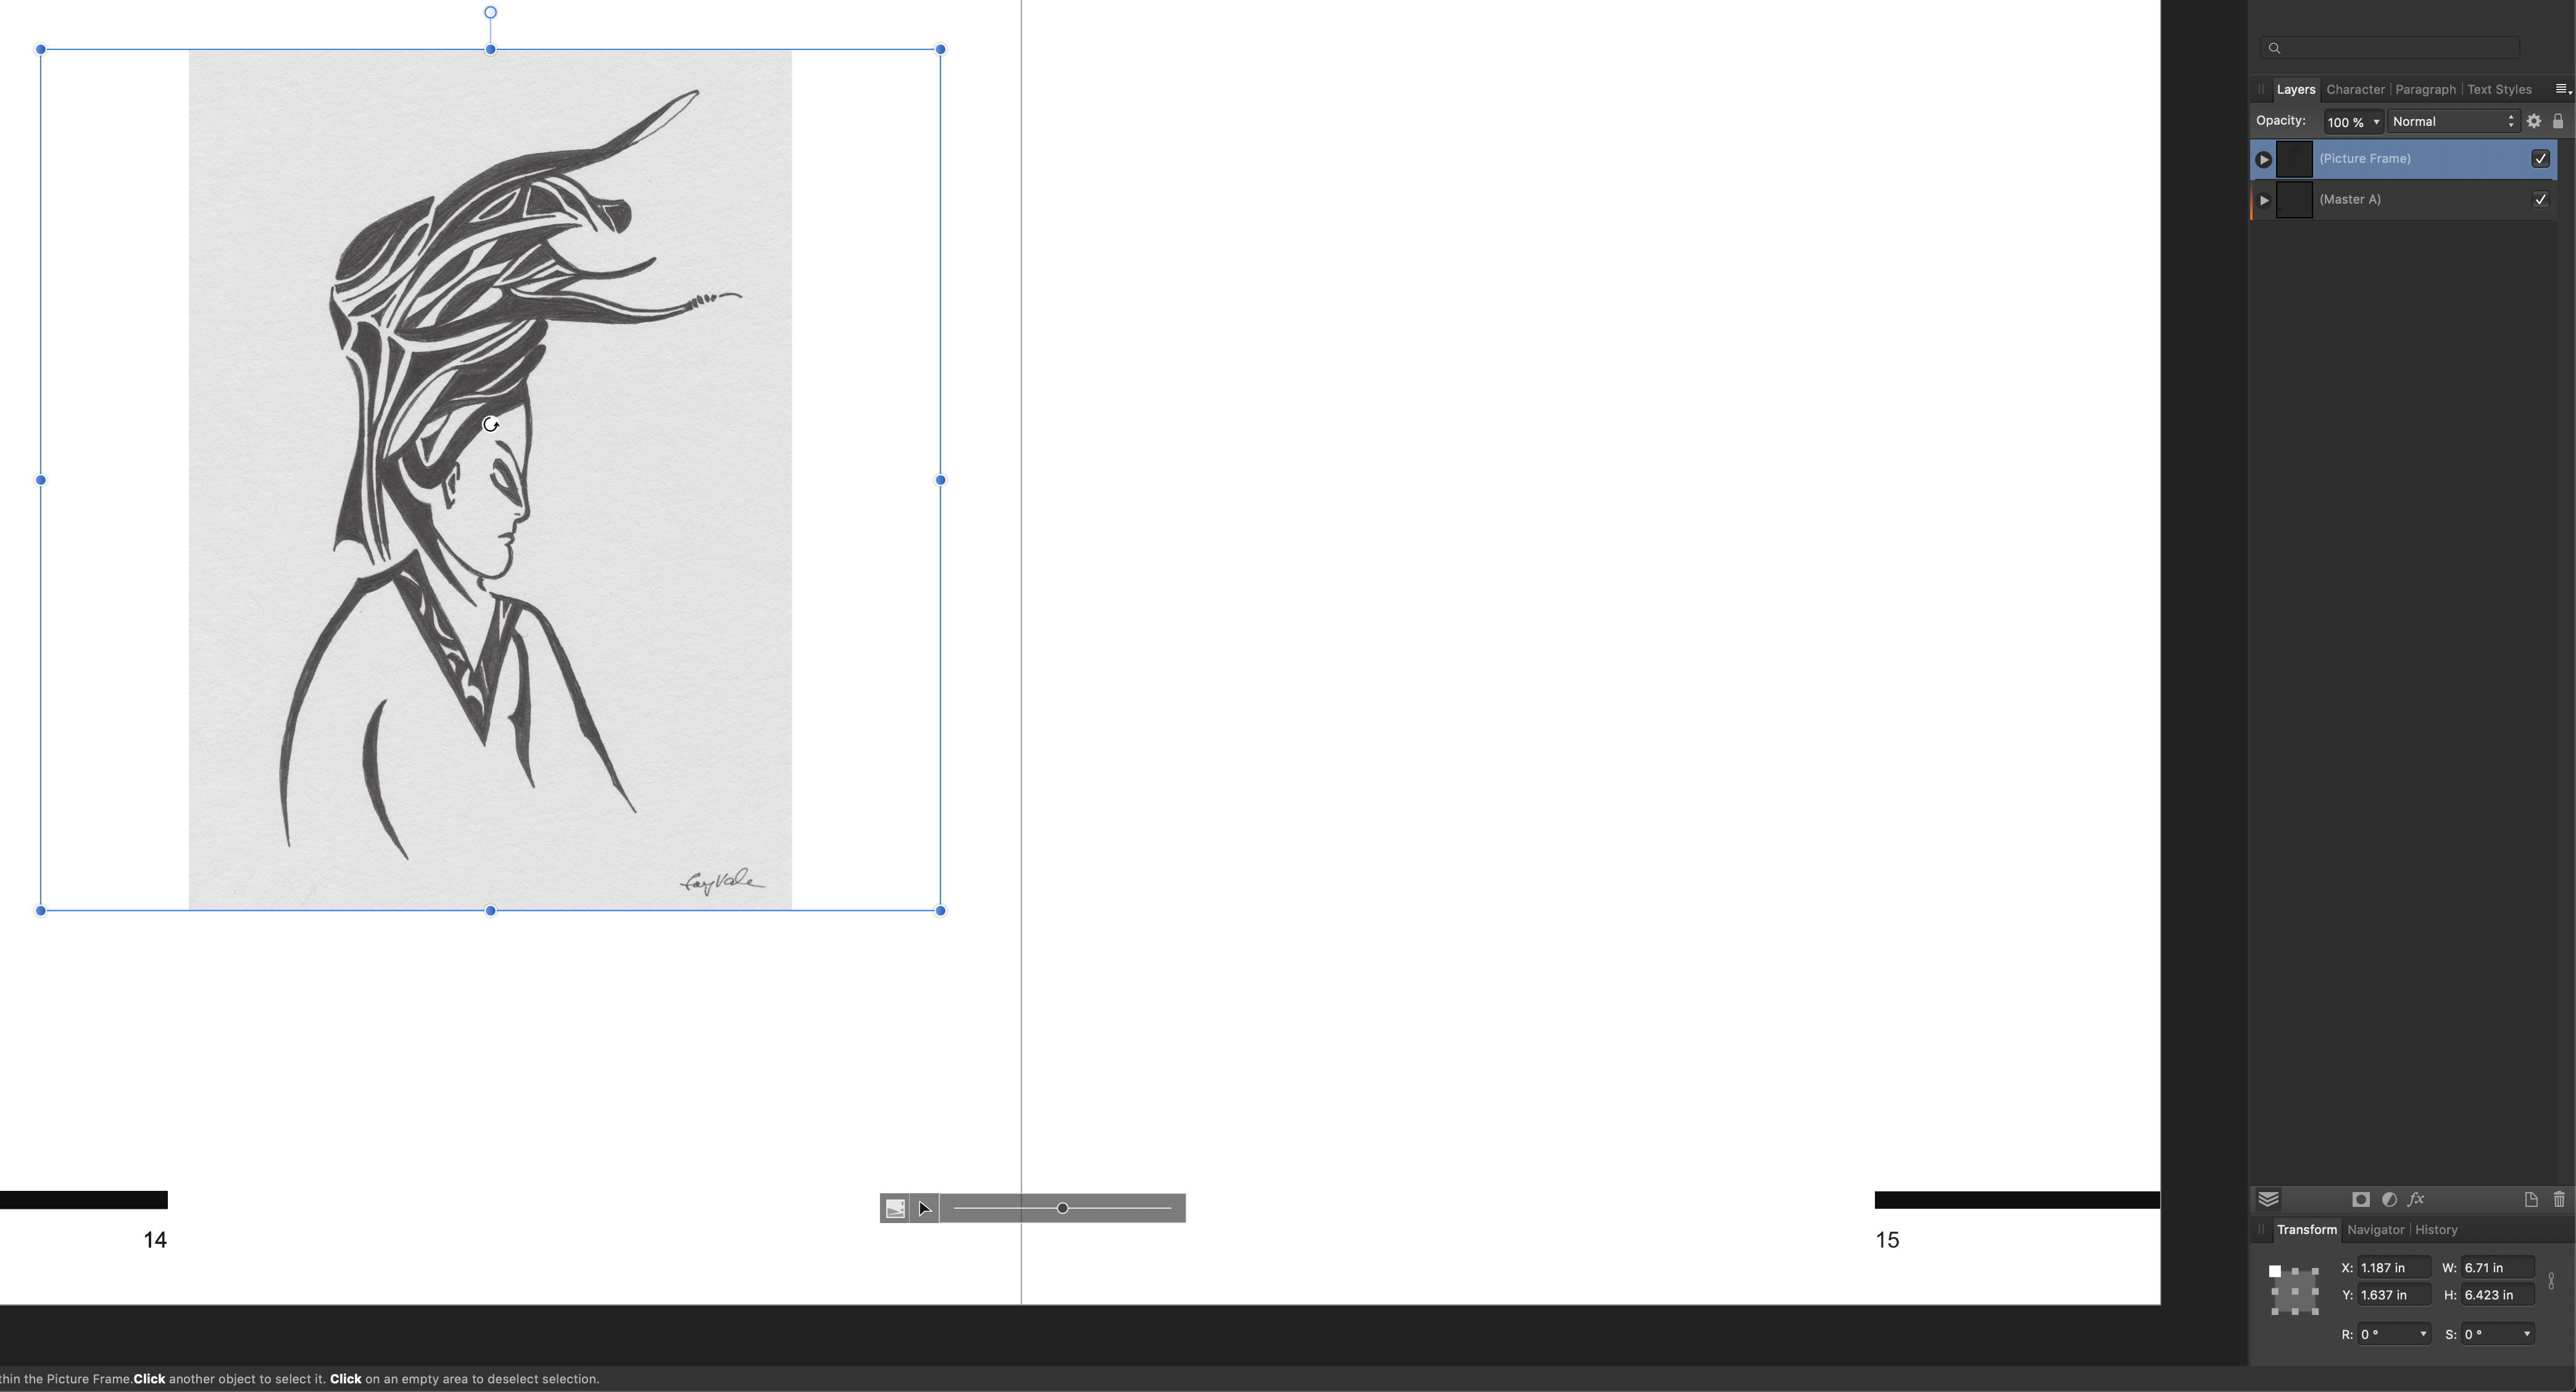
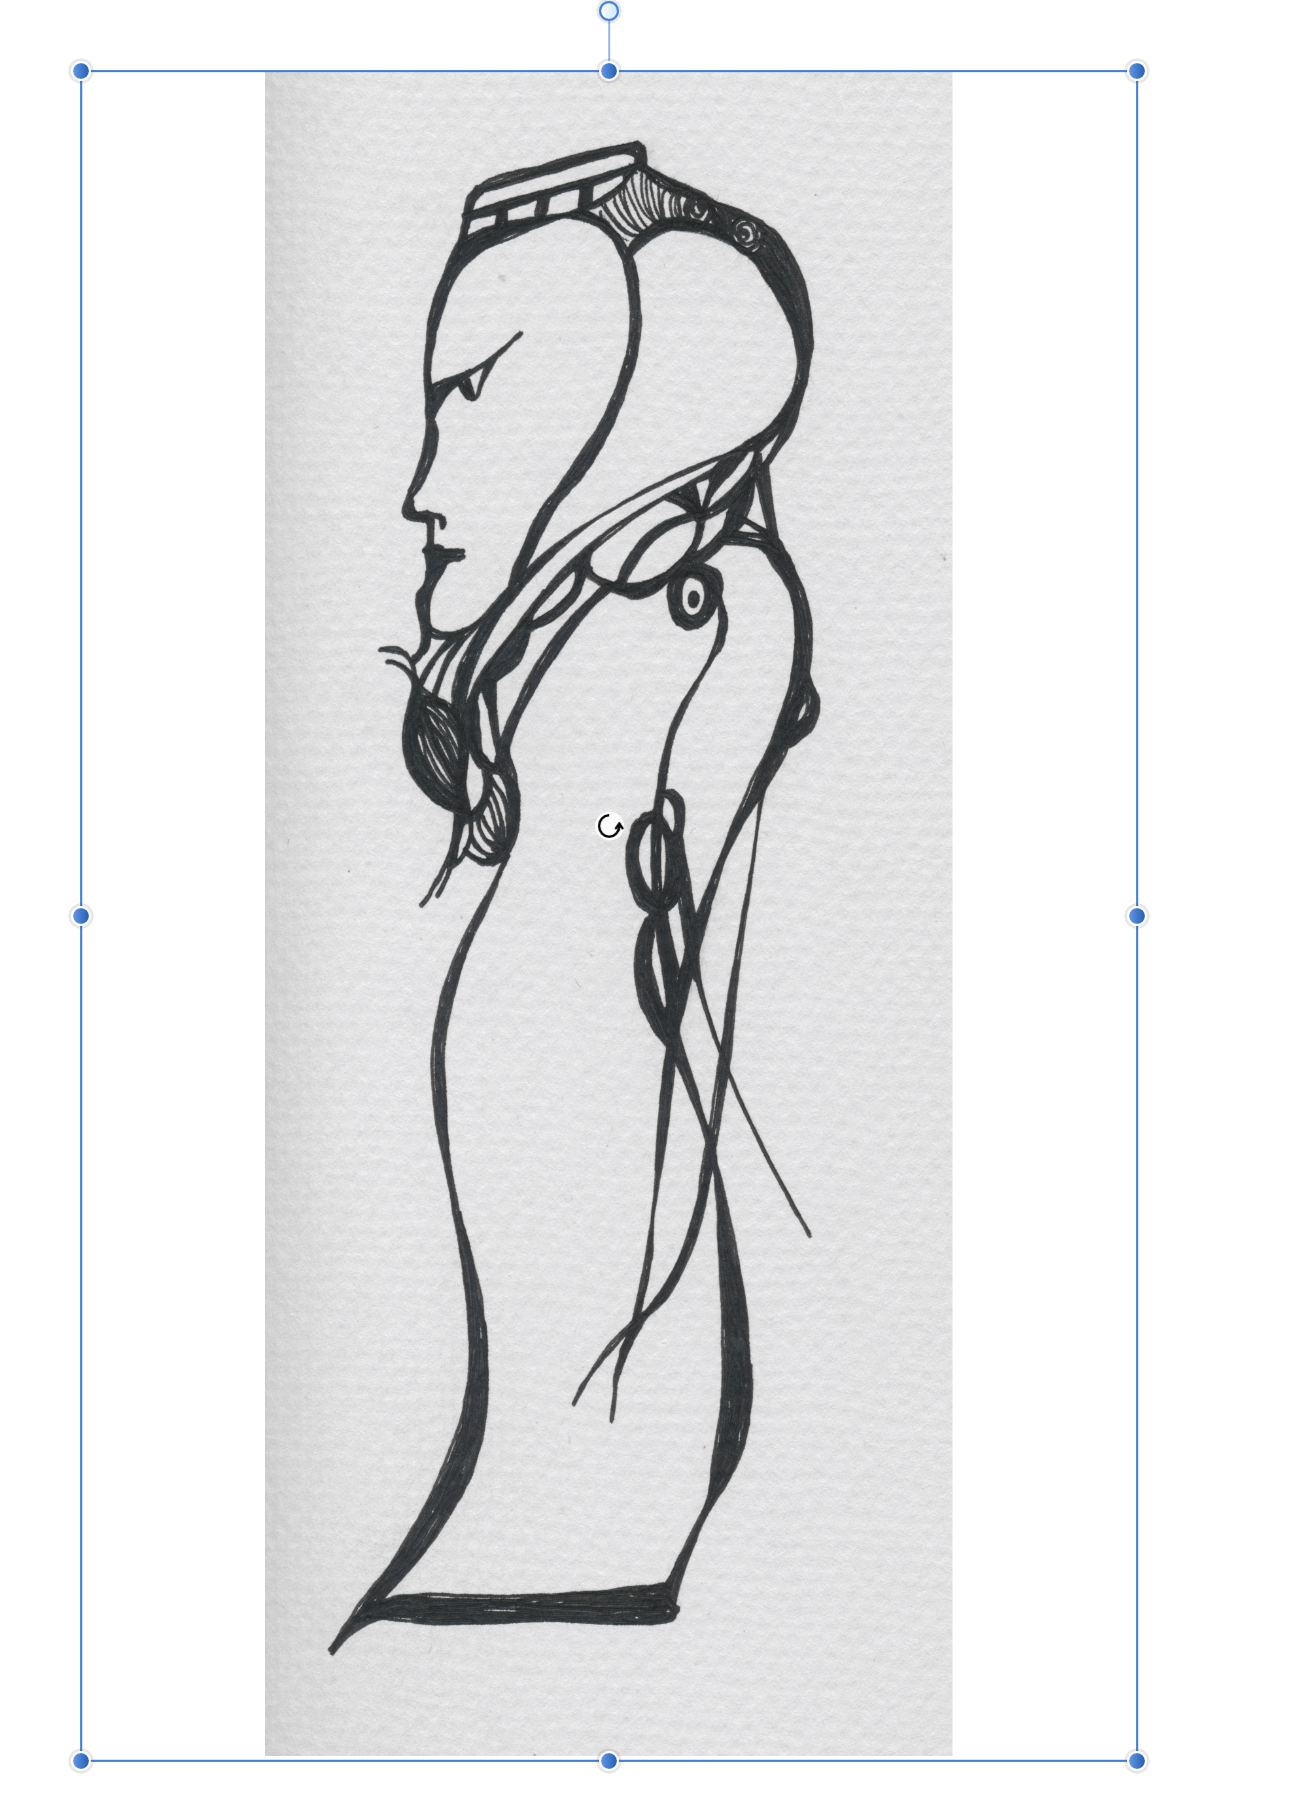
This is the image with white bg erased in Photo - and then the image placed in an image box in Publisher:
-
I am trying to end up with just the black and white image on a white background. It will be published on a white page so I need the off-white background in the original art to disappear. I'm not sure I know what you mean by placing a red rectangle below the image - how does that tell me if something is transparent?
-
I follow the steps but the final imported image always has the background. When I select erase white paper it looks like it has turned into a PNG, but then the final image imported still has the background. Where could I be going wrong? I also select 'image without background' when exporting the PNG but when I insert the image it still has the original background that I am trying to remove.
-
I can't get this to work. How do I get this into Af Publisher as a PNG?
-
Is this in Photo or Designer?
-
I will be scanning original artwork in order to produce a book. We will be using artwork drawn using black ink. When importing the scans into Af Photo or Designer, is there a way to separate the image from the original paper background - and create a PNG of each image? The idea is to avoid having whites around each image which are different to the paper stock color. I hope this question makes sense!
-
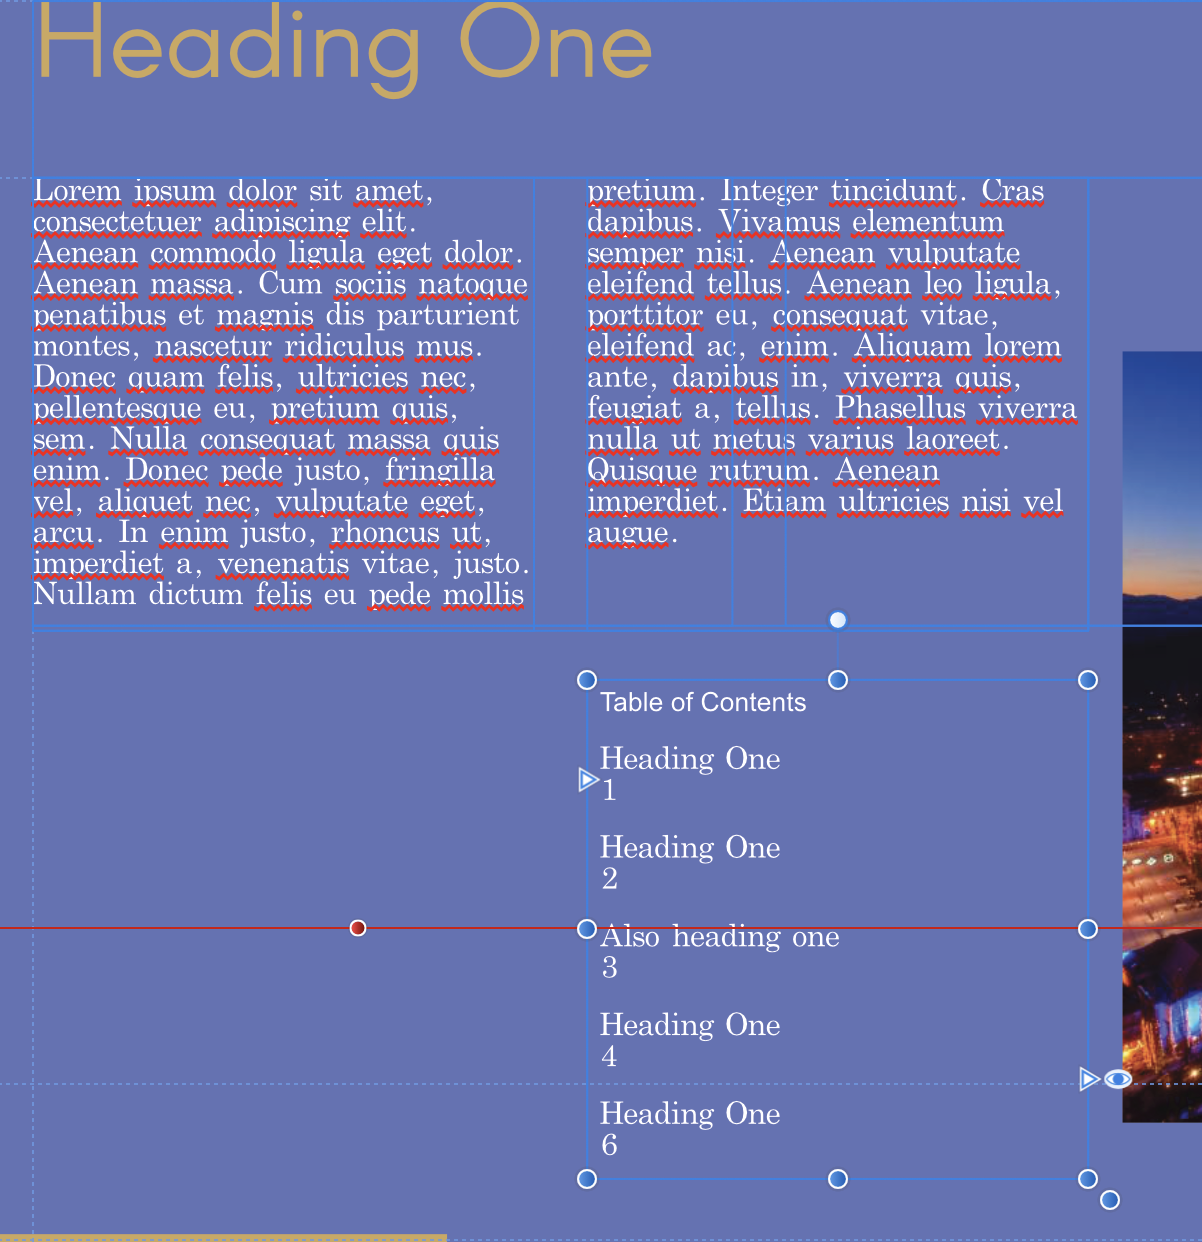
When creating a TOC as per the Affinity tutorial video, I have found that I cannot space the TOC items out as I would like. If I drag the box in line with the para above it sends the page number to the next line. but if I drag the text box in from the left, it puts it on the same line. Is this a bug or should I be setting this up differently?
-
Watching the tutorial below > at just after the 1-minute mark he does an "alt drag" to create facing page numbers. I cannot reproduce this. Could someone explain how this is done successfully? Firstly, I do not get a number when inserting page numbers as per the instructions. I get a hash mark - # I use the move tool to select the page number box then hold alt and drag to the right, but only manage to duplicate the # mark. The # mark does not slide along laterally, but is free of any snapping, so I cannot get it level. EDIT: Ah, I get it, I think. You now use Command-drag, not alt-drag. This works.