davepete
-
Posts
7 -
Joined
-
Last visited
Everything posted by davepete
-
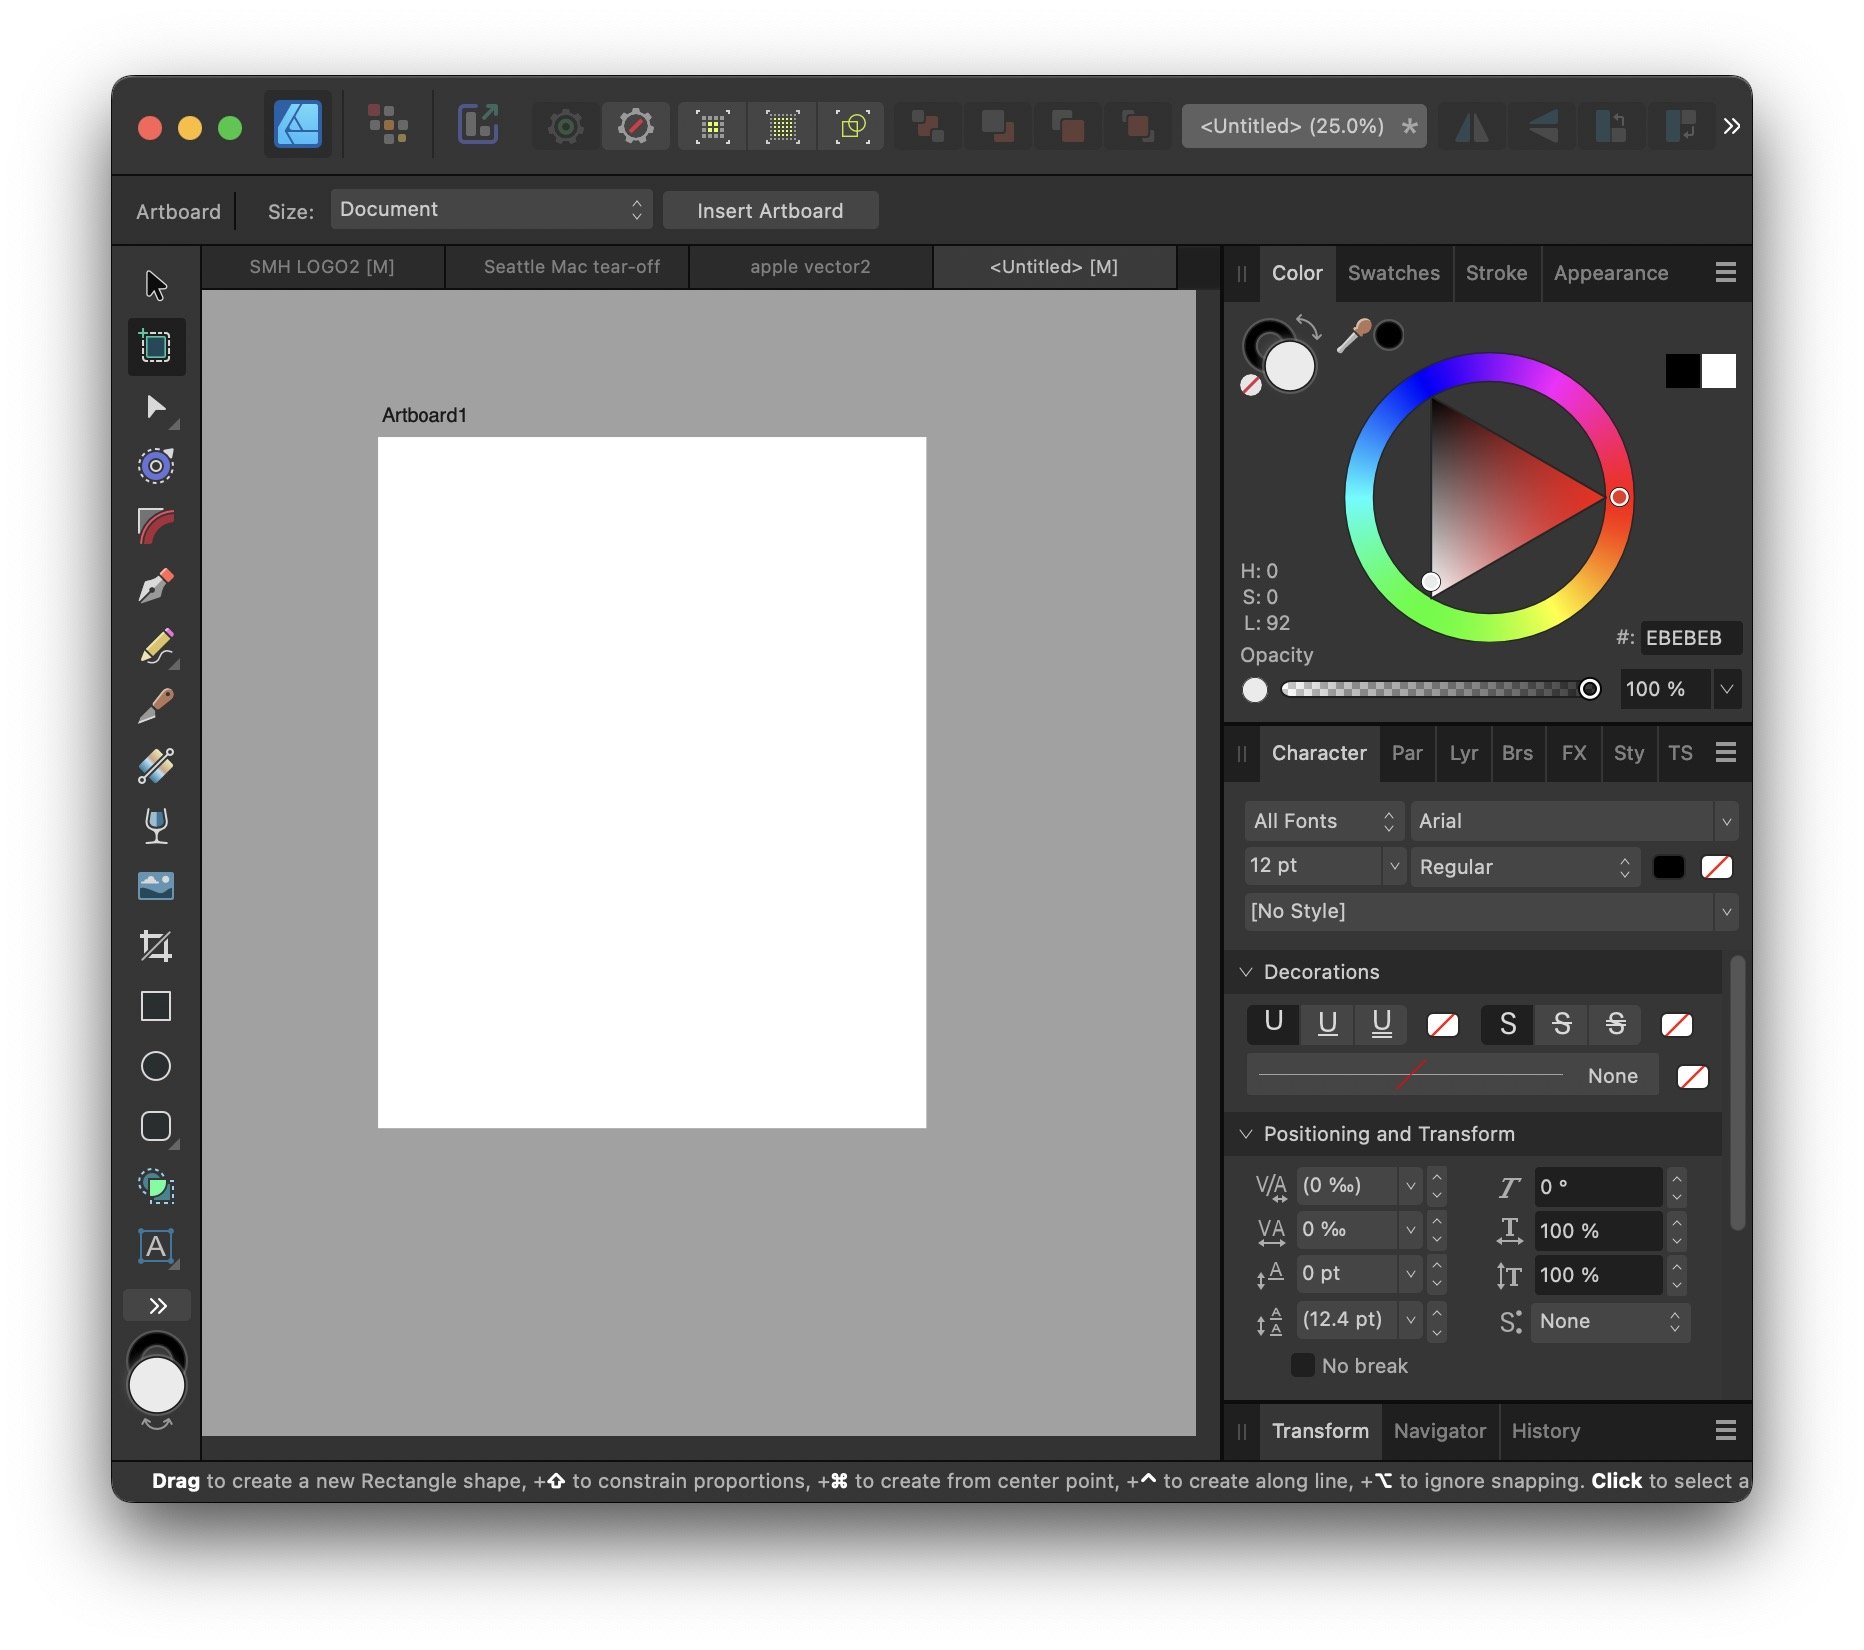
I recently bought your 3 main apps for my Mac (to replace Photoshop, Illustrator, InDesign). So far they seem good value. However, here is some feedback after trying a new project in Designer. 1) I'm not a graphics pro, and it's been a while since I did anything in Illustrator or Photoshop...still, when I tried to make a transparent gif (png also possible apparently), it was not at all intuitive. I couldn't find an answer by googling or youtubing and had to resort to asking in this forum. Someone quickly explained I had to first Rasterize the image before I could save it as a transparent gif. As I recall, the way to achieve this was much more obvious in Photoshop. I guess there may be a reason you do it this way, but it was frustrating. 2) Granted, I'm a beginning with Designer, but...I was trying to figure out how to make the background into a checkerboard (which is convenient when working with transparent images). I STILL haven't figured out where the command is for that. If it's in Preferences, it's not obvious where. I did eventually figure out how to at least change the color of an Artboard, so I could see the white image I was working on. Speaking of Artboards, it was very confusing to figure out the work area that shows in a new document is NOT an artboard (see attached). I spent quite a while trying to figure out how to select the default work area, when I finally figured out it is not an artboard. Many basic things like this will undoubtedly become automatic if I continue to work with your apps. But as a 25-year Apple support tech, it seems these things could be made to work more intuitively. IMHO, DP New document work area (below), looks just like an Artboard (below that).

-
It's the kind of thing I don't need to do often but yeah, I remember some years ago learning to use the Pen tool in Illustrator to outline things. It's pretty amazing/cool once you learn all the keyboard shortcuts, etc., so you can start to "fly the plane." But now I'm having to dredge that stuff up, plus learn how it's different in Designer. Speaking of that...how do you join two points in Designer?
-
I recently transitioned to Affinity apps as I can't justify subscribing to Adobe ones. I'm not a graphics pro, just a businessman who occasionally needs to create promo materials, logos, etc. Been working on a new logo, so starting to learn a bit about how Designer, Publisher are similar/different to the analogous Adobe products, which I use to occasionally use. So, today I went looking for an 'auto trace' function, and now see there (apparently), isn't one. Not a deal breaker, but a bit disappointing. I'm no software coder and don't know how difficult this would be to implement, but I'll add my voice to those who would definitely like to see this in one of their apps. In the mean time, yeah, I guess there are online tools...and I'll probably just use the Pen tool to trace it, since it's not that complex of an image.
-
Image With Transparent Background
davepete replied to davepete's topic in Affinity on Desktop Questions (macOS and Windows)
All right. Well, I did manage to make a transparent gif, which was my main issue. I recently bought the 3 main Affinity apps and have not used them much yet. I'm not a graphics professional, just need to use apps like these from time to time for my tech support, music businesses, etc. Thus far they seem like a great value. Cheers, DP -
Image With Transparent Background
davepete replied to davepete's topic in Affinity on Desktop Questions (macOS and Windows)
I'm no genius but I find this a bit confusing. After reading the linked page, I think I understand THAT image layers exist in Affinity Photo, but didn't exactly catch WHY the exist, as you wrote. Photoshop also has Layers, but I guess are different. In PS you could import a background image (field with sky, for example), then lock that and add other images on top of it. Then you could drag the layers to re-order them from front to back. You can work on the image in one layer without effecting what's in the other layers. I guess the Affinity Photo layers feature works differently? The linked page says, "If an image layer is drawn on, the layer will be rasterised and will adopt pixel layer properties. Rasterisation is required to convert the image to the document's colour space."' So, it looks like if I had drawn something on my image, it would have automatically been transformed into the state it needed to be to achieve my goal of making a transparent gif (without having to 'rasterize' it manually first). I don't recall having to take the extra step in PS (to rasterize), in order to make a transparent gif. I've been a private Apple consultant for over 20 years and feel pretty qualified to critique a software interface. This is not intuitive. I don't understand why my image isn't rasterized (or converted to the document's color space, I guess), as soon as I drop it into the app window. This app is for manipulating bitmap (pixel based), images after all (whereas apps like Illustrator and Designer are for vector images primarily). IMHO -
Image With Transparent Background
davepete replied to davepete's topic in Affinity on Desktop Questions (macOS and Windows)
OK, I did a Cntl-click (alternative to right-click using my MacBook), on the layer, then chose "Rasterize...." After that, I was able to delete just the white part (after selecting with the wand, as before). So, this worked, thanks. However, that was not intuitive. I recently decided to join the Affinity camp, as I can't justify an Adobe subscription, and Affinity apps seem pretty great. They've done a good job of copying most of the functionality of the analogous Adobe apps. In Photoshop, however, I'm pretty sure I didn't have to 'rasterize' an image before saving it as a transparent gif. Is there something I'm missing, or is this just an example of the difference between $50 software and the much more expensive Adobe version? -
See attached video. In Photoshop, as I recall, I used to be able to delete the white around an image, then export it as a 'transparent gif' (apparently you can also do this with a png image). I try to delete just the white around the image by using the 'Flood Select Tool' (which seems to be like the magic wand in photoshop), then clicking on the white area to select it, then hitting the Delete key. But then it deletes the apple, as well. I tried setting the Tolerance to the minimum (1%), but same result. There's got to be a way to do this. Thx