Lich555
-
Posts
36 -
Joined
-
Last visited
Everything posted by Lich555
-
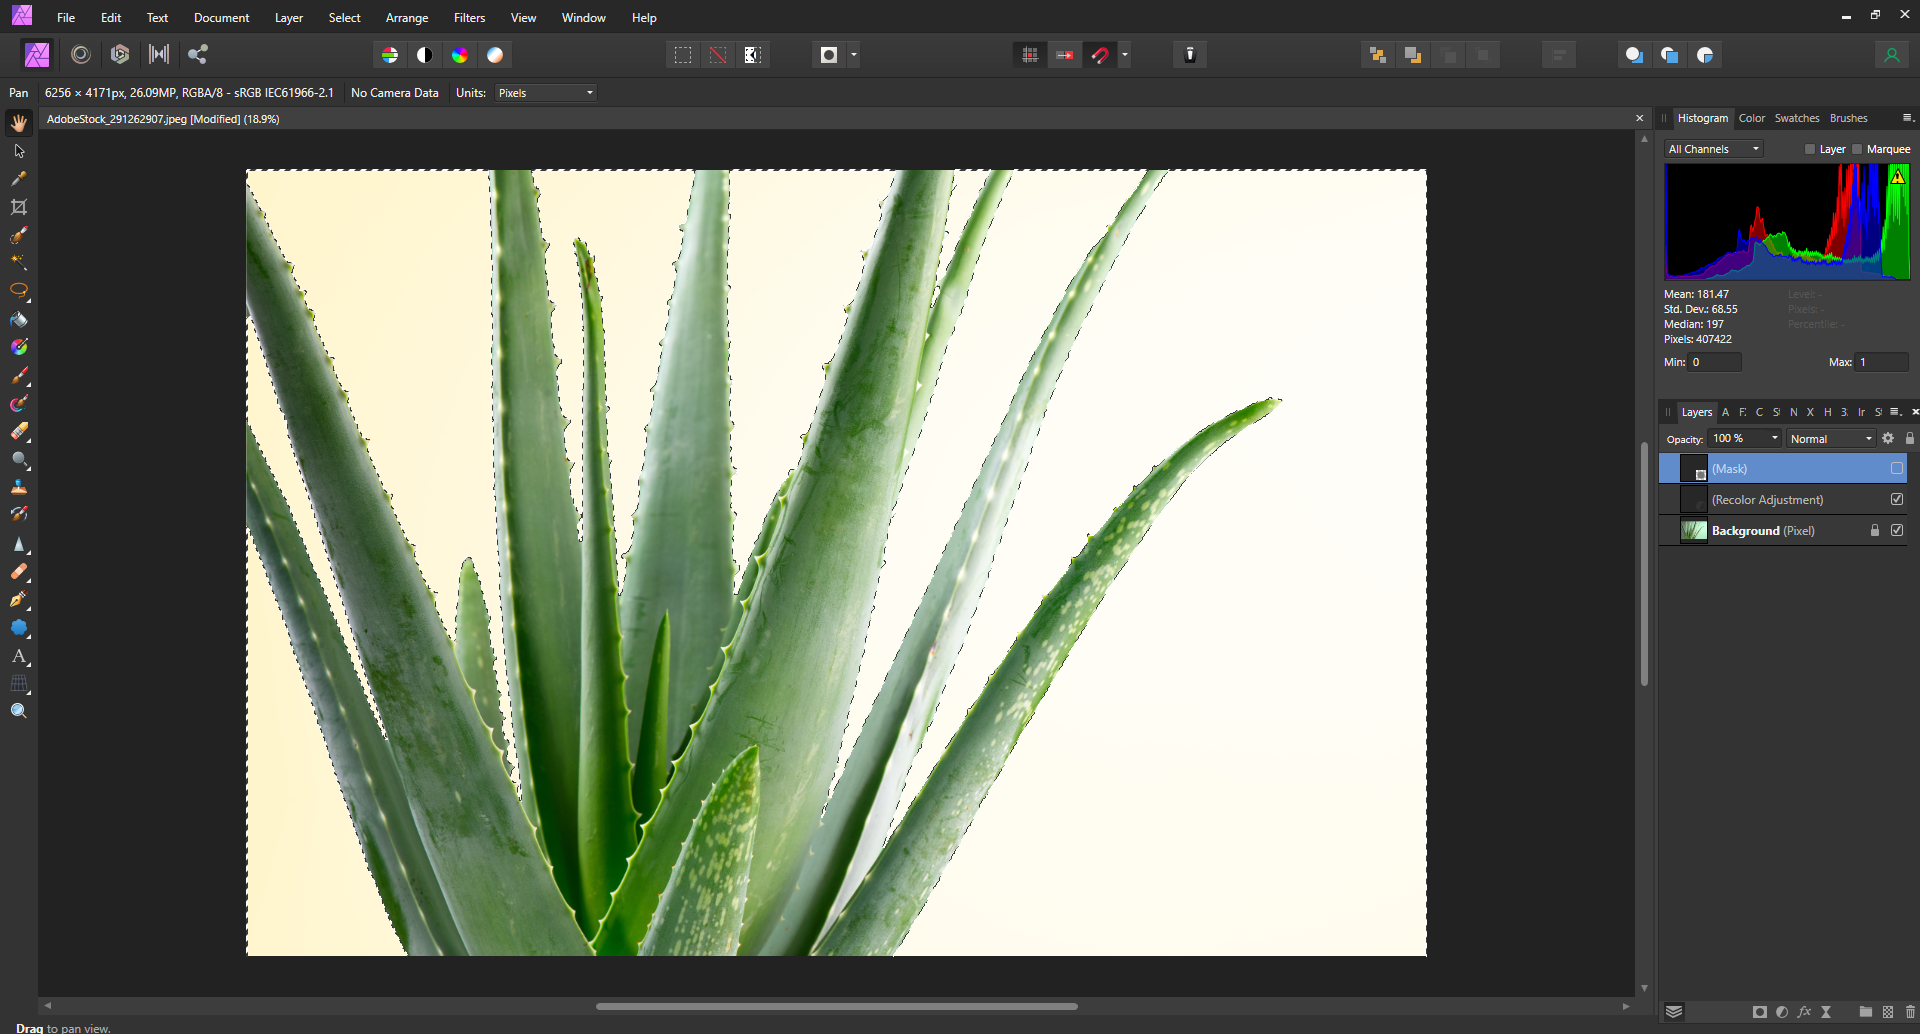
Hey! I've created the brightness adjustment layer and now I want to mask it to some areas of my image (I've increased britghtness of the layers to make it more visible here). 1.Now I have to use Erase Brush Tool to mask out areas where I don't want this brightness effect? The thing is that I only want to brighten small area of my image, so it would be better just to select areas where I want this layer, not where I don't want it. How to do that? 2.I've used Erase Brush Tool on that circle on the left but now I want to remove this area. I thought I just have to use Paint Brush Tool, to "restore" the mask, but when I select the Paint Brush Tool it works exactly like the Erase Brush Tool and it wants to darken the image - that's darker circle on the right (or, more precisely, it selects part of the image where I don't want the mask with brightening effect). Why is that? That's what's shown

-
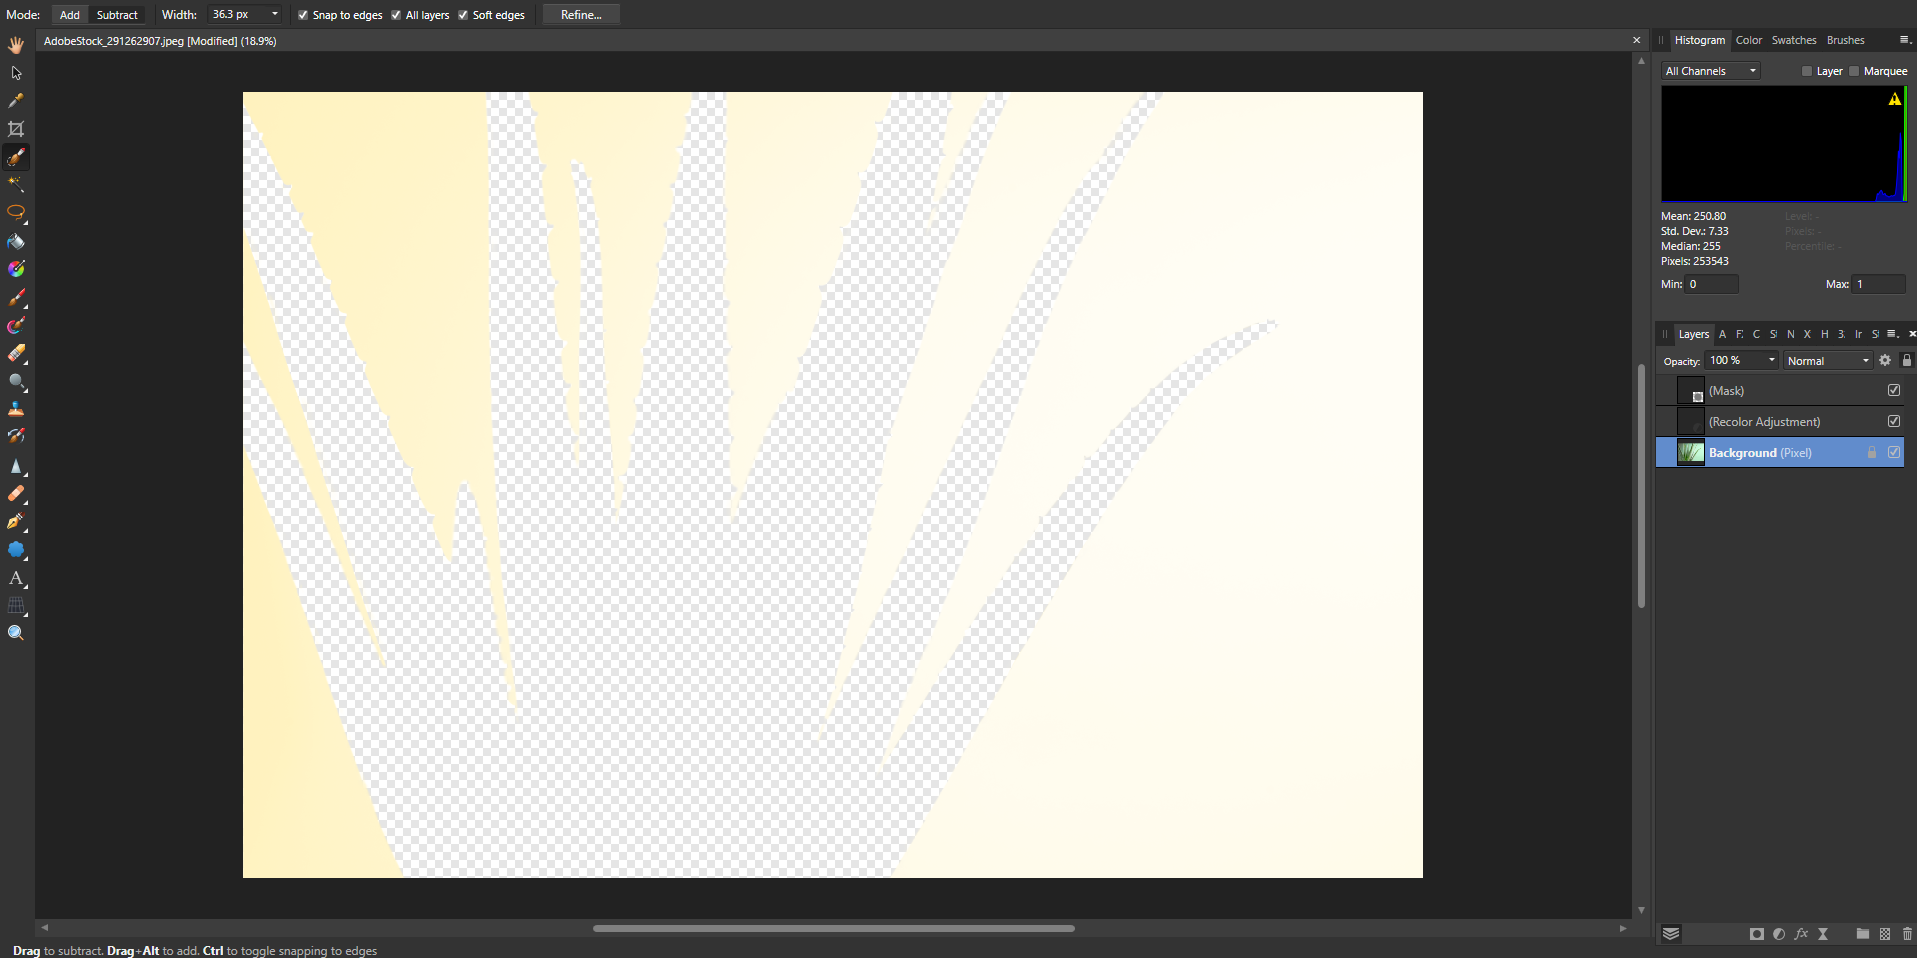
Yeah, it looked like I was recolouring everything, even the plant, because when I clicked on the mask to hide it, the plant was creamy too. There was some blackout in energy, my pc restarted, Affinity restored me to the point where the plant was selected. I clicked on the Mask Layer in the right bot corner (previously I did this with the Refine method) and look now. The layers are in the same position as before, but the plant is green, not creamy as before. Why is that?
-
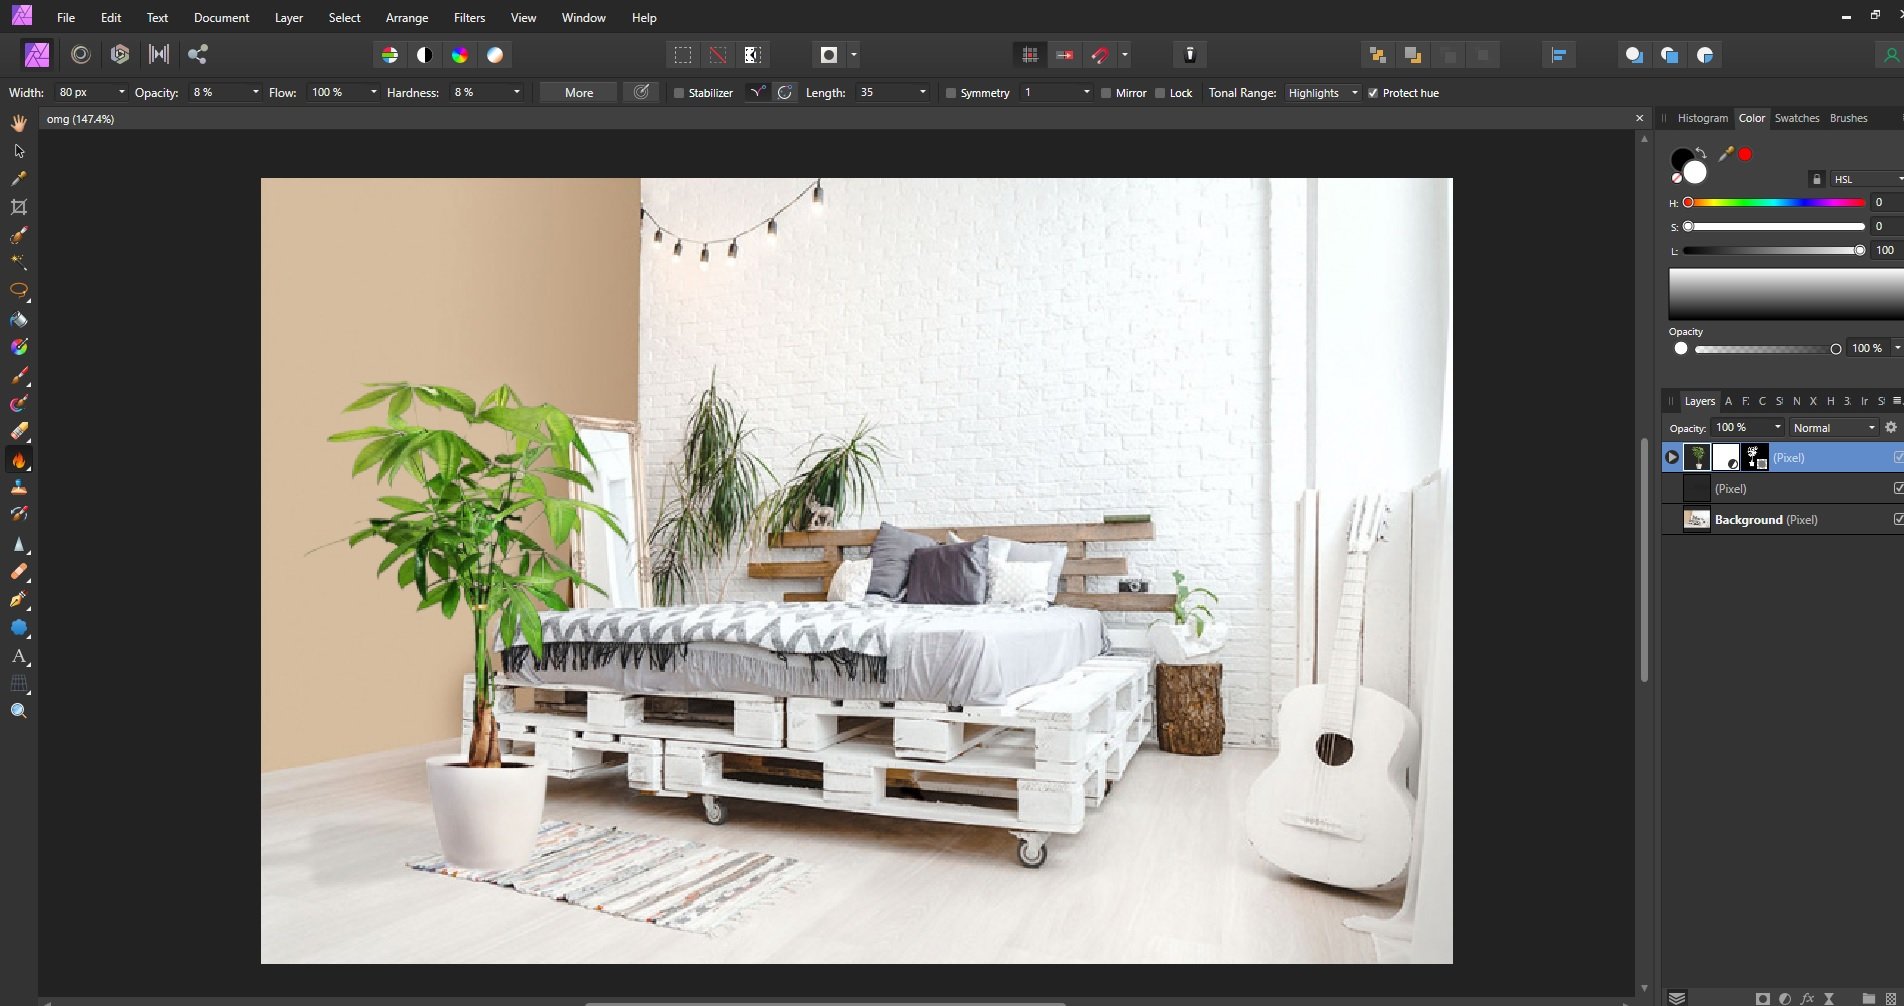
Hey, I'm in the position showed on the screen. I wanted to change colour of the background. I already did, but how to merge it all together to have green plant and creamy background?
-
Pasting objects from different photos
Lich555 replied to Lich555's topic in Affinity on Desktop Questions (macOS and Windows)
Oh yeah, good point, thanks! I just immediately thought that there's a huge light source on the right, so I've made this little soft shadow. Don't you think that the surrounding around the pot is somehow weird? -
Pasting objects from different photos
Lich555 replied to Lich555's topic in Affinity on Desktop Questions (macOS and Windows)
Ok, here's my first try What else can I do? (just in case, the big plant on the carpet is pasted). Both the background and the plant are taken from google, but only for learning purpose.
-
Hi. I'd like to learn how to paste objects from other photos to one photo, e.g. I've got the original photo and I'd like to copy a person from other photo and paste it to the original. Of course it has to look real (select, copy and paste is something I already can do ). So the object fits into the photo, shade, color, light, W&B, how it interacts with the ground it's standing on etc. I know it's a pretty difficult so I'm not asking you to show me how to that, but is there any tutorial/course, free or paid, doesn't matter on this topic? The thing is, I don't know if this whole process has it's own name? How to even google it?
-
Sorry, I didn't mean that it's a rude question. It's just off topic. So why not ask in the private message? It's not a problem, I hope.
-
Would be grateful if you ask such questions in private message just to not spam here
-
So is there any similar way to do what I'd like to do?
-
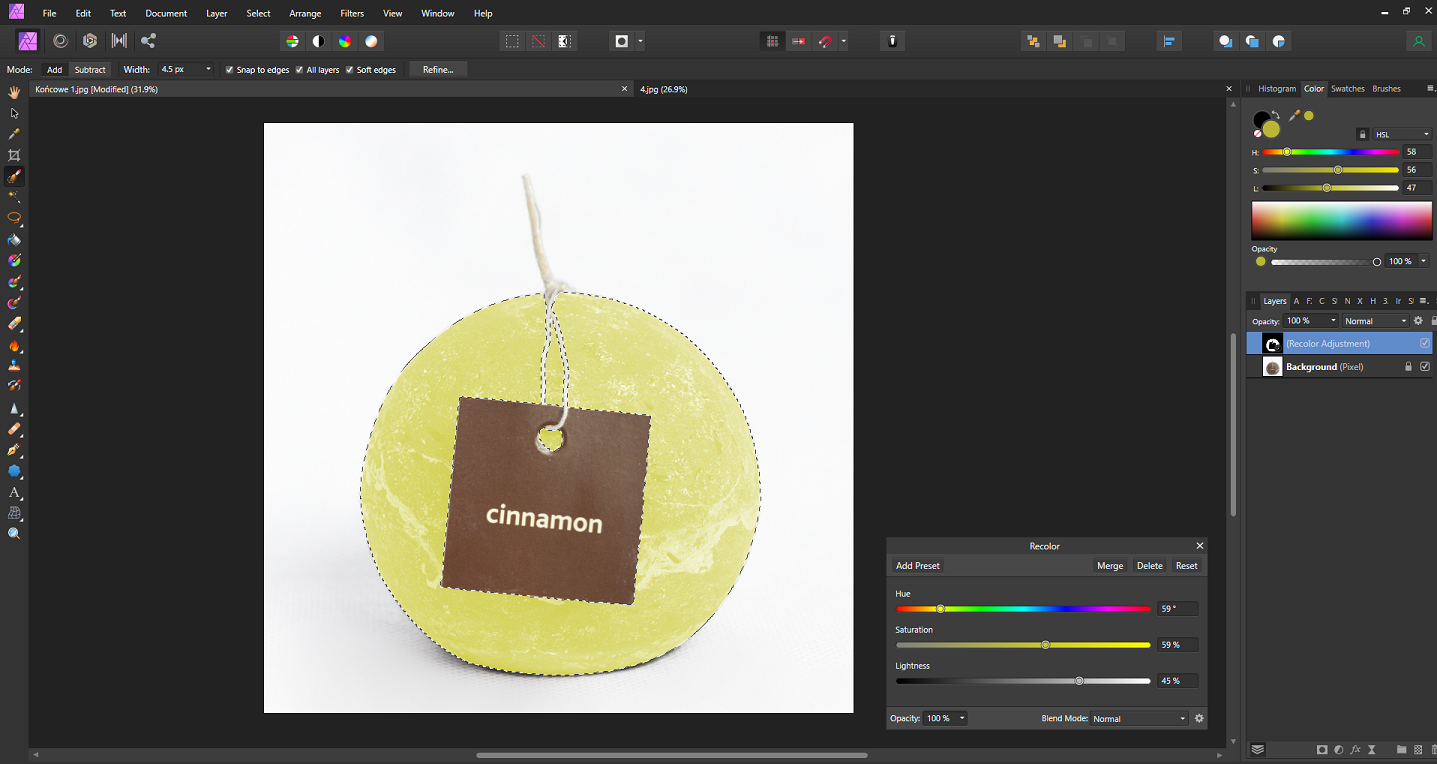
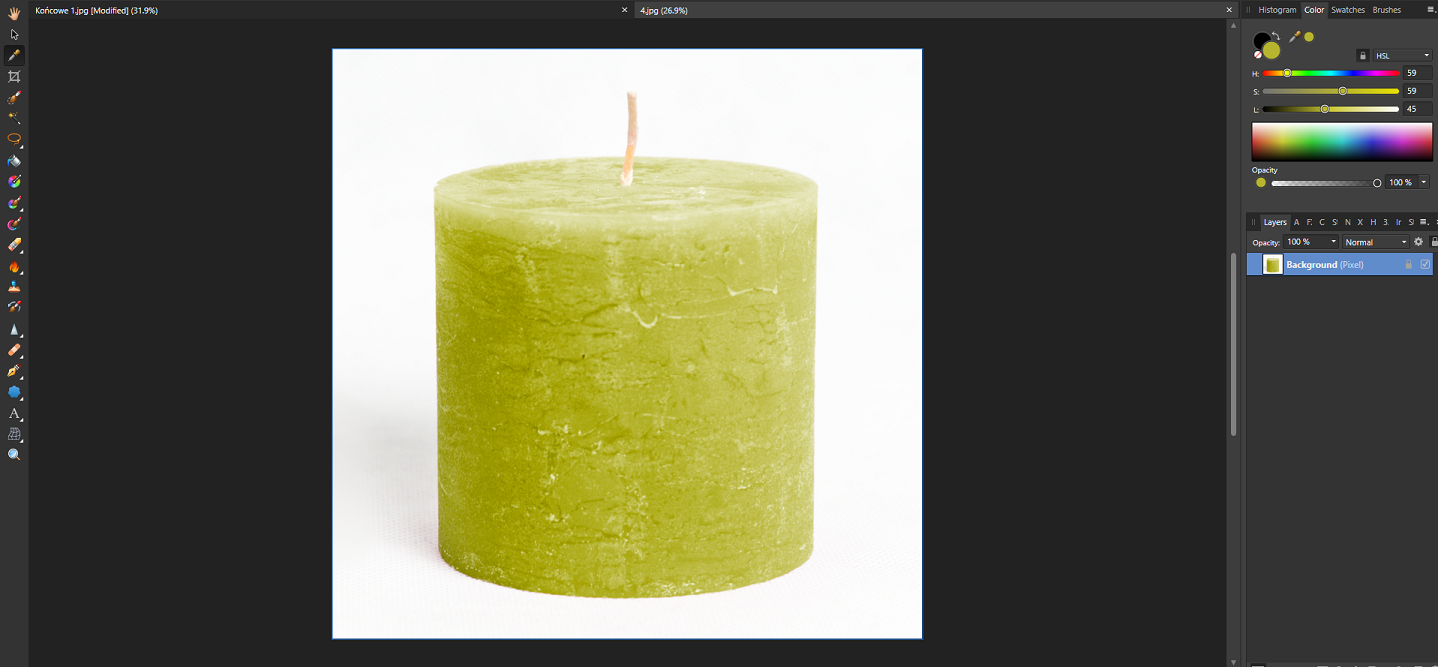
Hi. I'd like to Recolor the rounded candle to the same color as the cylinder candle. So I've used the Color Picker Tool on the cylinder candle. It shows me HSL values like: 59 | 59 | 45 respectively. But when I try to enter the same values in the Recolor panel on my rounded candle, it shows me a different colour. Why is that? Should I change the Blend Mode? Actually I've tried and none of them shows me the correct colour. How to read the proper value or how to enter them so I've got the correct colour?
-
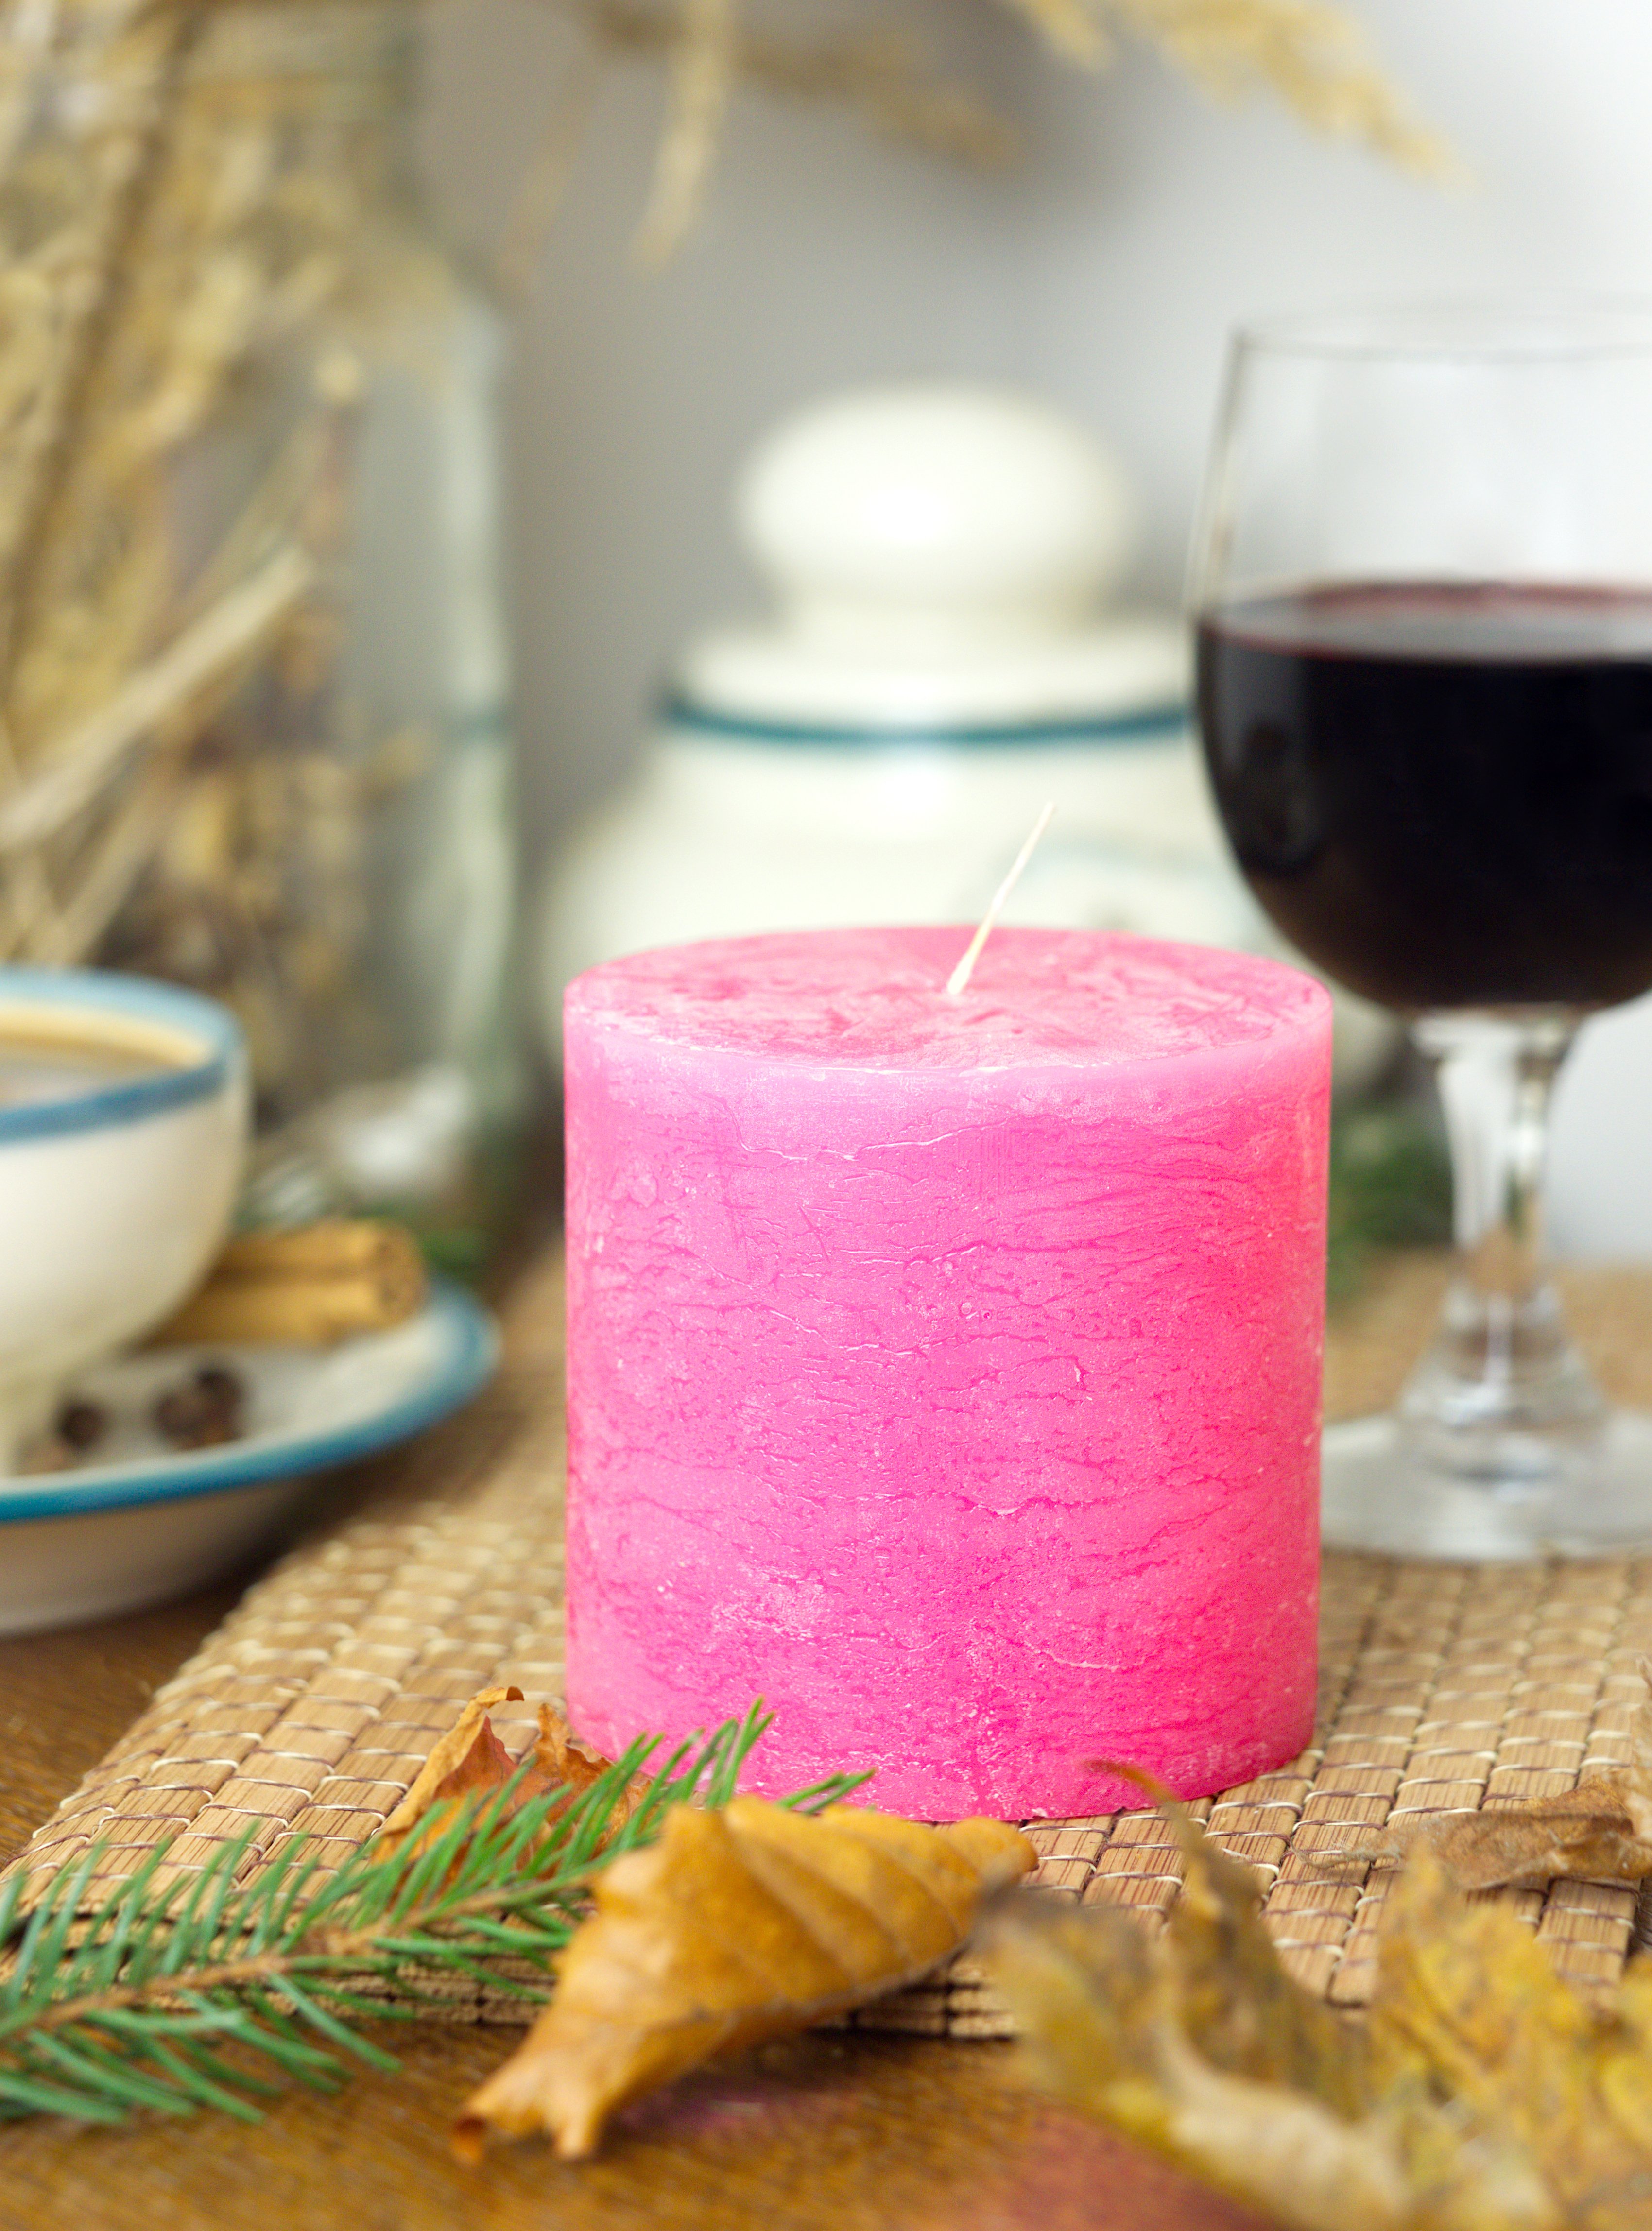
Hi I've got these 2 attached candles. I want the red one to be almost as smooth as the white, to remove the texture. It'd be great if I have an ability to decide how intense is the smoothness to keep just a little bit of the texture, to not remove it completely. How to do that?
-
Way to change a writing on an object
Lich555 replied to Lich555's topic in Affinity on Desktop Questions (macOS and Windows)
Man, don't scare me! Thought I do something illegal BUT I don't do this for this shop you've linked, it's an official producer's shop. I do it for a third-party shop. I hope it doesn't make it illegal. Pro Candle sells those candles mainly for other shops, in bulk. -
Way to change a writing on an object
Lich555 replied to Lich555's topic in Affinity on Desktop Questions (macOS and Windows)
I'm a product photographer. I do 20-30 candle photos each 1-2 month for the bother's online shop. I did sort of a template and now I'm just changing the colours + writings so I don't have to set up the entire background each time. + my brother wanted the photos to be exactly the same. I've got all those candles, bought. I don't think it is illegal... or is it? I mean... what's the difference for a producer of those candles? The only difference is that I don't shoot each one candle separately, but I just edit one photo. -
Way to change a writing on an object
Lich555 replied to Lich555's topic in Affinity on Desktop Questions (macOS and Windows)
I've got only Affinity Photo and I don't see this warp tool in this app. -
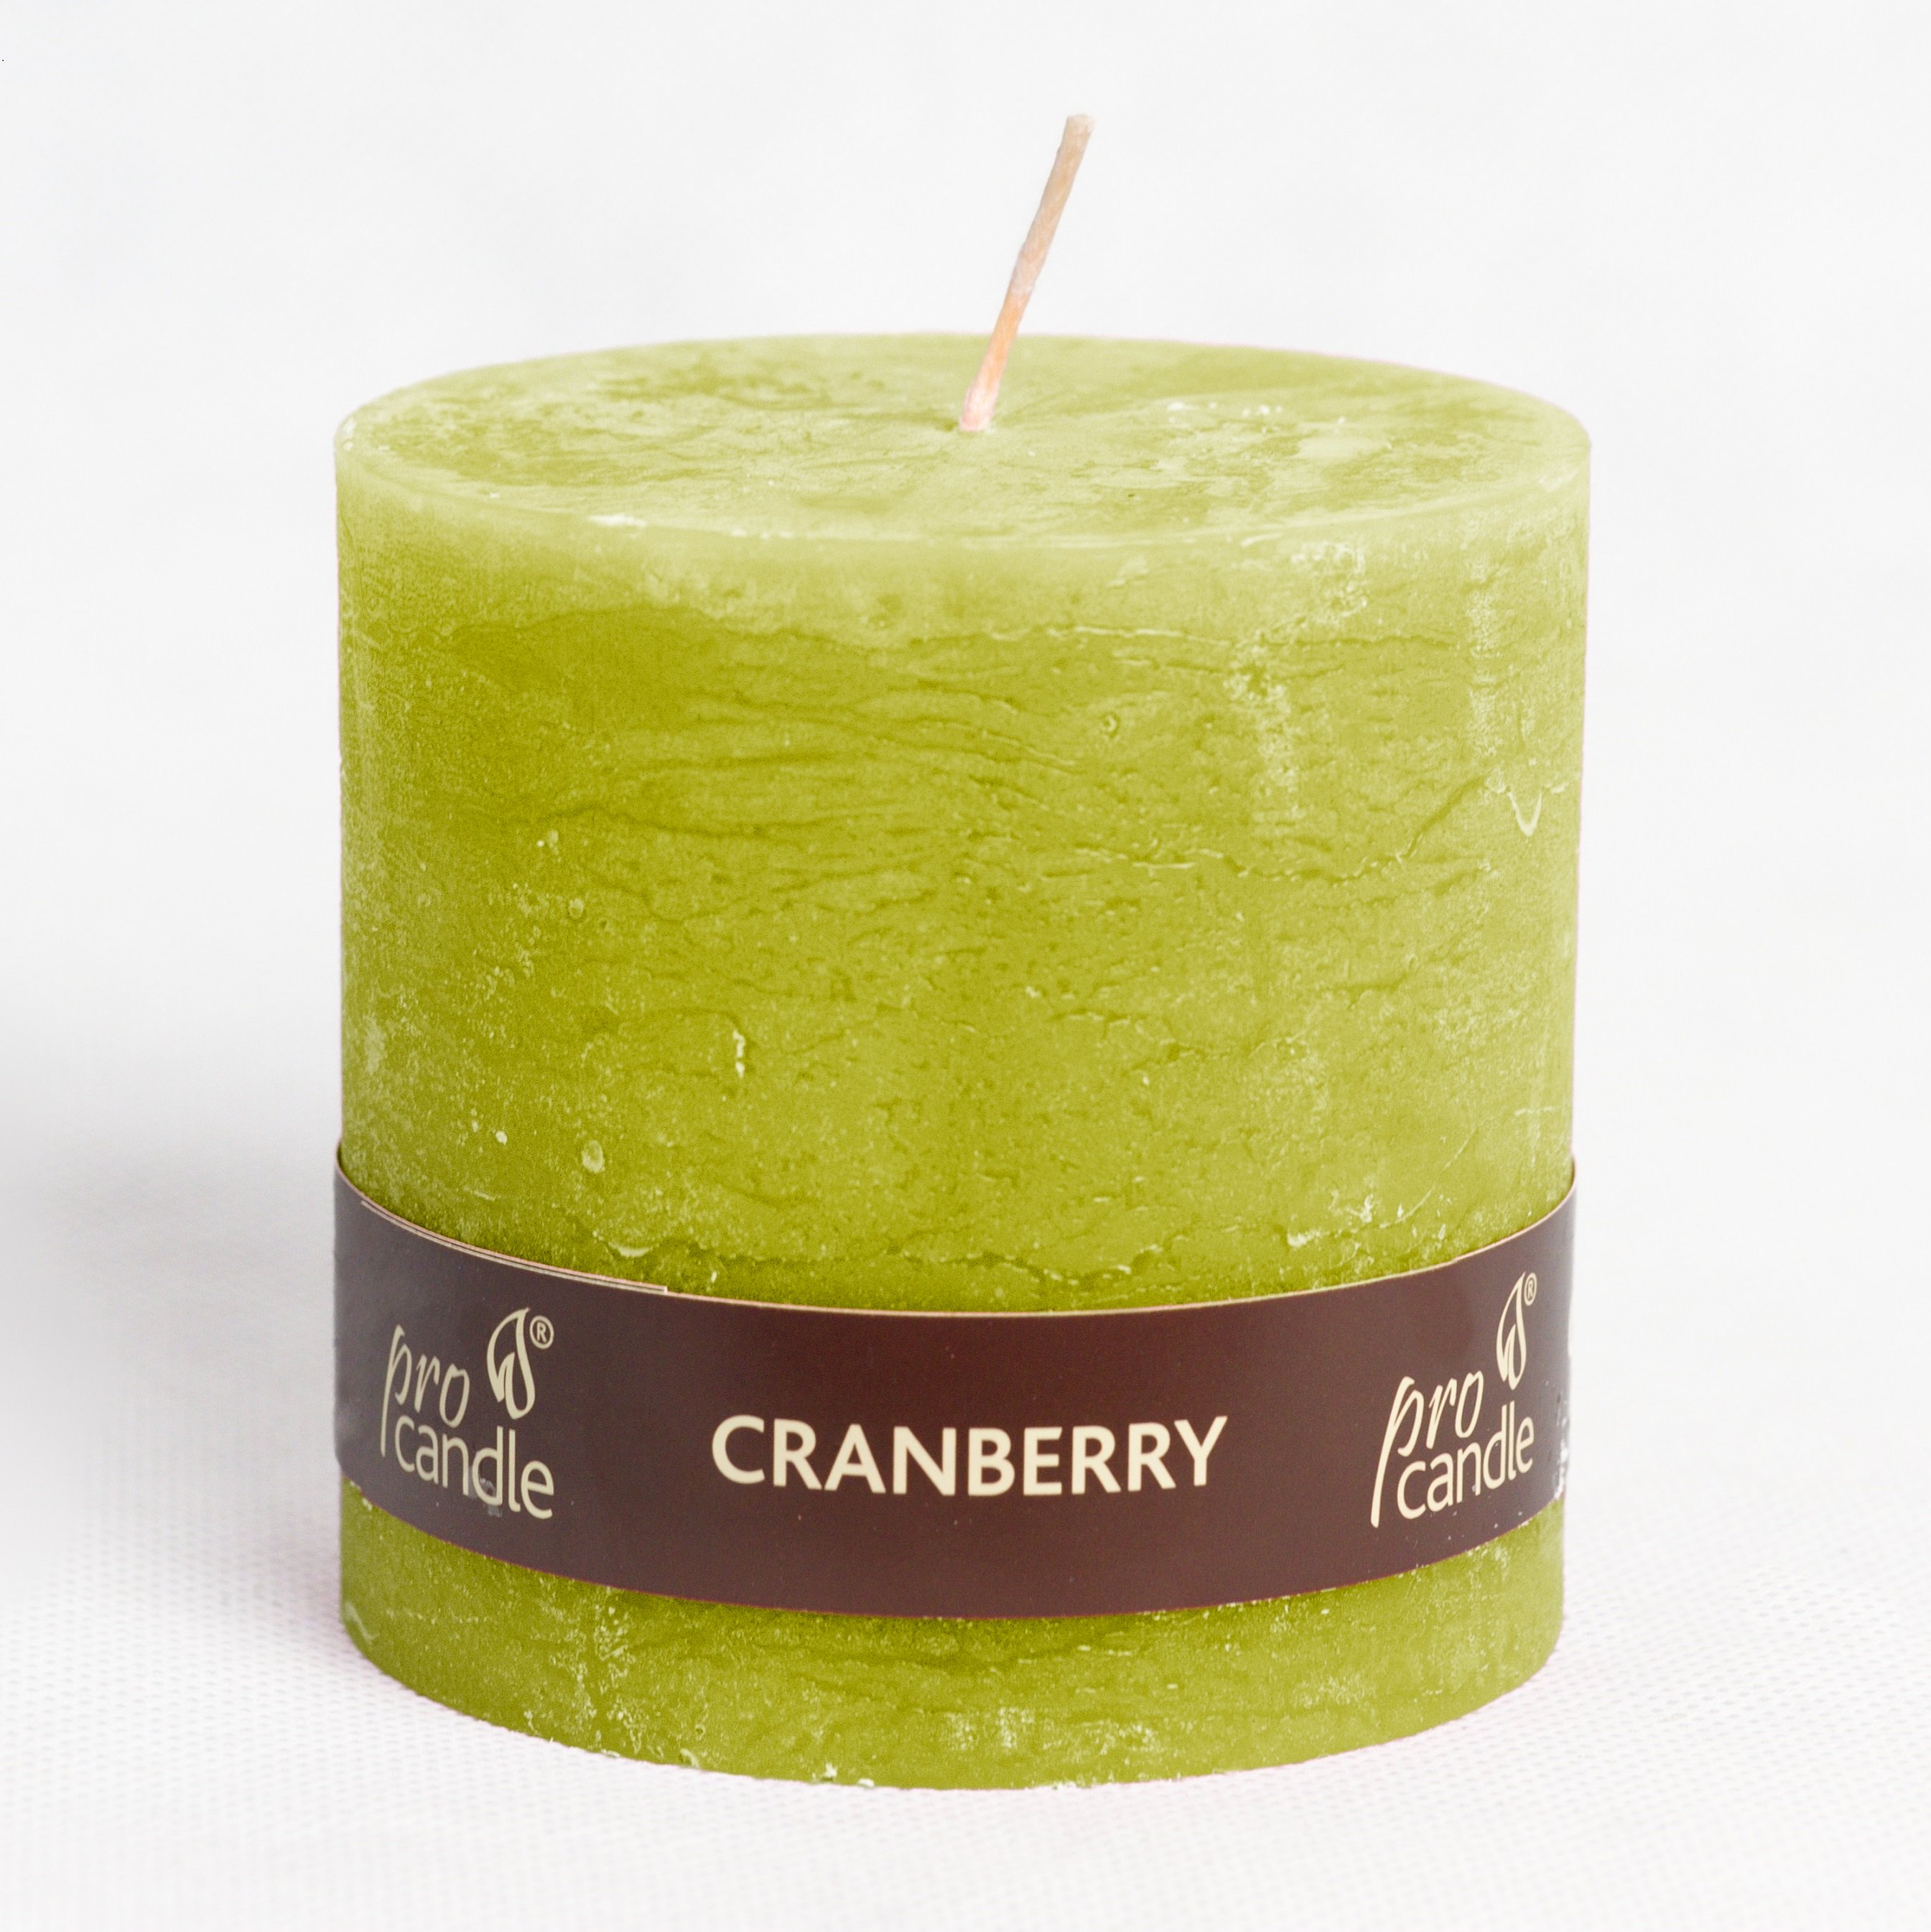
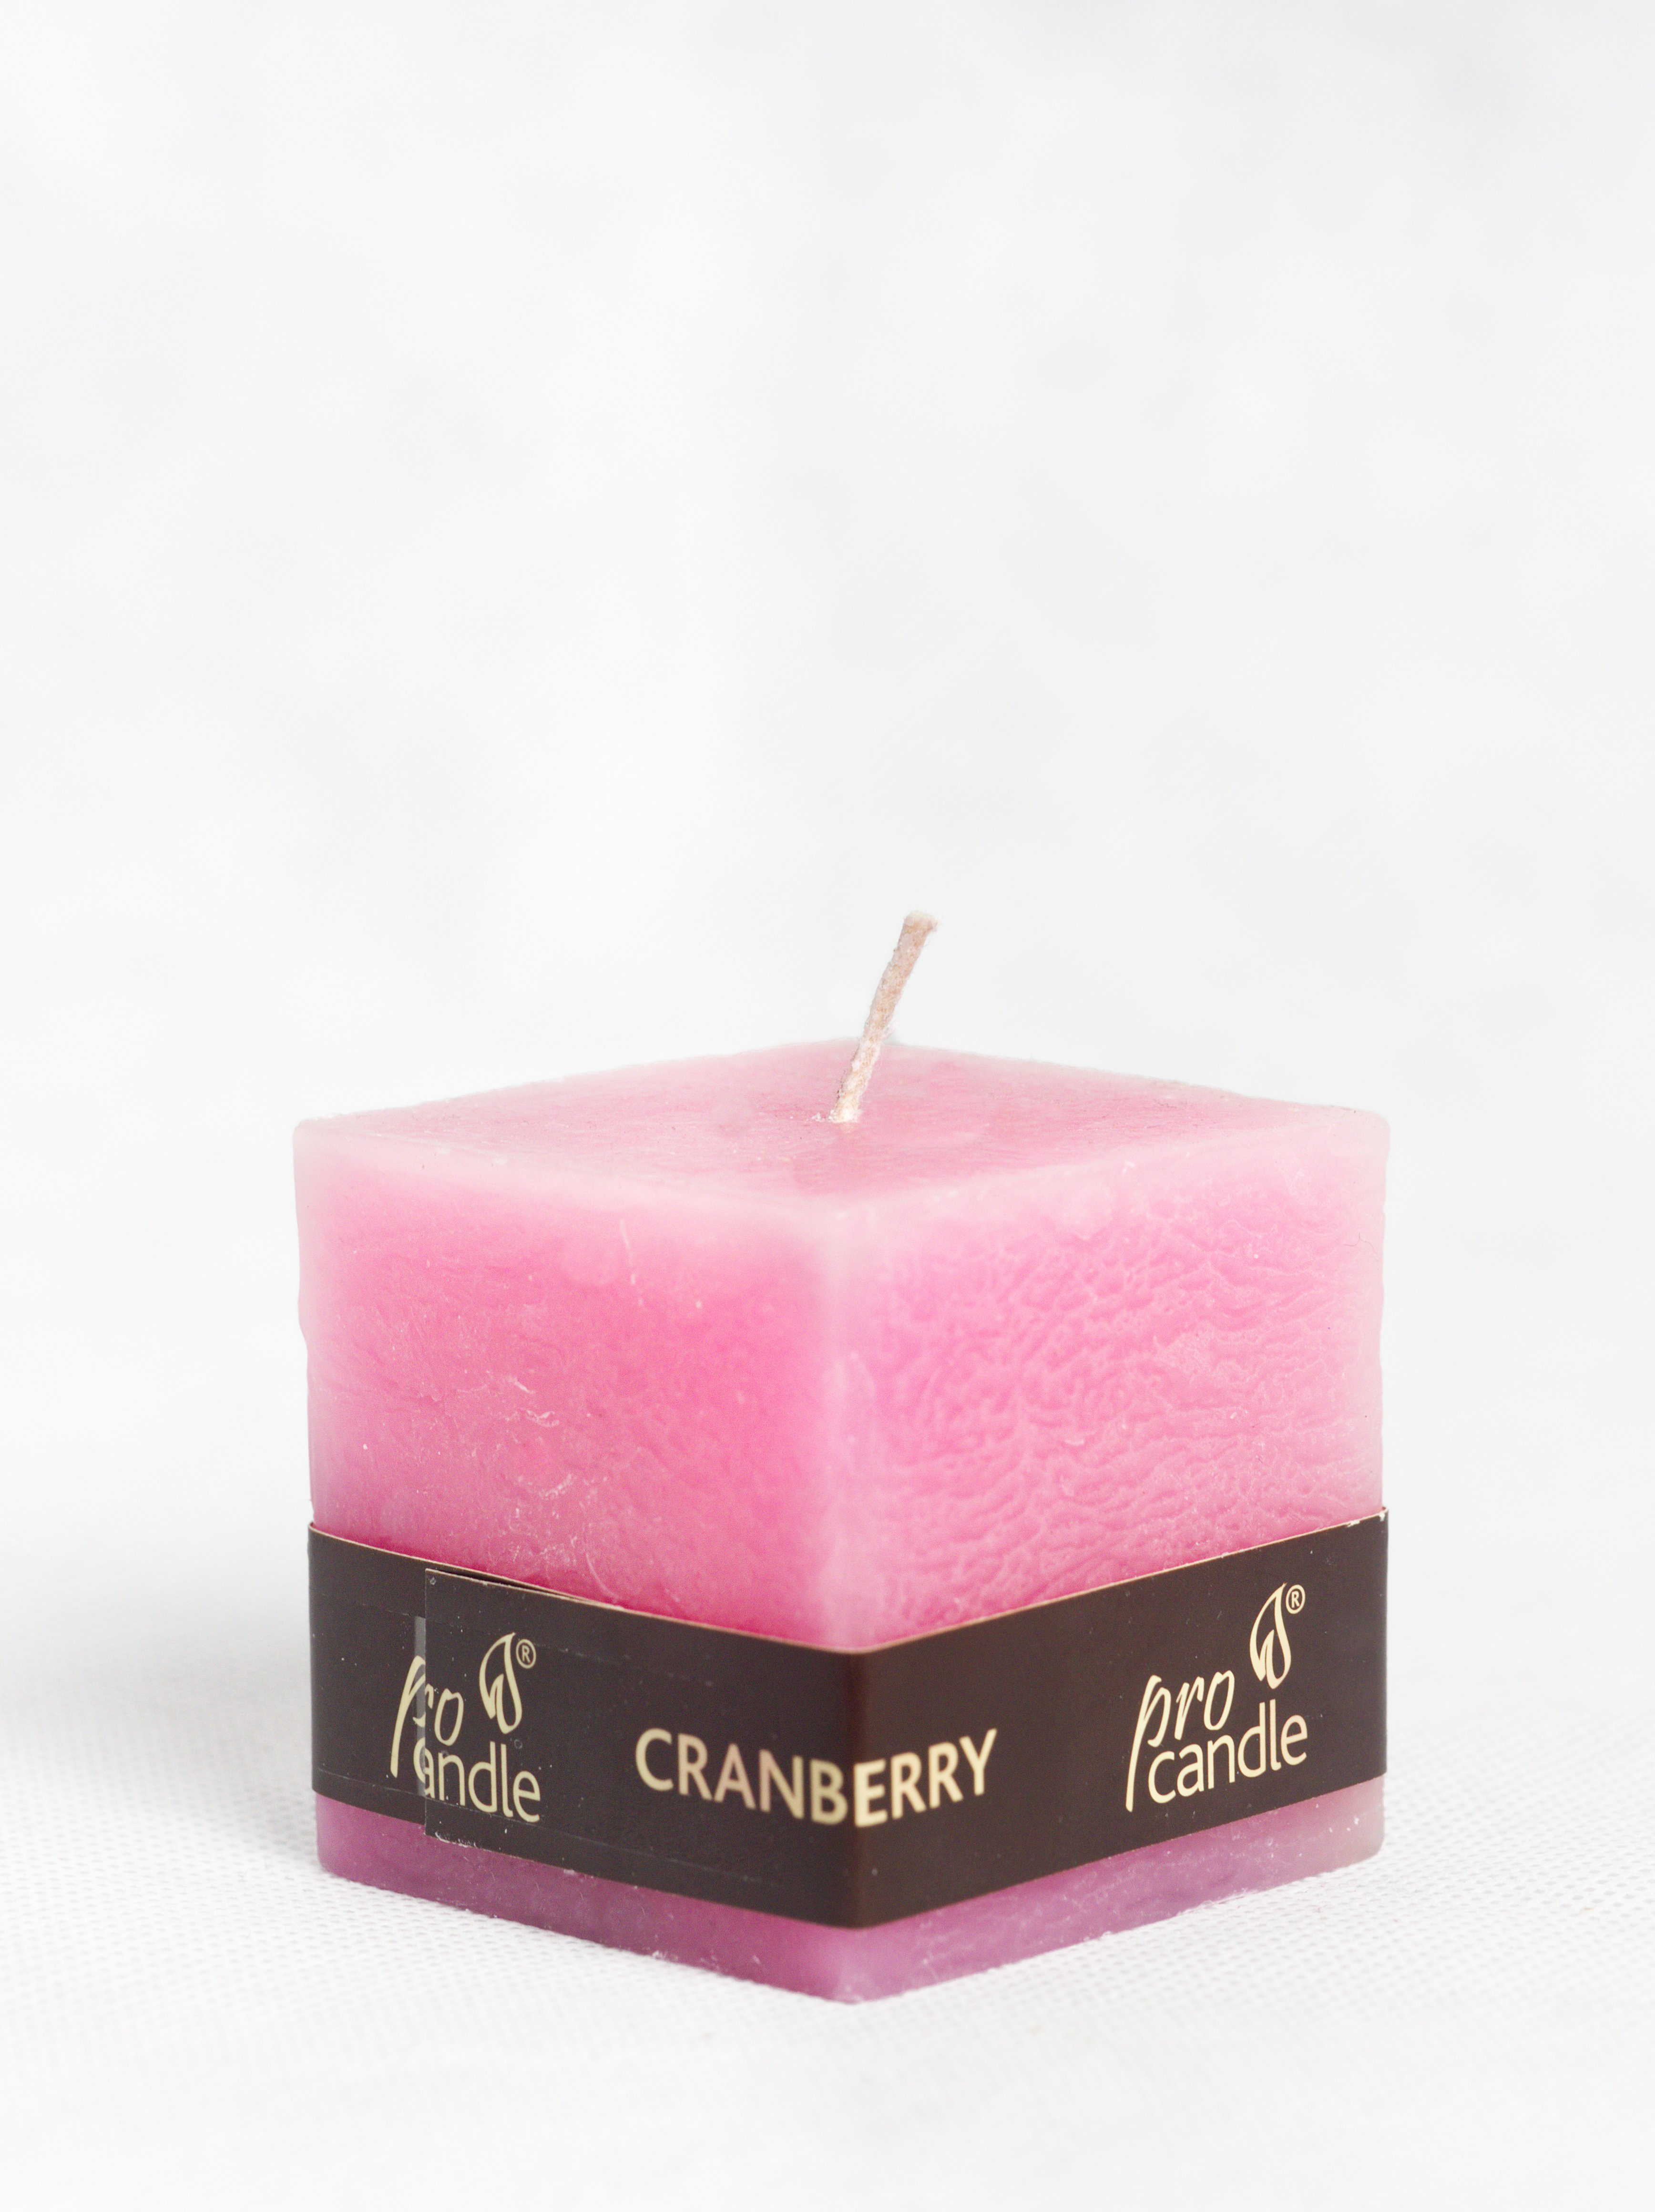
Hi I've got the attached candle. Is there not time-consuming way to change the writing? I'd like to change the "Cranberry" to something else.
-
Hi I've got the attached image. I've already done the selection and masked it out (don't bother about the Recolor). Is there a way to export it, so I can return to the image tomorrow or any other time, and still have the selected mask there so I don't have to select it everytime I want to do something with it?
-
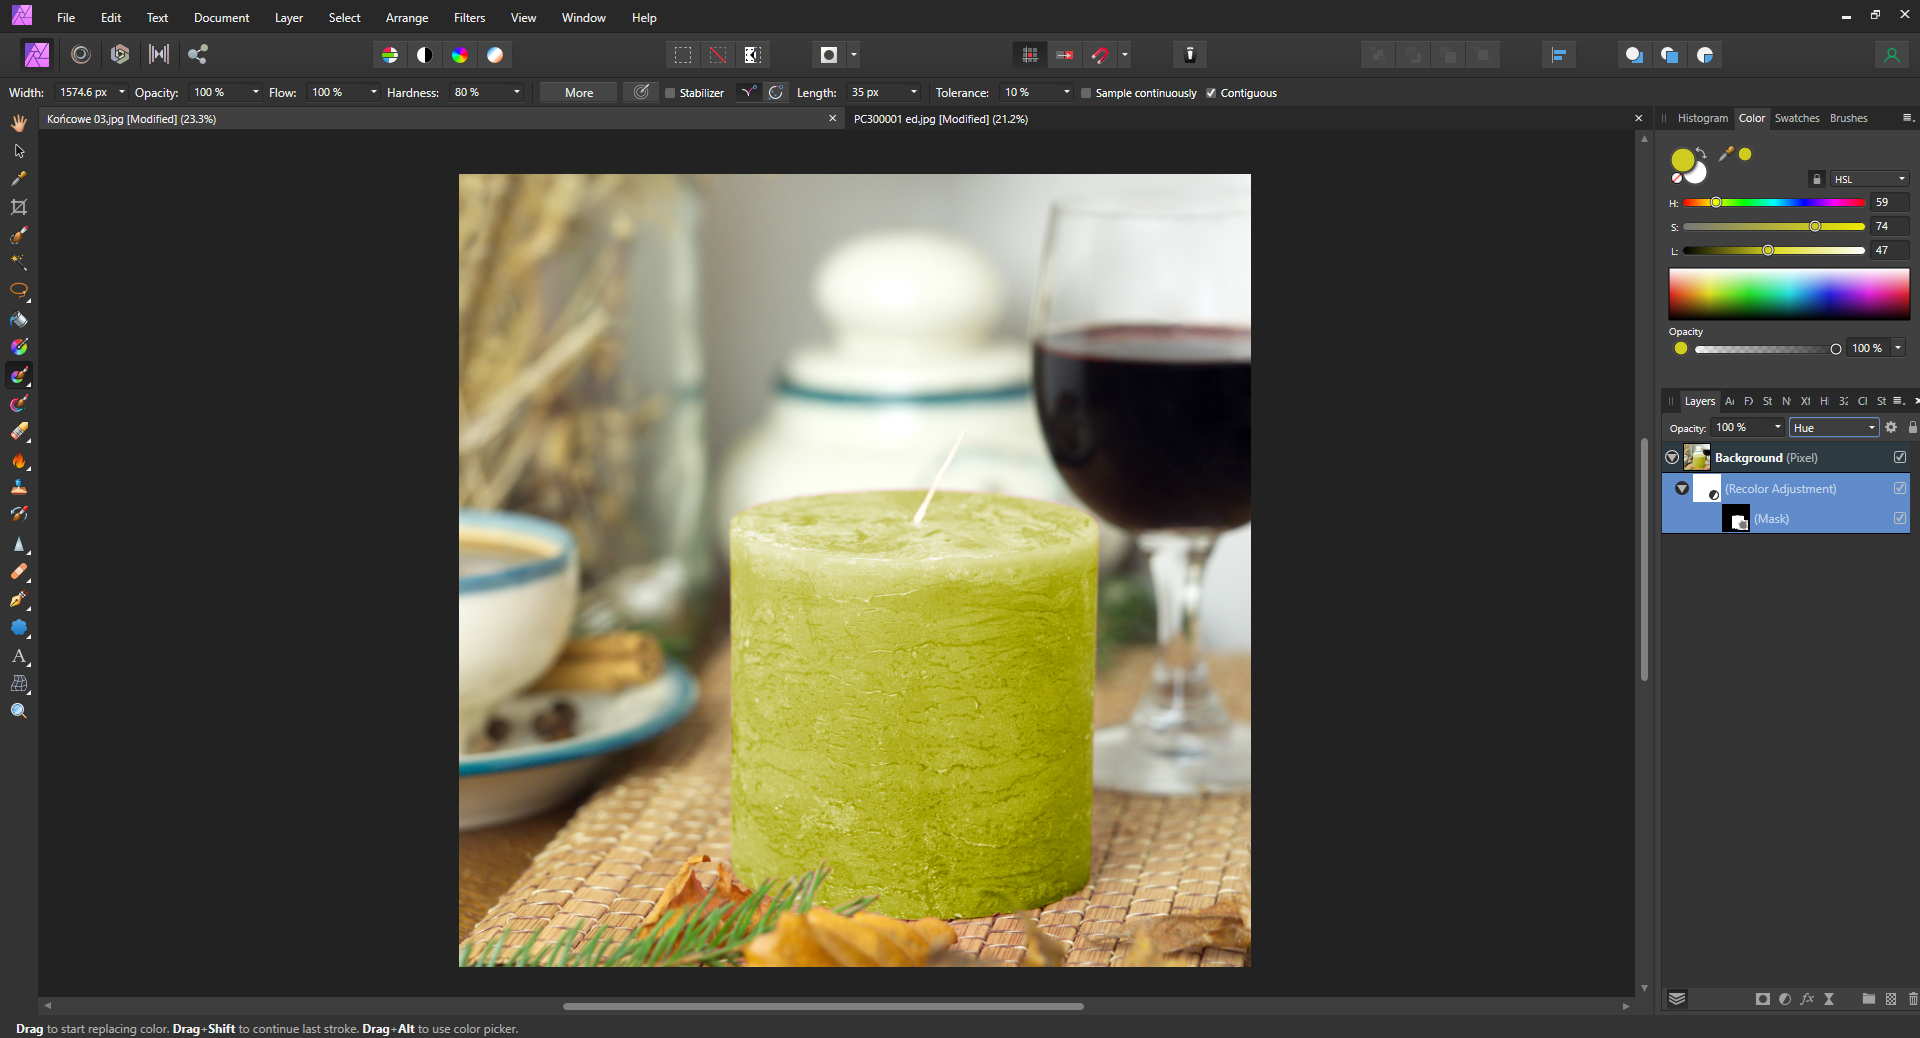
I wanted to try both method you've showed me here: recolouring and replacing the candle. Here's my try of a recolouring the candle and steps I've done to achieve this. 1.Masking out the candle 2.Using recolor adjustment. I've opened the green candle photo, picked the color of it using the Color Picker Tool and I've rewrited the HSL parameters at the right top of the Affinity window, to the Recolor Adjustment window. And in that moment weird things happened. Even though my HSL parameters in the Recolor Adjustment layer were the same, as the color picked from the green candle, the candle was, ekhm... you can see it on the screen. So... I was scrolling through all the blend modes. In some YT video a guy changed the blend mode to the Color, but it still came out wrong. As scrolling down, I've encountered the Hue blend mode and that is what you can see on the screen and I'm quite happy with the result. There're some pink colours, especially around the needles. To sum it all. I'm happy with the result BUT I've done some things I don't fully understand like masks (yeah, I know, shame, but I don't fully understand them), blend modes, why I had to change the blend mode to Hue to see the nice color as it should be. Oh yeah, and the pink colour in some places. Don't know what's the best way to remove it. Just make better selections next time? I guess it'll be very difficult around the needles... I'd be very grateful if you point out some potential mistakes I've made, what you would do different, the thing with blend mode and the pink colour that has remained in some places, especially around the needles, how you would deal with that.
-
So... select green candle, refine to the new layer. Paste to the image with pink candle, adjust. How do you select the needles? Is there some magic trick or just by hand each needle individually?
-
Hi, I've got 2 images, with 2 candles. How to replace the pink candle with the green one? Is it even possible in a reasonable amount of time?
-
Hi 1-2 times per month I shoot photos of candles in the same set up. Is there a faster way to make these photos than making the entire set up from scratch, like shooting the candle without the set up, cut and replacing the candle in an existing photo? So let's make an example. I've got the photo I've shoot some time ago attached below. This week I'm gonna make another session of another 10-20 (don't know how many yet) candles. Is it better and faster to just make the set up like in the attached photo, or is there any other way I can do this, like shoot the candle without set up and pasting it into existing photo? I guess it's hard to do, because the lighting will be different without the same setting.
-
Do you mean about hand + plant colours? I'm change it too so if the changes you wanna make are not drasitcally it's ok But it doesn't make it faster than my method because you still gotta select the background manually, right?
-
Hello. I've got the photo below. What's the most efficient way to make the background white? The way I usually do this is by selecting the background, mostly using Slection Brush Tool. Is there any faster, simpler way?
-
Auto align photos
Lich555 replied to Lich555's topic in Affinity on Desktop Questions (macOS and Windows)
Ok man, I got it now In some photos it does good job, but look here. Is there any way to align it properly without shifting/tilting? I've attached 2 photos used in this stack.
-
Auto align photos
Lich555 replied to Lich555's topic in Affinity on Desktop Questions (macOS and Windows)
So I've done everything like before, but after ungroup, I've clicked each layer, PPM → Rasterize... and Export like before. Same result, they're not aligned. -
Hi. I've got a 2 shots on the white background, shoot by hand so they are not perfectly aligned. How to align them? There's an old same topic here, but videos no longer exist. Here's what I've tried: File → New Stack... → Add → chosing those two shots I'd like to align → OK. I've ended up with a group of two shots In the program they look like they're aligned. So I've ungrouped them. But when I try to export them like that: Selecting one of those 2 photos. File → Export... → Area: Selection Only → Export. Same with second photo. But the result is that they are not aligned... Like original images, nothing has changed.