augustya
-
Posts
1,030 -
Joined
-
Last visited
Everything posted by augustya
-
And in the name of Privacy Apple will Stop the World ! If it can ! lol !! Ok...will check and report back if that helped.
-
What has screen recording got to do with Colour Picker getting corrupted. Just curious... I mean this problem is happening even without when I do not do a Screen Recording.
-
Why is it doing so ? And what is the solution ? How do I make it happening ?
-
I did that still it ain't happening !
-
Hi Guys, I am trying to create a LUT using a sample image and sampling colours from it. When I open Swatch select the image I want to sample colours from and then add a gradient adjustment layer to it and then click on the shadows and take the colour dropper to the darkest colour of the Swatch Sample created, the colour dropper does not select the intended colour, the colour is not getting selected. Can someone please tell me why is this happening ? what's going wrong here ? Attached is the Screen Recording. Affinity LUT.mov
-
Actually just tried this option sent working because now the colour and texture of the neck area falls very different to the rest of the body colour, and texture. Anything that I can do on the existing skin area like use pinpointing tool or clone or patch or whatever ? Nothing of that sort possible ?
-
Just a quick question when I am making a selection lets say I am using the Pen tool to make a very precise selection how do I feather it while making a selection with the pen tool?
-
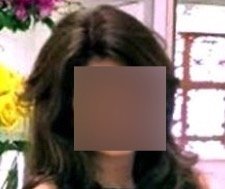
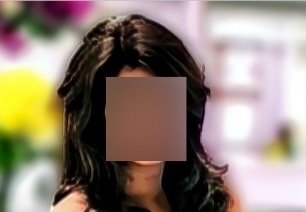
Hi Guys, So I have a Photo which has been regenerated using AI and the AI has messed up spoiled the neck area of the subject. I want to restore the neck area of the subject. I tried painting on that area with the colour closest to the original photo still it is giving a very afticial look. What are my other options ? I can only put the area that is the issue and not the entire photo for privacy issues Also if you think it can be achieved doing a particular step. Please do mention it here so I can perform these series to achieve that result in future also. There is an Original Photo and the AI Photo. The first one is Original and the Second one is AI Photo.

-
Ok. And how about if you directly invert the fill layer ? In this case it will not work is it ? Because then everything will be dark and painting in white would again reveal only the colours which I do not want ? is that correct?
-
But a Mask Layer is ready to be used as it is, by directly painting in white and black on it. Why do you need to invert a Mask Layer?
-
But in the screen recording that you have posted you have not inverted the layer you are adding a mask layer to it is that correct?
-
@carl123 Can you please post a screen recording if possible on how are you doing it? Although @user_0815 has very cleverly shown how it can also be done the other way, I really also wanna follow your way also, I mean wanna try your method also.
-
In your layer stack you have added a mask to the fill layer, You have not inverted it but? And with me after I have sampled the colour and applied it to the fill layer then when I invert the fill layer and I try to paint in white the Hue Wheel does not let me change the colour of the brush. Man !!
-
And do you mean like invert the fill layer and paint in white? or add a mask as a nested layer and then?
-
Yeah I mean if I reduce the Opacity the end results are not all that great. It does not greatly take away the Pink Tone.
-
Please find attached. Fill Layer.mov
-
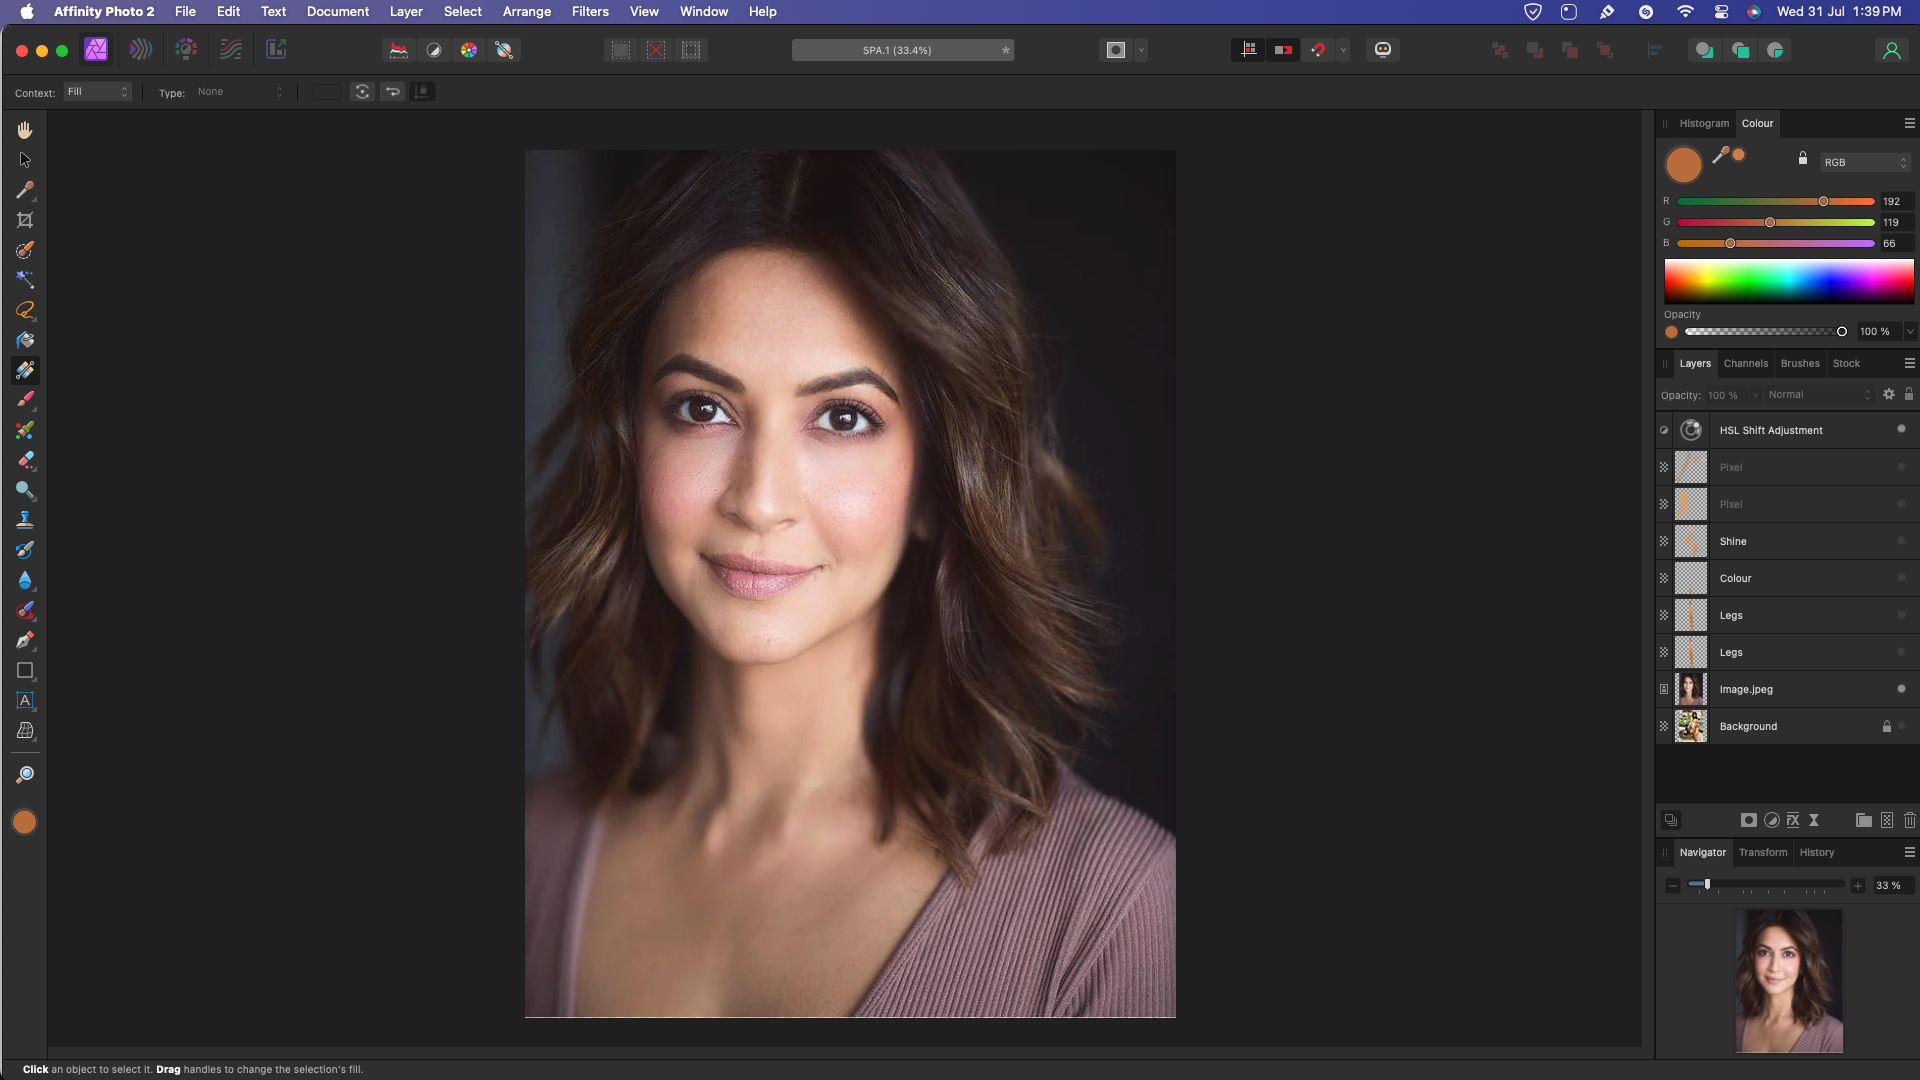
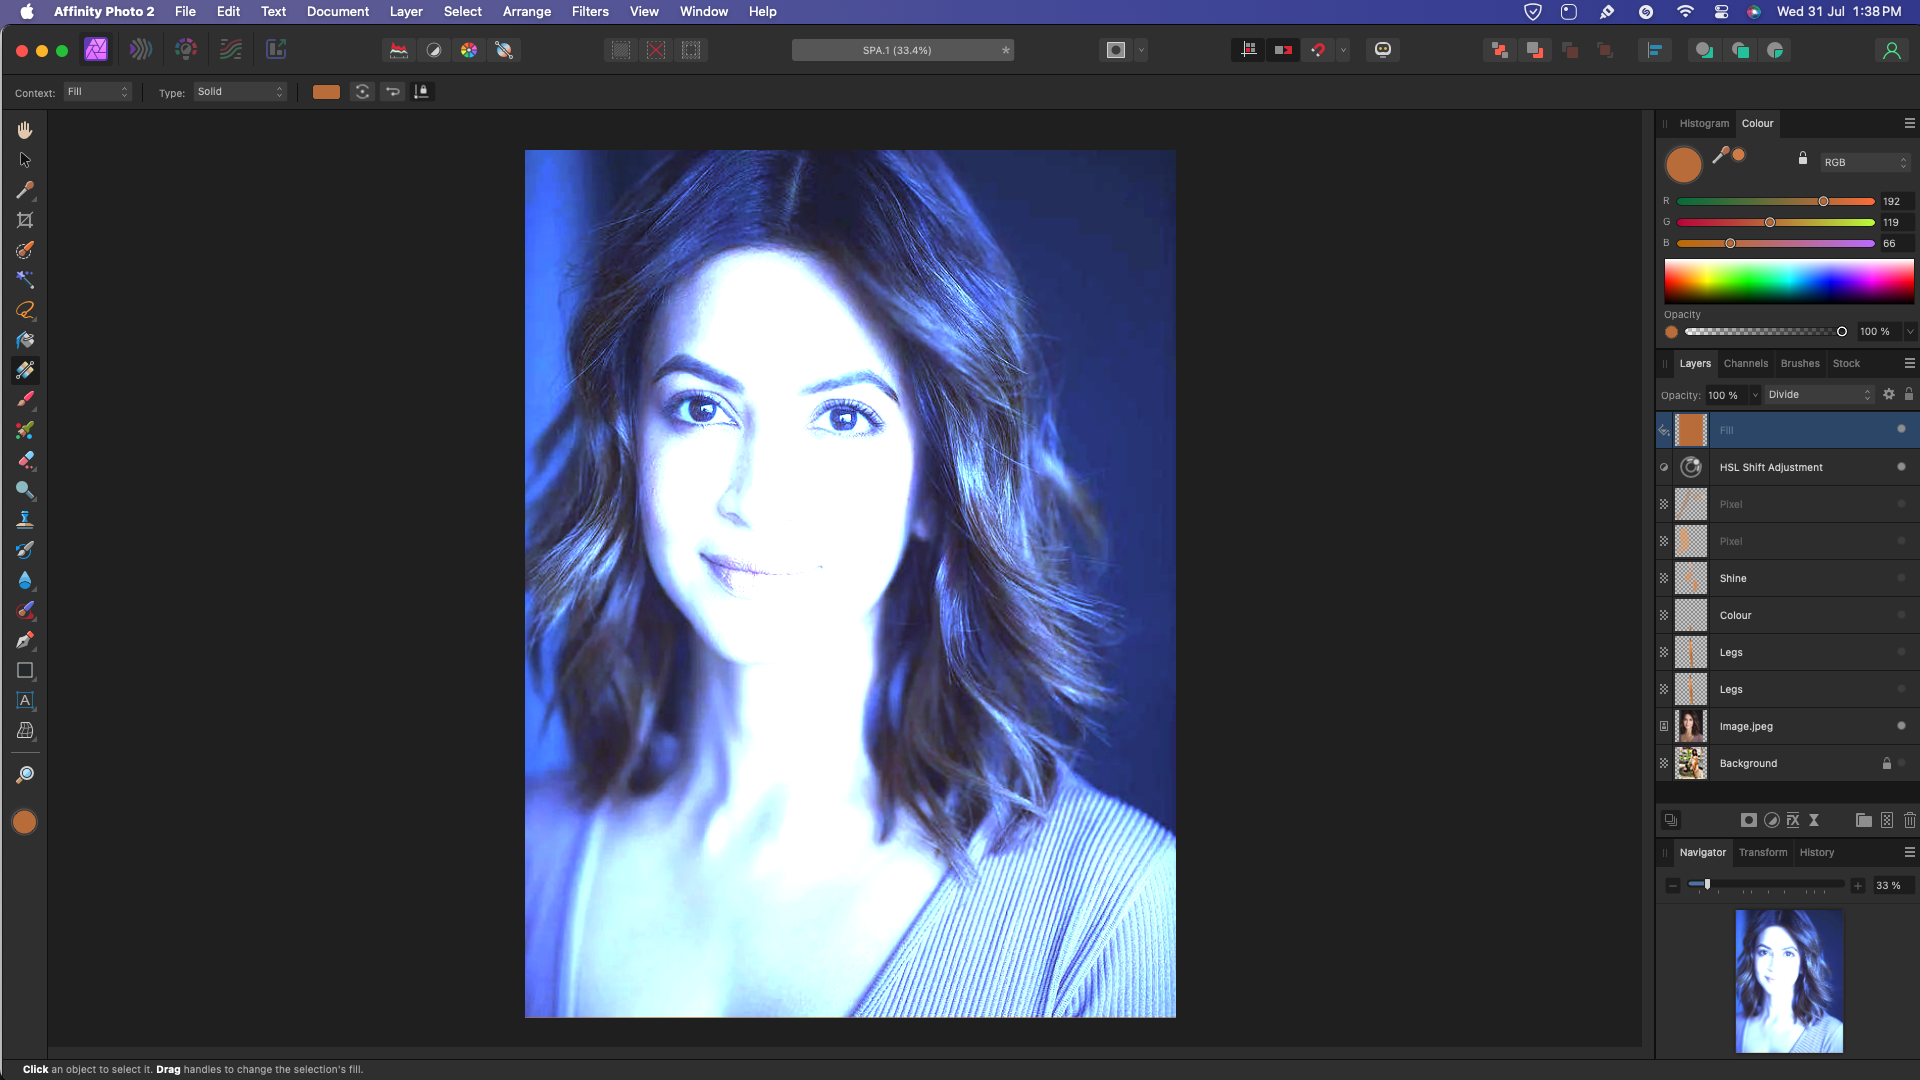
Guys that is not making any difference. Even if I correctly sample the colour at 100% it gives blinding silver flare on it and if I reduce the Opacity of the fill layer i see no difference in before and after results. Have any of you guys tried it? I have added the project file above.
-
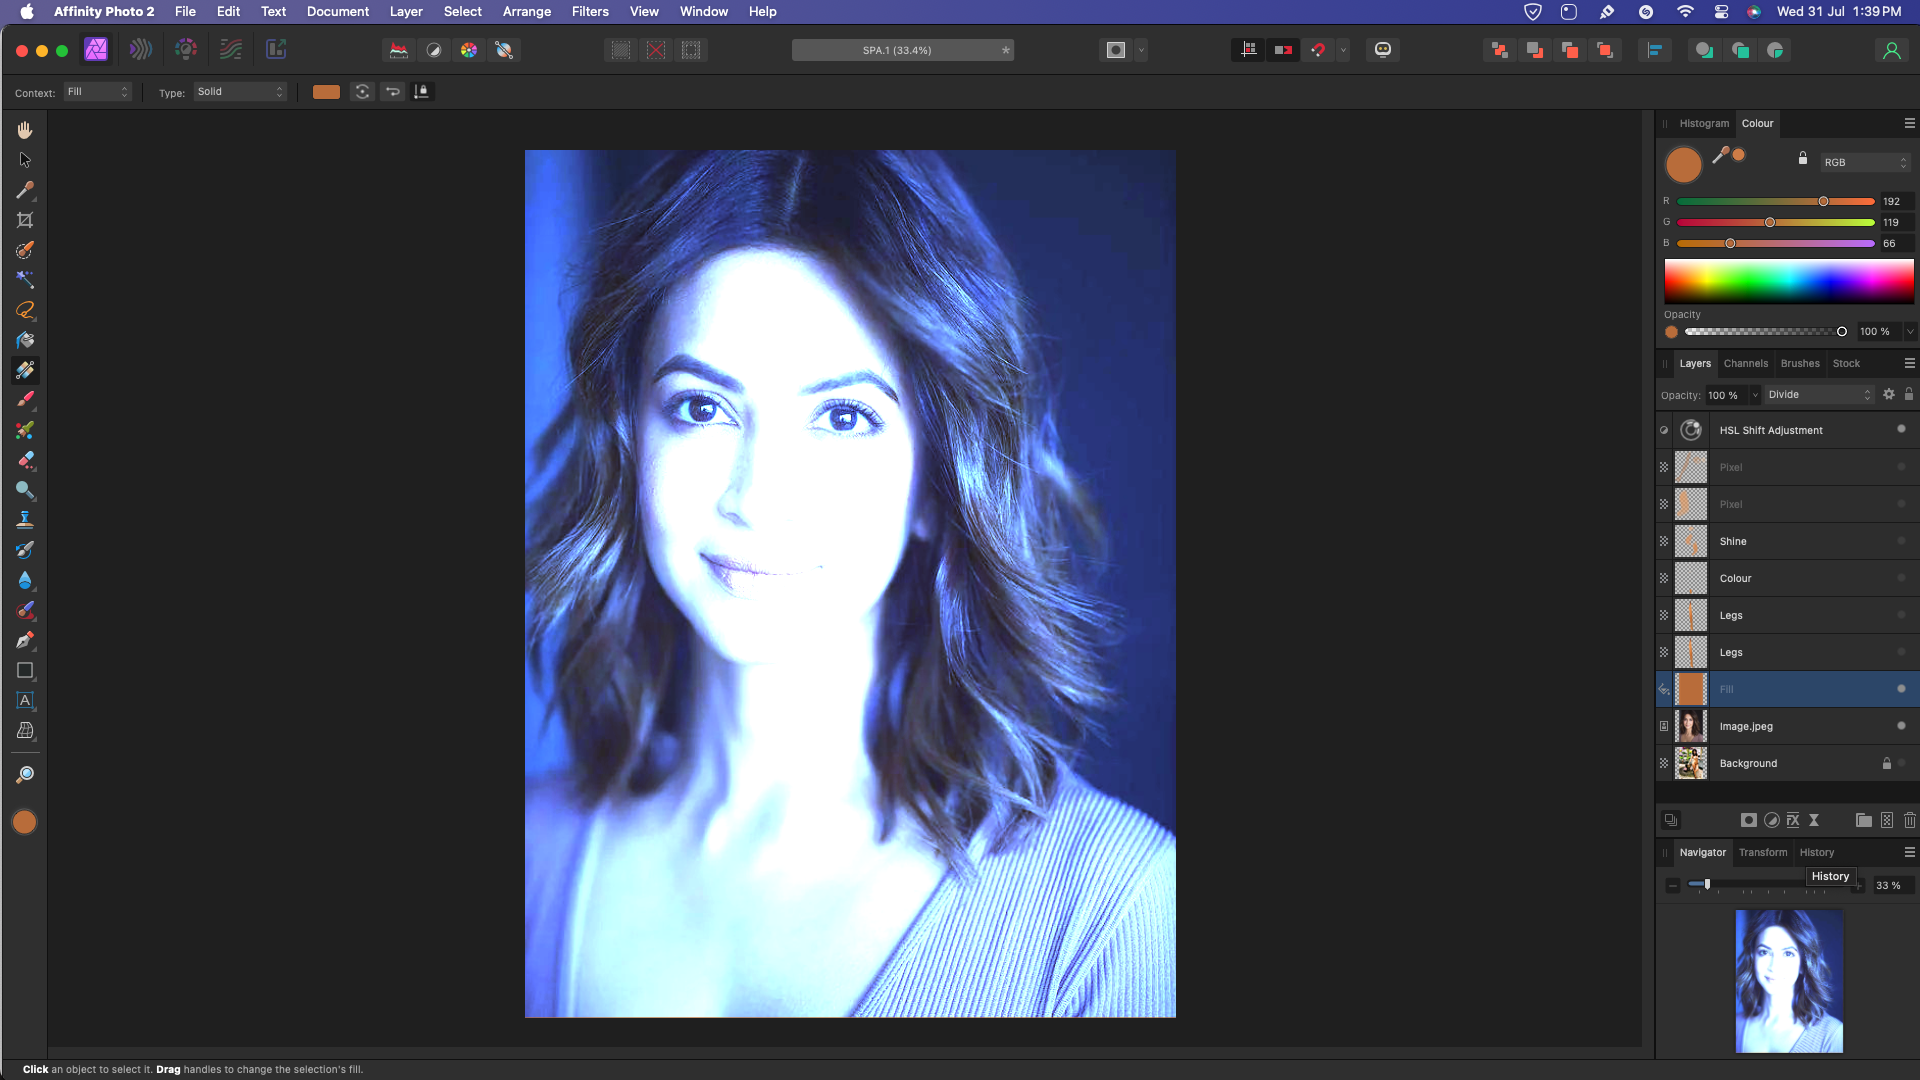
So do I first sample the colour and then add the fill layer, or do I add the fill layer and then sample the colour. But Frankly it is not making any difference, it is giving me this Silver Overcast Hue.
-
Here You Go
-
I have disabled the HSL Layer.
-
so no matter I sample the colour before adding the fill layer or after adding the fill layer, the end result is the same this strong shiny silver hue eclipsing the entire image. Not working for me !!
-
Hi ! So I am using a random image and not my original image for privacy issues, in my same project I have placed this image and lets say if I wanna reduce the pink tone on the cheeks of this lady, the moment I add a Fill Layer and set it divide I get this silver hue on the entire image and no matter where I place it, either on extreme top or just above the pixel layer, The result is the same. So I am wondering how can this reduce the pink tone in this case?
-
Sure will do that.
-
No offence meant ! But for everything you ask a screenshot 🙂 This time around I cannot do that because it is a censored photo. NSFW kinds...
-
No it makes it worst. Does the placement of full layer matter ? I have some.laterd before on top of my main pixel layer and I have the Full Layer placed the first one top above the other layers.. Does this matter or make a difference in the end result ?