

Rebecca Stewart
-
Posts
13 -
Joined
-
Last visited
Everything posted by Rebecca Stewart
-
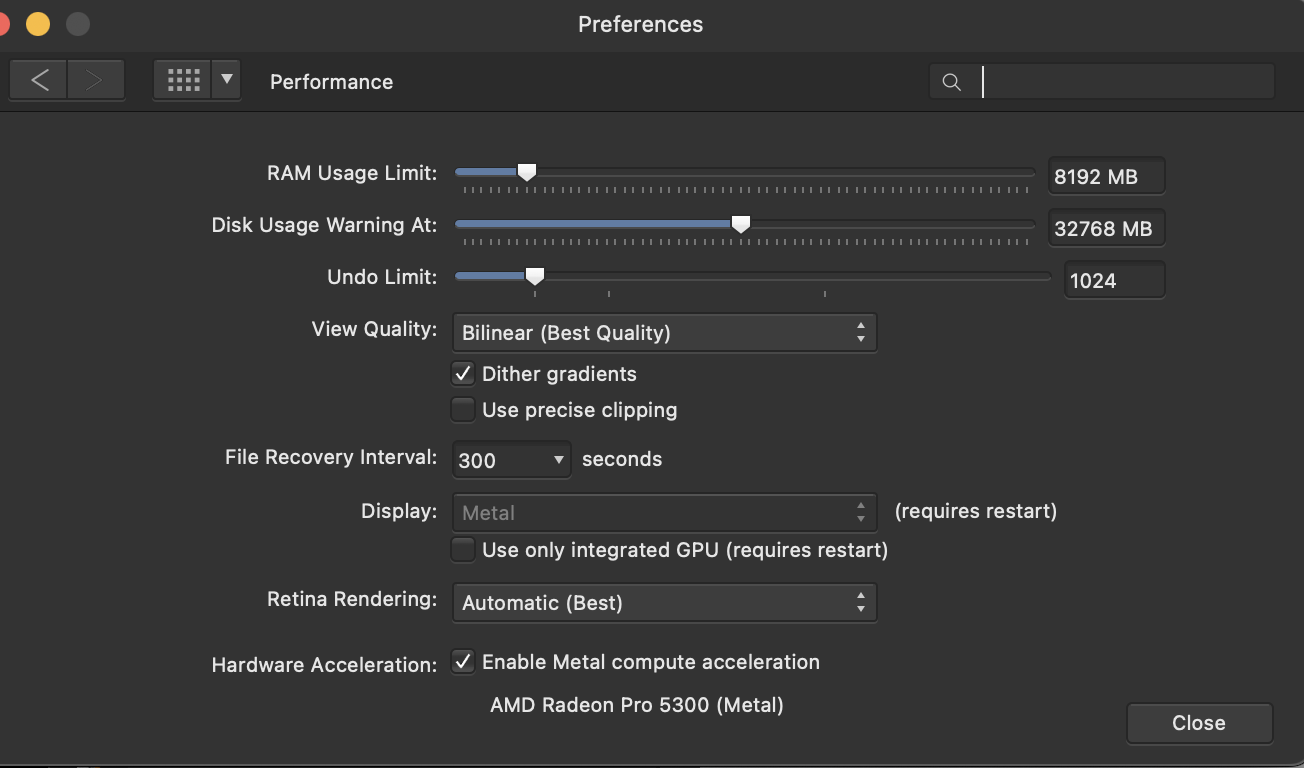
Screen shot of my 'performance' tab - Renderer to WARP is not an option here (my Affinity software is up to date). also how would I roll back my software to the previous driver, as per the suggestion from @pettemacca above?

-
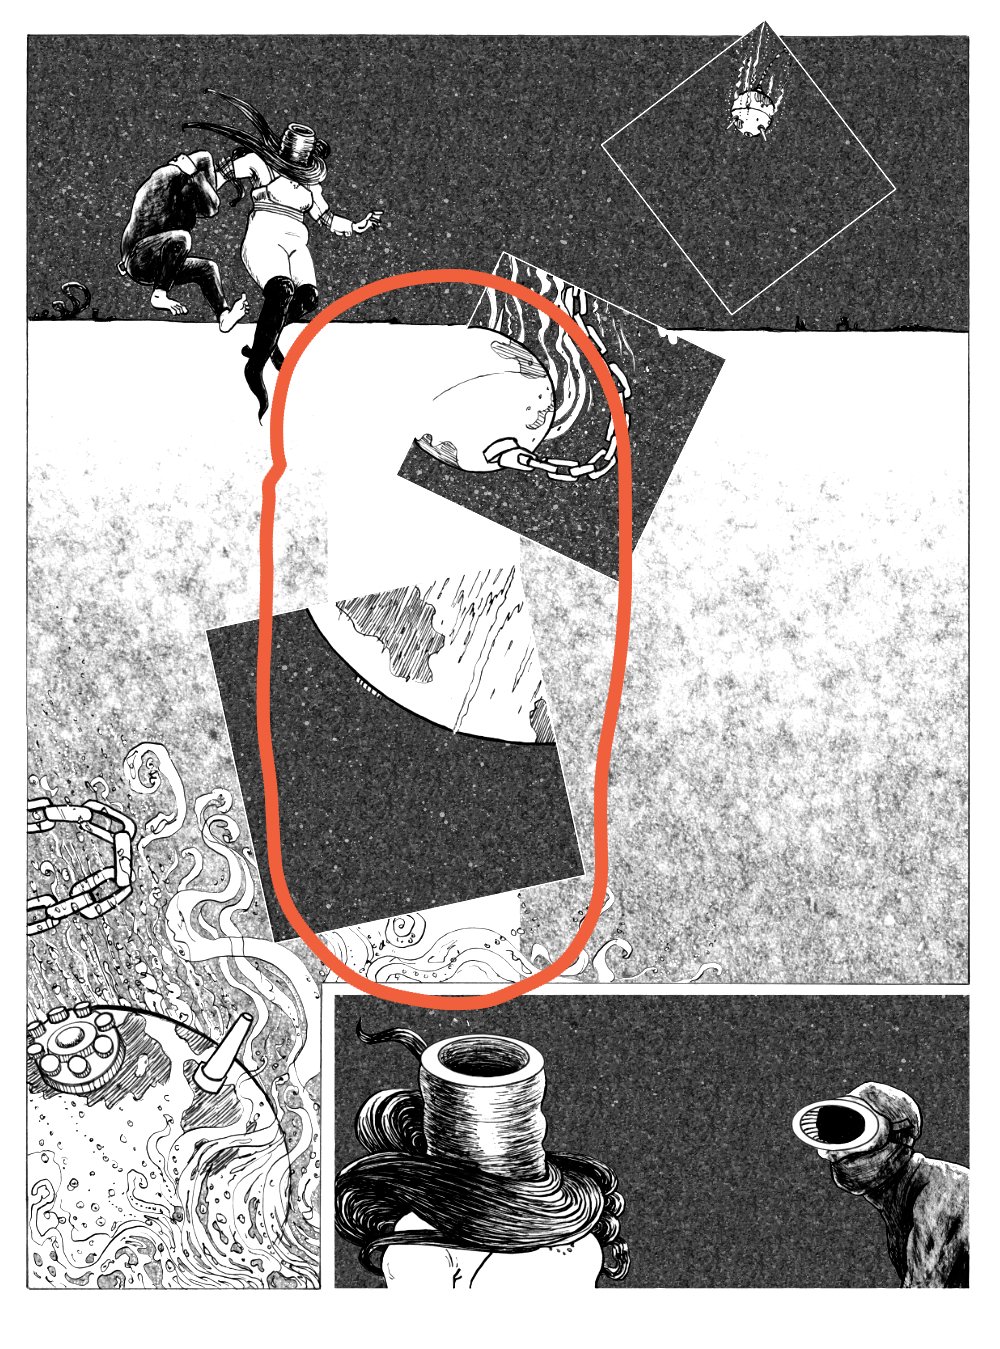
Hi there, I came here with exactly the same problem. My pic is attached. Have been working hard on a lot of fine editing, and these big blocks just appear. The big white block in the middle (circled) isn't supposed to be there. Impossible to undo if already saved. Previously with this problem I quit the program, open again and accept the recovery file and hope like hell it's an earlier version. I can follow some of the fixes above, but don't understand a word of it. Could anyone explain this issue to me like I'm a kid in school? Thank you Rebecca S
-
Thanks Thomaso!! I will have a go at that for sure. My skills are not that great but I am trying to learn:) Cheers Rebecca S
-
Hi Thomaso - many thanks for your response, and the technical reason why this might be happening. I've tried stitching it together myself - I'm just no good at it! The line between the two images has a little shadow because of the lip of the scanner (it's A4 and the pics are A3). I don't think I have the skills to do this well. I think the suggestion to take hi res pictures is a good one and will investigate taking some better shots of it. cheers - Rebecca S
-
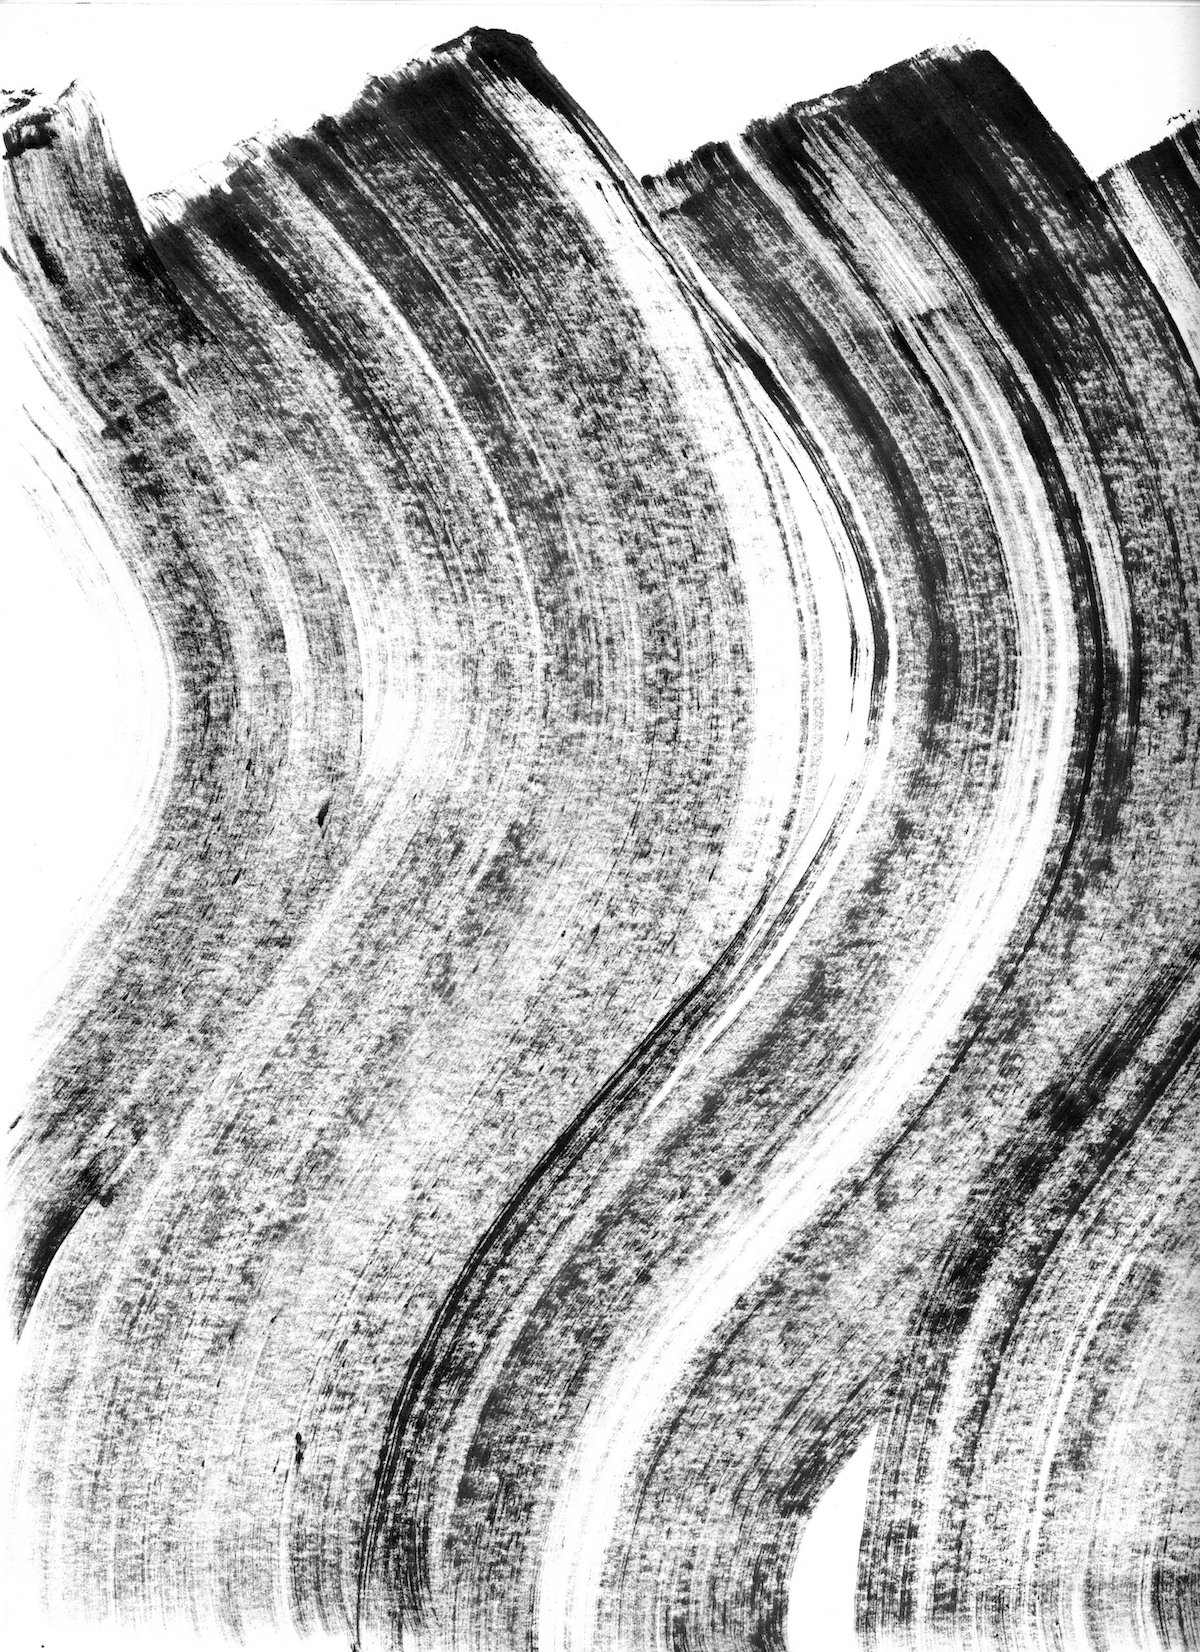
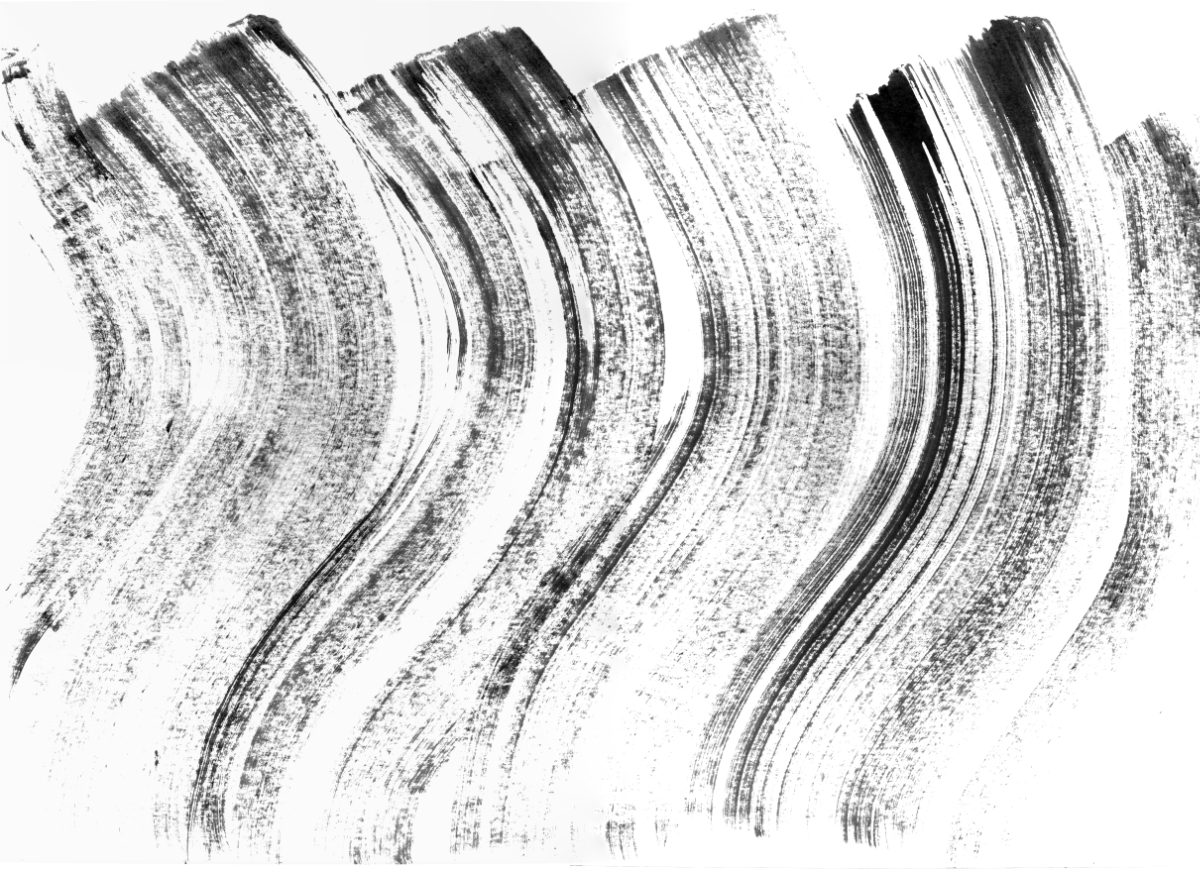
Hi there, I am trying to stitch a number of patterned greyscale images together (as my scanner isn't big enough). They have a lot of grey details in them which I managed to capture during the scan. Once I go to panorama and stitch they lose all of this detail - and wind up with something very contrast-y and adjusted, like you can see on the attached. Thus when I go to edit the panorama, I don't have much information to work with to edit it back to where the original scan was. Is there any way I can prevent Photo from doing this when stitching? "Kelp 6 and 7" attached are the original scans and 'kelp pano" is what happens after I stitch it. I don't do anything more than add to the panorama box and press panorama. Many thanks - Rebecca S
-
Thank you Pauls for helping too. I know that bit more now!I like to know the ins and outs so I don't do the same silly things again!
-
Ha! Yes I did Joachim! My dodginess exposed I will certainly do that. Was about to do so but....trying to get away with it. Your option on 'image smoothing' also worked so I think it is...solved? Thank you all :):):)
-
One thing that could be related is that one I rasterised the images, the file now has (pixel) after the name in the layers panel - instead of (linked). Once the file got (pixel) it disappeared from the Resources Manager entirely. Also, the option to 'replace document' - either in the resources manger or on the Toolbar - has also disappeared. Now my Resources Manager is empty and I can't replace any of these files. Does rasterising mean they're embedded in the doc and can't be moved. Once I deleted the file entirely and it came back as (linked) and is now the only thing in the Manager.
-
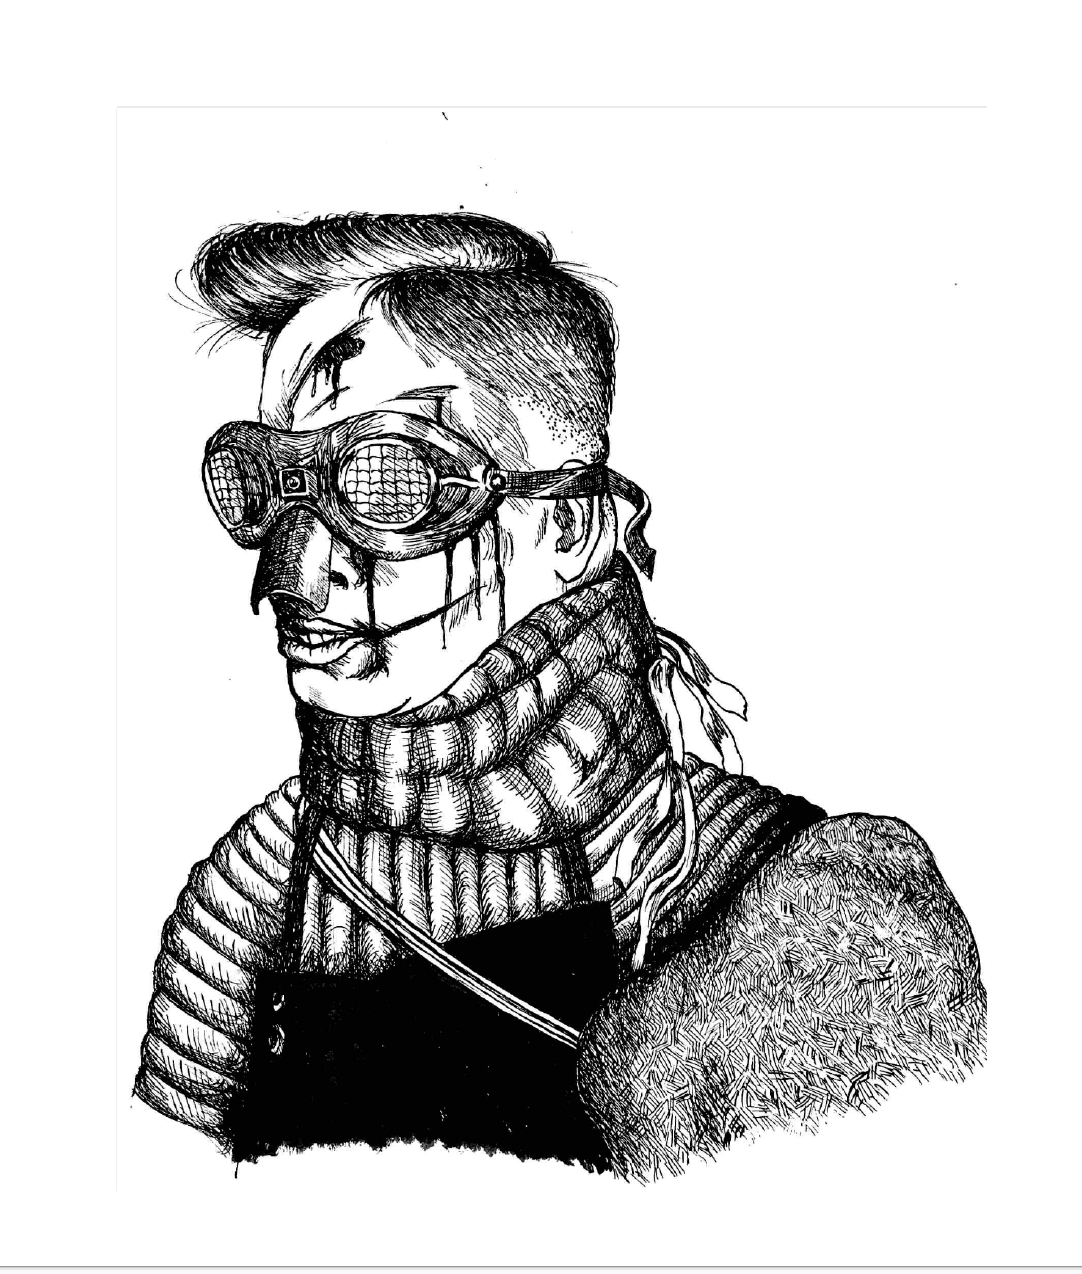
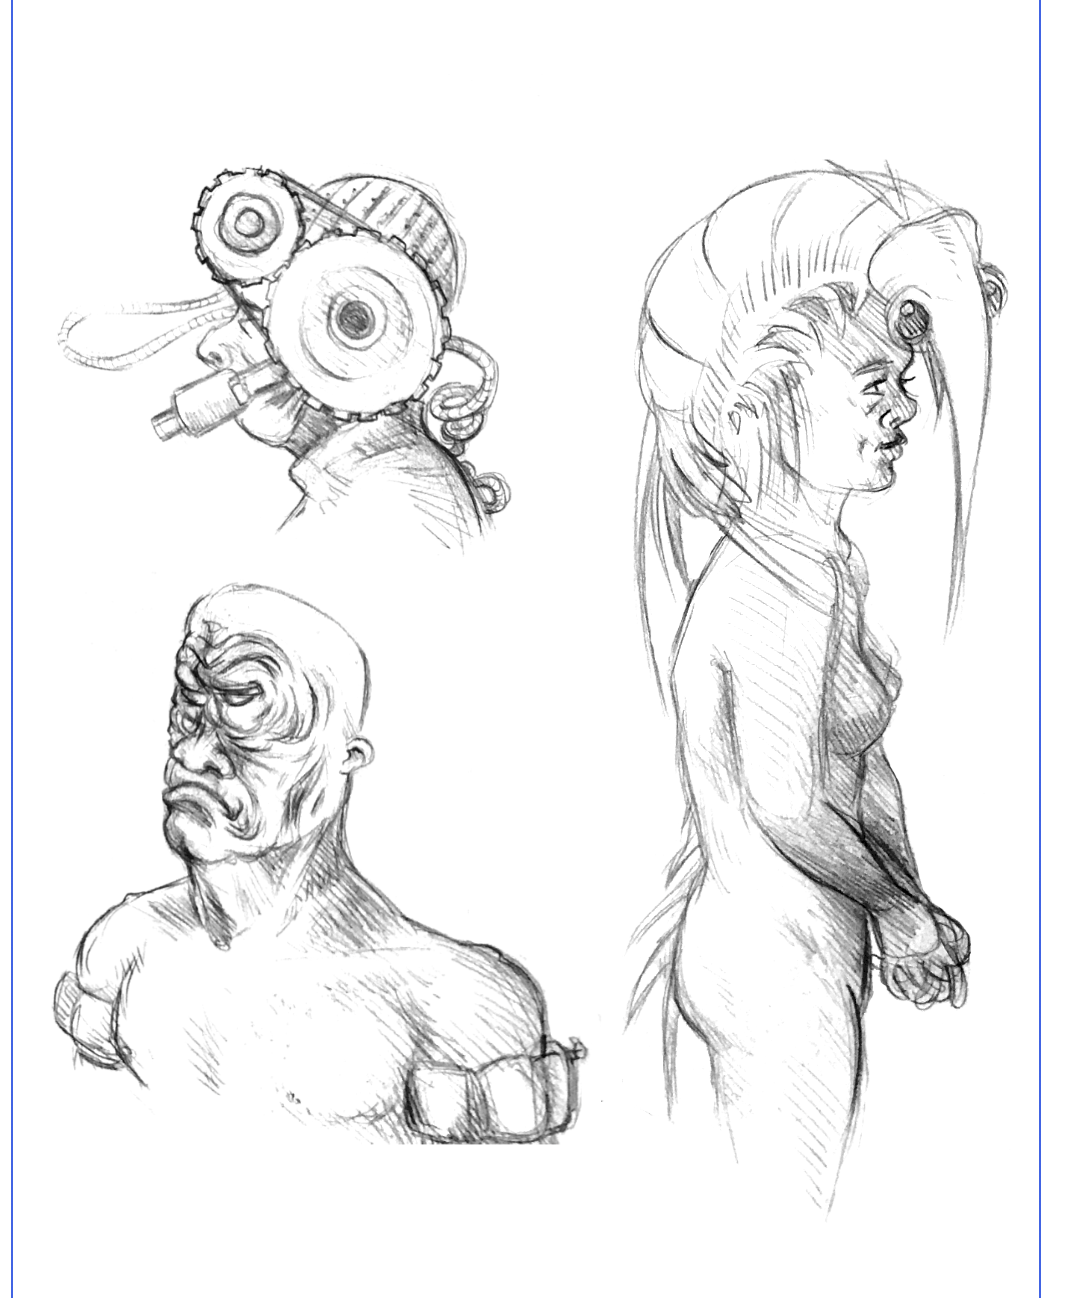
Can you see the little grey boxes around the figure in the top left hand corner? Would it be something to do with rasterising the images before export? Sample_spead.pdf
-
Hi Pauls - It's Adobe Acrobat Reader DC. Is there a better one for viewing?
-
Thank you for your response Pauls! Yes I've tried that and the result is about 1000 x better! On the odd one though, I'm getting a fine grey line around the image (see attached). Would that be poor cropping do you think? If you have any ideas or tips about working in two colour spaces that would be great. I feel like I'm missing something really obvious, I just don't know what it might be.
-
Hello would there be anyone who could help me with this please? My guess is that it's something about how I'm saving the document in Affinity Photo - either that or something to do with linked images. Any tips would be helpful, thank you. Rebecca S
-
Hi there, I am trying to export my first Publisher document to print (see image 1) - to preview before I send to print. The images (.PSDs) come up looking very strange and it doesn't matter if I delete then and replace, or 'replace document' they come up looking odd on the exported PDF (see image 2). The document is 24pp and about half the images look OK. The other half are either totally corrupted or they look like the images below. It could be that I don't understand file formats or embedding v linking and so on. It's the sort of thing I do with no probs on InDesign. I'm new to Affinity so appreciate any tips or links to relevant tutorials and so on. My system is Mac OS Mojave - 10.14.6, MacBook Pro 2017. Edited: I am on the latest version of Affinity too - updated the other day. Many thanks in advance. Rebecca S


.png.344bf1de5ae6b462151445f82f95f29f.png)