Tahunga
-
Posts
33 -
Joined
-
Last visited
Everything posted by Tahunga
-
 Thanks all you wonderful helpers😉. I just simply found it weird that I could use Affinity Photo 2 Beta for weeks by creating an alias on the dock and using that to start the app. And then all of a sudden as the new update came in the app started to crash. ....and now that I managed to update the app thanks to your suggestions I deleted the old alias and then created a new one on the dock. And that works just fine again. Now I can simply start the app using that alias again. I only had to use your suggested steps the first time to load the updates.
 -
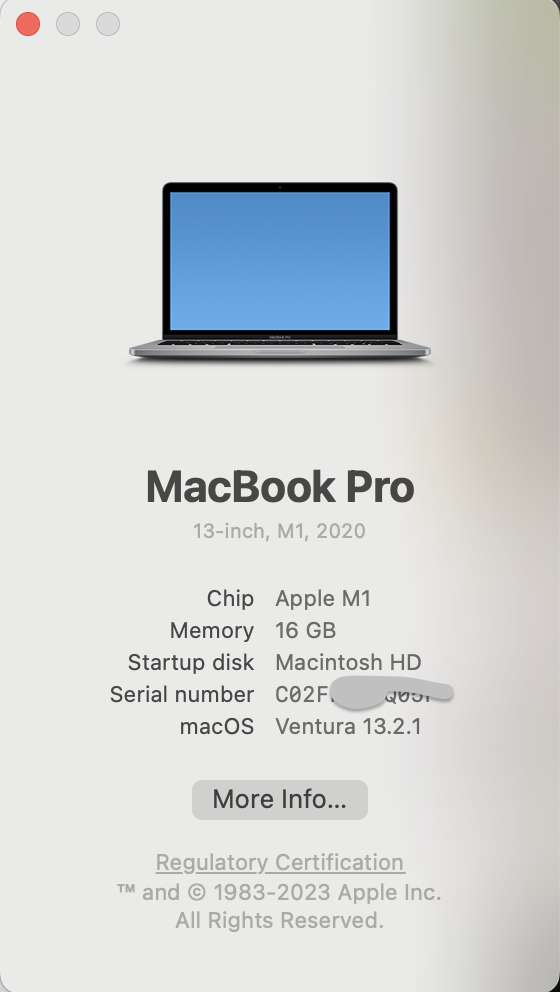
The Affinity Photo 2 Beta app all of a sudden started to crash each time I opened it. So I deleted the app and downloaded it again. But even this new version still crashes as soon as I start it. No idea why this happens, but it does. My standard Affinity Photo 2 app works just fine. It's just the Beta version which crashes. I run it on my macBook Pro (see attached screenshot for detail)

-
Thanks "NotMyFault" and Old Bruce for your quick responses. The bottom line seems to be that I have to play with, test, gamble with, and otherwise learn more about Affinity Photo. Thanks a bunch 🧐
-
Walt, thanks for your quick response. I found the "Show Clipped Highlights" option 😁
-
Using Affinity Photo 2: I understand that certain adjustments are made easier/better in Black and White (i.e. turning the image into black and white and then adjust the various colours like Red, Yellow, etc.) My question is this: Once I have adjusted the various tones, can I now put the image back into a coloured version? How do I do this? (Mine just stays in black and white).
-
In the recent Affinity Newsletter there is a TIP. Namely: "When targeting highlights, enable Show Clipped Highlights on the context toolbar. Overexposed areas will then appear in red.” I can not find how to add the "Show Clipped Highlights" icon on to the Tool Bar.
-
Today I got the e-mail announcing Affinity Version 1.9. and immediately noticed that it is supposed to include one new feature which is of great interest to me, namely "Raw Editing". I downloaded the new version and did some testing using a couple of my RAW image files which happen to be in the PEF format (i.e. Pentax Raw format). Here is what I found: after the initial opening of my files it is true, I can now apply all sorts of adjustments to these images which I could not in the previous version. However, what I could not find is how to EXPORT or SAVE the images back in the PEF format. PEF or any other RAW format or even DNG format is not offered in the export process. To me this doesn't present much of a change compared to the previous version of Affinity. The only difference to me is that in the older version I had to open the RAW image and then click on the "Develop" button which opened the image to work with all the features of Affinity. In the new version it is true that I can apply many if not most of the editing features. But once that's done, I can't save the image back in its original format. ......am I missing something here?
-
Hi Stokerg, I tried once more, but this time by using the actual pictures provided in the WorkBook. So here is what happens: Steps 1, 2, and 3 work just fine, producing this picture: Steps 4, 5, and 6 also work just fine producing these results: So this takes care of the top part of the picture. Steps 7, 8, and 9 also look good. But Step 10 does not work. As can be seen from the picture, the frame created by that step is not as shown in the book. The frame is missing the rectangular frame and, in fact, does not show a frame at the very bottom. As a result I can not perform step 11. 😢 Hope this makes sense. Please note that to keep the message to a reasonable size I actually used screen pictures of the various images and not the actual pictures. Cheers.
-
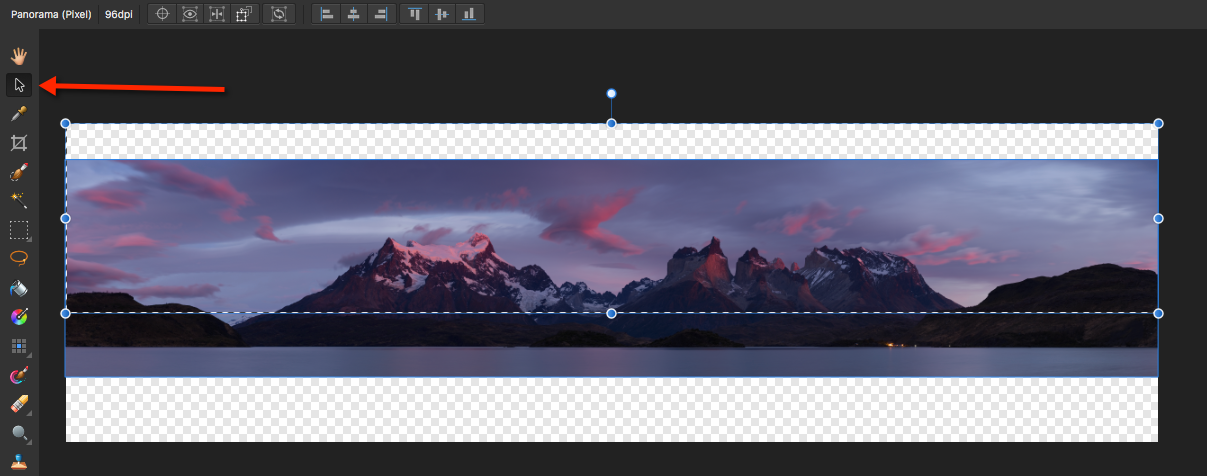
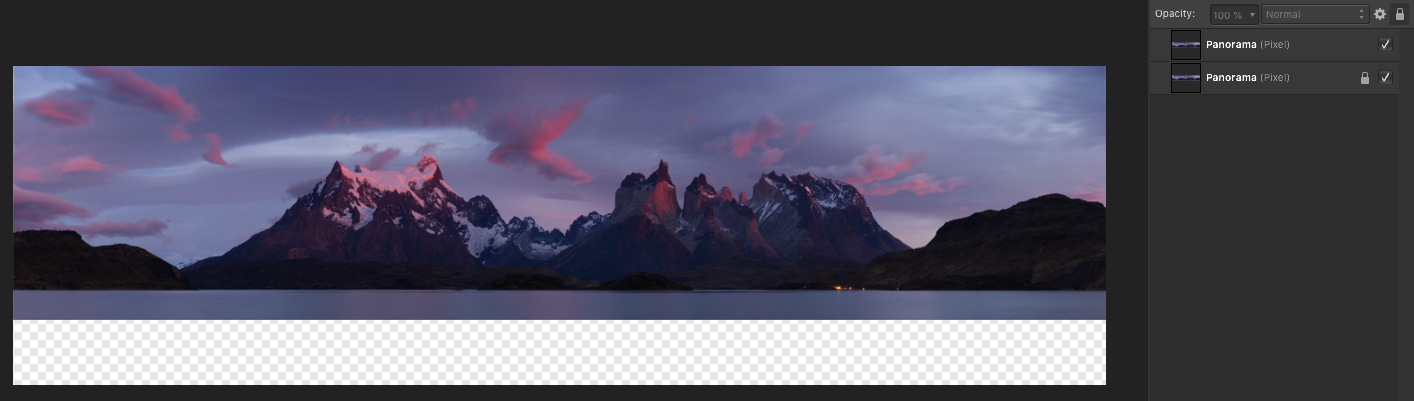
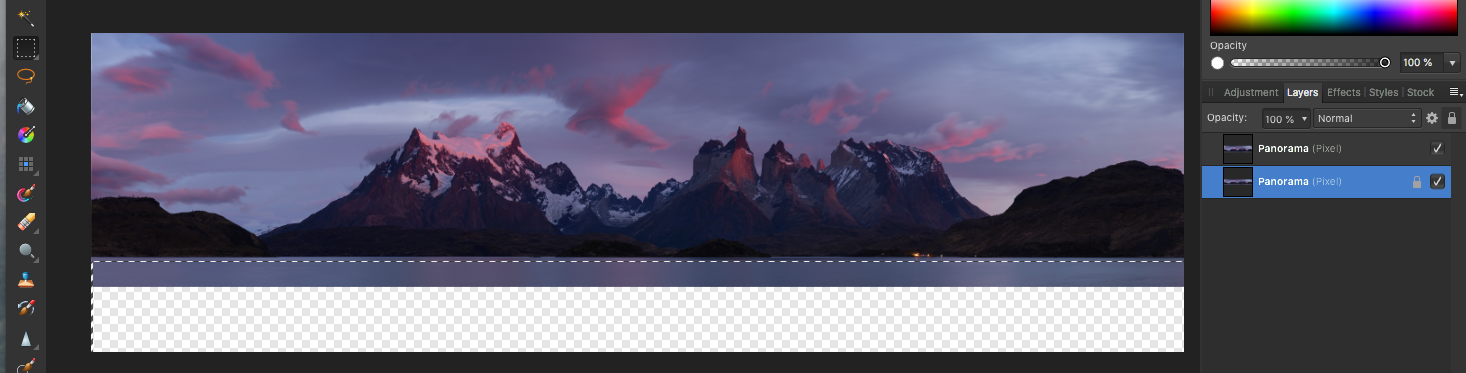
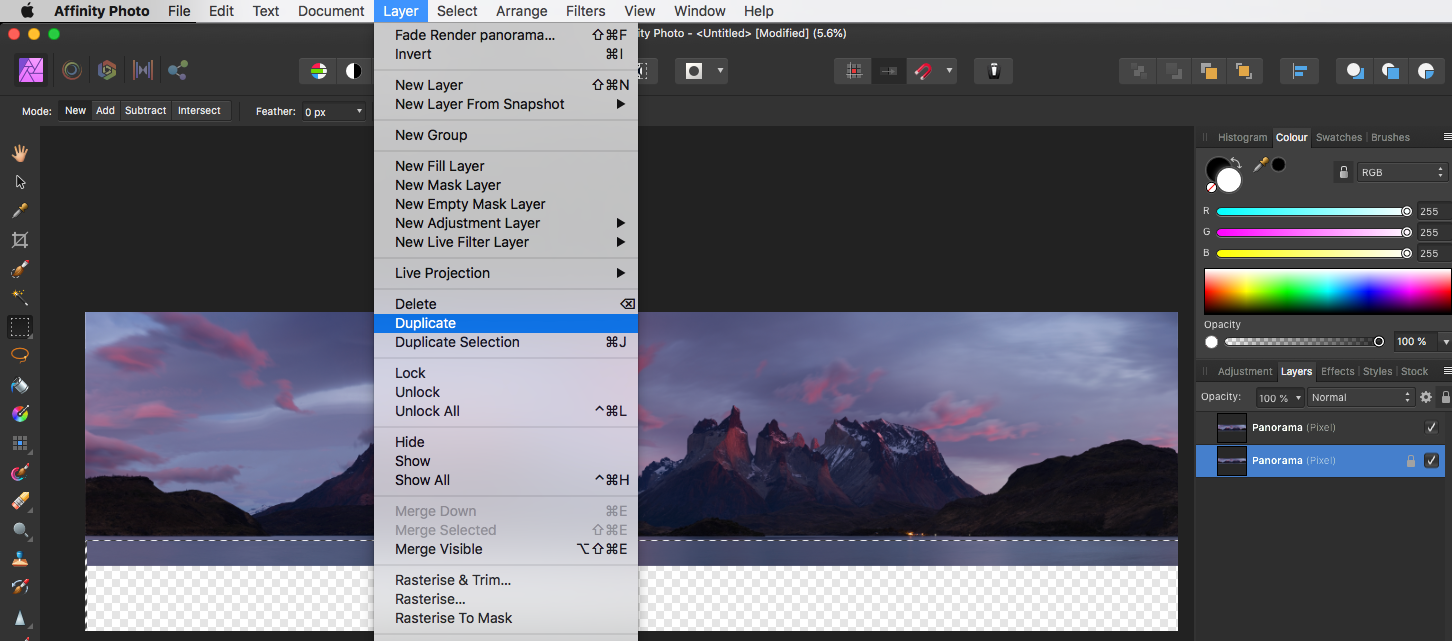
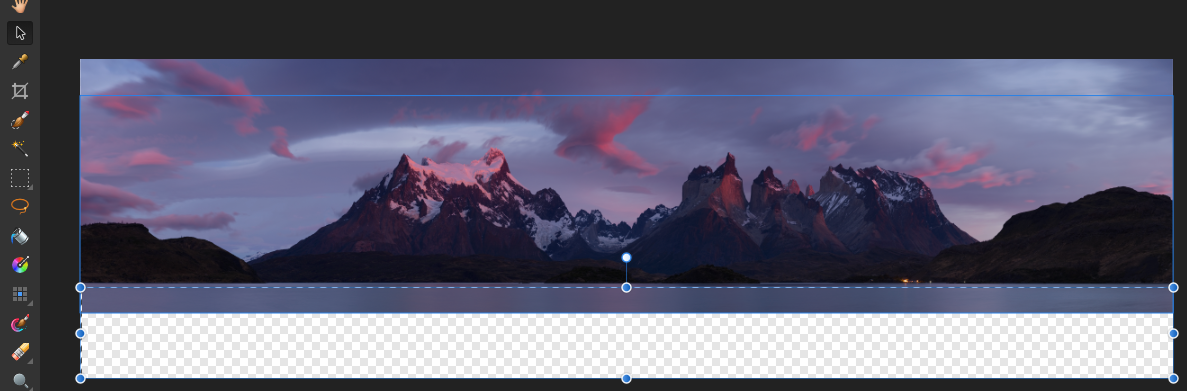
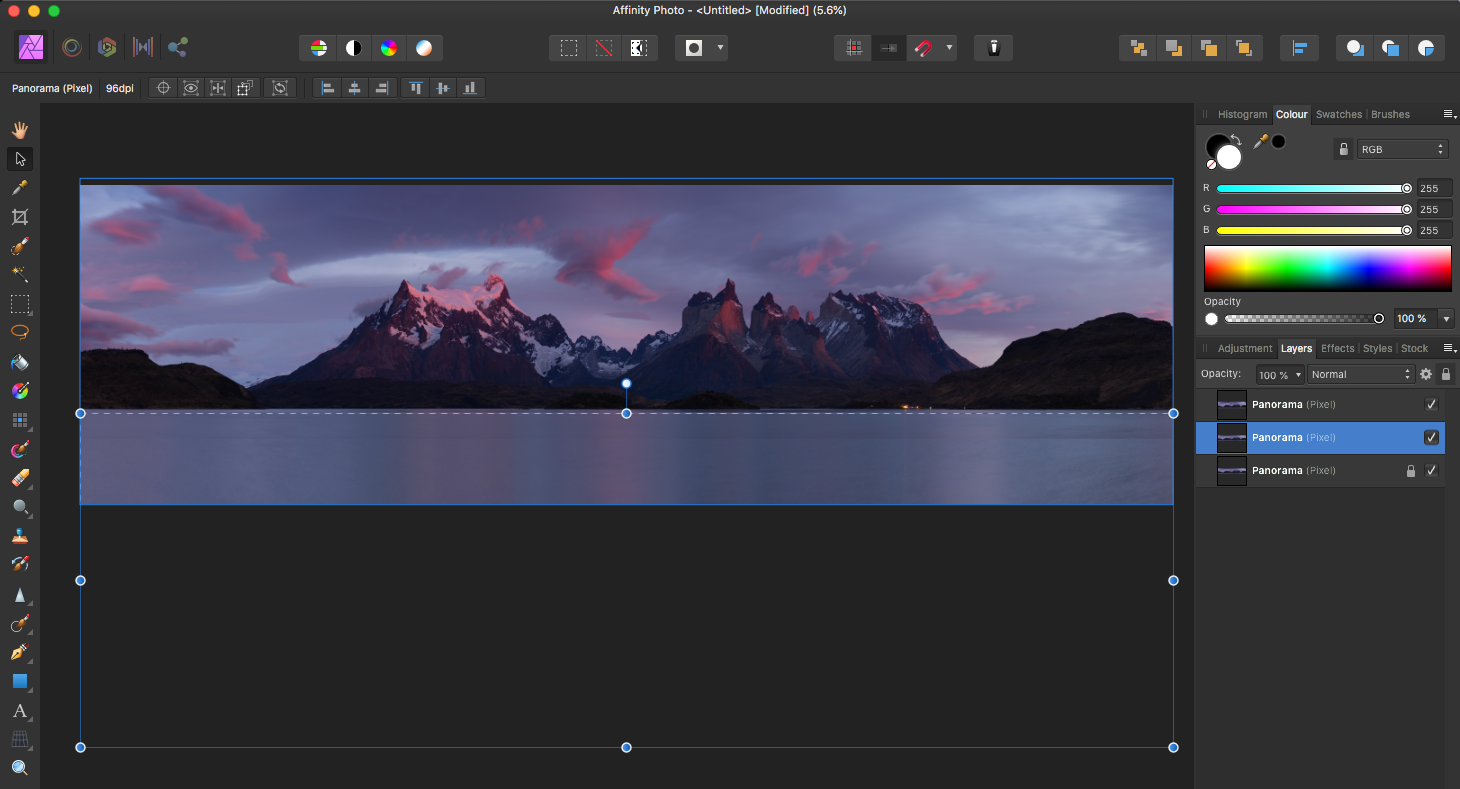
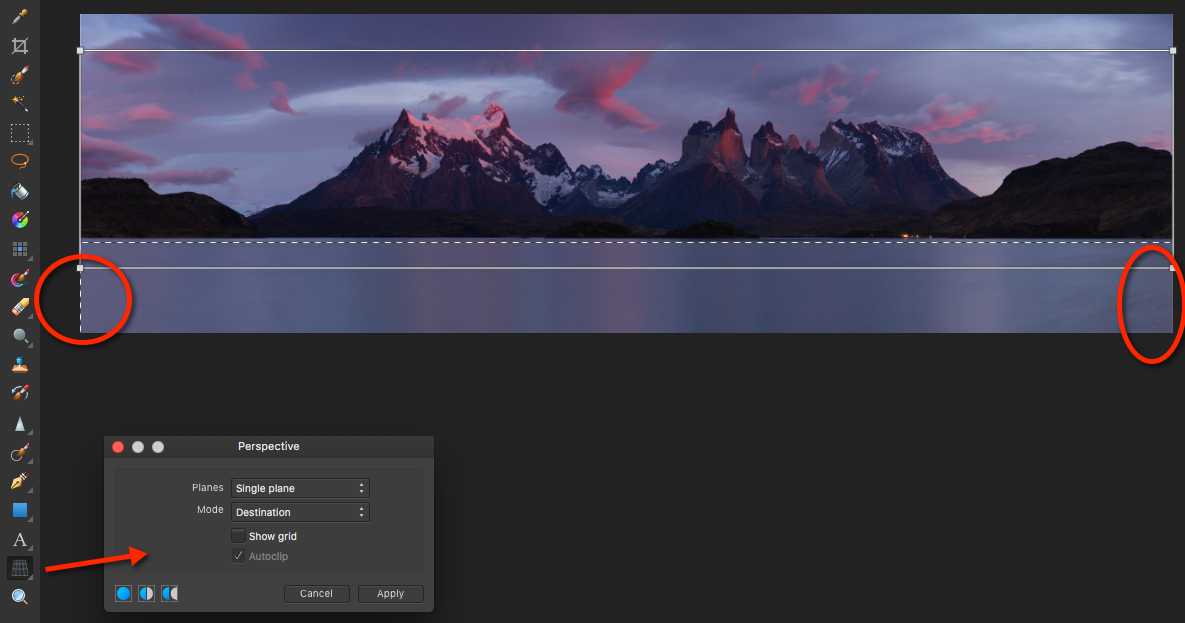
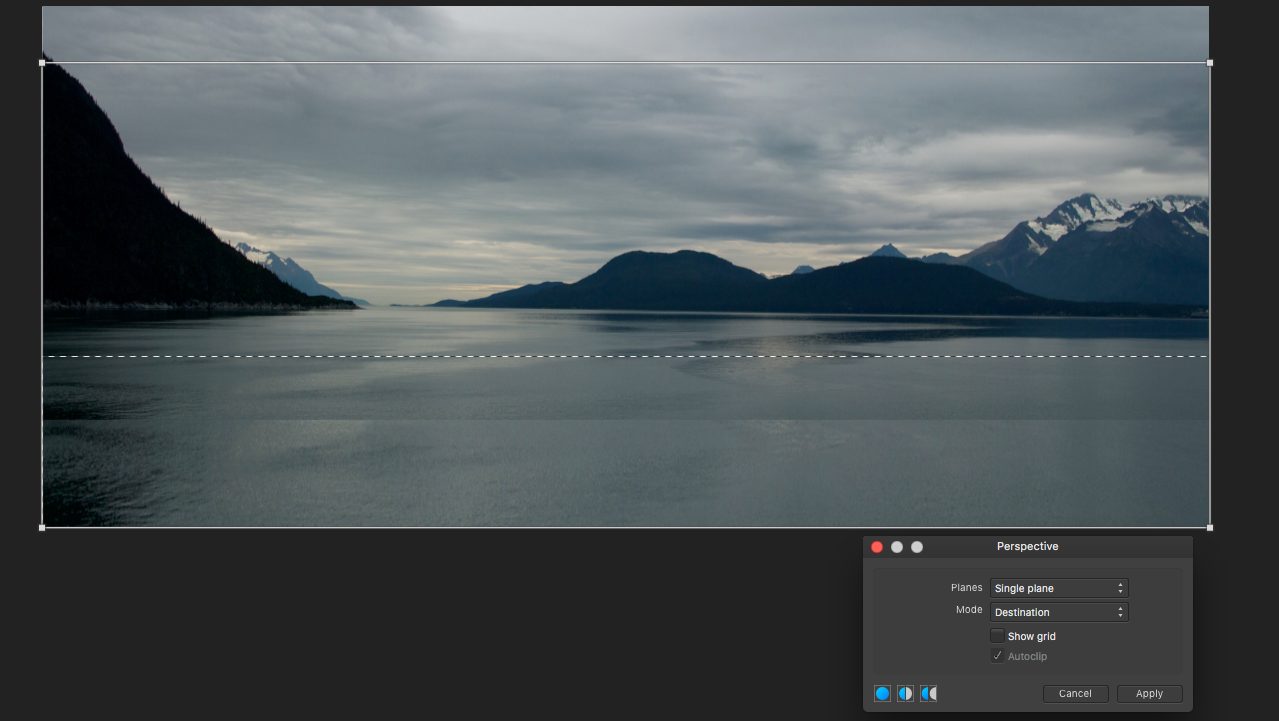
I love the Panorama creation in Affinity Photo. To learn more about it I went to Chapter 4, Subsection 2, Torres Del Paine in the Affinity Photo Workbook. In that section on page 300 starts a concept called "Blocking". As I found that concept quite interesting I tried to follow this section very carefully. Here is the challenge I have: I managed to follow the steps in detail all the way to Page 302, including Step 9. However, when I perform Step 10 on Page 303, (i.e. On the Tools Panel choose the Perspective Tool, then ensure Show grid is unchecked in Perspective settings) my resulting image looks different from the one shown in the Workbook. Specifically, the frame created by the Move Tool (selected in Step 9) is much larger and does not have any "handles" in the lower part of the water section (as shown in the attached image). As a result I can not perform Step 11 on Page 303 (i.e. Drag the bottom-left and bottom-right corner handles outwards to skew the water and change the angle of the reflections.). Dragging the bottom-left and bottom-right corner handles outwards causes virtually the whole length of each side to move outwards, creating a strange skew across the whole picture. Please note that I used one of my own images and not the one given in the Workbook. But I don't think that should make any difference. I just wanted to practice the technique on one of my own images. One additional issue I see is the line across the lower part of the water. I believe that is caused by the duplication of that lower part asked for in Step 9 on Page 302. Strangely enough, there is no such line in the upper part of the image, although I also had to use the same steps (i.e. duplicate a rectangular piece). ....and of course, that cross line can not be removed easily as it is caused by two separate parts of the composition. Any help in understanding what I am doing wrong would be greatly appreciated.
-
Hi Ian, thanks for the quick response. You are absolutely right in suggesting that I use the left and right scanned images before cutting the text from the left image. In fact, instead of scanning the card once more, I simply took three pictures of it using my iPod Touch (an Apple phone, without the phone 😁), left - centre - right, and then added these pictures to the Panorama Stitch process. And that worked just fine. Thans again for your help.
-
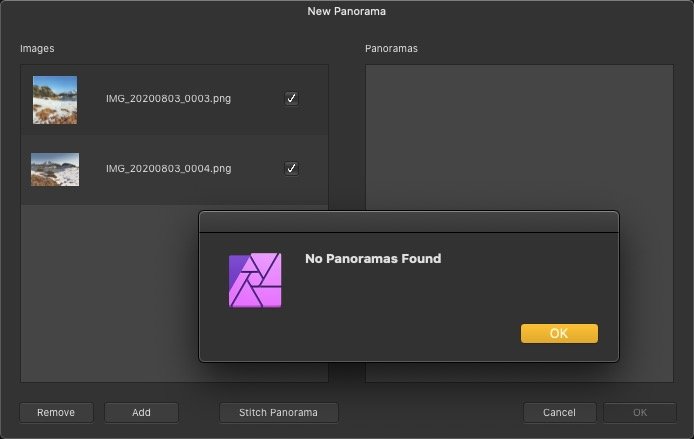
Today I tried to capture an image off a post-card which was too long for my scanner. So I thought I should try the "Stitching Panoramas" feature of Affinity. Here are the steps I used: Scanned left hand side of the image, which resulted in a .png image (my joice), Scanned rest of the image, which resulted in a second .png image, Read the two images into Affinity, Cropped the left hand side image as it contained some text which I was not interested in. This copping created, of course, two images of slightly different sizes. Next I went to File>New Panorama in Affinity. This opened the Panorama Stitching window. I then used the add option to add the two images. So far so good ..... Next I clicked on the "Stitch Panorama" button. This caused an error message which says "No Panoramas found". How come? What exactly makes a couple of images a panorama? Attached is a screen shot which shows that my two images appeared to be accepted. Any help with this would be greatly appreciated.
-
carl123, Using the Layer > New Live Filter Layer > Noise > Denoise seems to work somewhat. However, I noticed that if I use the Filter>Noise>Denoise instead of the Layer > New Live Filter Layer > Noise > Denoise approach, the result is much better. Don't understand why there should be a difference, but there definitively is. Besides, using the Filter>Noise>Denoise approach also provides the "Split View" option, which the New Live Filter Layer > Noise > Denoise approach does not. And with the Split View it is much easier to see the effect of the various adjustments. Thanks for your help. This is great.
-
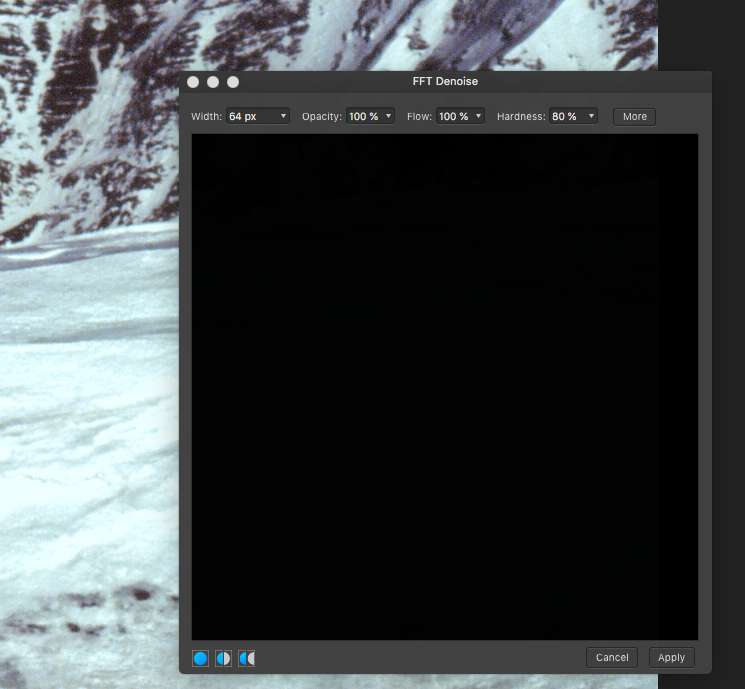
v-kyr, thanks for your suggestion. Can you tell me what the FFT filter does and how it should be used? I was looking for it in the Affinity Help text, but could not find anything. Nor could I find it in the Affinity Photo Workbook. And when I open it in the app, all I see is a black window with some settings, changing of these does not seem to do anything. And the brush associated with it seems to only work on the additional window, not on the actual image. I fully understand your suggestion about using the "repair/healing tools". However, since the "noise pixels" are all over the image, using these tools would not work well. Thanks.
-
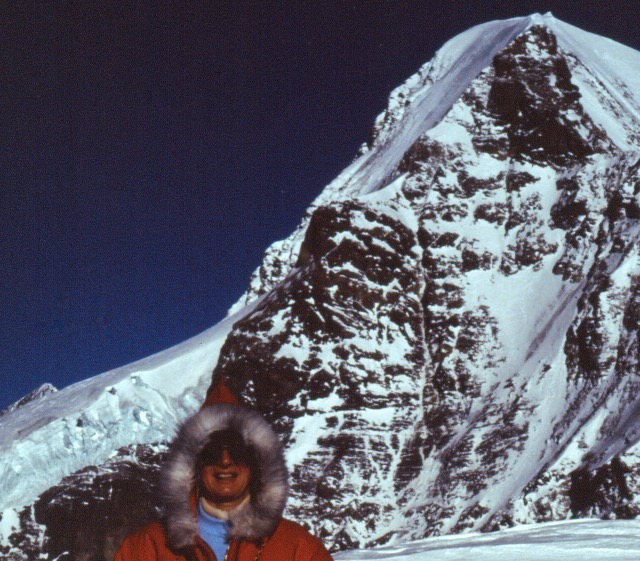
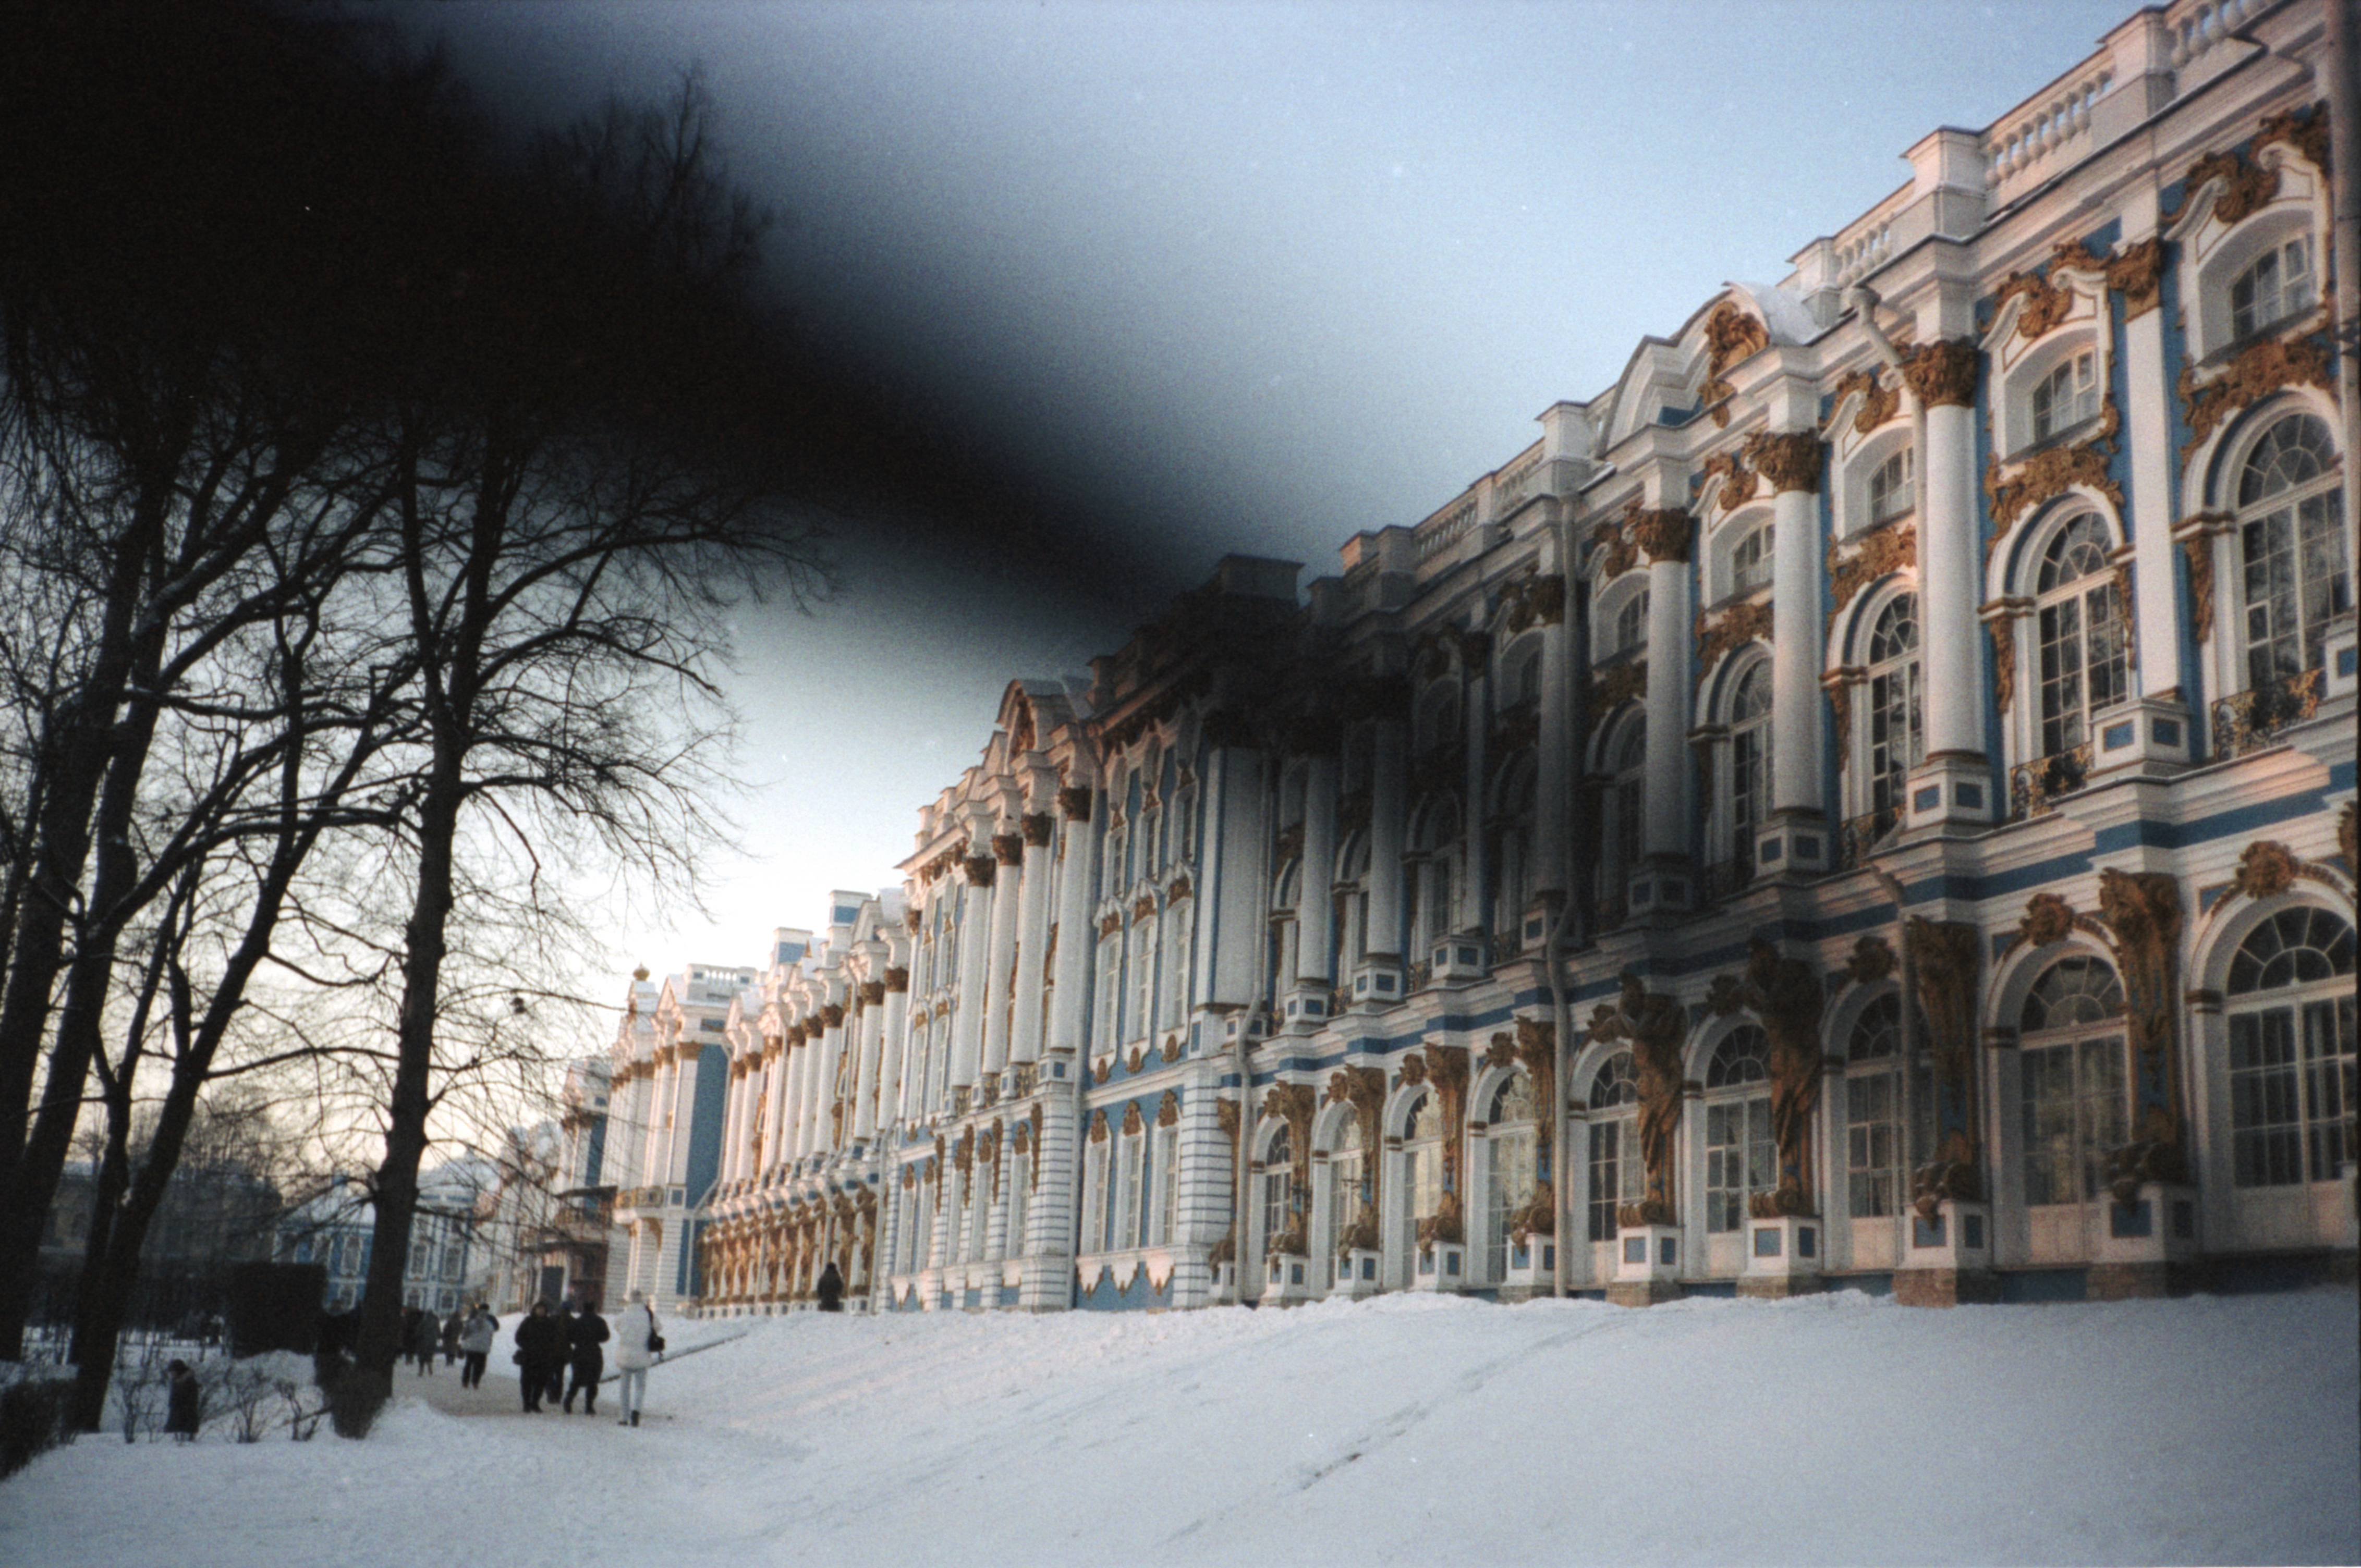
Many of my pictures in my library are old and originated from slides/film. After I scanned them in to my library they require lots of tender loving care. Here is an example: The original/fixed picture is already better than the original. But as can be seen in the close-up view below, the picture is full of: "Noise" Little red dots "Bad pixels" My question: Is there a way I can fix these issues with Affinity Photo? Here is the close-up view I appreciate any suggestions anyone might have. And if the problem can't be fixed, so be it.
-
I don't know if we do this on the Affinity Forum. But thanks to all the help I got relative to my question, I put together a brief "how to" for anyone who does have the same question in the future. Here then is my process to: How to Cut/Copy/Paste individual Elements of an image: Open image. The Layers Panel shows Background (Pixel) which is the opened image. With the Selection Brush Tool (Tools Panel) select the item of interest in the image. Use "[" to reduce size of selection brush, and Use "]" to increase size of selection brush When a pretty good selection is achieved use Refine option In Refine Selection use: Preview When satisfied, set Output to New Layer Click Apply In Layers Panel Unlock and Select the Background Layer (the original picture) Select Pixel Layer in Layers Panel (which is the selected item) Select Move Tool (V) in tools panel In Document View click on the item (the item should now show a Selection Frame around it). The Selection Frame shows Handle Points which allow to size, move, and even turn the item. With the Selection Frame showing, one can: Copy and Paste the item onto the same picture (i.e. duplicate the item). Copy and Paste the item onto a different picture. ....hope this will be useful to other Forum Members.
-
Pšenda, Thanks for the reference to the Photo Workbook. Since I really am still a newbie and only got the workbook a week ago, I have not made it to that chapter. But now that you pointed to these pages I followed the description and finally managed to perform the process successfully ... And many thanks to Smadell, R C-R, and Thomaso for trying to help me with my challenge. I do appreciate it, and my learning curve, thanks to you all, looks like that of a jet with an after-burner going full power.
-
Pšenda, Thanks for trying .... but as you say: ....I can easily select the figure using the Flood Fill Tool, but how do I copy/duplicate the content of the selection? When I hit Edit>Copy while looking at the Background image, absolutely nothing seems to happen. And when I hit Edit>Paste, again, nothing seems to happen. So how exactly do I select the "Selection of the figure" and how/where do I paste it to create an independent object/item? Thomaso, I don't quite understand what you mean by saying "click-drag on image for tolerance". As I mentioned above, I can easily select the figure by using the Selection Brush Tool. But once I have it selected in great detail, I need to be able to copy just that selected part of the image. And that's where I have problems. So I would greatly appreciate it if you could give me a little more "step-by-step" instructions to copy the selection and then create an item I can further use.
-
I am having some difficulties finding the answer to what I would consider a simple process: I am starting with a picture with a somewhat unique figure Now I would like to: Cut out that figure and paste it a couple of times so that it looks like there are actually several figures: When I use the Clone Brush tool, I end up with some background which should not be there. I managed to select the figure, but when I then copy and paste it, the figure is not a selectable item. In short, I can not select it and move it to a new position. It would be great if I knew how to cut out that figure and then work with it in a new layer. For example to: Size it, so that when I want to clone a whole bunch of items I can create the proper perspective. Colour it. etc. I am sure it can be done with Affinity Photo. Just I don't know how. In the Affinity Photo Workbook there are several samples where cloned items are used. It just never tells me how to create the cloned item in the first place. Any suggestions and thoughts on this are greatly appreciated.
-
Hi Lisbon, I took some time to follow your detailed instructions. As a result: I learned a lot, Managed to fix many of my pictures of native masks, Thanks for the detailed and very clear instructions. I truly appreciate your help. .....Tahunga
-
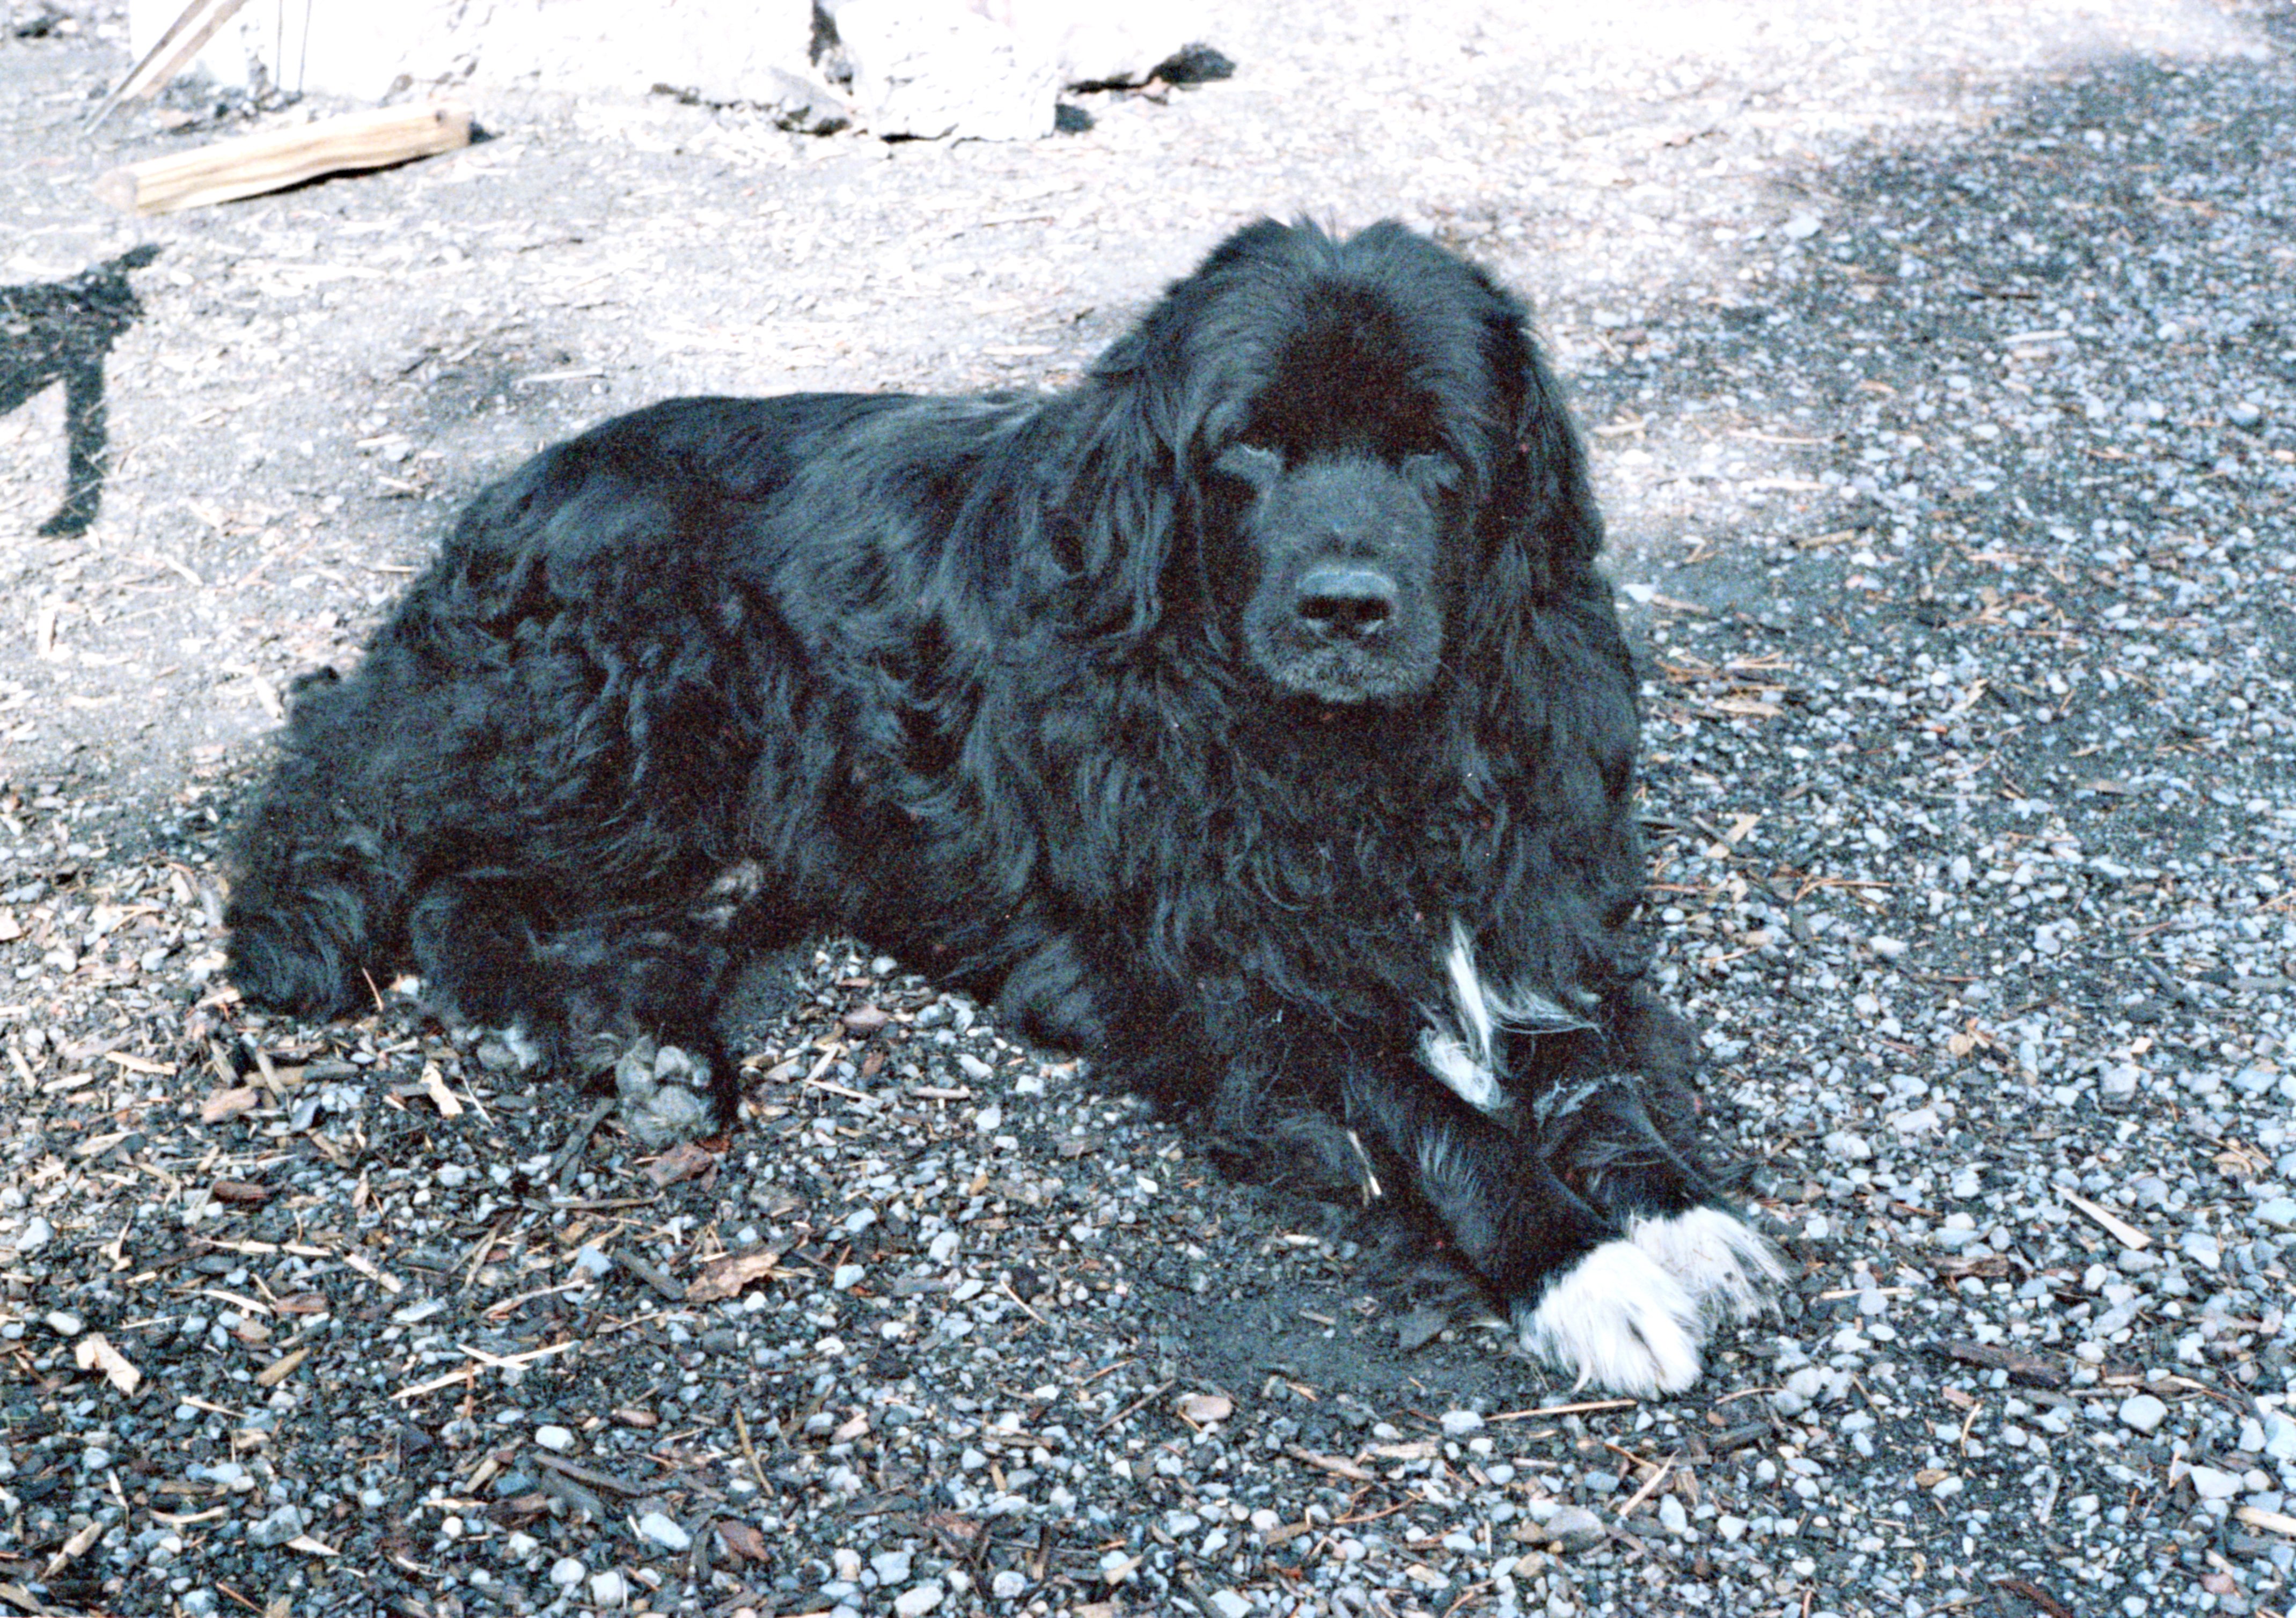
Hi smadell, many thanks for your great and detailed suggestions. I had a quick look at the video and will try the process described in it. It sounds quite good. As you say, I never expect the picture to look perfect in the end. But as an Affinity Newbie I am still more interested in learning techniques than in making my pictures perfect. ....and then I have a completely unrelated question: Is the dog in your profile picture a Newfoundlander? I used to have one of those magnificent dogs a few years ago.
-
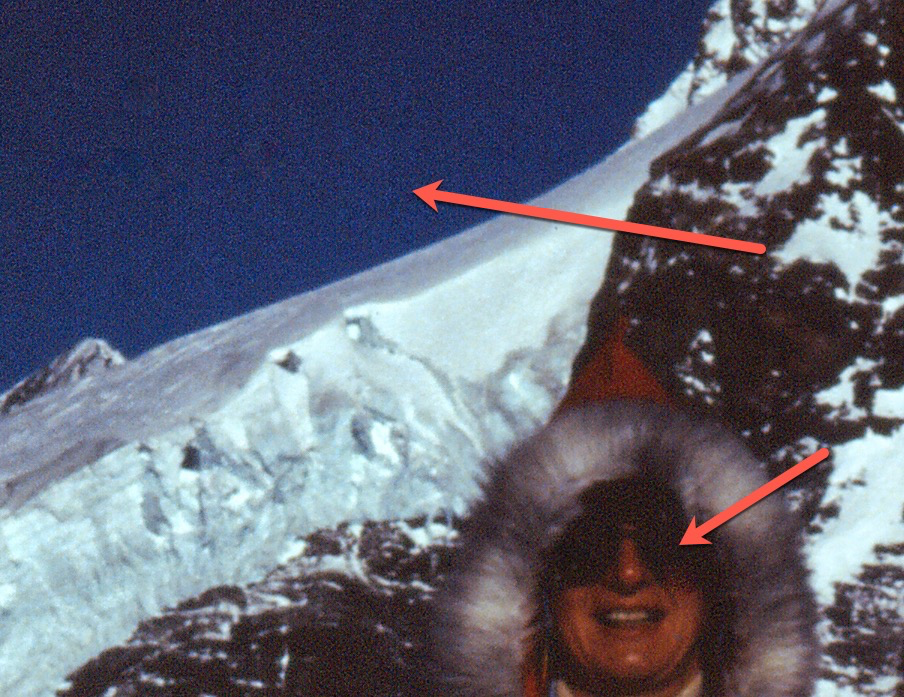
I have a question for Mac Affinity Wizards: Here is my picture which ended up with a "blotch" (probably a branch of a tree) in the foreground. Since the blotch does not block out all details 100% I figured that with a good effort it should be possible to remove it. I gave it a try by selecting it, then invert the selection, and finally add an adjustment Layer (Brightness/Contrast Adjustment). As a newbie in the use of Affinity Photo I was proud with this effort. But it really is just the start. I did try to remove the edges left by my selection using the inpainting brush tool. But that did not work at all. So the question is simple: What might be the ways to remove such a "distraction" from an image? Thanks for any help.
-
mrqasq, You are absolutely right. But a) that is often not possible, b) I like to use other's suggestions to work my brain cells, and c) I have the tool (Affinity Photo) so why not learn how to use it?
-
firstdefence, your advice sounds also very interesting. But as I am a Newbie, and you are an Affinity Jedi, our level of understanding is about as far apart as you and I are in our physical locations. Google Earth thinks that is about 7,800 km (or 4,850 miles) as the crow flies. I actually looked up the concept of the frequency separation filter in the Affinity Photo Workbook and find the concept quite interesting. But I will need to do a lot more studying before anything useful comes out of it. Thanks for trying to help.
-
Hi Lisbon, thanks for the suggestion. I am amazed what I can learn from all you helpful Forum Members. Unfortunately I am still challenged by some things which don't seem to work as you suggest. Specifically: A: Following your suggestions I managed to cover most of the reflection, but although I "unclicked" the mask to make it inactive, it still seems to limit my paintbrush action to within the selected area. B: But even though I deselected this area and have the mask layer de-activated, my painting still seems to be restricted by where the mask "used to be", and therefore I seem to get clear borders. And although I find the step of adding noise very intriguing, it didn't seem to do anything for me. Which tells me that I am still doing something wrong. I will just have to try and try again ...