chriscaldwell
-
Posts
219 -
Joined
-
Last visited
Everything posted by chriscaldwell
-
Thanks again, GarryP. I just cleaned it up a bit by removing some effects per CatLover, and I think you are probably right that it's okay as it is for the website logo.
-
R C-R....so very true! lol
-
AREA-Master-Logo_93020.afdesign

-
I actually created several logos for him explaining this. But at the end, he chose the copper and had his cards, signs, etc. printed with a copper foil. The issue with the shrunken version is to use for his website. Maybe I can remove the wording and just have the A in the circle, maybe put the text somewhere else for the website purpose. I appreciate your suggestions. Clients can be picky. You can explain to them why something won't work, but sometimes they want what they want.
-
Hi Garry, Thanks for the reply. Yes, the client indeed wanted that background specifically, they wanted a copper/with a green tinged patina. In the larger version it looks better. It looks odd smaller.
-
Hello, I'm working on fixing a logo for a client. Unfortunately, when the logo is shrunk to around 150px for use on his website, the text around the circle becomes muddy. The larger version on print signage seems suitable. Does anyone have a recommendation for a font that might be crisper for the text in the circle ("Area Real Estate Advisors Knowledge & Expertise") for when the logo is reduced in size. I just think it appears a bit muddy/fuzzy when the logo is used on the client's website. Thank you so much for any suggestions. I have attached both the working file and an example of the logo at 150px. Chris AREA_AFFINITY_Hi_Res_MASTER-2003-PDF.afdesign
-
Hi Thomaso, I have been able to finally get back to this project and I appreciate the video tutorial very much indeed! Question, In my text styles panel by default it has only Base, Normal, Body, etc. I'm assuming that when you created "My Basic" is is made from Base, Normal, or Body, but does it matter which of those I choose? In my case, I just chose Body, and created a new style based on body, and then named it First Paragraph and set the first line indent to 0mm. Hope that is correct. Thank you so much for this help, Chris
-
That is very helpful Old Bruce! Thank you for taking the time out of your day to help. I'm going to try this right now. Okay, I was able to successfully duplicate what you did in the screencast, thank you so much! What I'm not quite understanding is how to "make a style Based On the basic text style." In my text style panel I see Base, is that what you mean by basic text style? Not sure what is the difference between Base and Normal or Body. Sorry not understanding more clearly. Thank you, Chris
-
Hi Bruce and everyone, I have some more challenges with this project as I learn the Publisher software. Was hoping for some suggestions, thank you. 1. Per Bruce's quote above, I don't see a place to choose Start on Next Righthand page? I like this idea though, seems very efficient. 2. Also, how do I adjust the spacing before the chapter titles so they are not so close to the page number and line at the top of the page (as in the attached screenshot). I've tried to click in the Text Styles panel, and then Heading 1, then Edit heading 1, and increasing Space Before, and then clicking OK, but nothing happens. I'm just thinking some breathing room/white space before the chapter heading would be good. 3. Is it possible to create a style that would specify not to indent a paragraph, for example where the first paragraph is not indented? Thank you, Chris
-
Thank you all so much. Removing the page break worked.
-
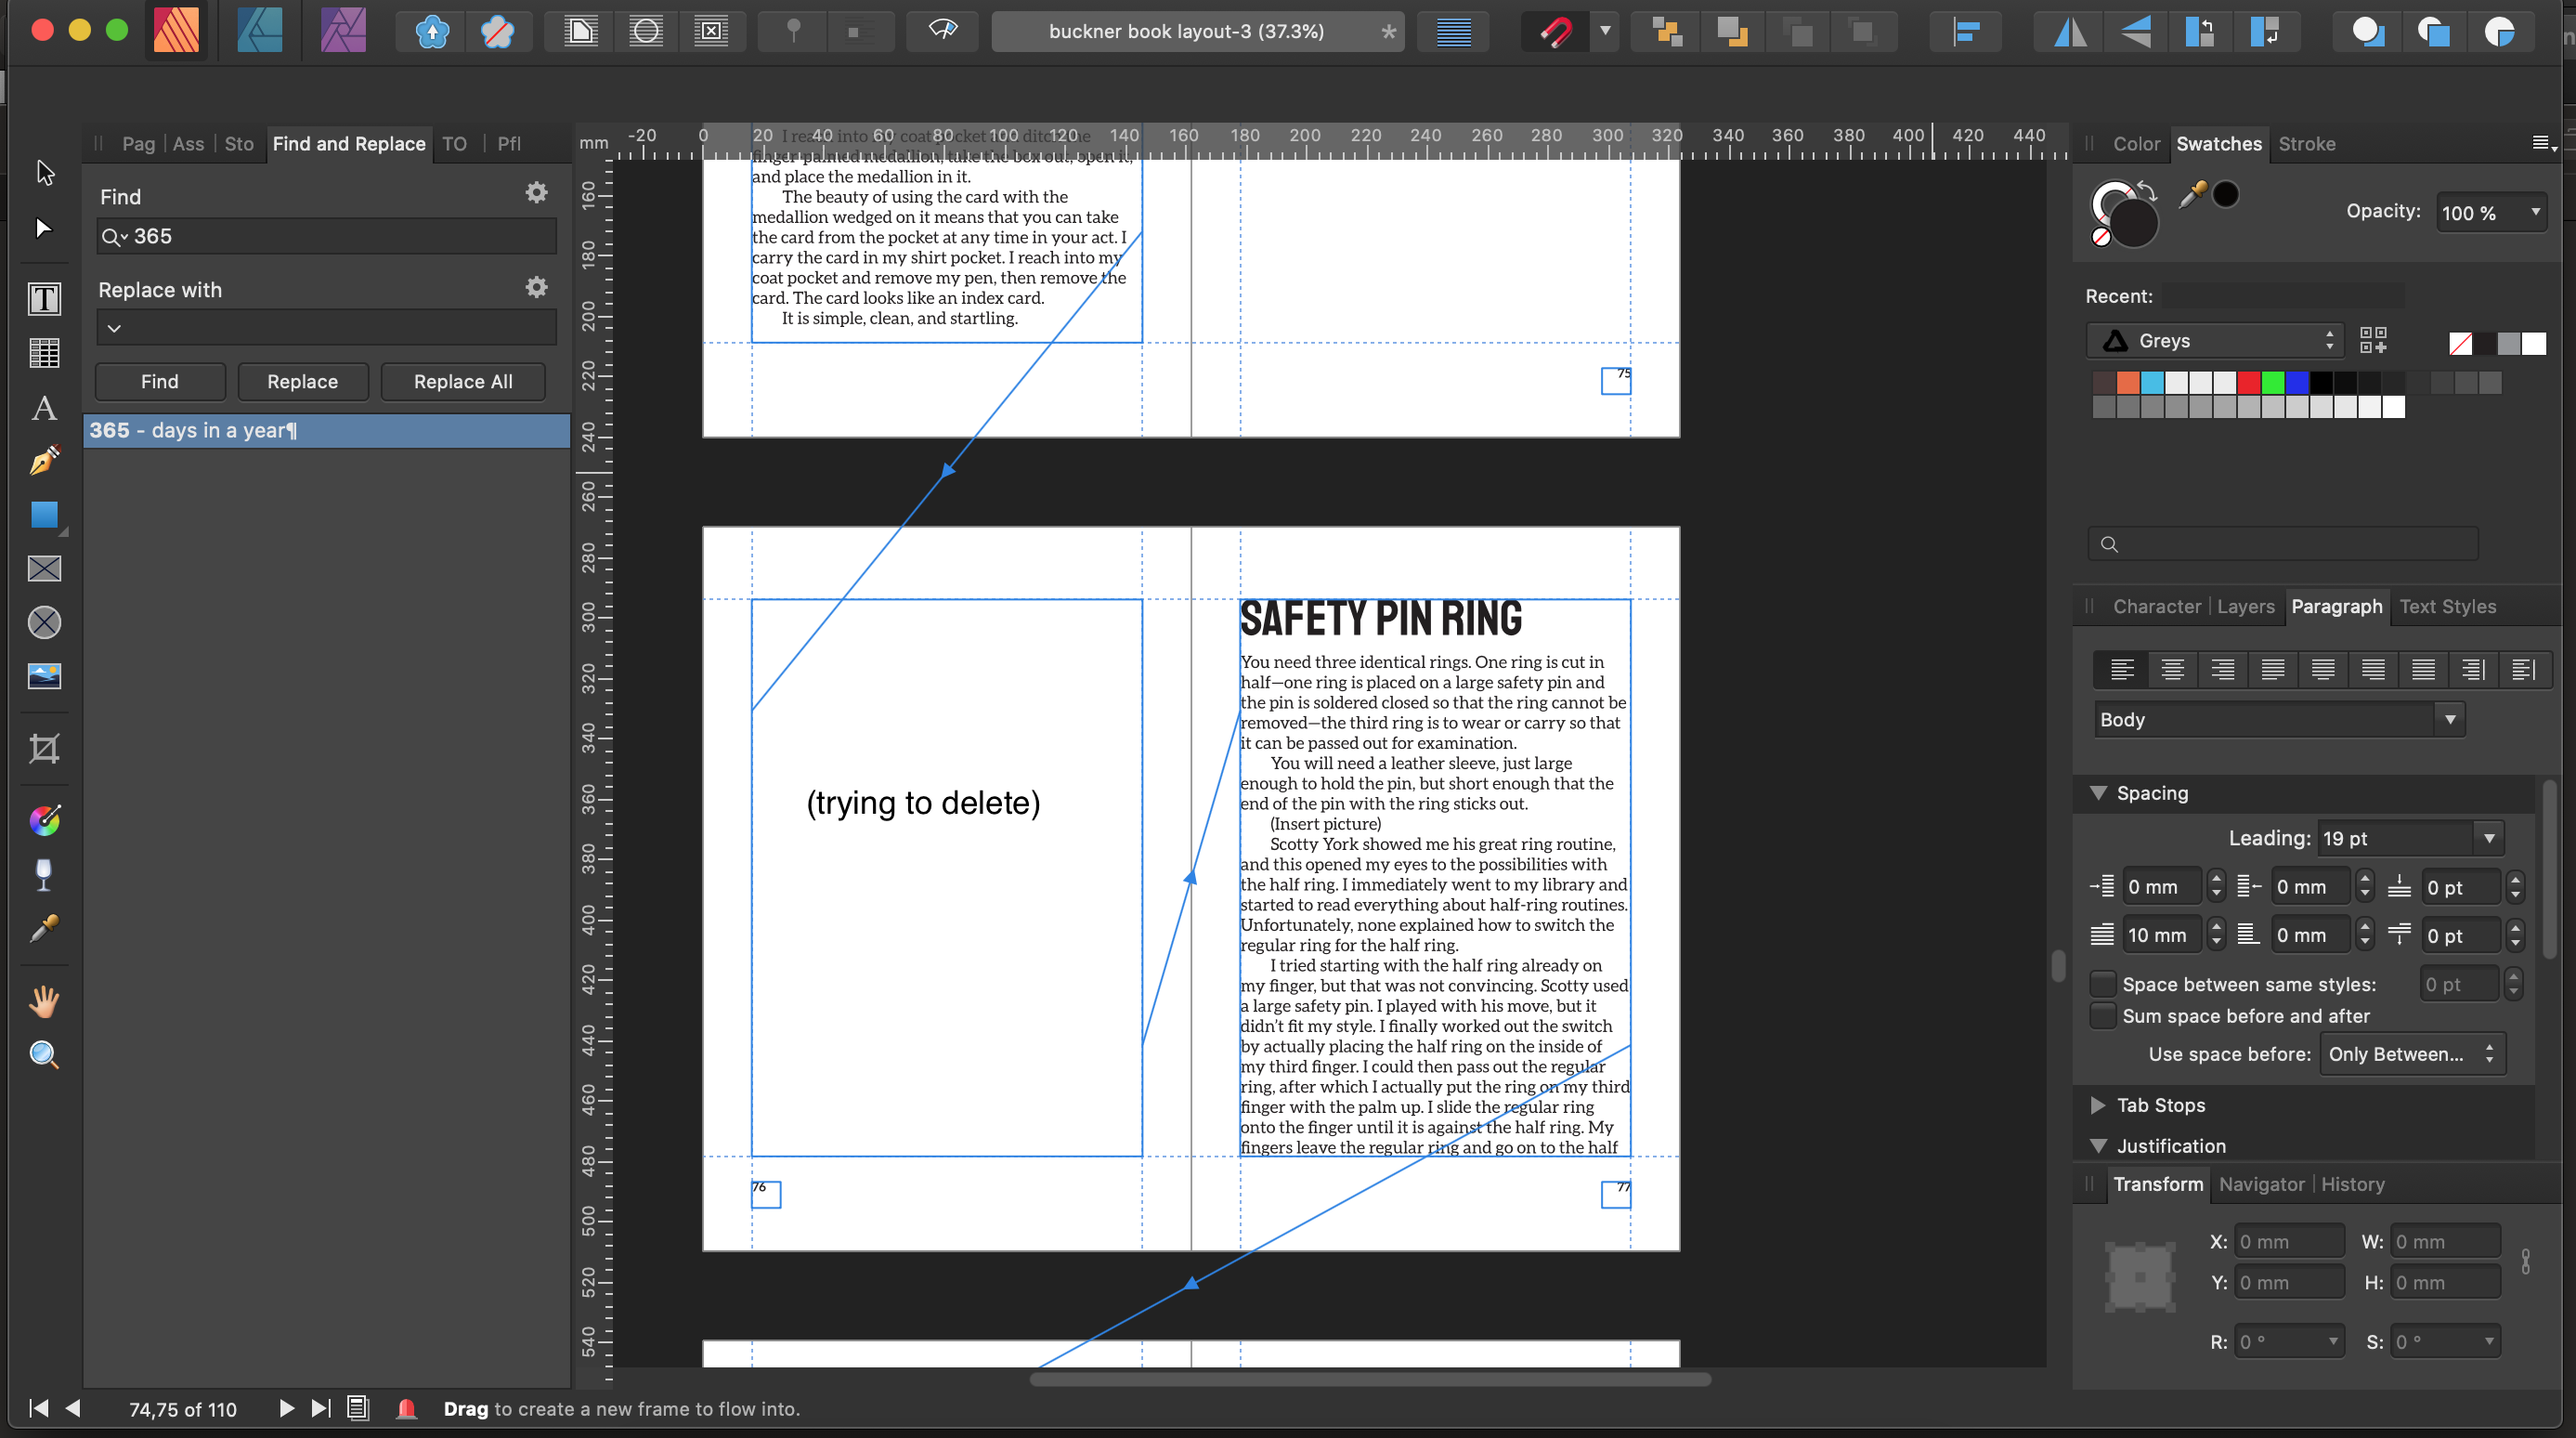
I tried deleting the text frame on 76 but as in the screenshot attached, that now puts an empty text frame on page 77. I am sure this is probably something really basic, but I'm not yet grasping.
-
Hi Thomaso, attached a screencast of inserting the page break. Thank you for taking a look. pub.mov
-
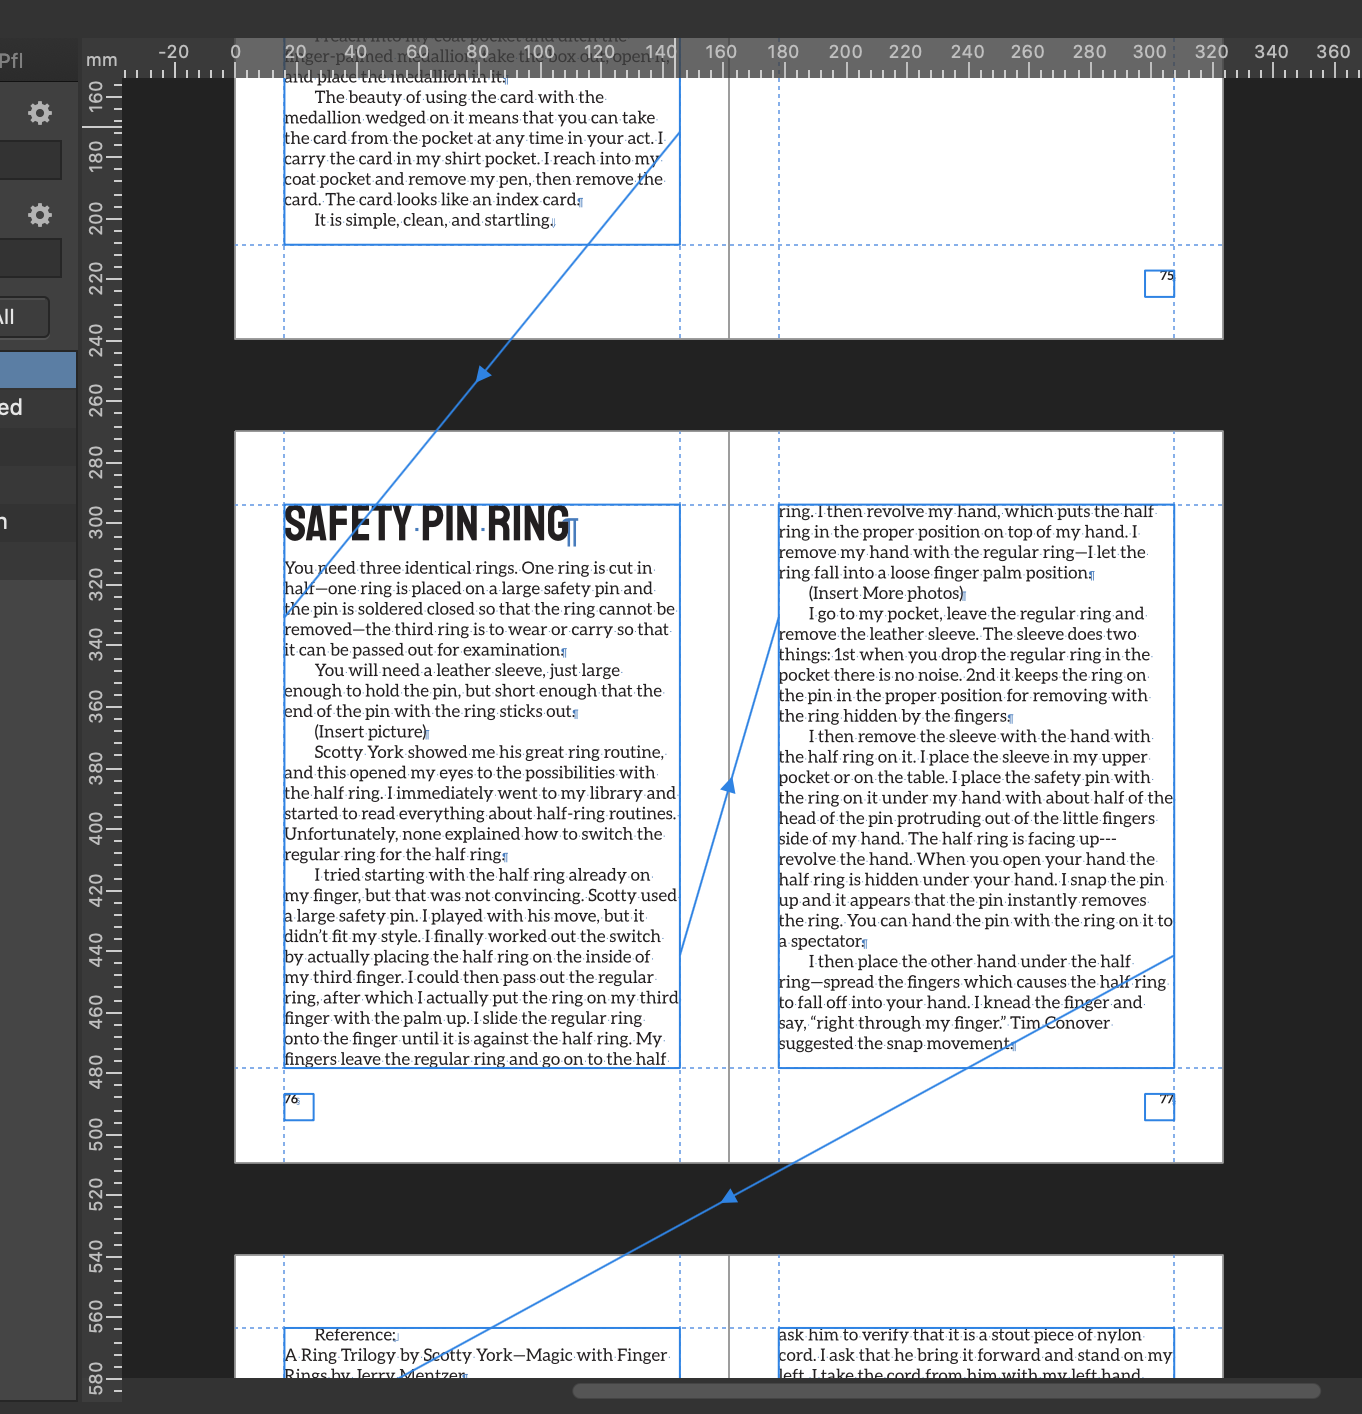
Thank you! So, I deleted the paragraph mark (I didn't even see that mark originally on my laptop), and this is what I have now (screenshot). But I'm not sure how I move SAFETY PIN to the right, so that page on the left is empty for later insertion of a picture? I tried inserting a Page Break before the words SAFETY PIN, but then I noticed that the text box on the left was then relinked. I really appreciate your help.
-
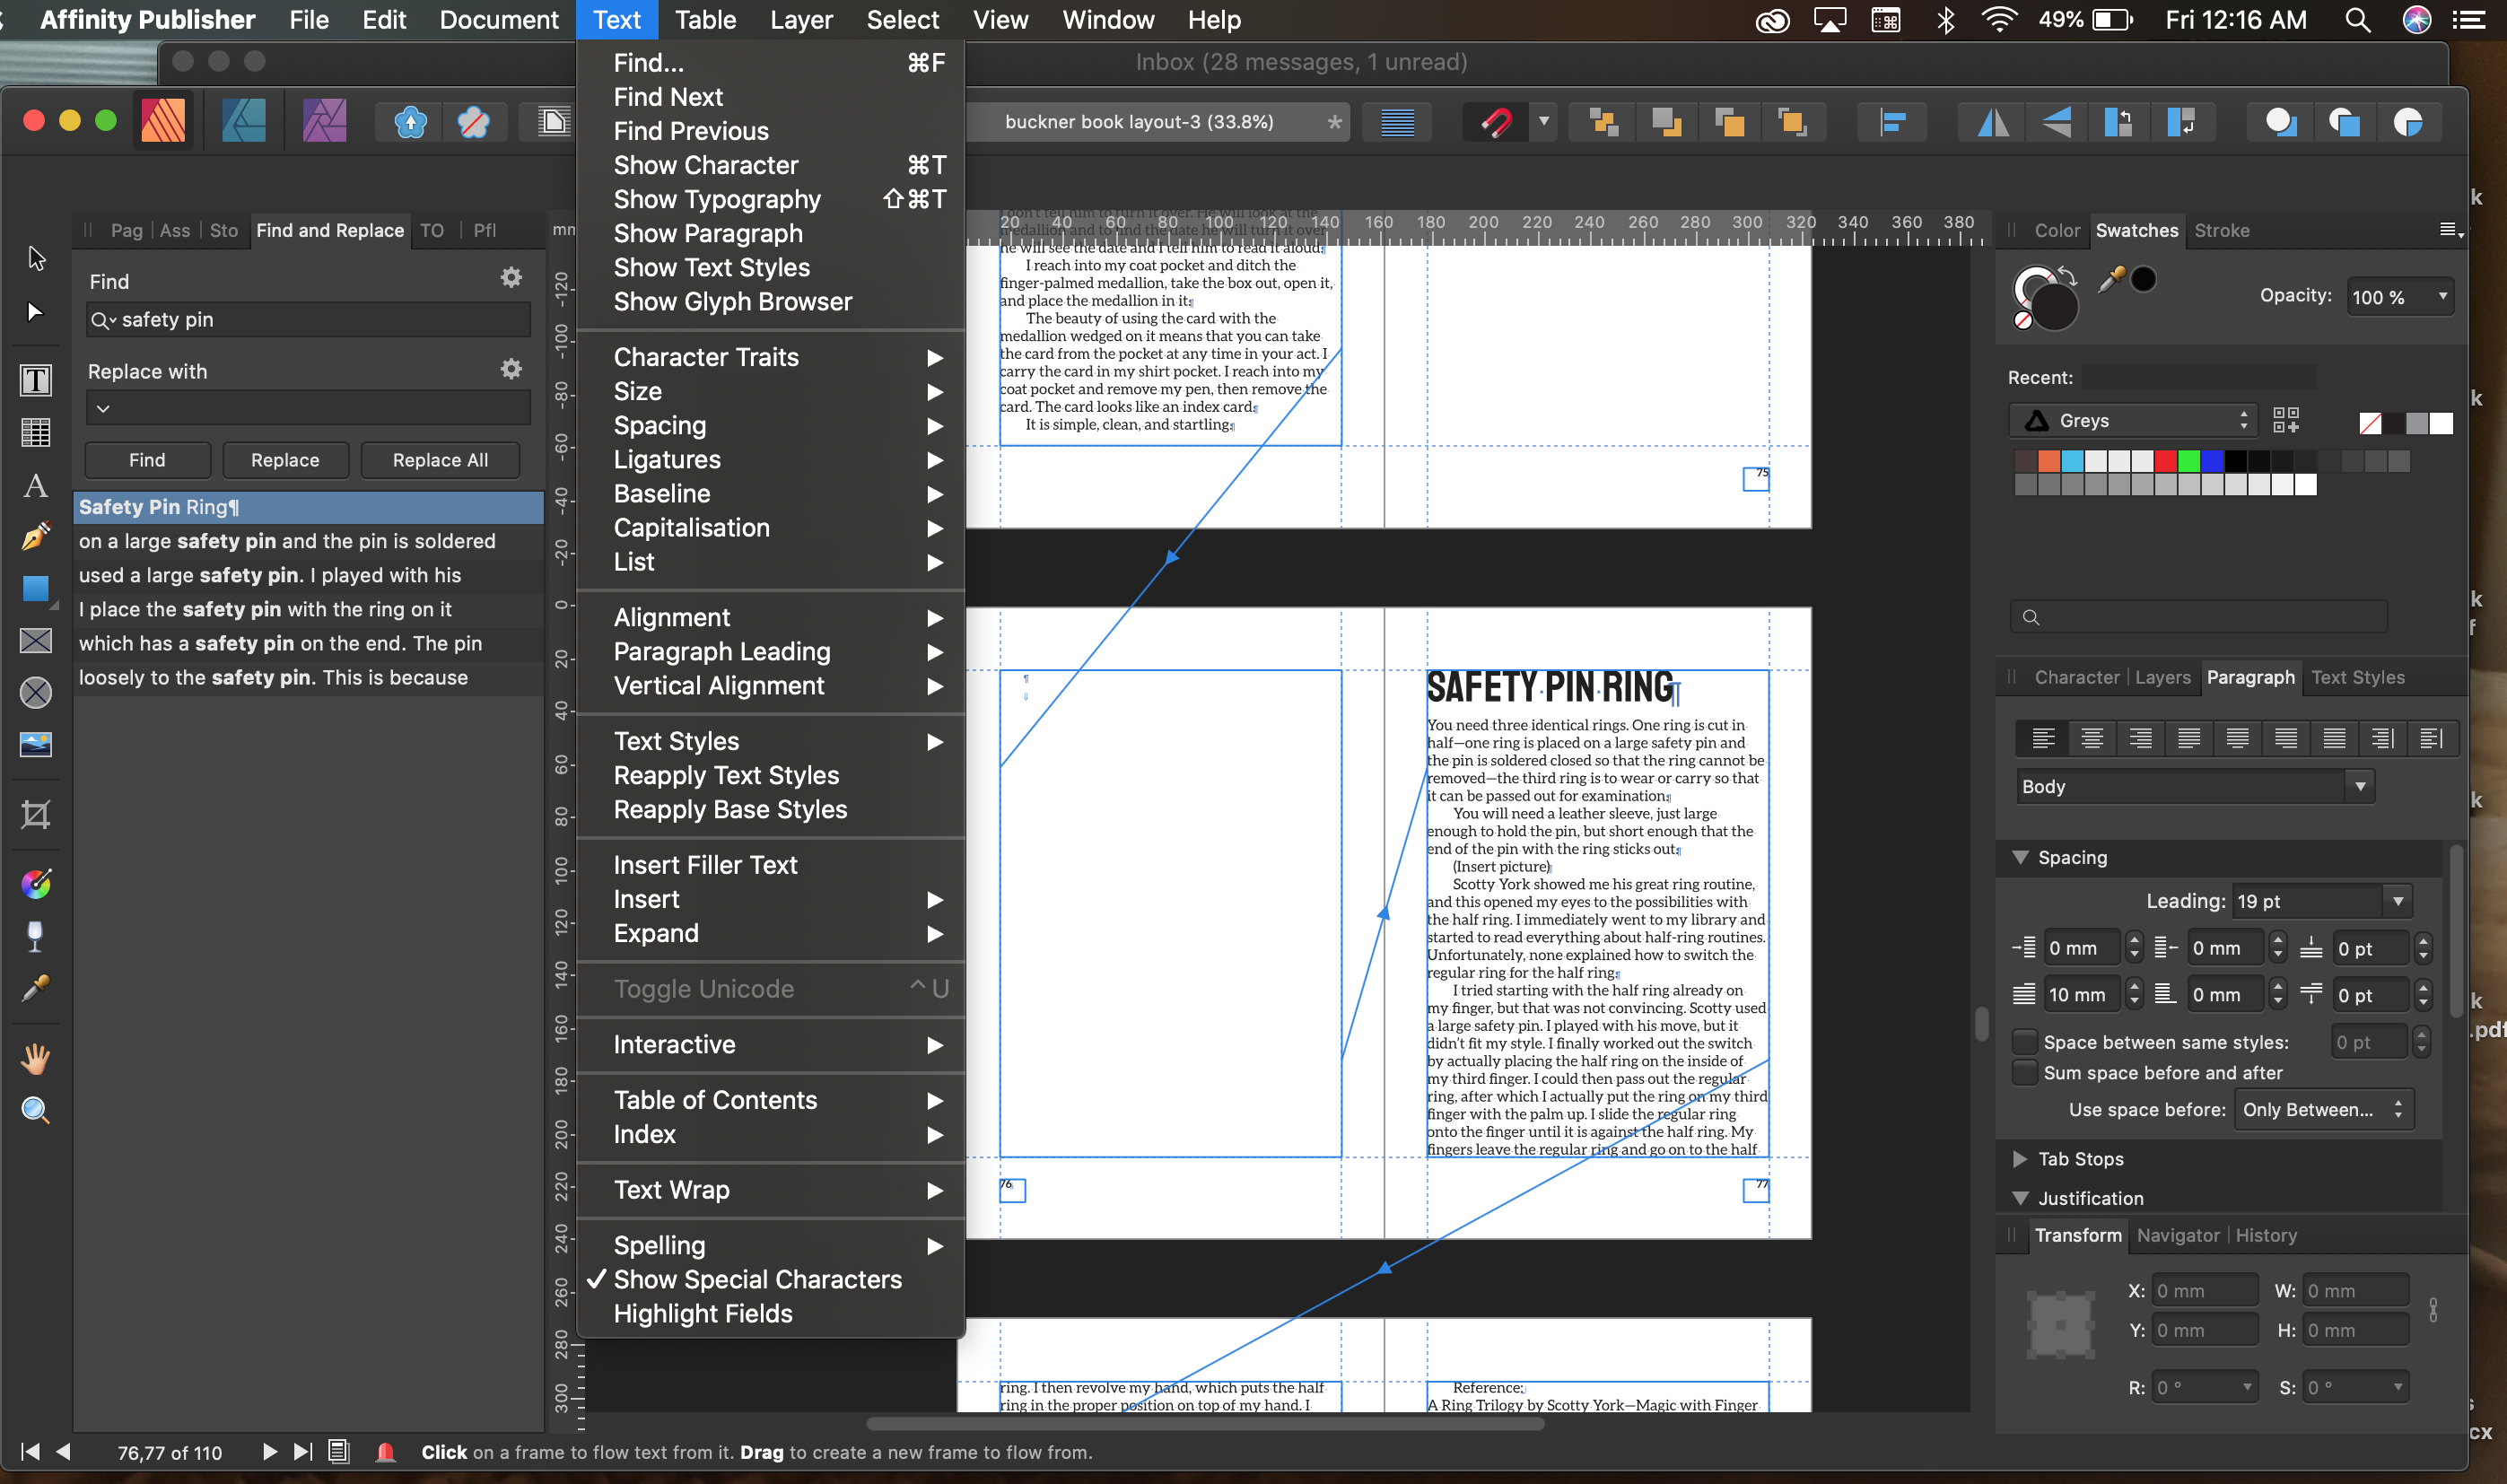
Thank you for the help. So I clicked on Special Characters and have attached a screenshot of what I see. It doesn't appear to have any downward pointing arrows. Maybe I'm supposed to click on something? I think the idea of doing sections sounds like a plan. I was just doing it this way because the tutorial that I bought shows this method. But it certainly does seem cumbersome. Thanks again, Chris
-
Hello, This is going to be tricky to describe, but here goes. I recently took a course on Publisher, but am running into little things that I am not sure how to fix, do, etc. that were not addressed in the course (maybe I just missed) Here's my latest challenge The issue that I’m experiencing involves an empty text box that I think I need to delete. Basically, I'm trying to keep the leftmost page of each new chapter blank so that I can use it for an illustration. So I put my text in, then began linking the text boxes so things would flow. I want each NEW chapter page to begin on the right, and then have an image on the left. But, when I added some chapter headings, additional text, the whole layout goes weird. For example, In the attached screenshot, you can see that the page in the upper left is linked to the blank text box below it. I just wanted that page to be blank so I can add a photo later, and to link to the section labeled Safety Pin Ring on the bottom right. I tried selecting the empty text box on the left using the move tool and clicking delete, but then all the text from "Safety Pin" chapter and down also gets deleted. I don't know how fix this. Unless I create my entire book in Word, and then once it's perfect, then create the book layout in Publisher. I was just thinking that I could use Publisher for both writing and layout. For certain, I will be adding additional chapters somewhere in the middle of this book and experimenting with font sizes, etc. which will I assume will also cause my layout to break. But I'm not sure how to delete a text box from the left, and then re-link the text to the right. Any suggestions you have would be greatly appreciated. Thank you so much, Chris
-
Thank you so much, Thomaso, for taking the time to create that graphic and helping me to further understand. I really appreciate it and have printed out your post.
-
Well, I solved it. Apparently, you have to double click on Master Page B. A single click doesn't work. Double click was the solution.
-
Hello, I’ve almost completed the Publisher course by Affinity Revolution.. Which I really enjoy. The young lady, Ally, is just an amazing instructor. Unfortunately, I’ve run into a strange problem. (FYI I’m at 6:40 in the Mary Trotter Book set up document lesson and that’s when things got weird.) I created my guidelines for the book I'm creating on Master Page A, I then right click and Duplicate. I then highlighted the duplicate (Master Page B) and created my page numbers. Yet I see the page number indicators (#) don’t appear on B, rather they appear on Master Page A!?. I have B highlighted though when Im creating the page numbers, and I’m creating them on Master Page B. Even when I right click on Master Page B, In the dialog box I choose Specified Pages and input 10-55 in Master Page B. (BTW, "Replace Existing" is checked, and since I’m in 1.8, there is “Clear" and “Migrate." Migrate is toggled. I click OK. But instead of page numbers appearing on 10-55, they only appear on pages 1-9). It must be something really silly, I just can’t get anywhere, and I’ve tried 5 times in a row, even closed the program and re-opened. Any suggestions would be greatly appreciated, because I cannot advance until I get this right. Thank you! Chris
-
Awesome! Thank you so much, Palatino. Did you draw the overlapping elipses, then go to Layer>Geometry>Intersect, then?
-
Wow, Garry, that was so cool. So simple and actually quite enjoyable to follow that tutorial! Thank you so much.
-
Thank you so much stokerg. Also, do you know what is the best way to create the rounded outside shape like the attached? Is this done with the pen tool? I appreciate your help. Chris
-
Hello everyone. Hope you are all staying safe and productive! So, I have a logo challenge. I'm initially thinking that tweaking one of the Affinity Designer logo templates would be a good start. In the template I've decide to try, there are some mountains that seem hand sketched in the background. I was wondering how I could take a photo of a mountain range here in Arizona and create something similar. I've attached the logo template and the mountain range (the Mcdowell's). Thank you so much. Mostly, I just like learning cool techniques and putting them in my "idea file" when using this wonderful software. I really appreciate any help. Chris core center logo.afdesign
-
Sorry, for not being more clear, the Order Now button was for use on a website to purchase an item! Thank you so much for all your help!
-
Wow this is great info. I have access to all the Affinity applications, but in this case, I was using Designer as I'm trying to create a logo. I was following a tutorial that I found on YouTube, but there was a step missing. Thank you very much for explaining how to do this, so now I have learned yet another cool thing I can do with this amazing software! Lisbon, when using your method, how would I then export just the black chain part? It seems to include the transparency background. I used the vector crop tool to select as close to the black chain as possible. I then went to export, selection without background, PNG, and yet when I open the image in Photo, the white background is around the chain. I even checked to see if Transparent Background was checked. I"m sure I'm just missing something simple. Thank you.
-
Wow, you guys are truly amazing. I'm grateful for this help! Now, I can work on the next element. Thank you all very much. I'm going to put it together right now. Chris