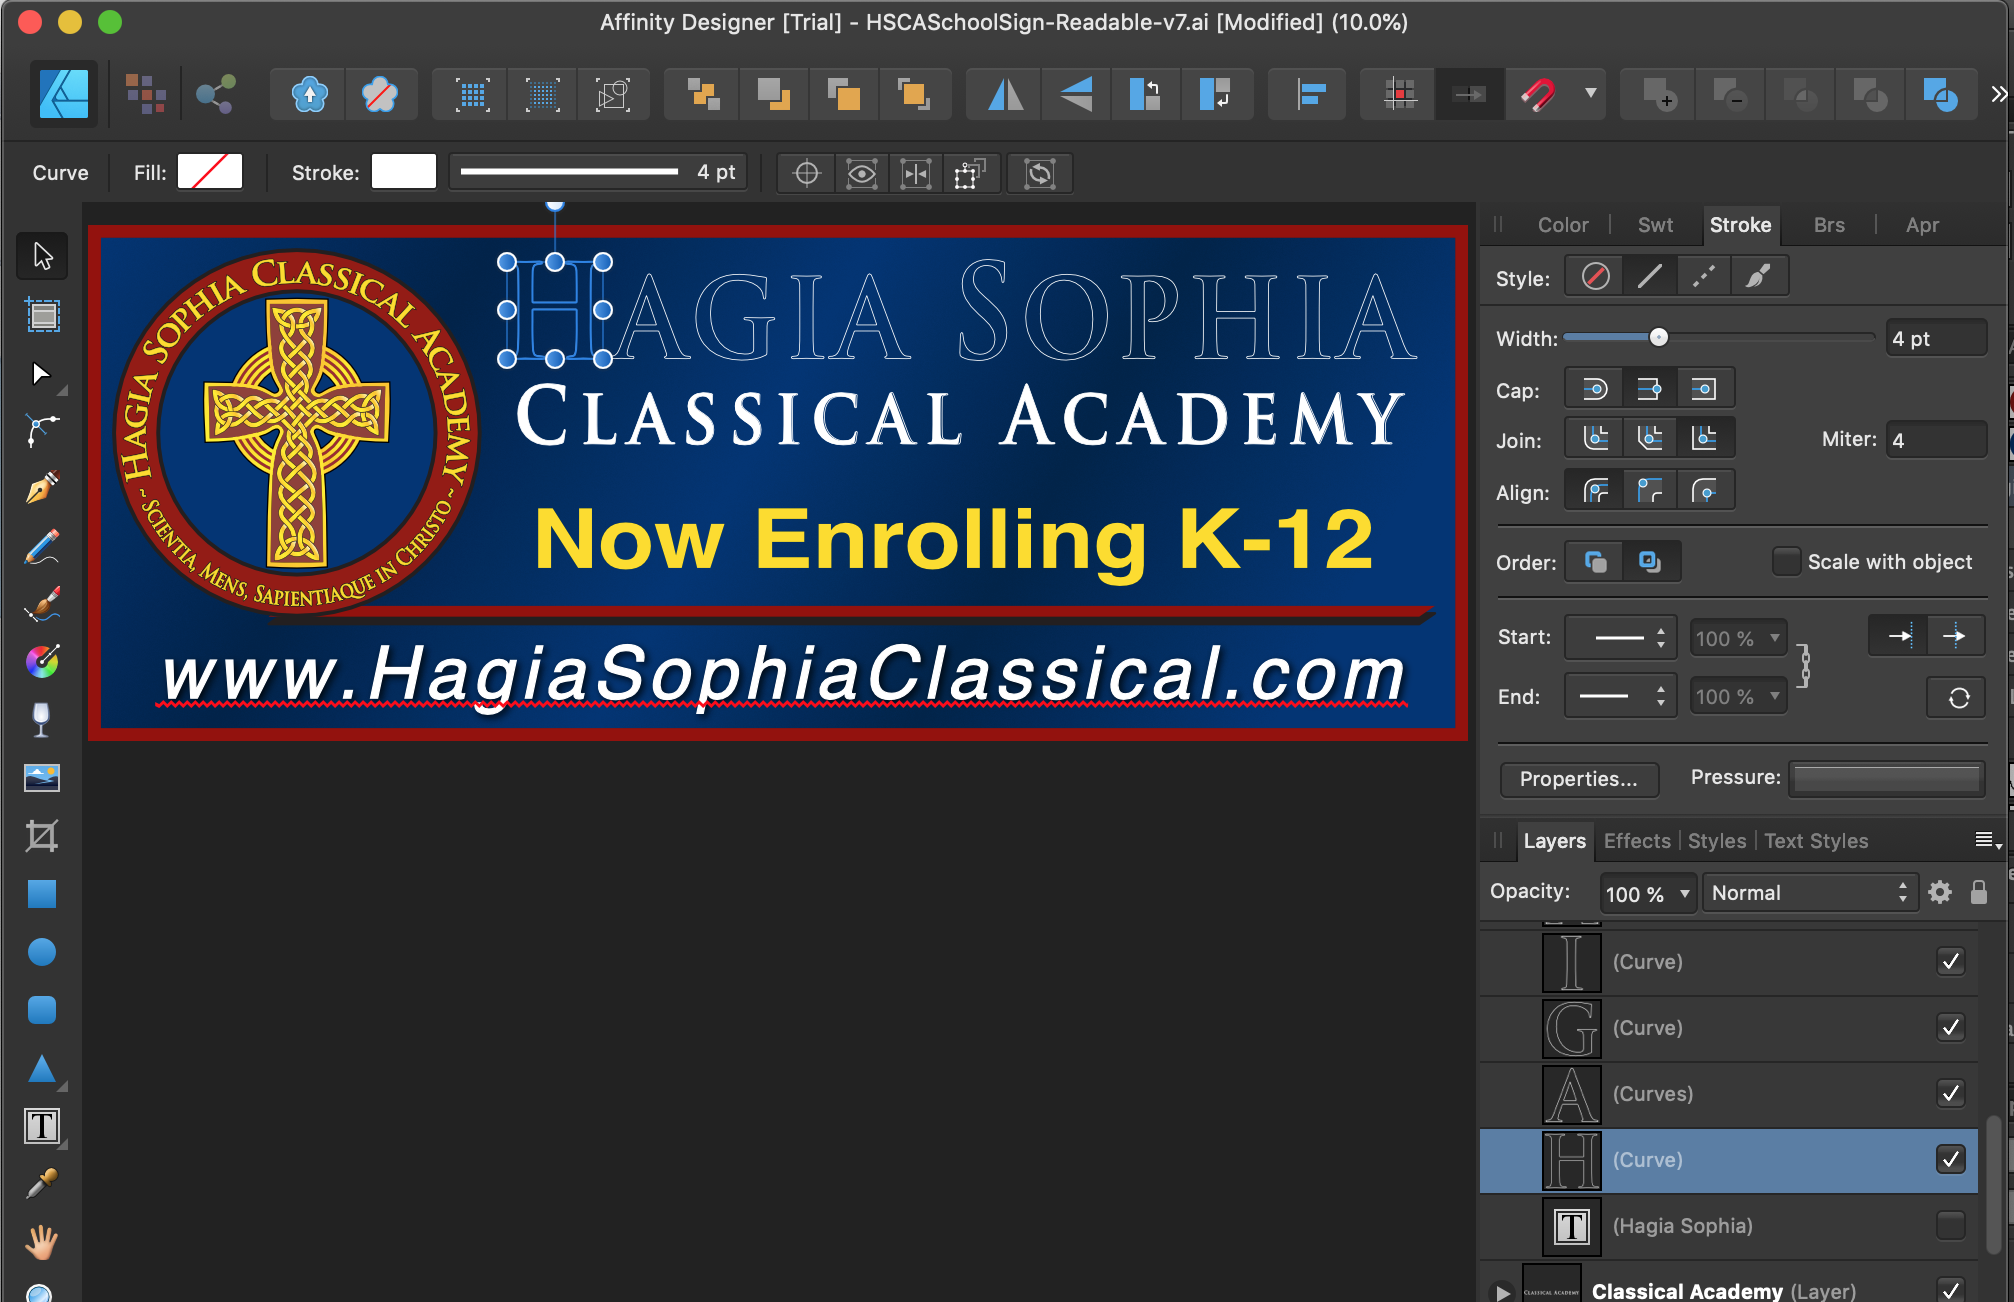
On the A.I. file, you can see in the above menu that the text stroke is 4 pt. Over to the right, in the Layers, column, you see only the selected text block. (There are NO outlines...)
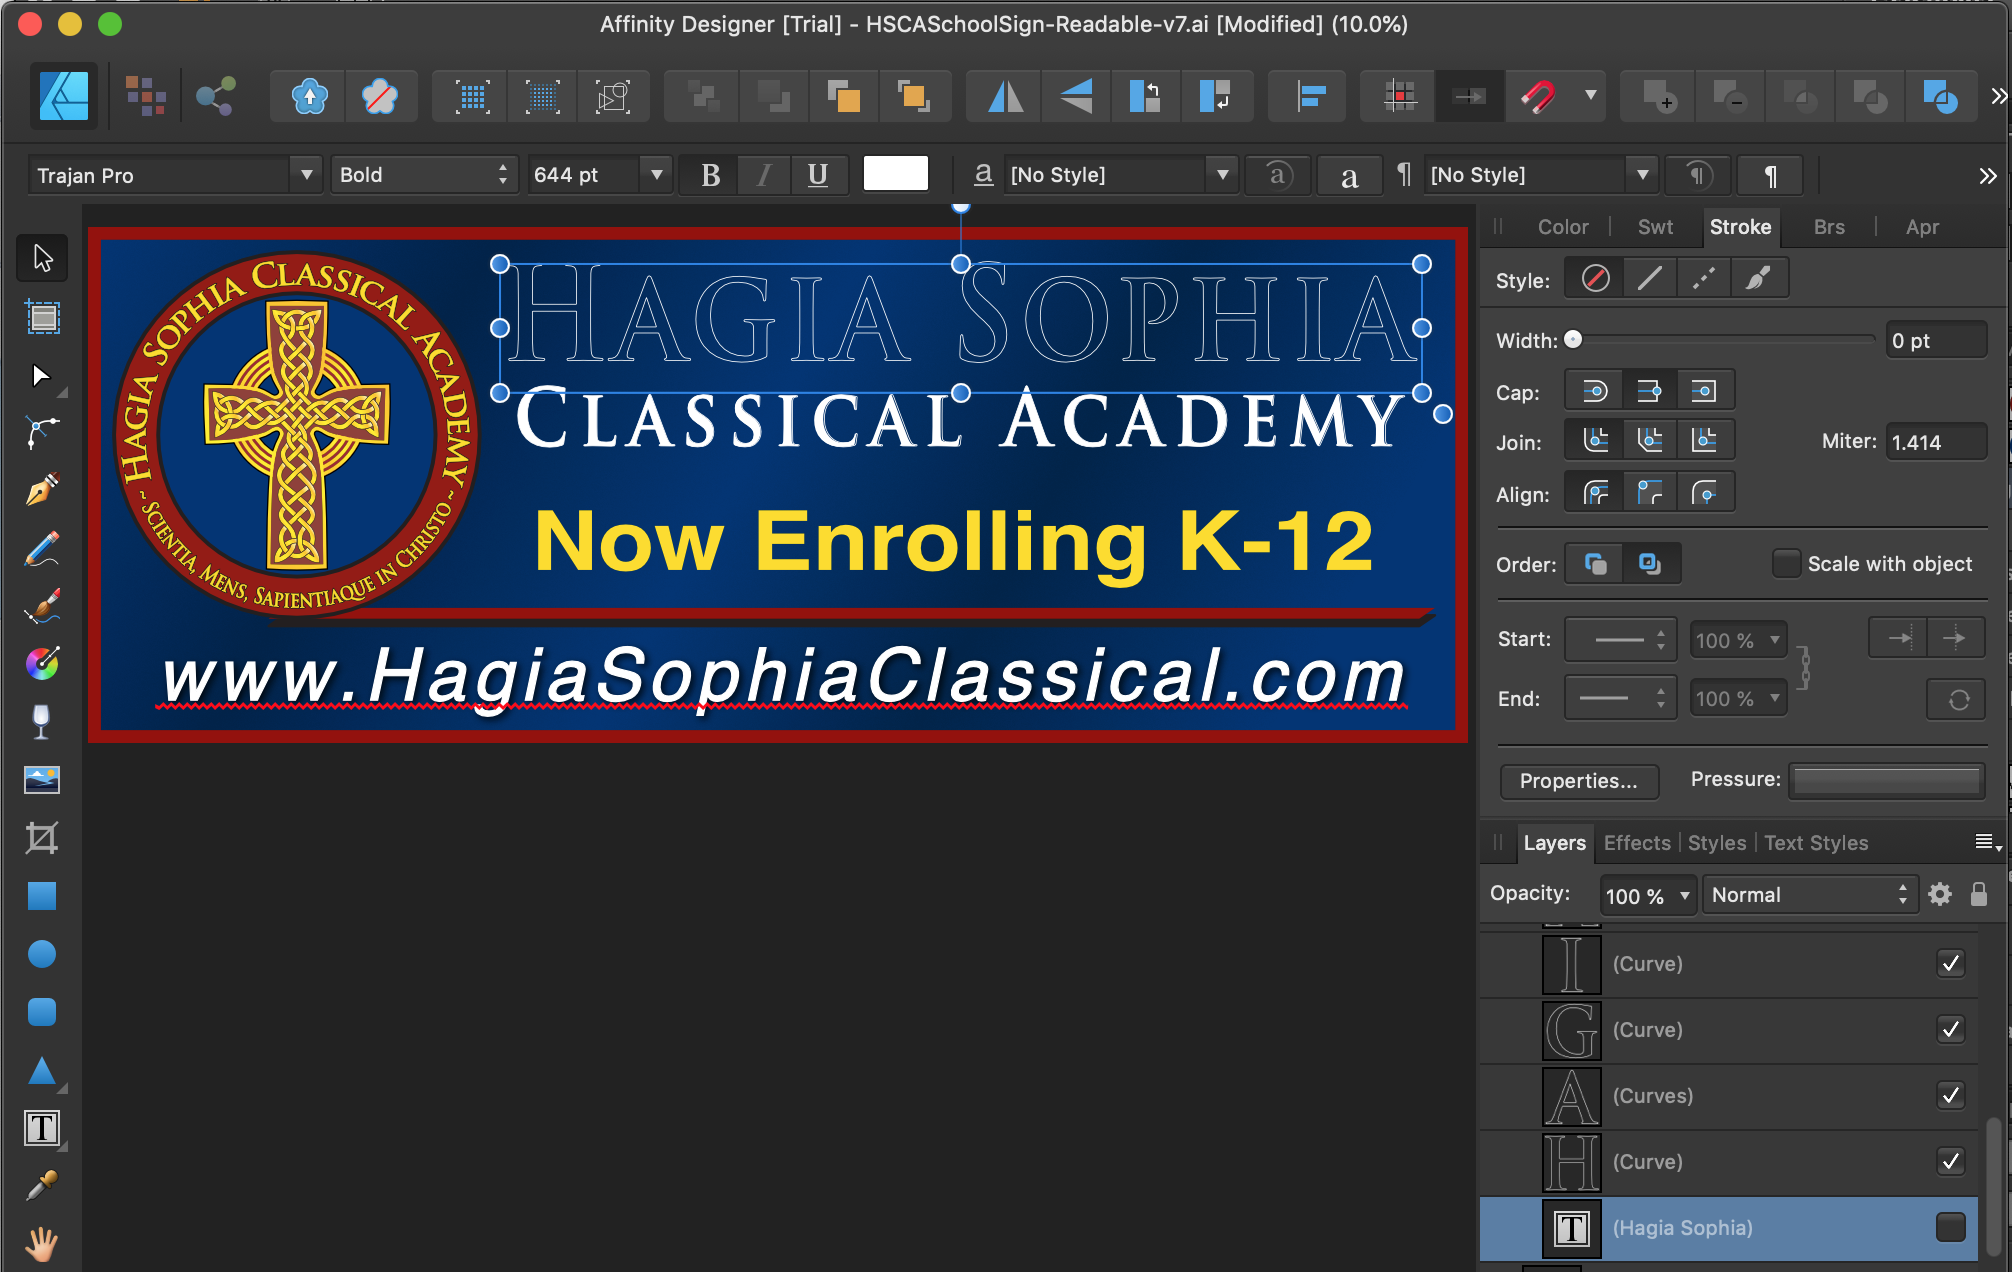
After importing the ai file into Affinity Designer, everything "looks" fine, however the STROKE border has been eliminated from the Text itself, and has been converted into separate outlines for each letter. Look at the Layers column and you will see that I have selected the text, "Hagia Sophia" (blue highlight). You will also see that stroke width is 0 pt (not 4 pt.) Above the text selection are separate outlines for each letter of that text. Those are the "strokes" that have been removed from the text and converted to outlines.
(See more below...)
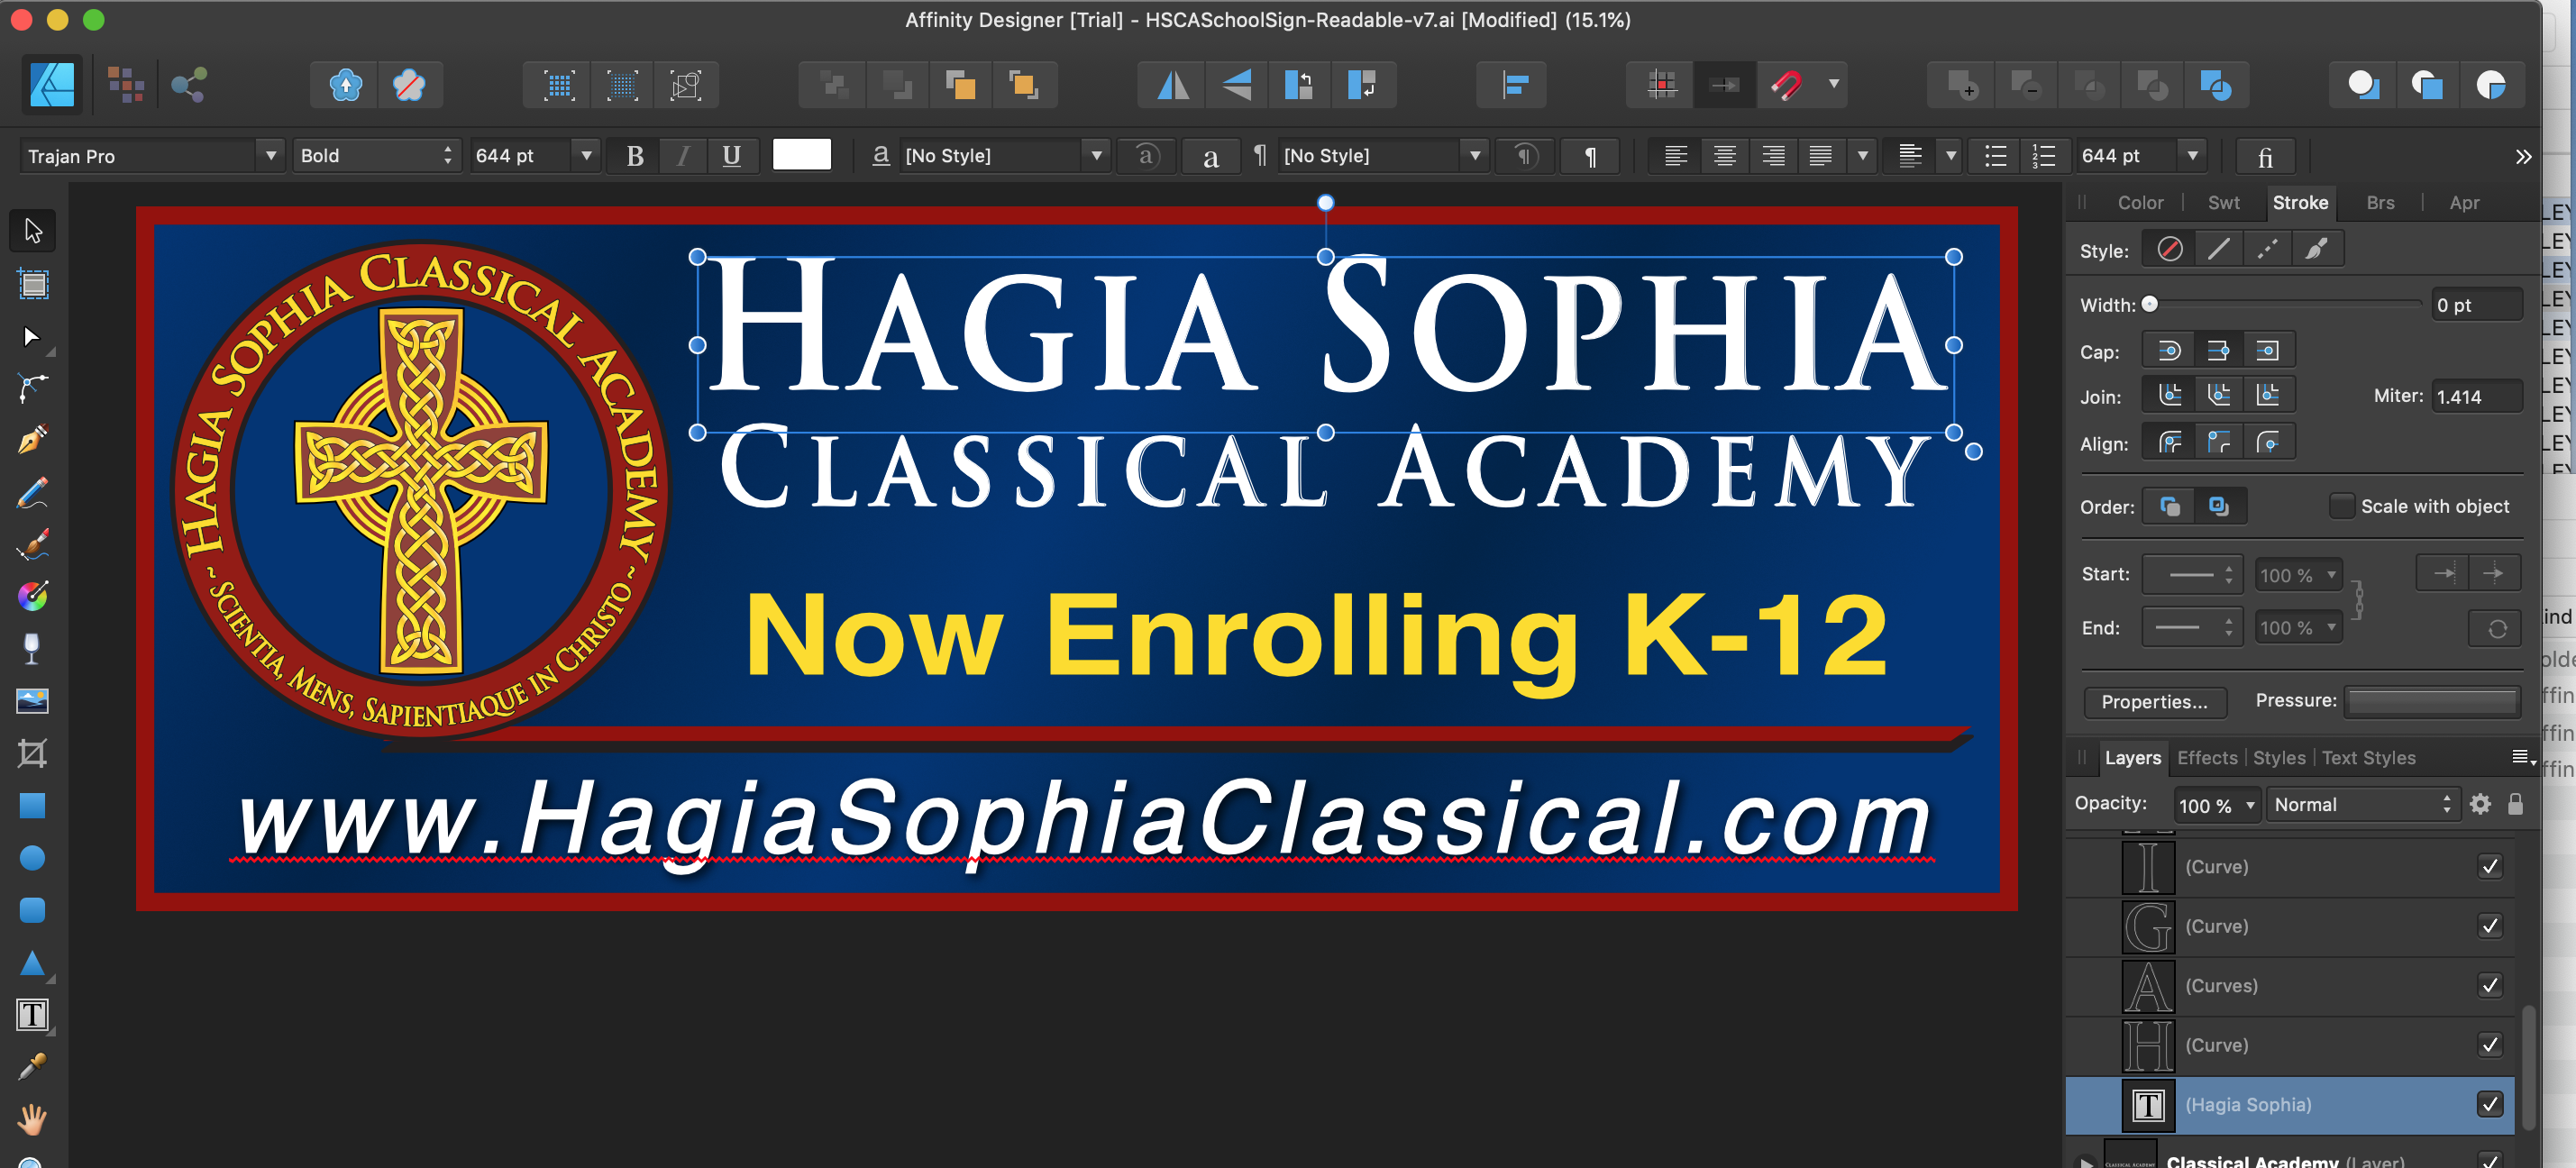
To demonstrate what I mean, I toggled off the visibility of the Text, and you can see that what is left are the outlines that have been converted from the original text.
When I click on the outlines, voila!, there we see the 4 pt stroke in the stroke column to the right.
The current way you do it would be okay if all I never wanted to revise the image but that, of course, is why I would import my ai files into Designer . . . so that I can revise them. Even on this simple grahic image, it took quite awhile to revise the text.
It seems that you already can translate the stroke values from the original ai file so, rather than creating a new outline for each letter, couldn't you add the stroke value to the text of the converted Designer file?
Thank you for hearing me out.


 cstaley reacted to a post in a topic:
Affinity Photo why batch processing not saving settings?
cstaley reacted to a post in a topic:
Affinity Photo why batch processing not saving settings?