Search the Community
Showing results for tags 'clipped layers'.
Found 1 result
-
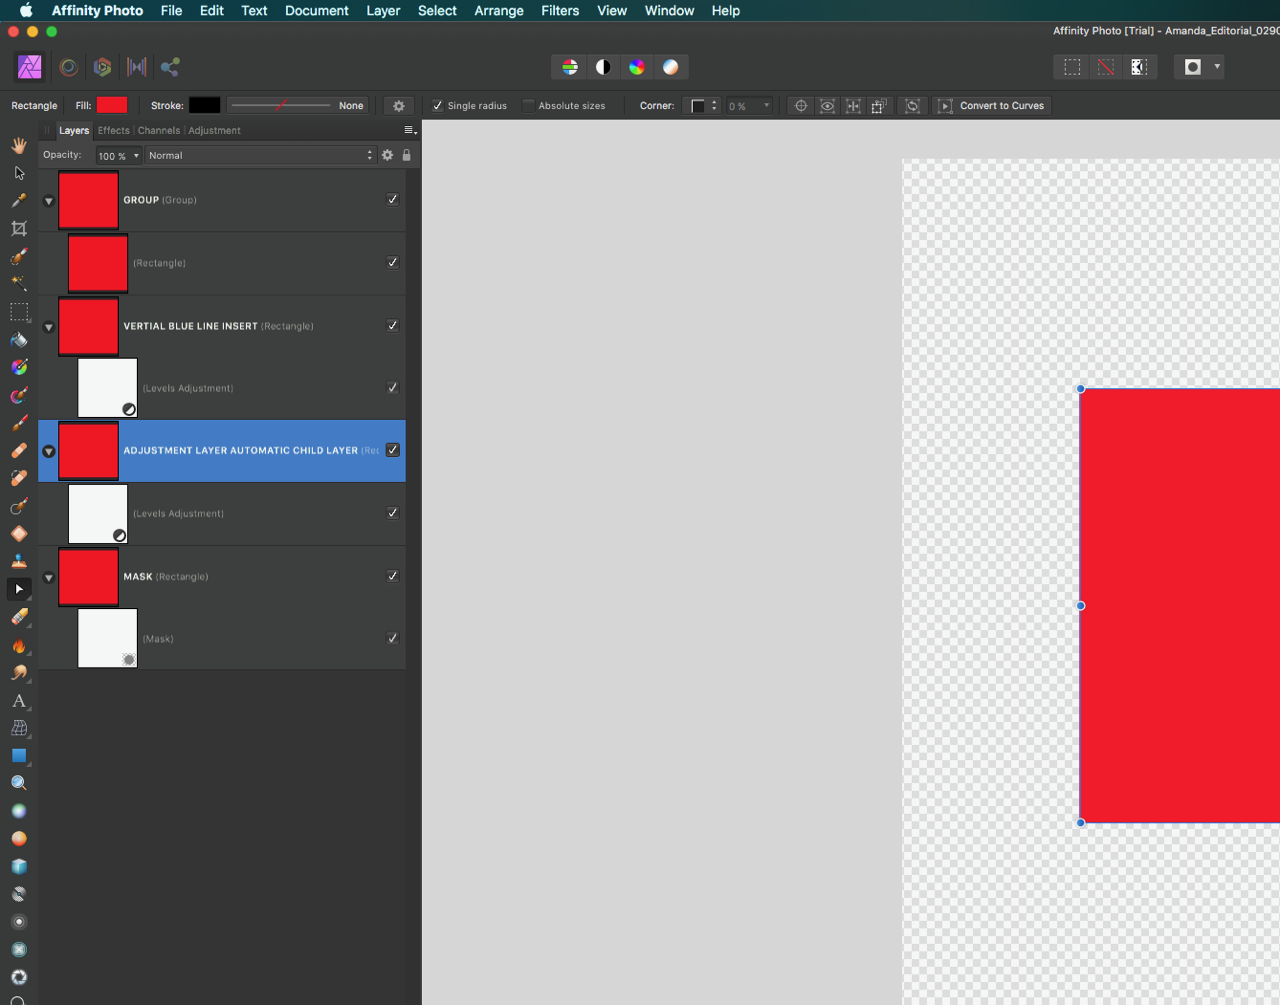
 I just began working with the 10 day free trial of Affinity Photo. I am a professional photographer who uses Capture One Pro – formally used Lightroom — and have been using Photoshop for the past five years. I’m very fluent in Photoshop but I’m sick of Adobe and I’m very impressed with Affinity so far after just a couple of days. This might be a somewhat ignorant question, but the way the layers are laid out, the way Affinity has them viewed, confuses me. I cannot tell a group from a clipped layer from a mask from a clipped mask, if that’s even a thing. They all look exactly alike to me, even though I know there is a certain way to do it by dragging and dropping in a certain area of the layer or underneath to the left or to the right, but it’s all very confusing — yet I do see the blue bars that change positions: just not sure what they mean exactly. But even when I start to understand where to drag and drop to do a clipping (child) or put in a group or put underneath or above another layer, once it’s done I cannot tell if that layer is actually clipped or not. In Photoshop of course there’s that crooked arrow pointing at the layer that it’s clipped too. I really wish Affinity would have each look more different, maybe with icons, etc... If anyone can explain and demonstrate, maybe in a video or screenshots, how all the above actually works, that would be great. I have attached a screenshot where I have a Group on top, and then a levels adjustment that I put in there as a blue vertical line, then I have another levels adjustment that was an automatic child layer, and then I have a masked layer at the bottom. I know the mask says mask, and the group says group, but they all look so similar I’m not sure just by looking at them, if I were not to read what it says in the text, how would I know which is which? Thank you.