oquendoG
-
Posts
48 -
Joined
-
Last visited
Recent Profile Visitors
1,277 profile views

-
 Gear maker reacted to a post in a topic:
How do I achieve this in designer?
Gear maker reacted to a post in a topic:
How do I achieve this in designer?
-
MikeW reacted to a post in a topic:
How do I achieve this in designer?
-
After trying so much, it isn't perfect but it works

-
I'm trying to replicate step by step what the professor is doing, not trying to make a vectorization , I´ve solved the first step this way, maybe is a start. Thanks for your help 2020-07-22_16-39-52.mkv
-
oquendoG reacted to a post in a topic:
How do I achieve this in designer?
-
oquendoG reacted to a post in a topic:
How do I achieve this in designer?
-
When I try to join two lines it erases the other part, what is going on? 2020-07-22_15-55-02.mkv
-
Right I'm just starting with this kind of work, I work well with photo edting images but I am learning how to make logos and posters etc
-
oquendoG reacted to a post in a topic:
How do I achieve this in designer?
-
Hi I'm doing a graphic design course in udemy with corel but trying to achive the same results in designer. But I can't achieve this form, the options shown in corel aren't available in designer and I'm stuck. how can I do it? Thanks
-
I'm wondering the same thing, when are they? I want to see the advanced channel selections
-
Patrick Connor reacted to a post in a topic:
Retouching external portarit
-
 oquendoG reacted to a post in a topic:
Saturation Mask
oquendoG reacted to a post in a topic:
Saturation Mask
-
oquendoG reacted to a post in a topic:
Color Calibration / Camera Profiles
-
oquendoG reacted to a post in a topic:
Retouching external portarit
-
DM1 reacted to a post in a topic:
Retouching external portarit
-
Danny blvck reacted to a post in a topic:
Retouching external portarit
-
oquendoG reacted to a post in a topic:
Retouching external portarit
-
Lee D reacted to a post in a topic:
Retouching external portarit
-
GarryP reacted to a post in a topic:
Retouching external portarit
-
Scott Williams reacted to a post in a topic:
Retouching external portarit
-
SrPx reacted to a post in a topic:
Retouching external portarit
-
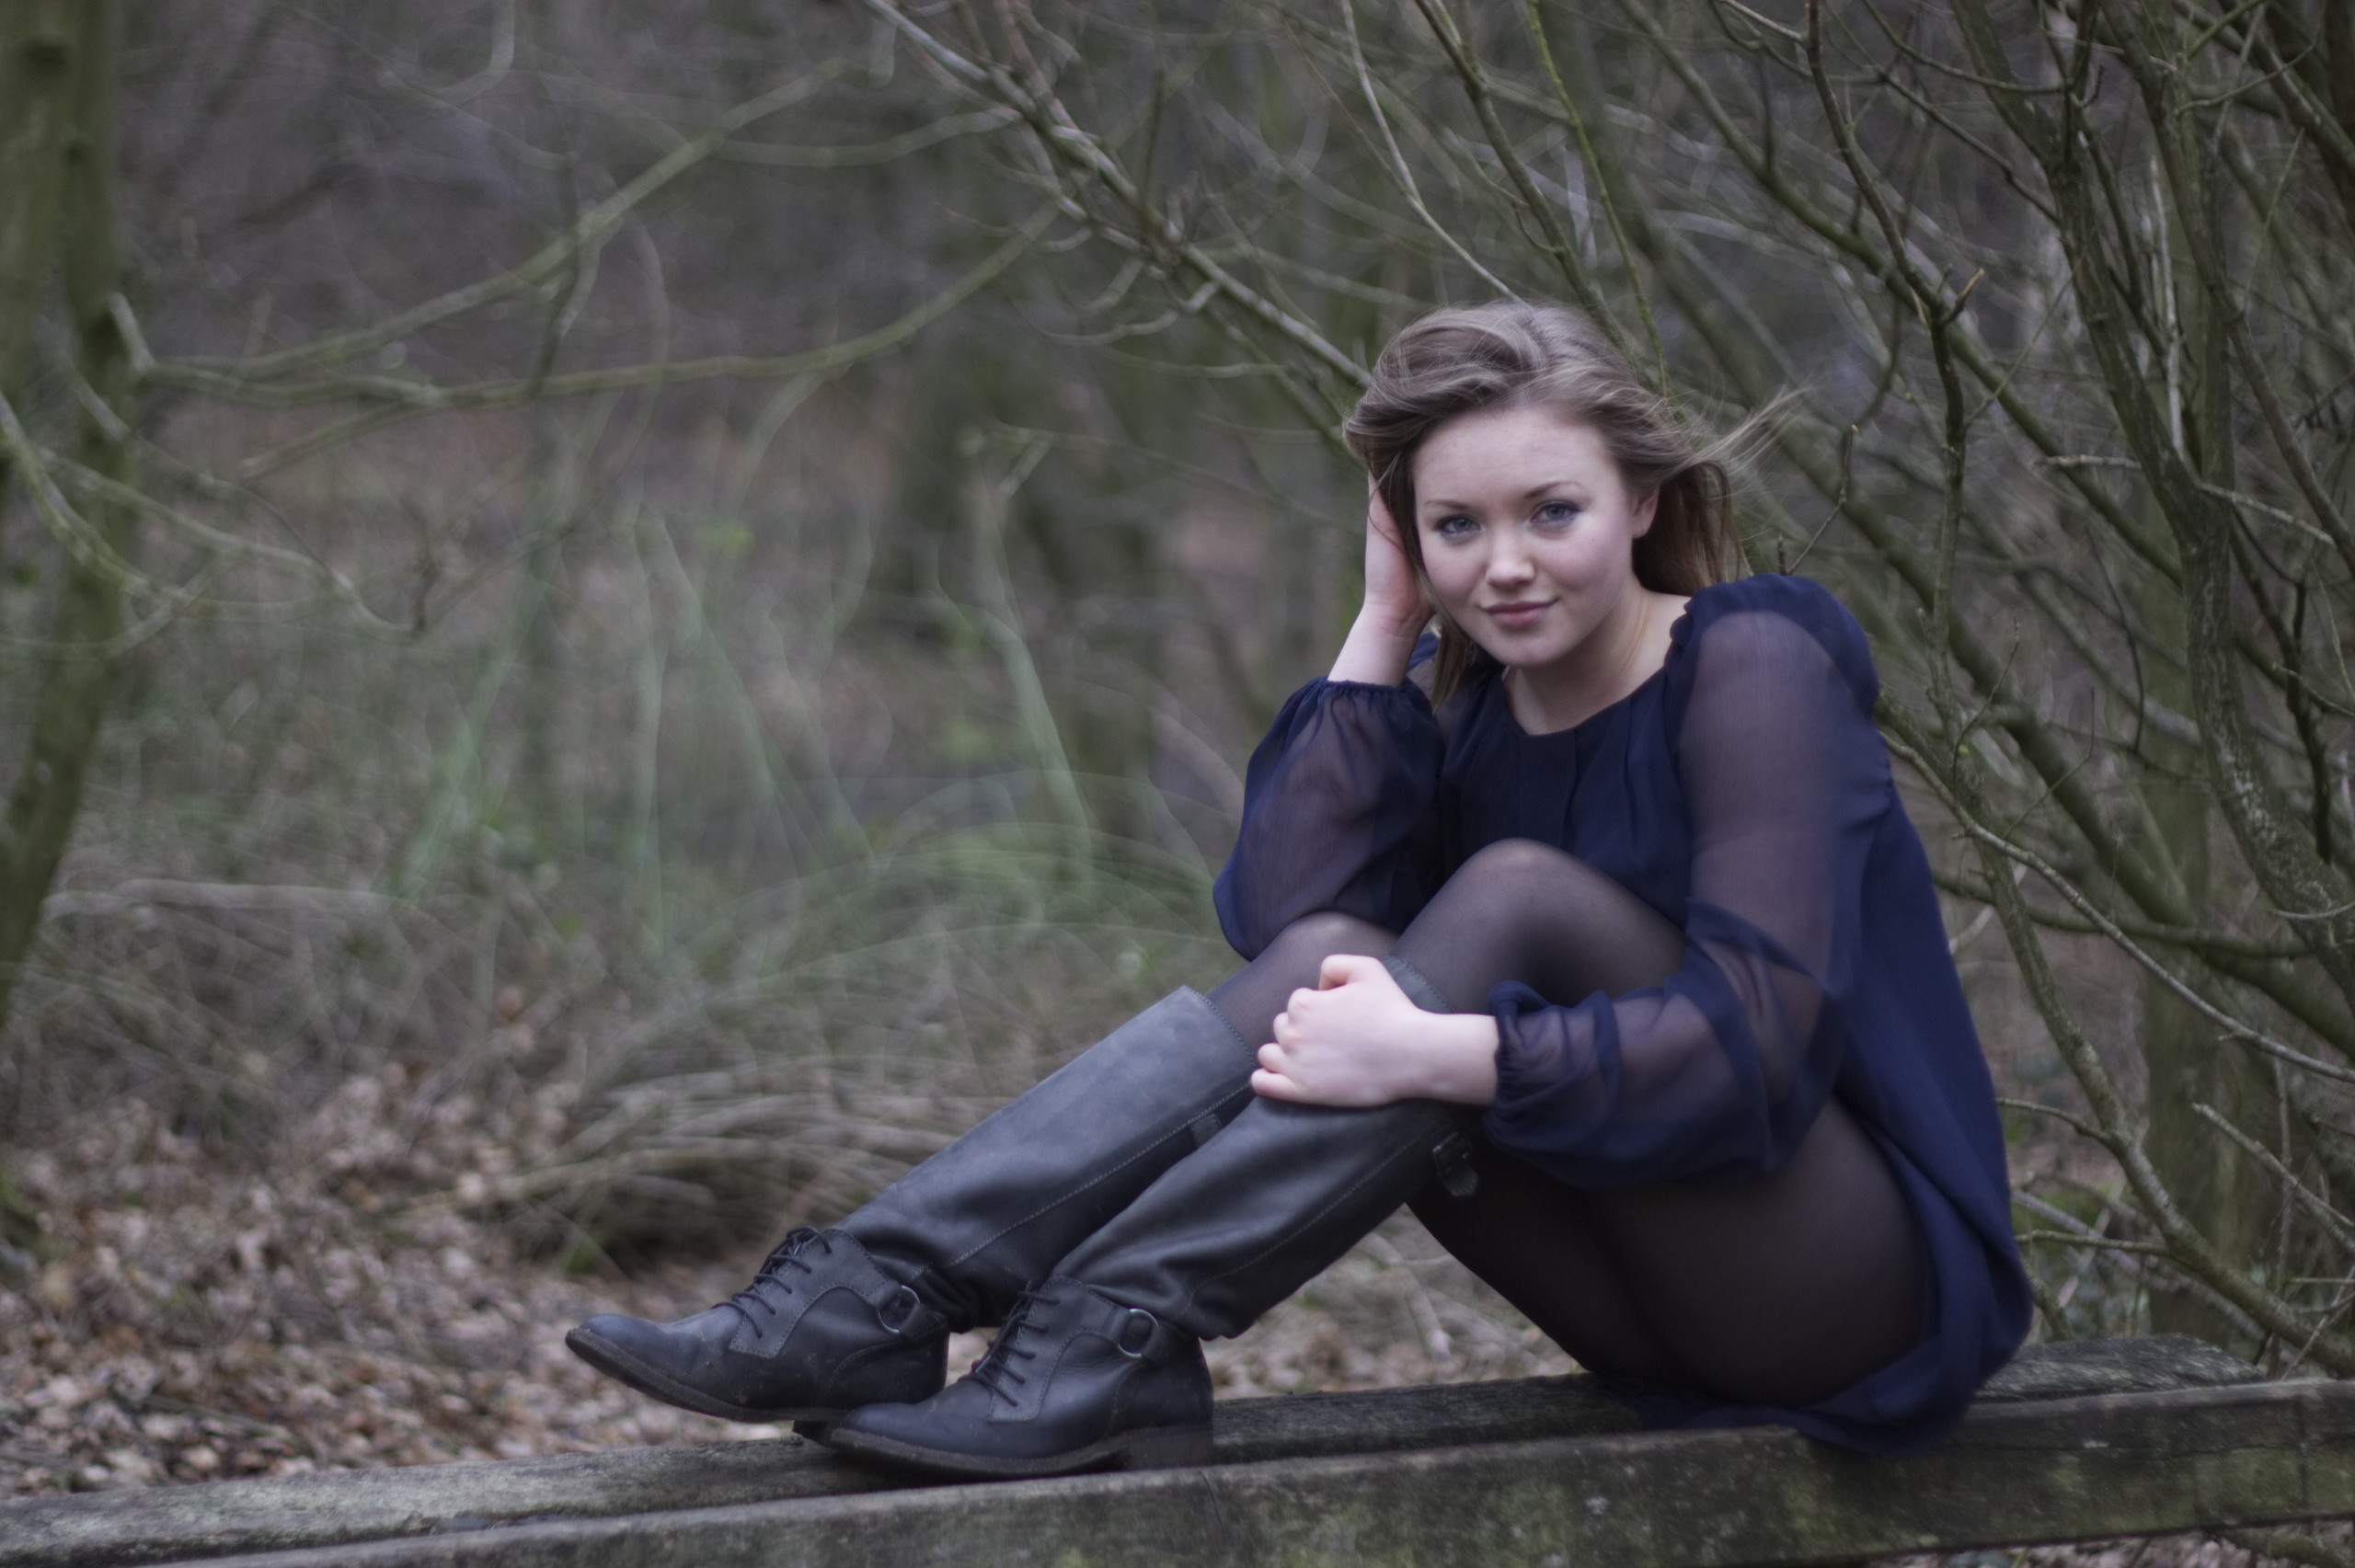
Hi I've been working long time in learning how to retouch images in ap, here is an external portrait before and after
-
Alternative to Lightroom
oquendoG replied to Vitalspark's topic in Feedback for the V1 Affinity Suite of Products
Darktable is a great option too, now there is a beta release for windows http://www.darktable.org/2017/08/darktable-for-windows/ -
oquendoG reacted to a post in a topic:
Alternative to Lightroom
-
Doctez reacted to a post in a topic:
Ability to edit masks easily
-
Hi I'd like to see the ability to edit masks easily now is very hard to do it, it would be nice to be able to edit masks with levels or curves or something so
-
Alternative to Lightroom
oquendoG replied to Vitalspark's topic in Feedback for the V1 Affinity Suite of Products
On1 photo raw for me is the best option, as affinity photo, on1 is a paid program but you just have to pay once for it, it's amazingly powerfull -
How can I make a backup of the presets in my eHDD?
-
layer (masks) help
oquendoG replied to st87's topic in Pre-V2 Archive of Affinity on Desktop Questions (macOS and Windows)
Hi I have a solution that worked for me 1. Create a copy of the background layer or your main image 2. clic on layer rasterize to mask 3.insert the new layer mask into the adjustment layer you want for example curves, if you want to edit the layer mask without the problem you mentioned before do this: 5.take the layer mask out its position and put it above the main picture or background picture 6. create an adjustment layer like curves and drag it to child layer position in the mask and go to the channels of the layer and select alpha 7. the layer mask in this state shows parts of the image (white or shown areas) and the other parts are with squares (or black areas) 8. when you move the alpha channel you are modifying the squares in the mask showing more or less in the mask 9. drag the mask layer into original adjustment layer this is very large process but for me is acceptable right now edit_mask.mp4 -
Hi the problem is now solved with the last actualization, a question, how did you move all color sliders at the same time? thanks
-
oquendoG reacted to a post in a topic:
Spanish Manual Affinity Photo
-
oquendoG reacted to a post in a topic:
[AP] Colorization
-
Hi how can I change the affinity photo shortcut for resizing the brush tool or any other tool with the mouse? I use windows 10 and the shortcut is alt + right click + drag with left clic, but i just want control + alt + drag right clic, I didn't find any way to change that in preferences, please help me! Thanks
-
Hi everyone I've done a macro with 3 elipses for dodge and burning like lightroom but in ap, one for dodge other for burn and another for contrast. How to use 1.import the macro 2. clic on the dodge elipse macro but ensure the fill color is white 3.clic on the burn elipse macro but ensure the fill color is black. 4.Clic on the contrast macro but ensure the fill color is white 5. Select the move tool [v] for modifying and moving the elipse. You can play with opacity for making stonger or softer the effect or even change the blend mode. The macros will generate an elipse with a name like dodge, burn and contrast for that reason you need to set the correct color fill before apply the macro, and the other reson is because affinity photo didn't allow me record fill colors with elipses. Enjoy :) D&B with elipses.zip