Search the Community
Showing results for tags 'watercolour'.
Found 4 results
-
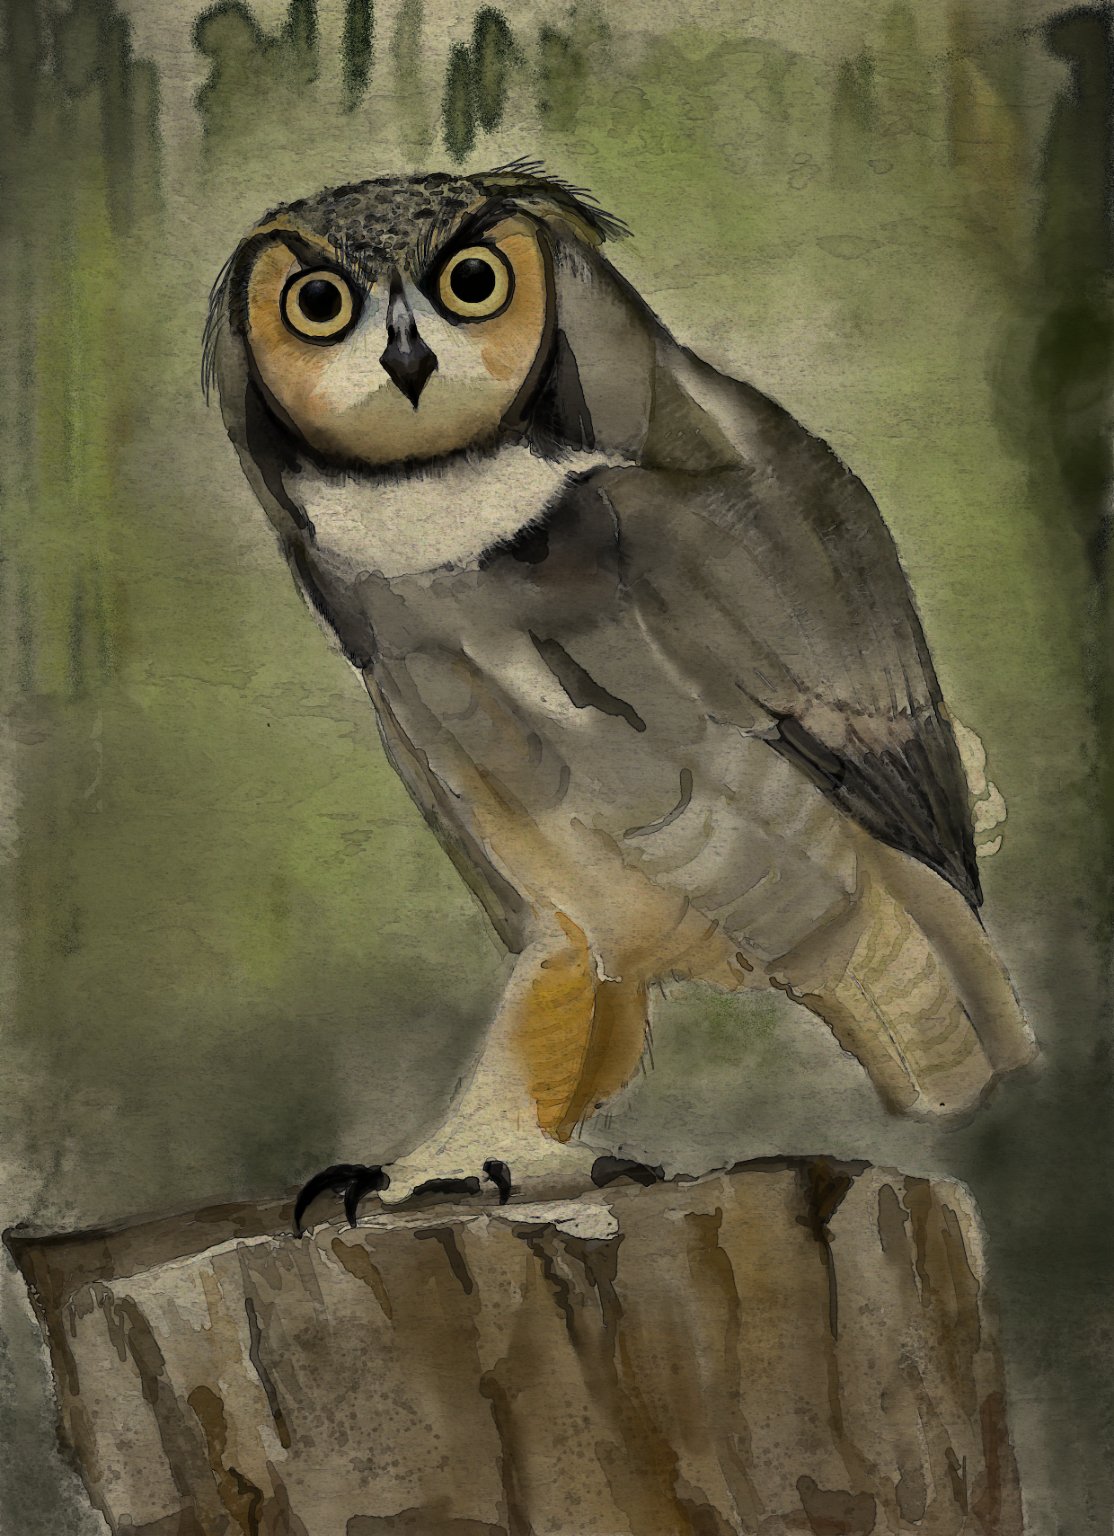
Custom brushes + overlay

- 4 replies
-
- 22
-

-

-
- watercolour
- watercolor
- (and 3 more)
-
I created this watercolour effect solely by using Affinity Photo's Procedural Textures in combination with standard techniques such at layer blend modes and masking. No third-party filters were used - even the watercolour paper texture was created using Procedural Textures. If you want an introduction to Procedural Textures for absolute beginners, with no maths or coding to confuse you, then I have written a set of tutorials beginning HERE. This image is copyright to me, of course, but I don't mind if you use in websites promoting Affinity Photo and it's amazing potential for art, graphic design and photo editing.
-
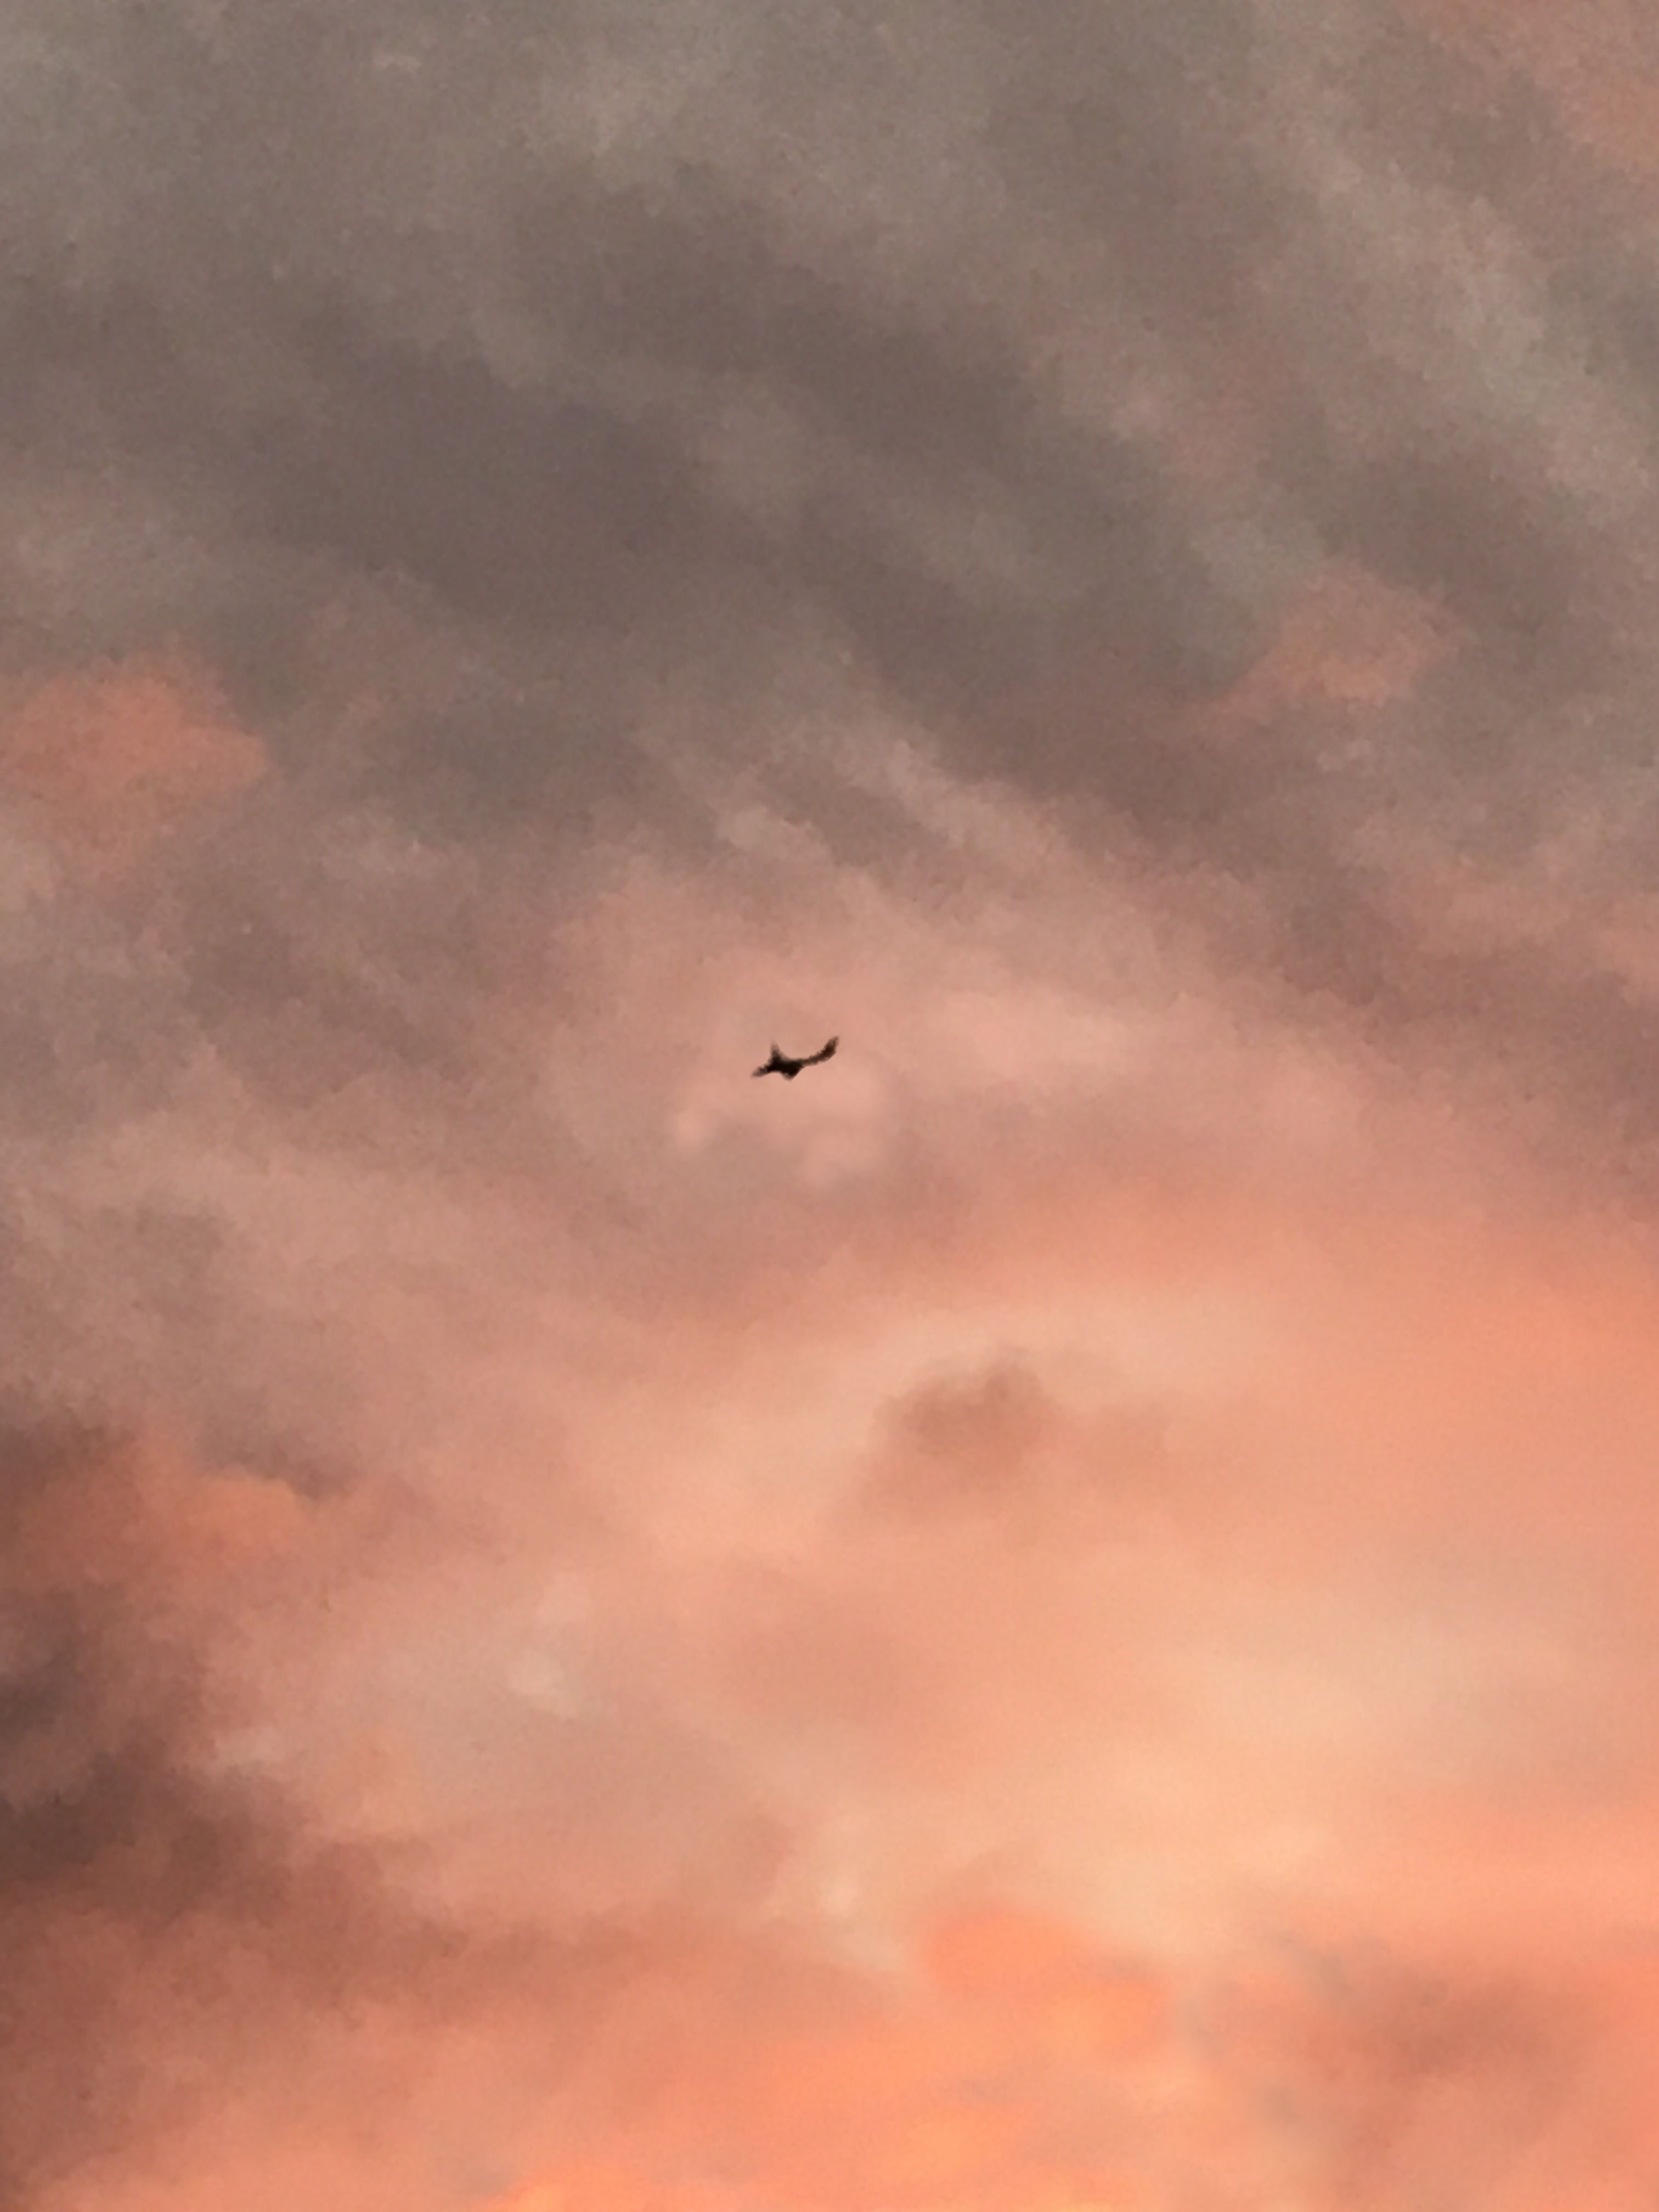
When I zoomed in on the sunrise this morning I found this tiny commercial airplane up there all alone in the clouds. By deploying the selection brush tool and some refinement I managed to get most of the fuzziness out of the airplane's edges, and was left with this. I had to export the airplane as a PNG and then clone brush the original image to get rid of the original fuzzy airplane, and then place the new airplane back in, but all in all, I was amazed at what I could do with Affinity Photo. Wish I could figure out how to make the airplane perfectly crisp!. But I do love the watercolor look.
-
 This post concerns Affinity Photo only (Mac installation) I would like to share with you lovely people some methods to create a pencil sketch from a photograph as an opener to more discussion and ideas. Firstly I must credit Affinity Jack for the first method, Ciao Jack :-D I'm assuming a Mac installation of Affinity Photo There are a number of ways to create a pencil line drawing effect from a photograph; here are two quick methods as recipes, the fist one I discovered on the web from Affinity Jack; here is the link: https://www.youtube.com/watch?v=srNqGqVBkxA , I have seen this method in other places so I don't know who created this originally. The second one is a method I developed myself by experimentation. First method (Gaussian Blur) 1. load the file. 2. If the file is not raw i.e already processed as an afphoto file or a jpg/tiff/png etc go to step 3. Make whatever raw file adjustments you need to do then press develop and proceed with step 3. 3. Duplicate the initial background pixel layer (Cmd J). 4. Make sure you have selected the new duplicate layer; then invert the layer (Cmd I) 5. Select the blend mode of the layer and set the blend mode as Colour Dodge; note the picture will go blank white or you my see a faint outline ... don't worry step 6 will make it it clear ... 6. With the duplicate layer selected choose from the main menu Layer -> New Live Filter Layer -> Gaussian Blur Filter then move the Radius slider slowly to the right to reveal a sketch outline. 7 Once you have your desired sketch effect, make sure you have the duplicated layer selected and press Cmd U to give you the HSL shift adjustment. Move the Saturation Shift slider fully to the left to give you a black and white pencil effect. Second method (Edge Detection) 1. load the file. 2. If the file is not raw i.e already processed as an afphoto file or a jpg/tiff/png etc go to step 3. Make whatever raw file adjustments you need to do then press develop and proceed with step 3. 3. Duplicate the initial background pixel layer (Cmd J). 4. Make sure you have selected the new duplicate layer; then select Filters -> Detect -> Detect Edges. 5. Invert the layer (Cmd I) 6. Now with the inverted layer selected press Cmd U to create a new HSL adjustment layer and move the Saturation Shift slider fully to the the left to create a black and white pencil sketch effect. I have created these as Affinity Macros too (for non Raw files of course) but doing them from scratch gives you access to modification of layers within the process to give you more creative scope. The main difference between these two methods is that the fist one uses a Gaussian blur effect which gives you scope to increase the thickness and intensity of the edges but naturally is more blurred of course. The second method using edge detection gives crisper edges; try experimenting with horizontal or vertical edge detection and using adjustments to layers as you go through the process ... go on .. it's fun :-D I have also been plying with using the sketch to create a watercolour effect too, much fun with the free watercolour brushes. I haven't got a good process yet with the watercolours but I'm experimenting and when I get a reasonable process I'll share it. Please join in with ideas and or developed processes if you like; I'm having fun anyway :)