Search the Community
Showing results for tags 'trick'.
Found 3 results
-
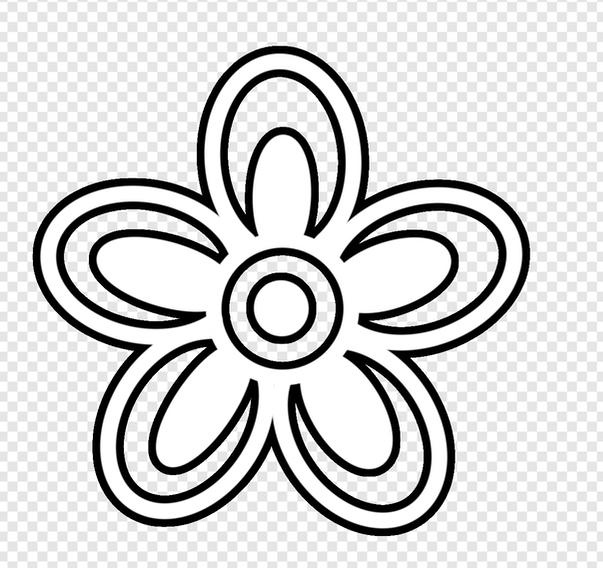
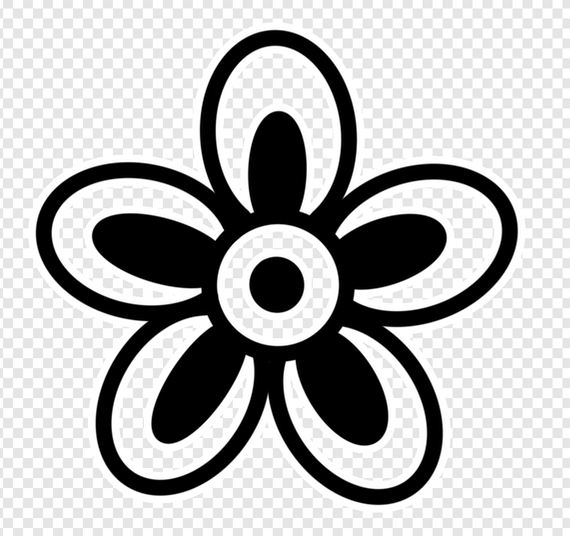
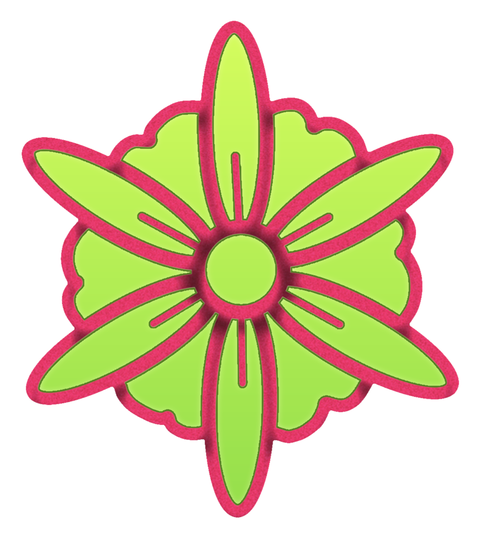
 There's this tutorial here on how to convert Procreate Brushes (working as of this date) to Affinity Brushes. It involves unarchiving the Procreate Brushset into it's respective Brush files / folders. In each folder is a PNG file (commonly "shape.png"). It's that file that is used and converted for use in Affinity Designer. Here (my examples) they are imported as "Intensity" Brushes: I've used this technique quite a bit. What I've also found depending on HOW you convert the image you get different results as well as possibilities. Example a Floral Brush: Using GIMP (Or the Photo Editor of your choice (not sure how to do this using Affinity Photo). I select by color, Shrink the selection (Play with the settings), delete the selection and get the following result. One is the direct result. The other is the colors inverted (one with a black border, the other with a white border): Using this method, I get results that give very different possibilities when using Styles and Layers to overlap the end results: Worth playing around with. Here's (attached) two AFD files to show you more clearly the possibilities. The first uses "Select by Color", "Selection / Shrink" the second uses "Select" (which just selects the surrounding exterior not "Select by Color" as above and "Selection / Grow" (Play with the settings). Enjoy. fleur9_9a_x2_a_Color_AFD.afdesign fleur9b_9c_x2_b_Color_AFD.afdesign
-
 Publisher 1.7.2.471. (I don’t know if this ability will be in later versions.) Here’s a strange little workflow to give you the ability to add multiple effects of the same type to some still-editable text. * Create some text on a master spread; * Go to the normal page; * Go to the Layers panel; * Right click the master spread layer and choose Edit Detached; * Add some glow effects to the text layer; * Press the Finish button on the red editing bar at the top of the document; * Go to the master spread; * Add some glow effects to the text layer. You now have multiple effects of the same type added to the text while it is still editable. My example GIF shows two Outer Glows and two Inner Glows on the same piece of text. I’m not sure how many times anyone might want to do this but it might come in useful to someone at some point.
-
 Hey, I've made a quick&easy trick tutorial for making 2d-chart in AffinityDesigner, hope you like it