Search the Community
Showing results for tags 'texturing'.
Found 6 results
-
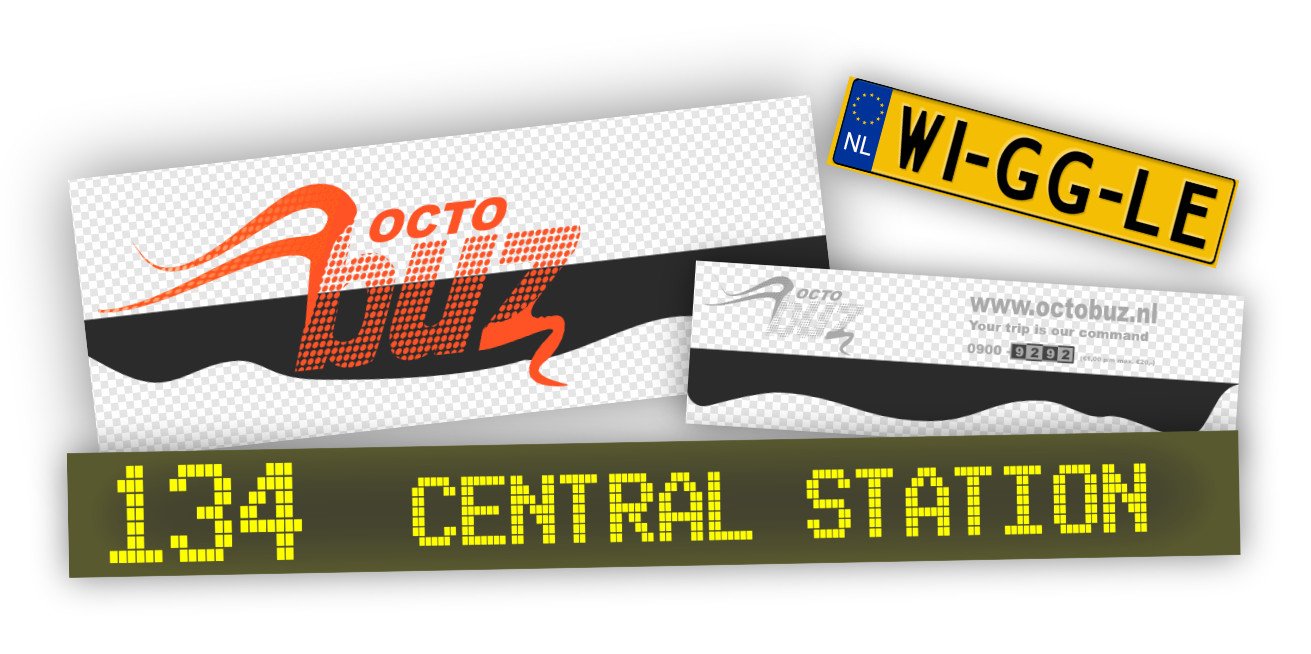
 I've completed designing, 3d modeling, surfacing/texturing and rigging a 3D City Bus for my upcoming Animation Short Film. Completely ready to animate, including rigs for the doors and to drive and steer the bus. Affinity Designer was used for all logo and texture designs. Here's a demo video
-
Especially with the new 3D view and texturing enhancements this would make a lot of sense. A brush, driven by Python and/or OSL. When it is applied to a curve it follows it. When it is brushed on, it can leverage additional parameters like tilt/pressure and speed/velocity. Similar to the procedural texture layer it should have a few examples and then let the user pop out a text field to paste in (and modify) their own code and attach variables to UI controls. This could be made available for fill-layers as well.
-
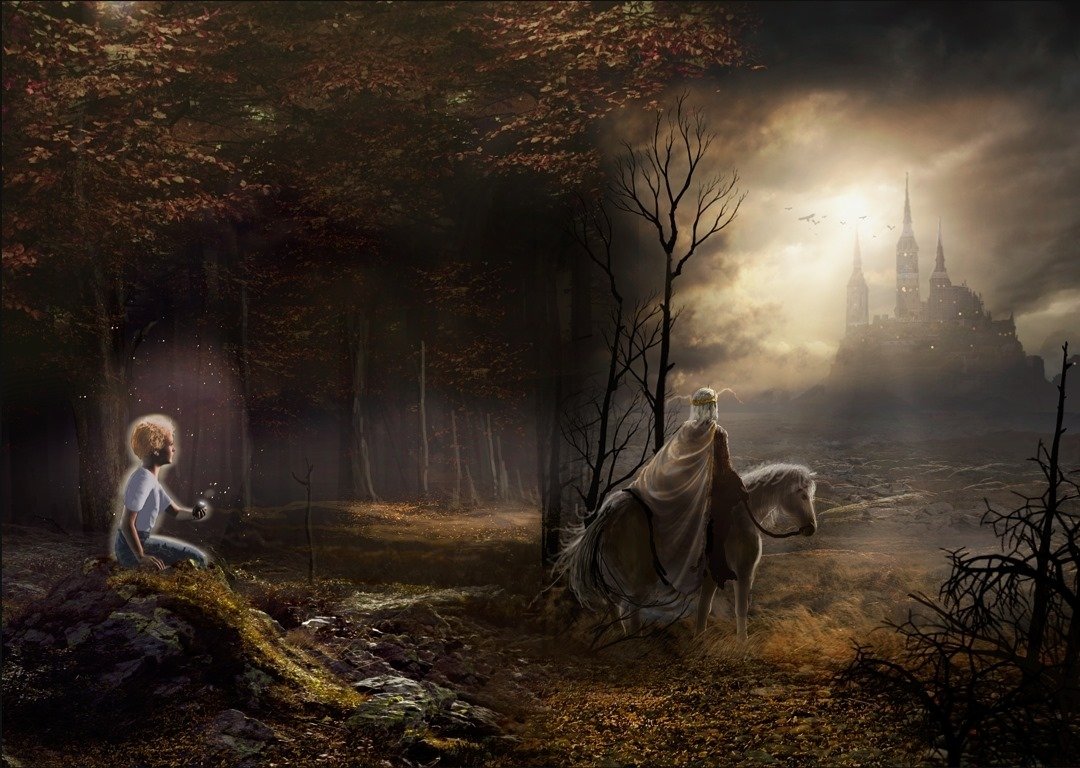
Made with Affinity Photo on Windows and iPad.
- 4 replies
-
- 12
-

-
- photo composition
- fantasy
- (and 5 more)
-

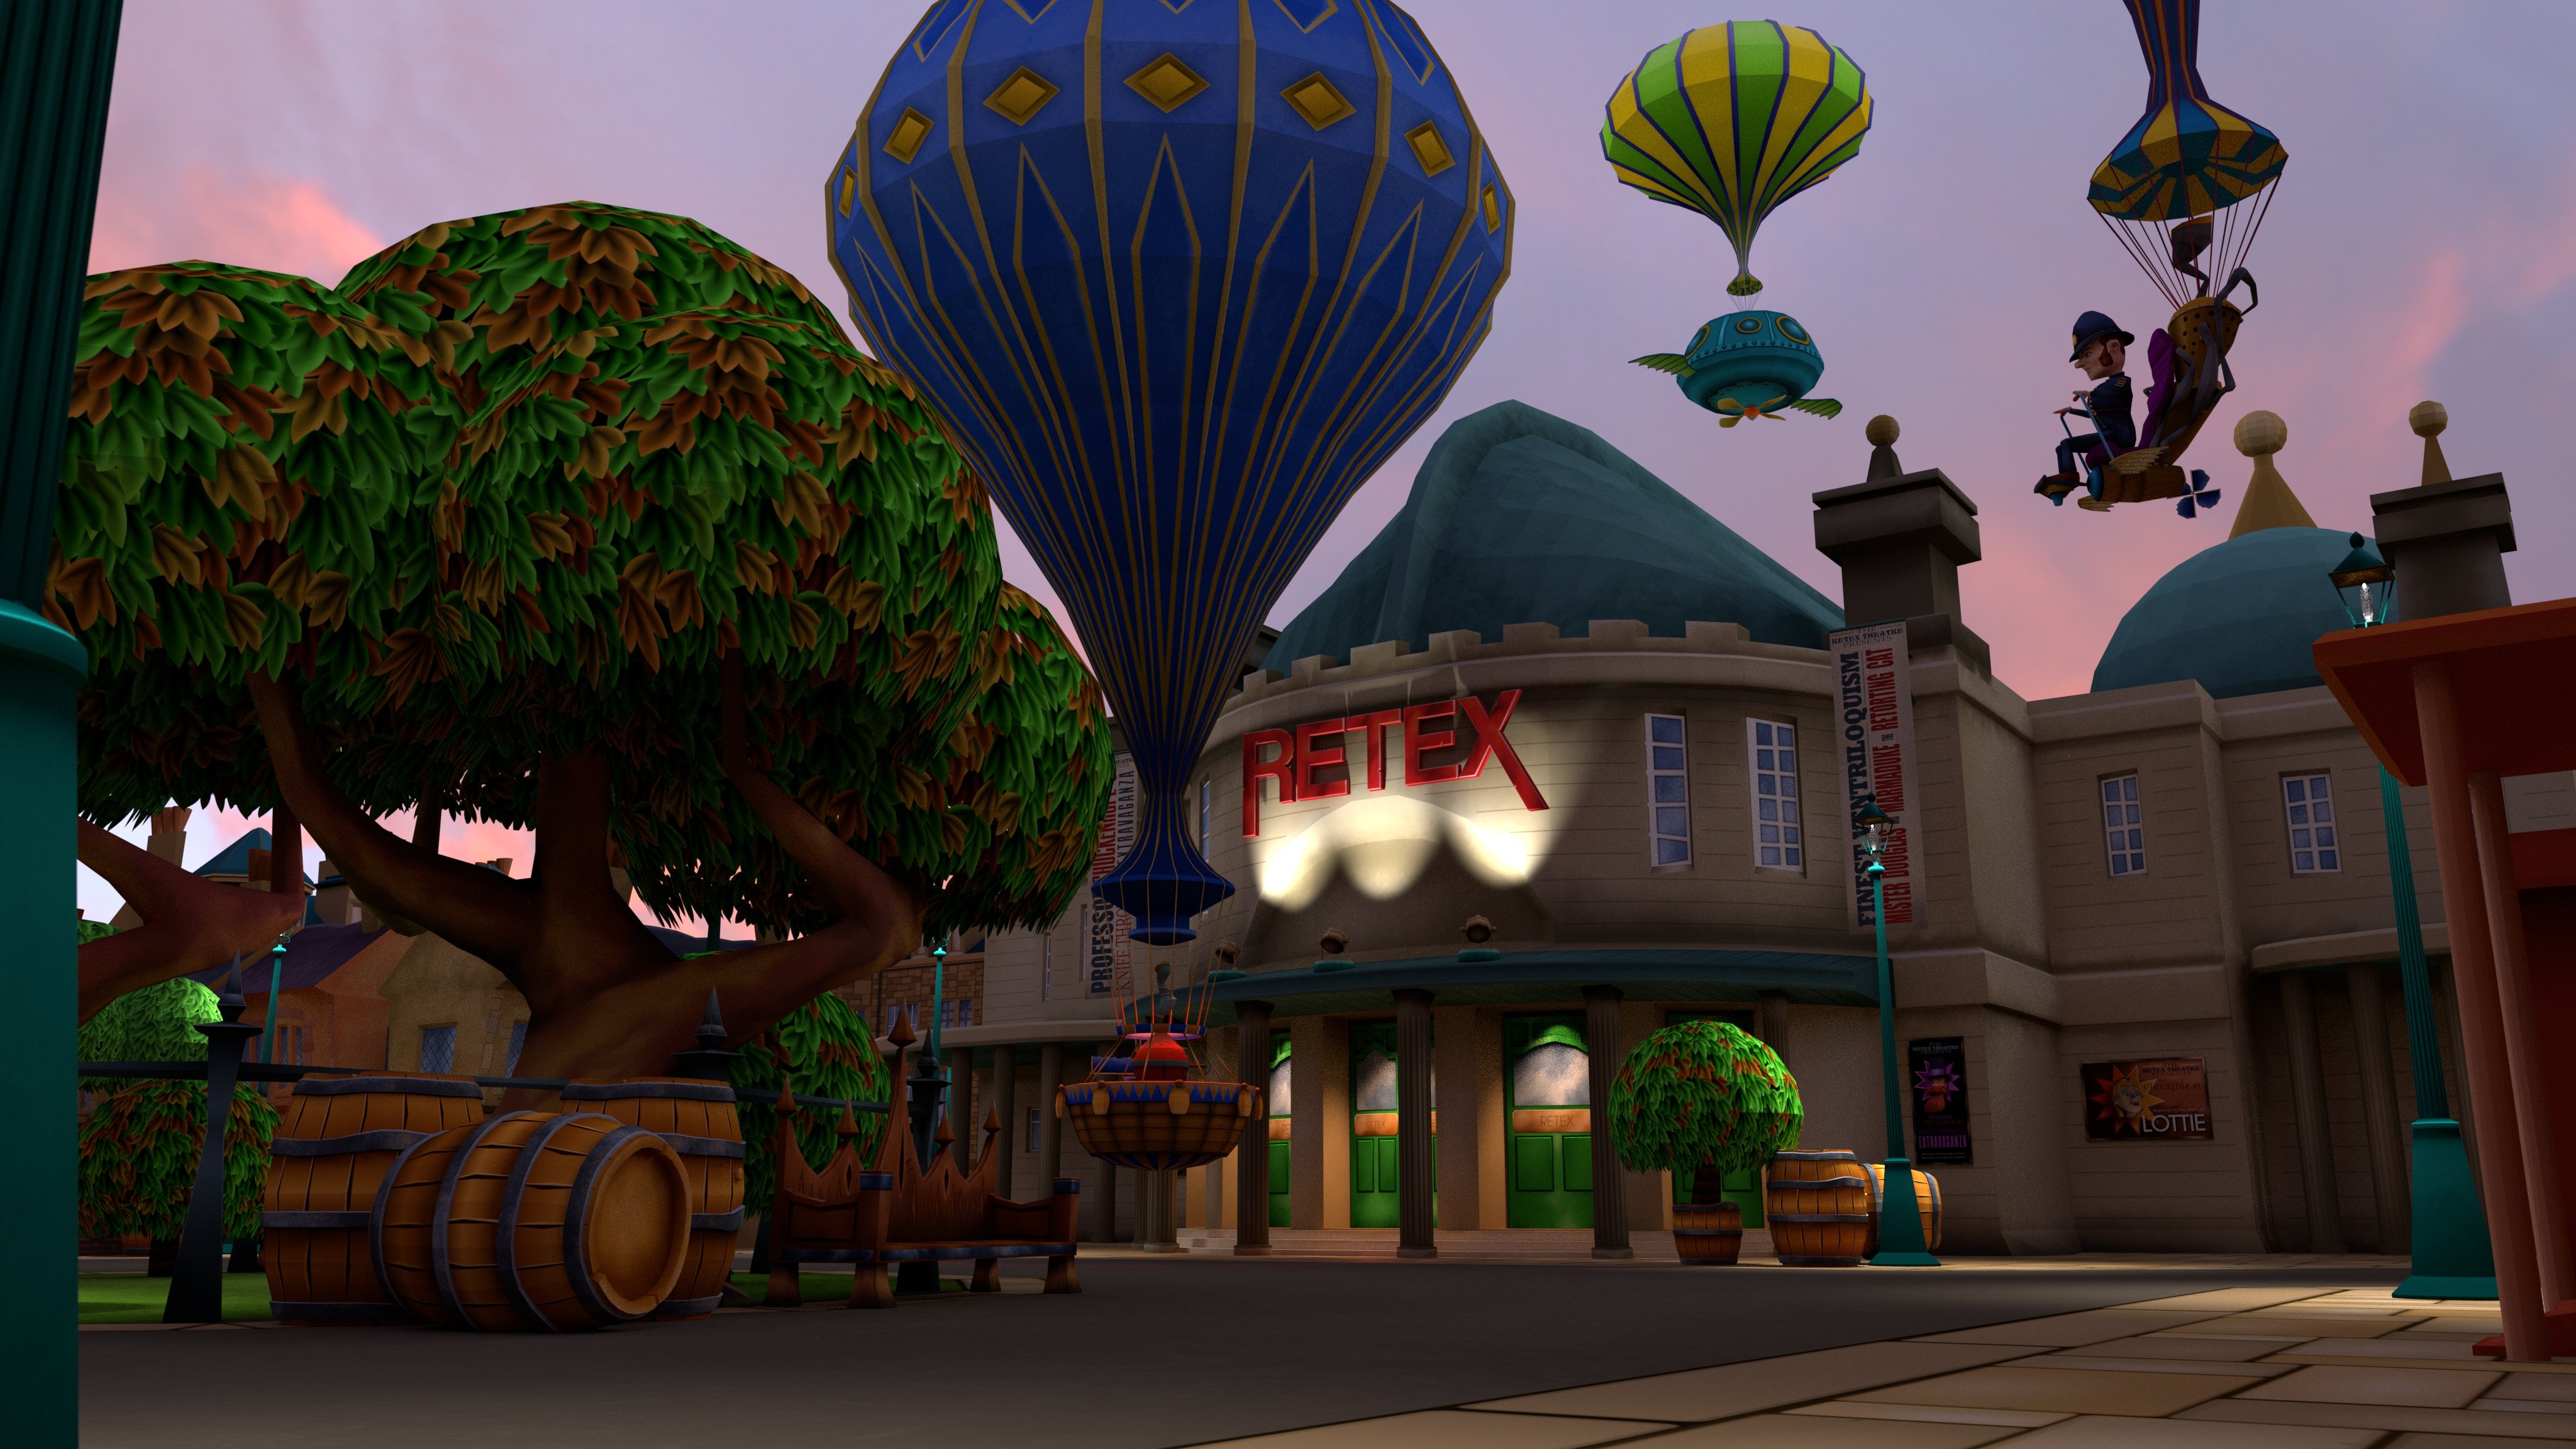
multi Use of Photo and Designer in upcoming Indie VR Game
TiltedReality posted a topic in Share your work
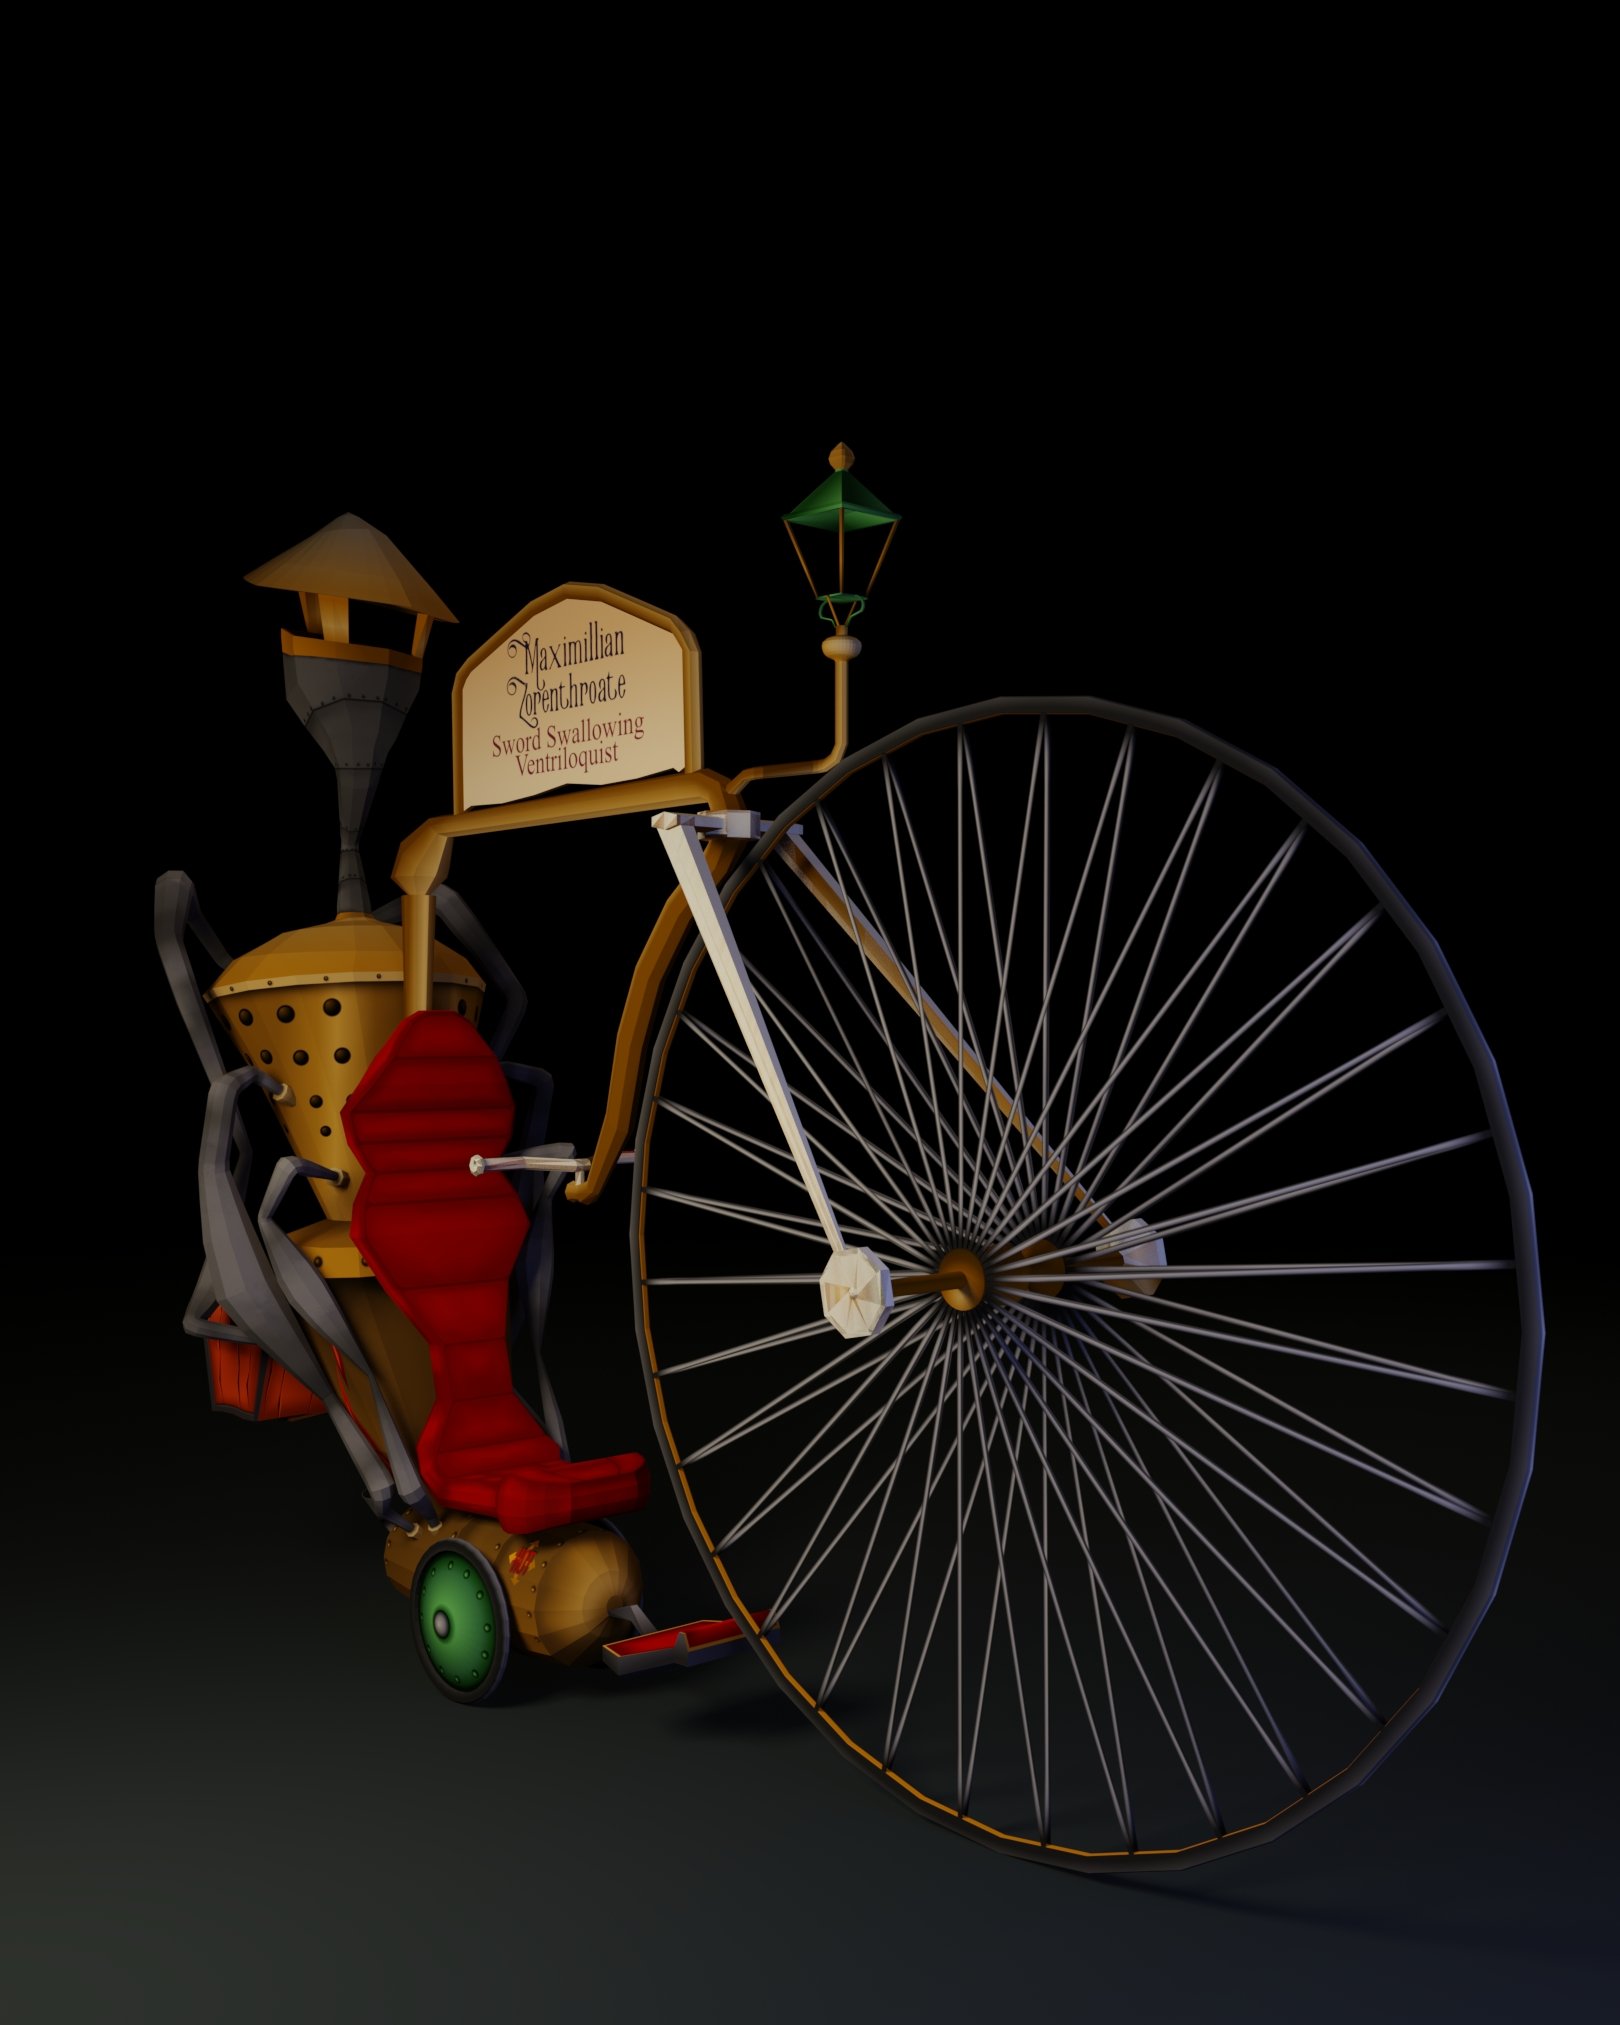
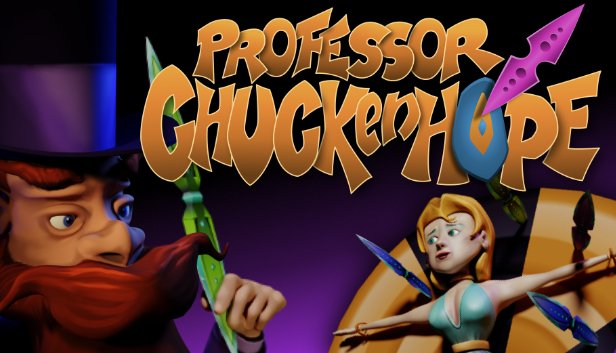
I've been holding off posting until our Indie VR game is just about ready for release - within the next couple of months on Steam. I've been using both Photo and Designer since soon after they were released for Windows and, having used the Adobe suite for the day job (for many years), I want to thank the team as in this short time, I already greatly prefer the Affinity suite. Back on topic - The game is called Professor Chuckenhope and is based on the classic knife-throwing vaudeville act, with many twists. As a duo, with myself being the modelling/art-side of the project, we could not have achieved as much as we have as quickly as we have, without the easy Photo/Designer workflow, for the majority of the texturing. Everything apart from the character models (which are painted within Blender, but also using Photo for added details) has been textured/illustrated purely using the Designer/Photo combo. All logos have been created entirely within Designer. As we're currently still working on polishing the final build, I've not had time to work on any high quality 'stills' renders yet, but these are a few working renders, along with a promotional banner, combining and enhancing various rendered elements and the logo within Photo. To see it in motion, we currently have a teaser trailer on our site, with a full trailer also being worked on. www.tiltedreality.online Please excuse the current Wix header, we're a 'shoestring' indie duo after all! Again, a huge thanks to the team, as we would have struggled to achieve anything close to this quality with any other software. Looking forward to trying the Publisher beta.
-
- 3
-
-
- affinity photo
- texturing
- (and 4 more)
-
Hey, i find affinity designer very cool, i usually work with 3d things, but i wished to try 2d, and so i tried your software, and find it very cool, but would be great if i could see just with a basic shader, a texture made in designer, on a 3d model i'd import to it. I know it is not a 3d software, but i think even photoshop has something like that :/ please try to add something very basic.
-
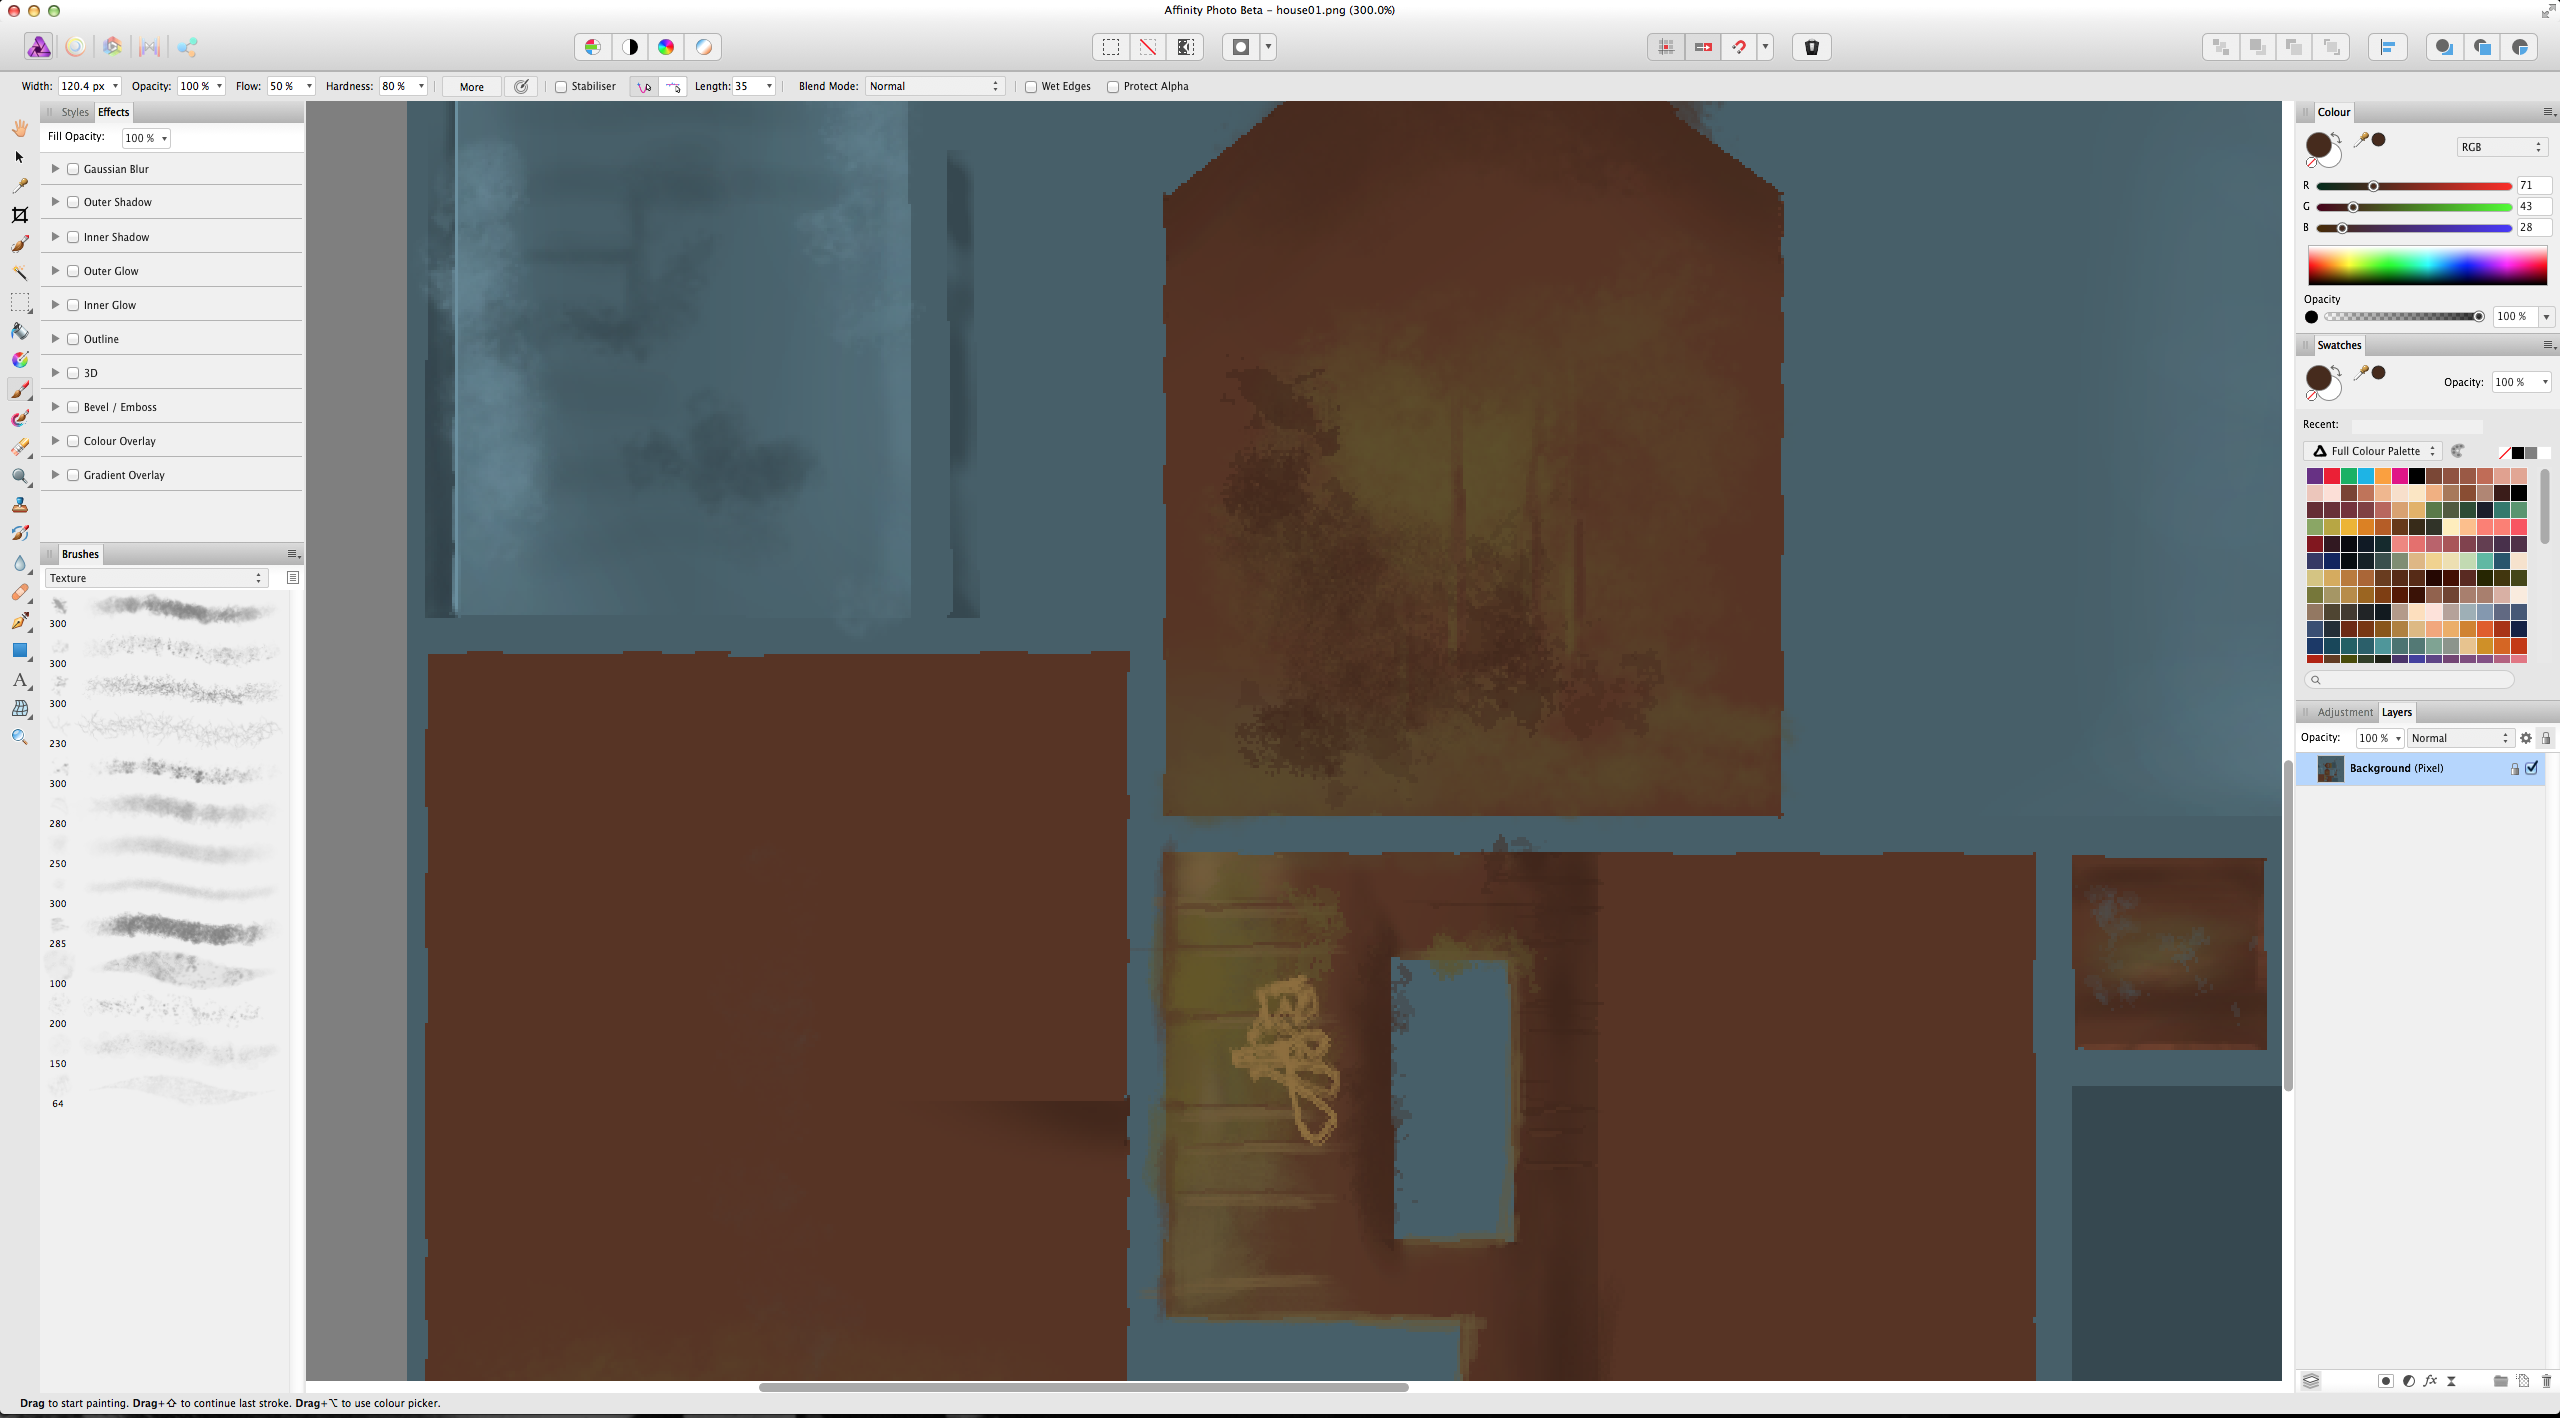
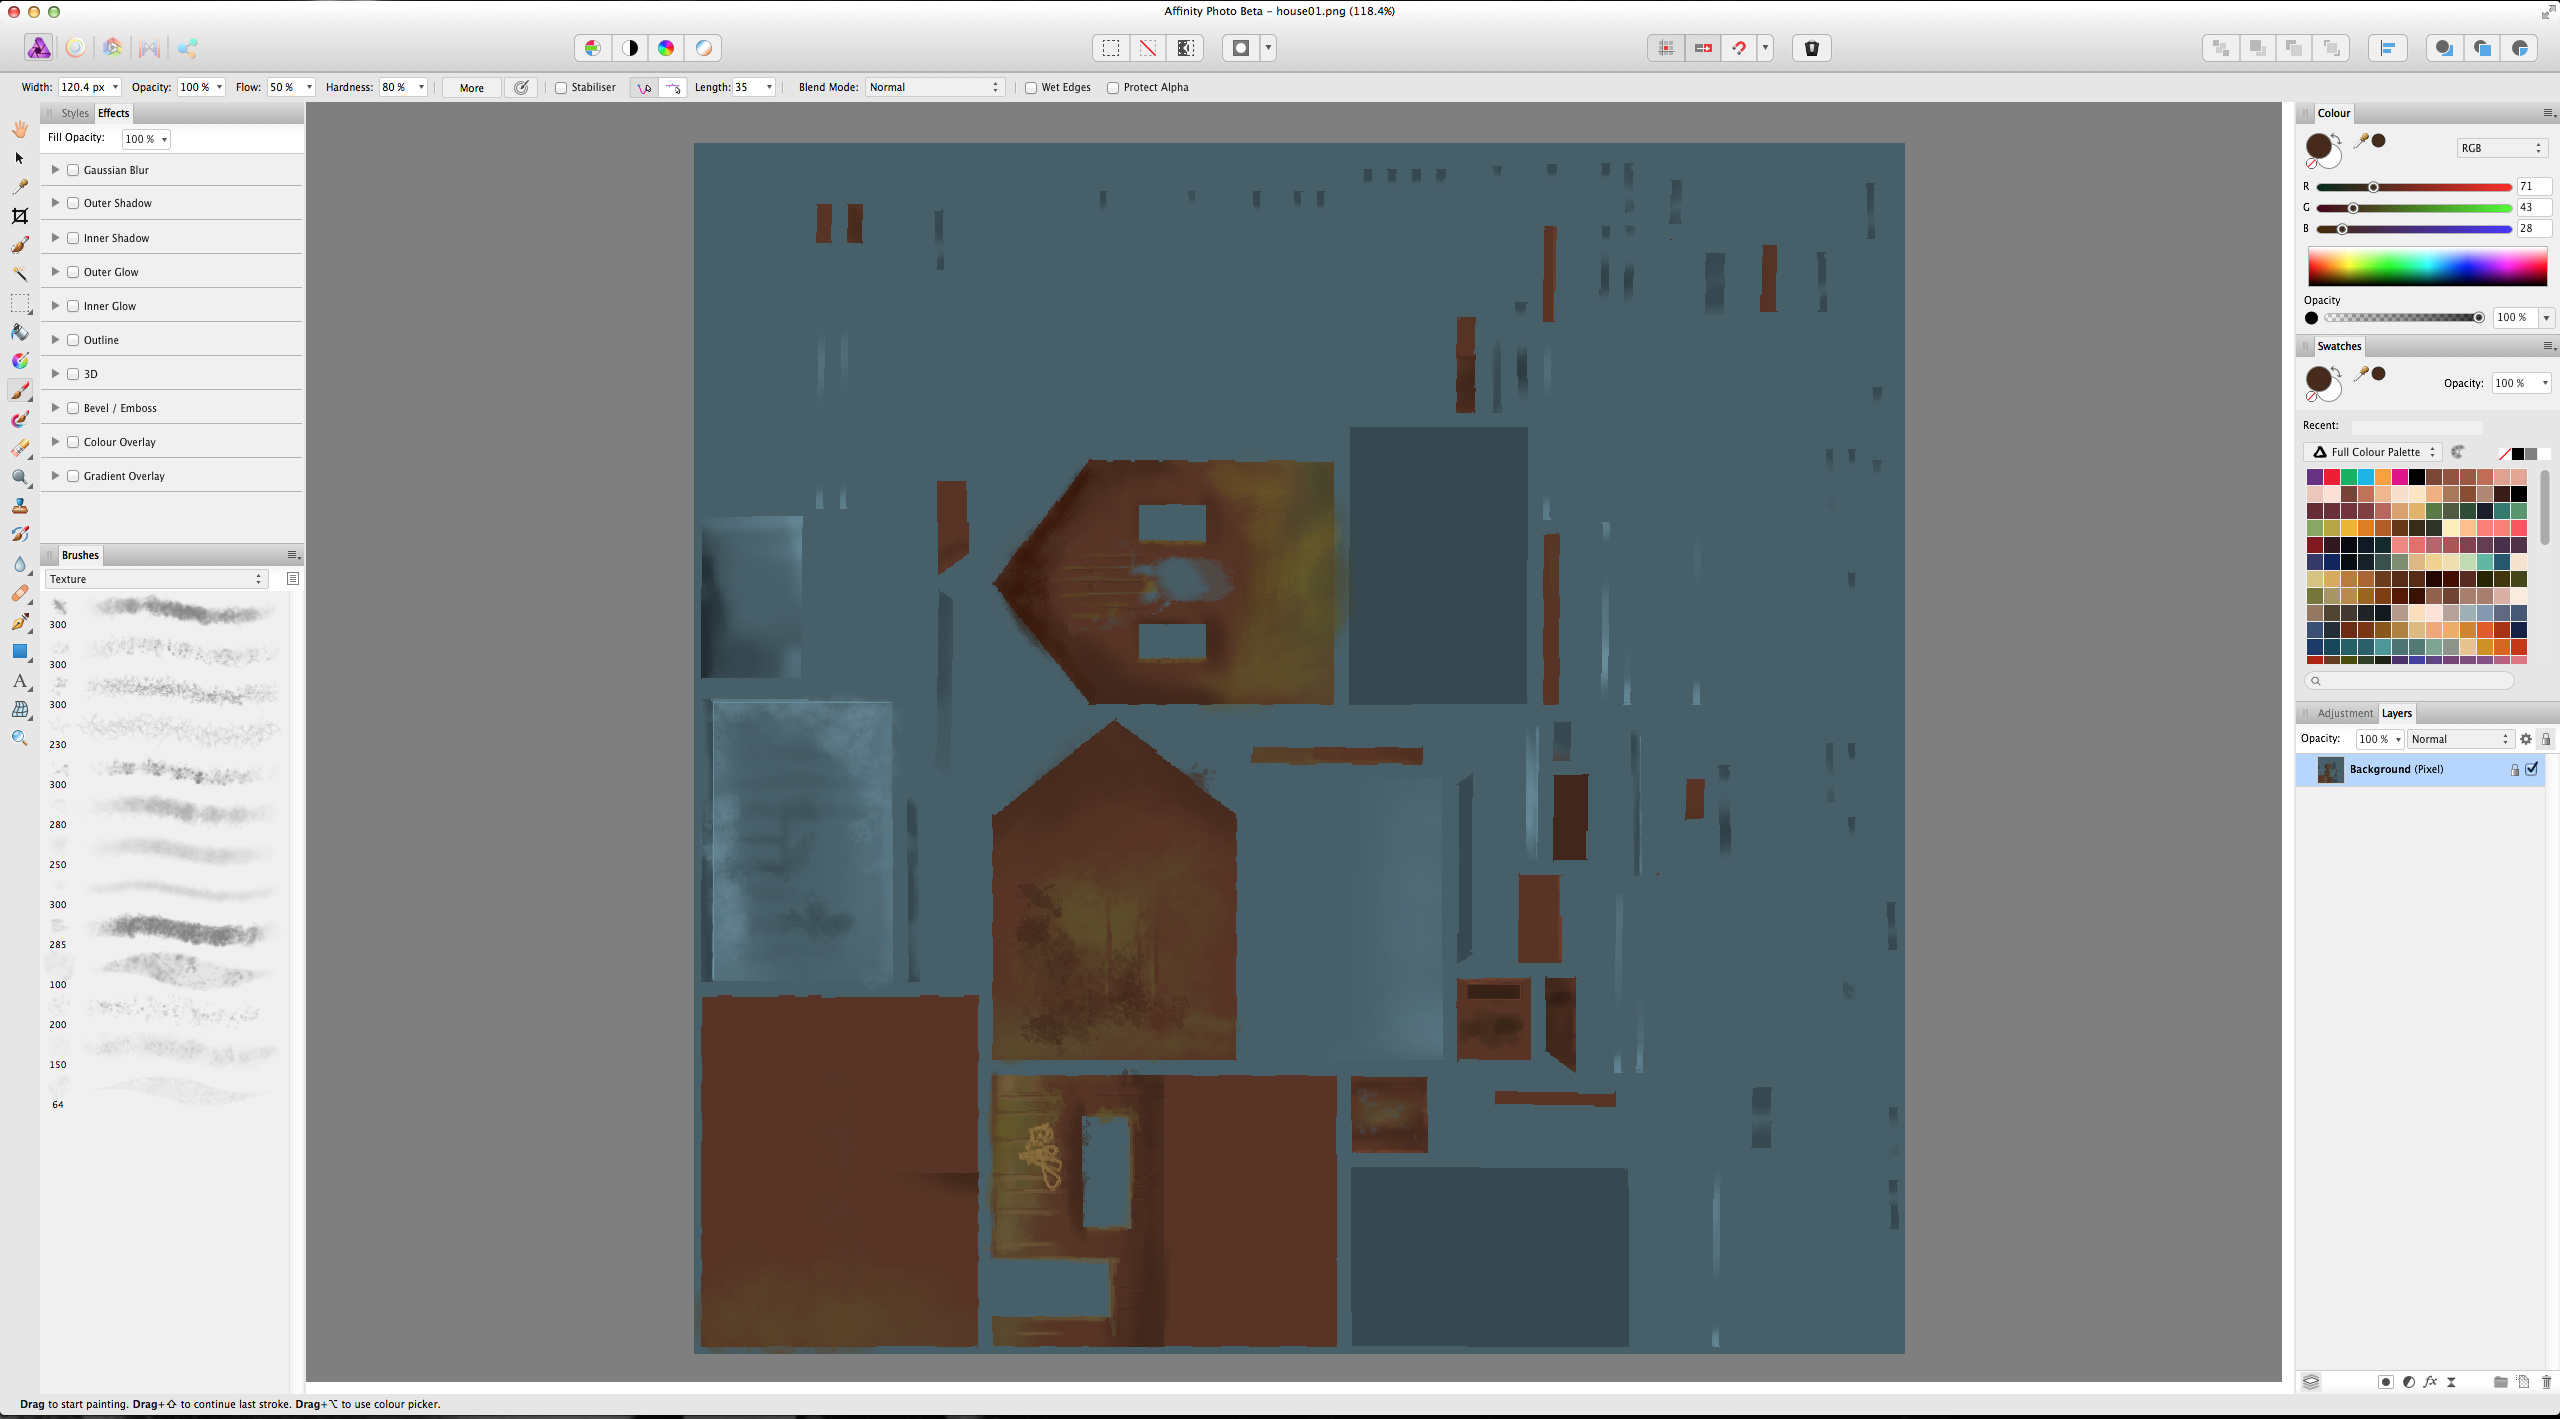
Having fun with the new Photo 1.6 beta and Blender texture painting workflow. Liking the new light UI in Photo too. I'm using the file path option in Blender's preferences (see screenshot) so it's a one click jump to Photo for painting. Then just save in Photo, jump back to Blender and click reload image. Boom, couldn't be easier. :-) Blender's internal texture painting is pretty good but not quite as dedicated yet as Photo is for this sort of stuff. EDIT: sorry for the yuge screenshots...