Search the Community
Showing results for tags 'stickers'.
Found 5 results
-
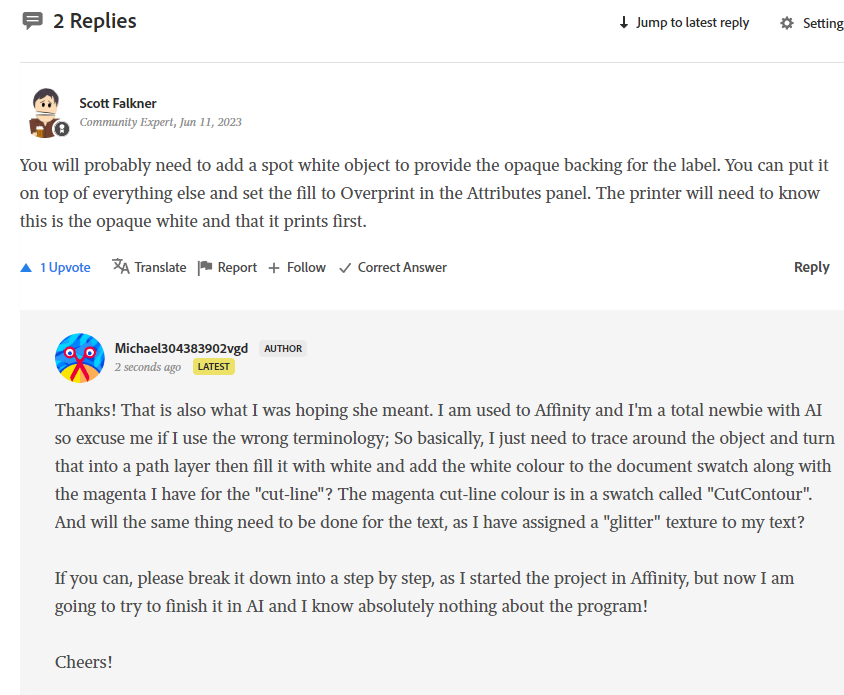
 So basically, I asked in the Adobe forums about a printer's requests for my transparent kiss-cut sticker sheets, as I thought I'd get more logo designers and such passing by. The printers designer asked for a vector image so that the printer can print white ink first and then the design on top of that. So the way I (think) I understand it, is that I have to create a new vector layer that paths perfectly around the shape/image, fill it 100% opaque white, and then sit it below the main layer and rename it "print first" or something along those lines? Then add the white colour to another document swatch? I am not sure what the guy in the screenshot means when he mentions "overprint in the attributes panel". Is that basically what I have already done in affinity by creating a "CutContour" swatch and adding the cut line colour (magenta)? Also regarding the text, I have used a glitter texture to fill the text, so I assume I need to do the same thing for that and would it be best to keep it on the same white layer as the image, or create a 2nd white layer just for the text? The printer is Chinese, so it is difficult to grasp exactly what she is saying. So if anyone has experience with this sort of thing, I'd really appreciate guidance! Thanks!
-
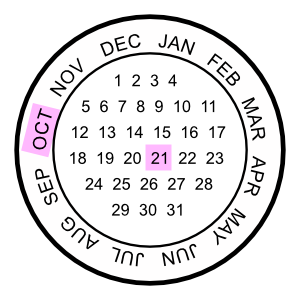
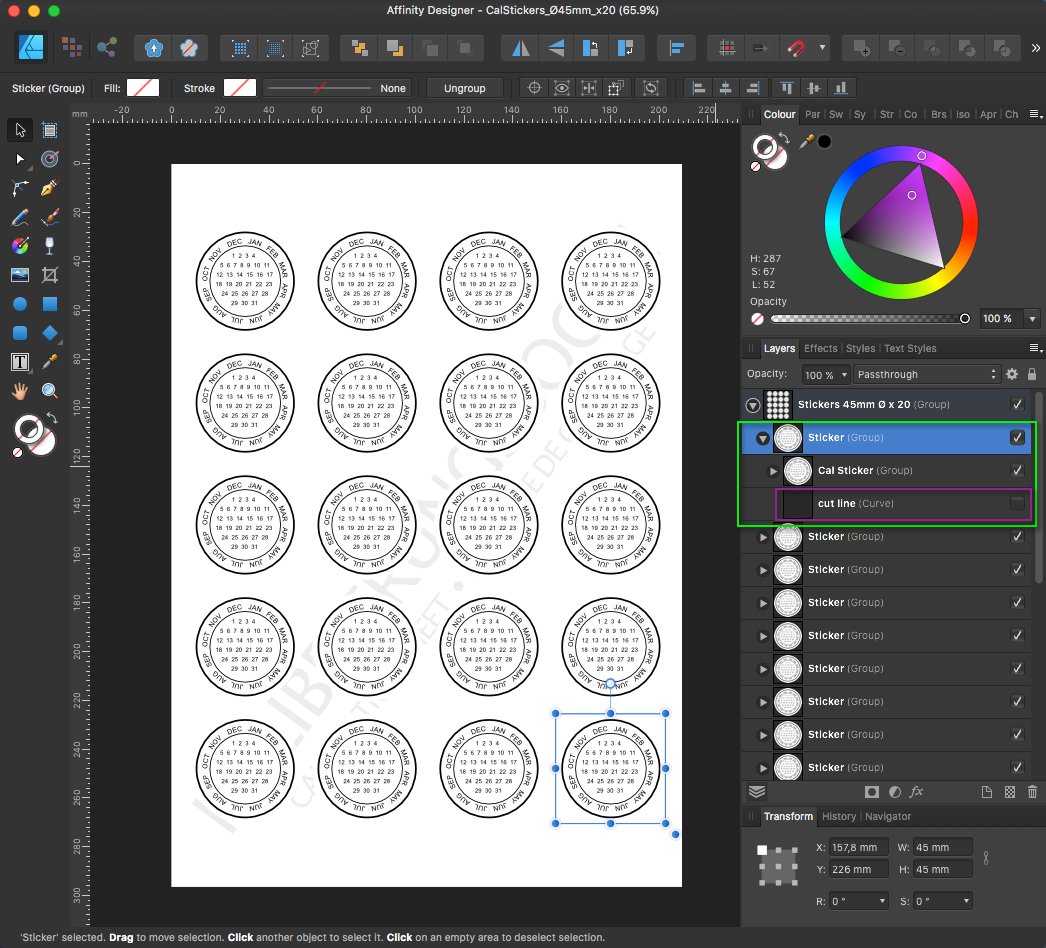
Here are some calendar based round reminder stickers, which can be used to place/glue on important dated things not to forget. Like for example " ...don't forget to sending the damned package until a specific date to someone..." and the like. The initial Sticker created here is a Ø45 mm one (...but can of course on demand be also scalled up to other sizes since it's vectors...) ... Personally I tend to print such reminder Stickers out on matching rounded Avery label sheets (in this case on Avery sheets of Ø45 mm x 20 round labels) ... ... here each of the same 20x Ø45 mm Stickers is in it's own Sticker-group, which in turn has a hidden cut line curve, since the later (a cut line) is not needed when printing onto Avery round label sheets. The sheets background text layer can be hidden or deleted before printing! - If needed you can of course adapt these Calendar-Stickers to other Ø-round sizes, since there are a bunch of different size Avery label sheets available! Hint/Tip: Before I forget, I mostly mark the reminder dates afterwards manually by hand, but you can also mark those directly inside ADe etc. if needed. For some marker colors see for example this Touch Twin Markers Palette and the like under the forums Resources section! Here are the corresponding Affinity Designer template files: Sticker-1x-Ø45mm.afdesign (1x Sticker Ø45 mm on white background) Sticker-1x-Ø45mm-transp.afdesign (1x Sticker Ø45 mm on transparent background) CalStickers_Ø45mm_x20.afdesign (20x Sticker Ø45 mm for Avery round labels sheet) - Have fun!
- 3 replies
-
- 7
-

-

-
- affinity designer
- vector
- (and 5 more)
-
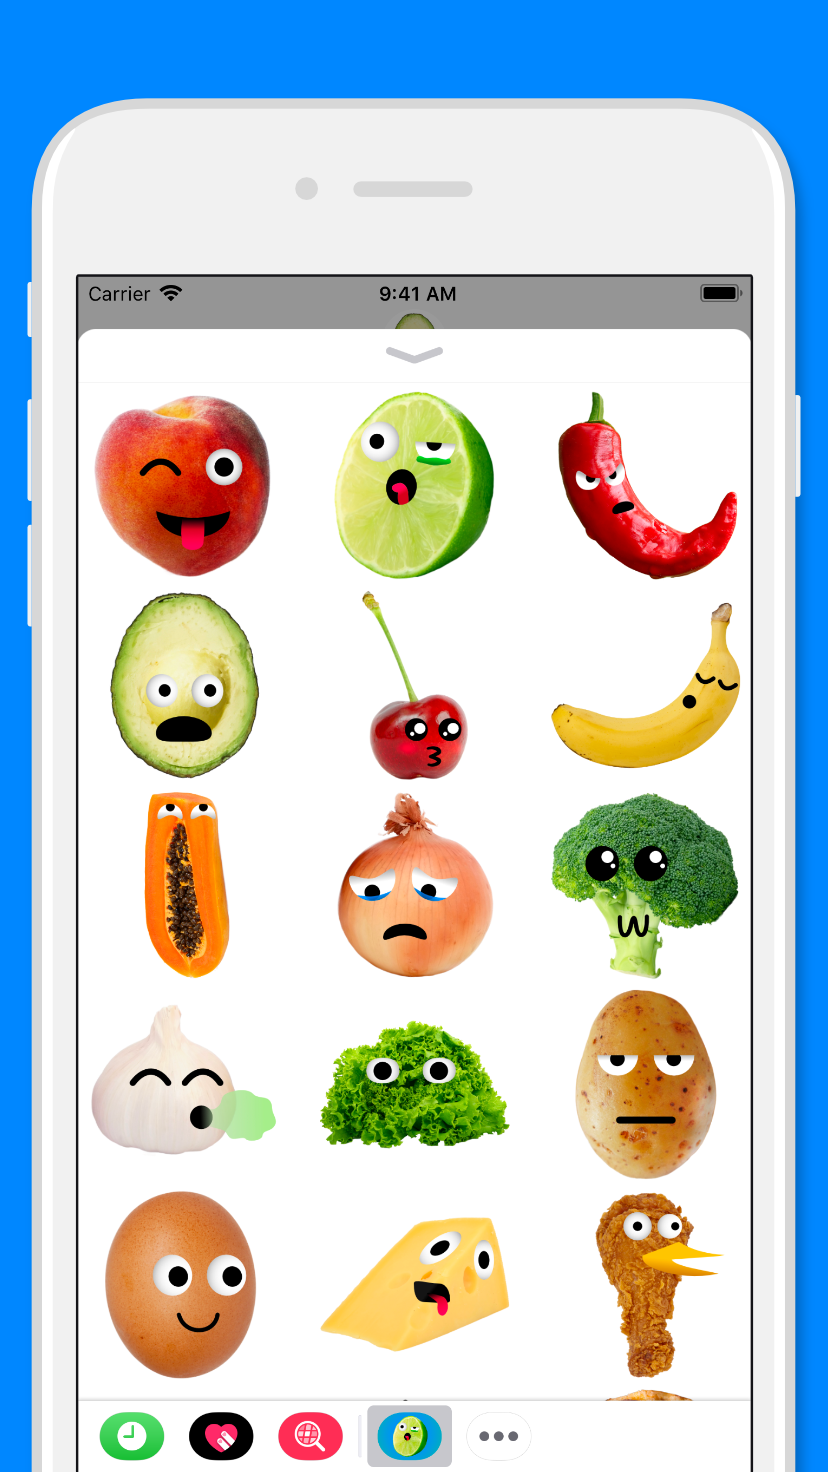
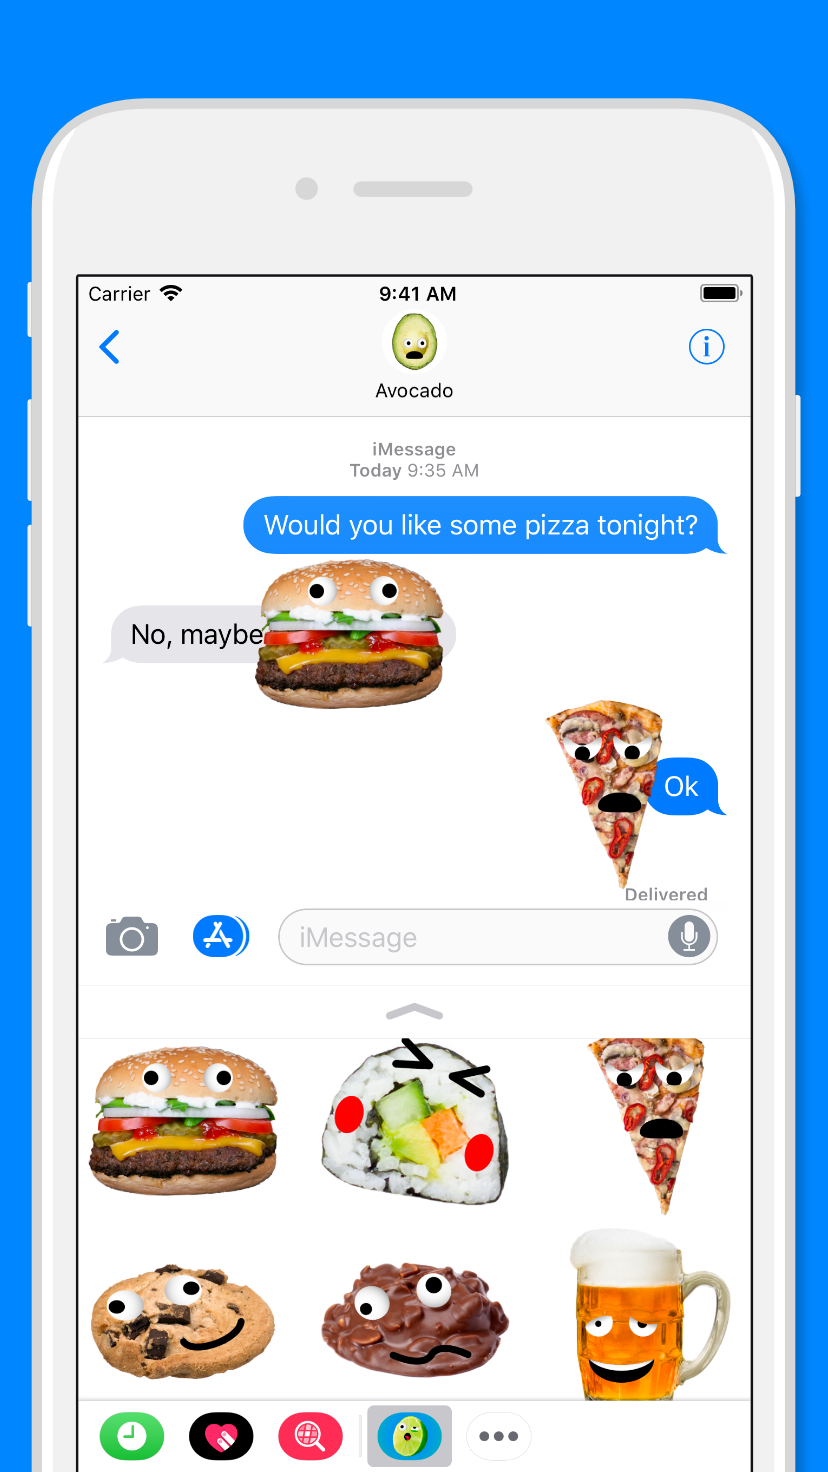
Only For Food Lovers is my first iMessage sticker pack. It was made with Affinity Designer and it is now available on the App Store. I'll be launching another sticker pack in the next few days. Only For Food Lovers link: https://itunes.apple.com/app/only-for-food-lovers/id1291727830?mt=8
-
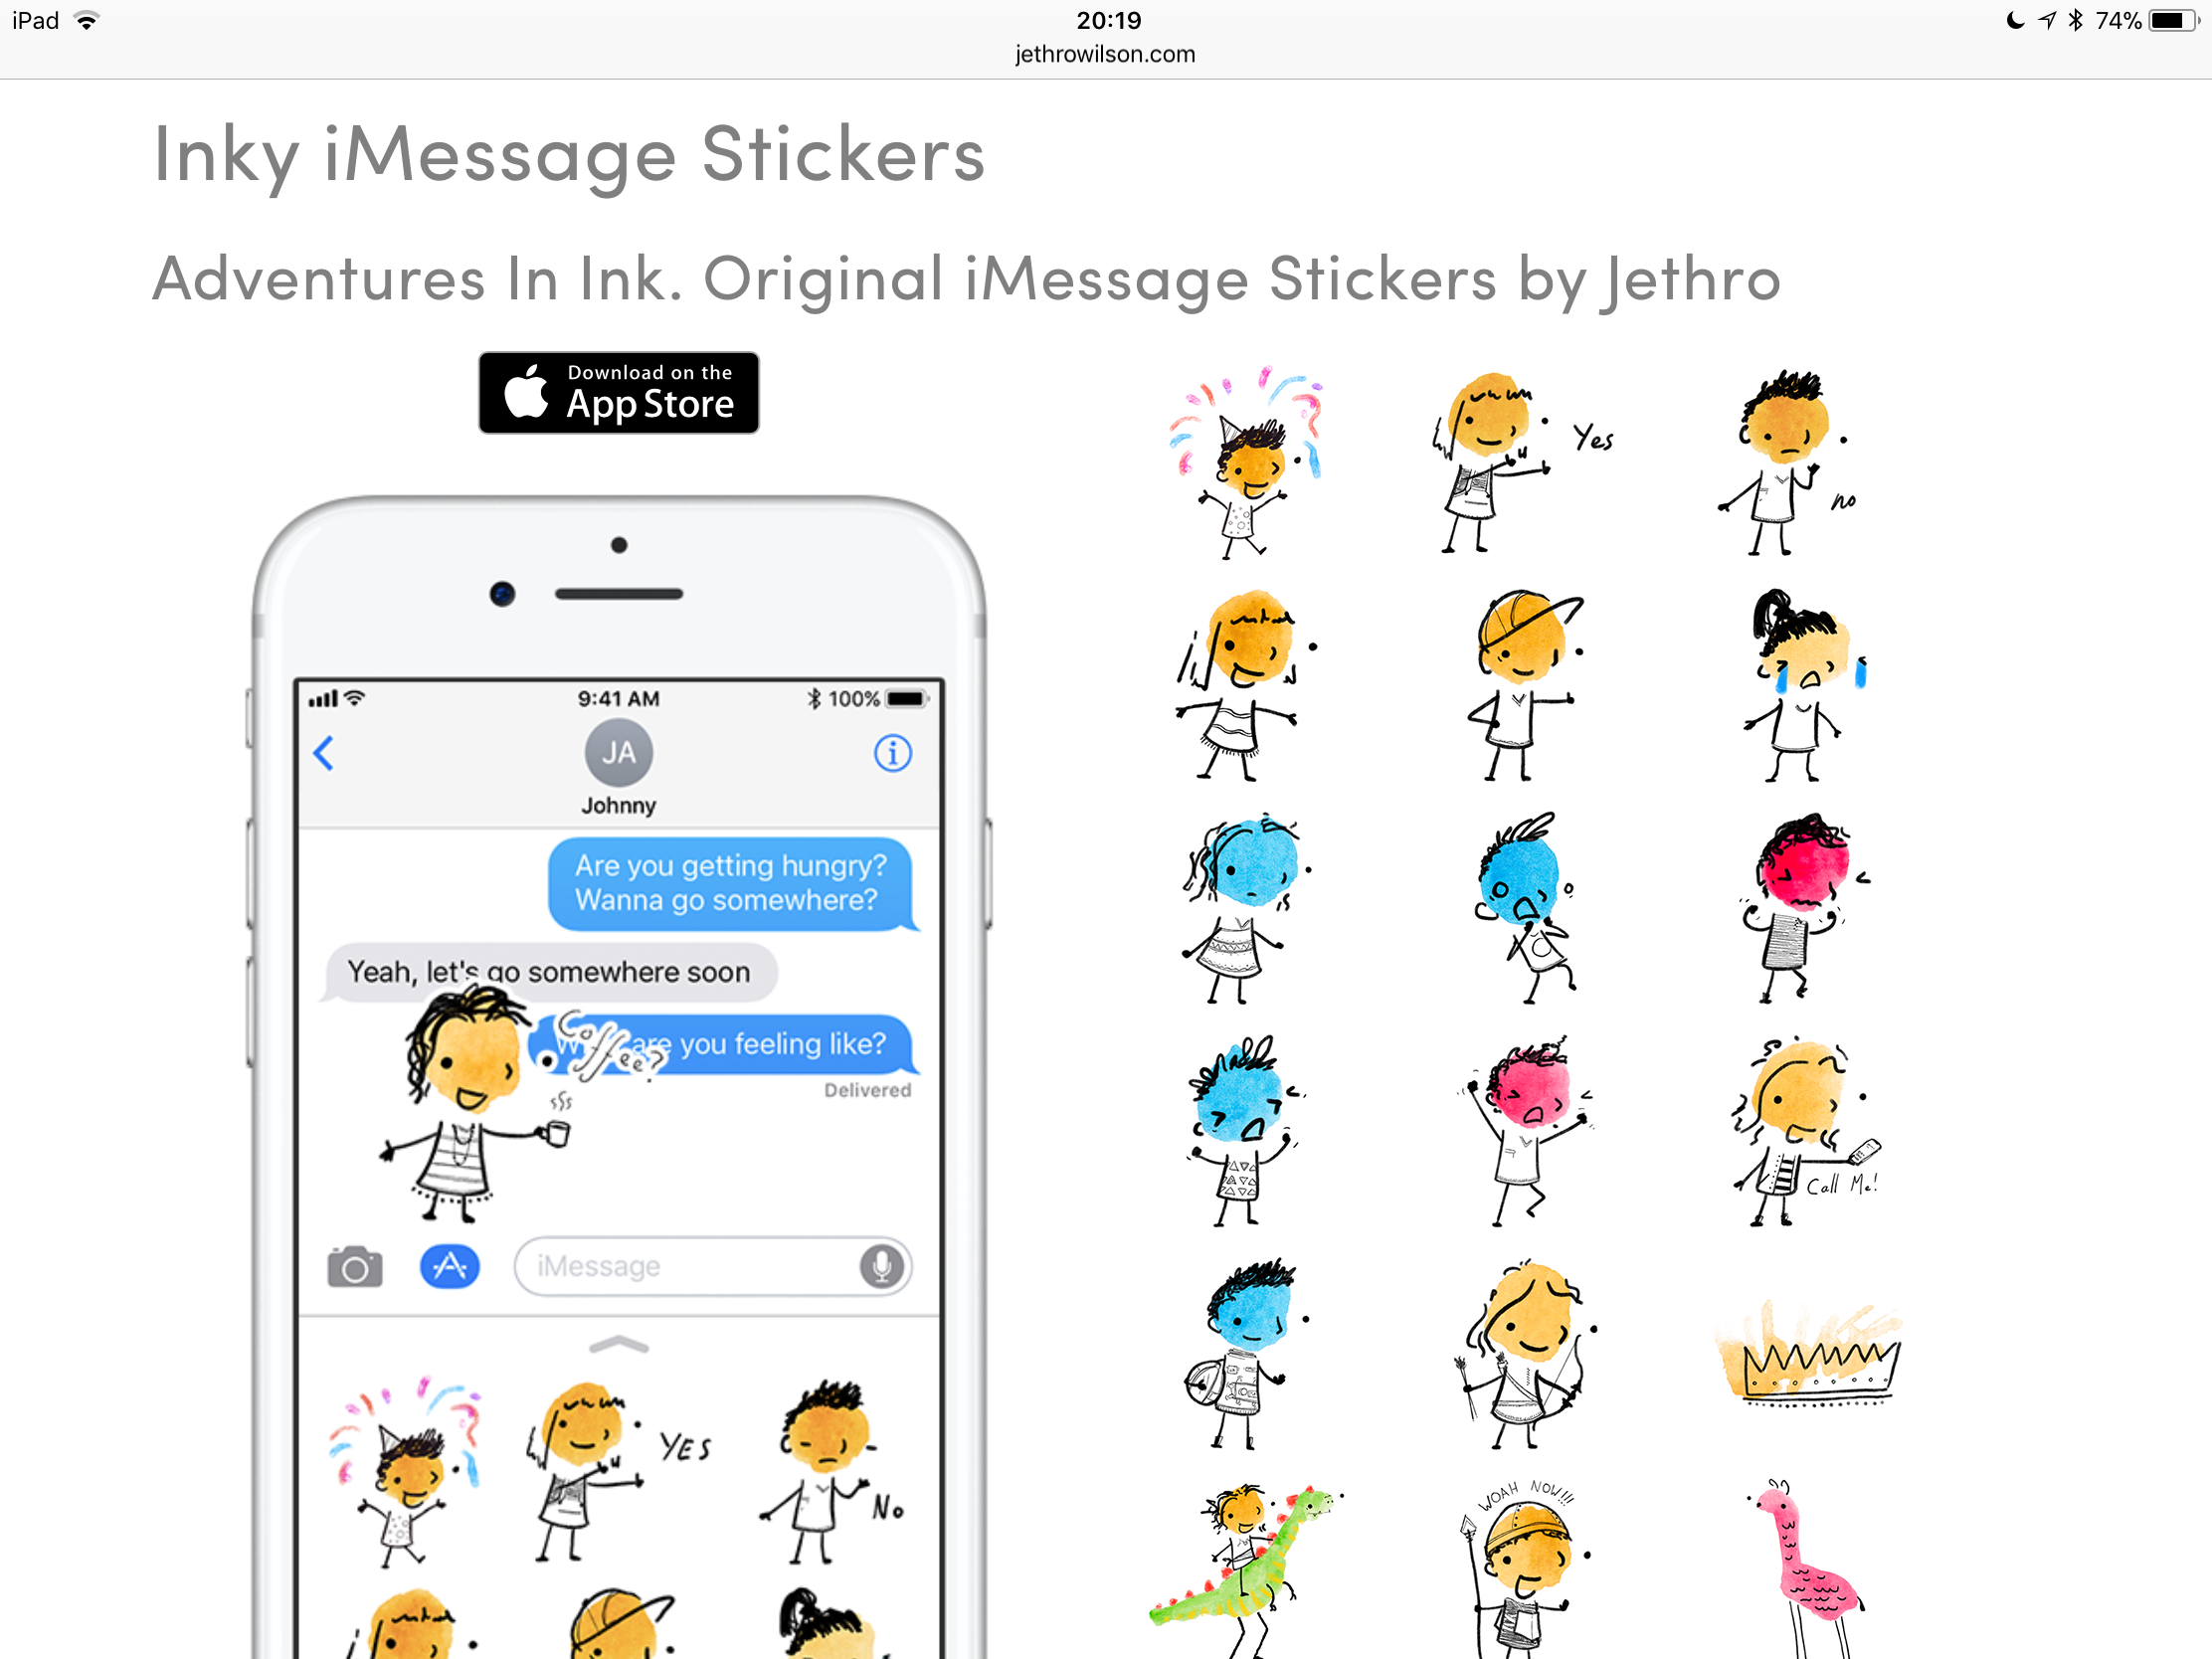
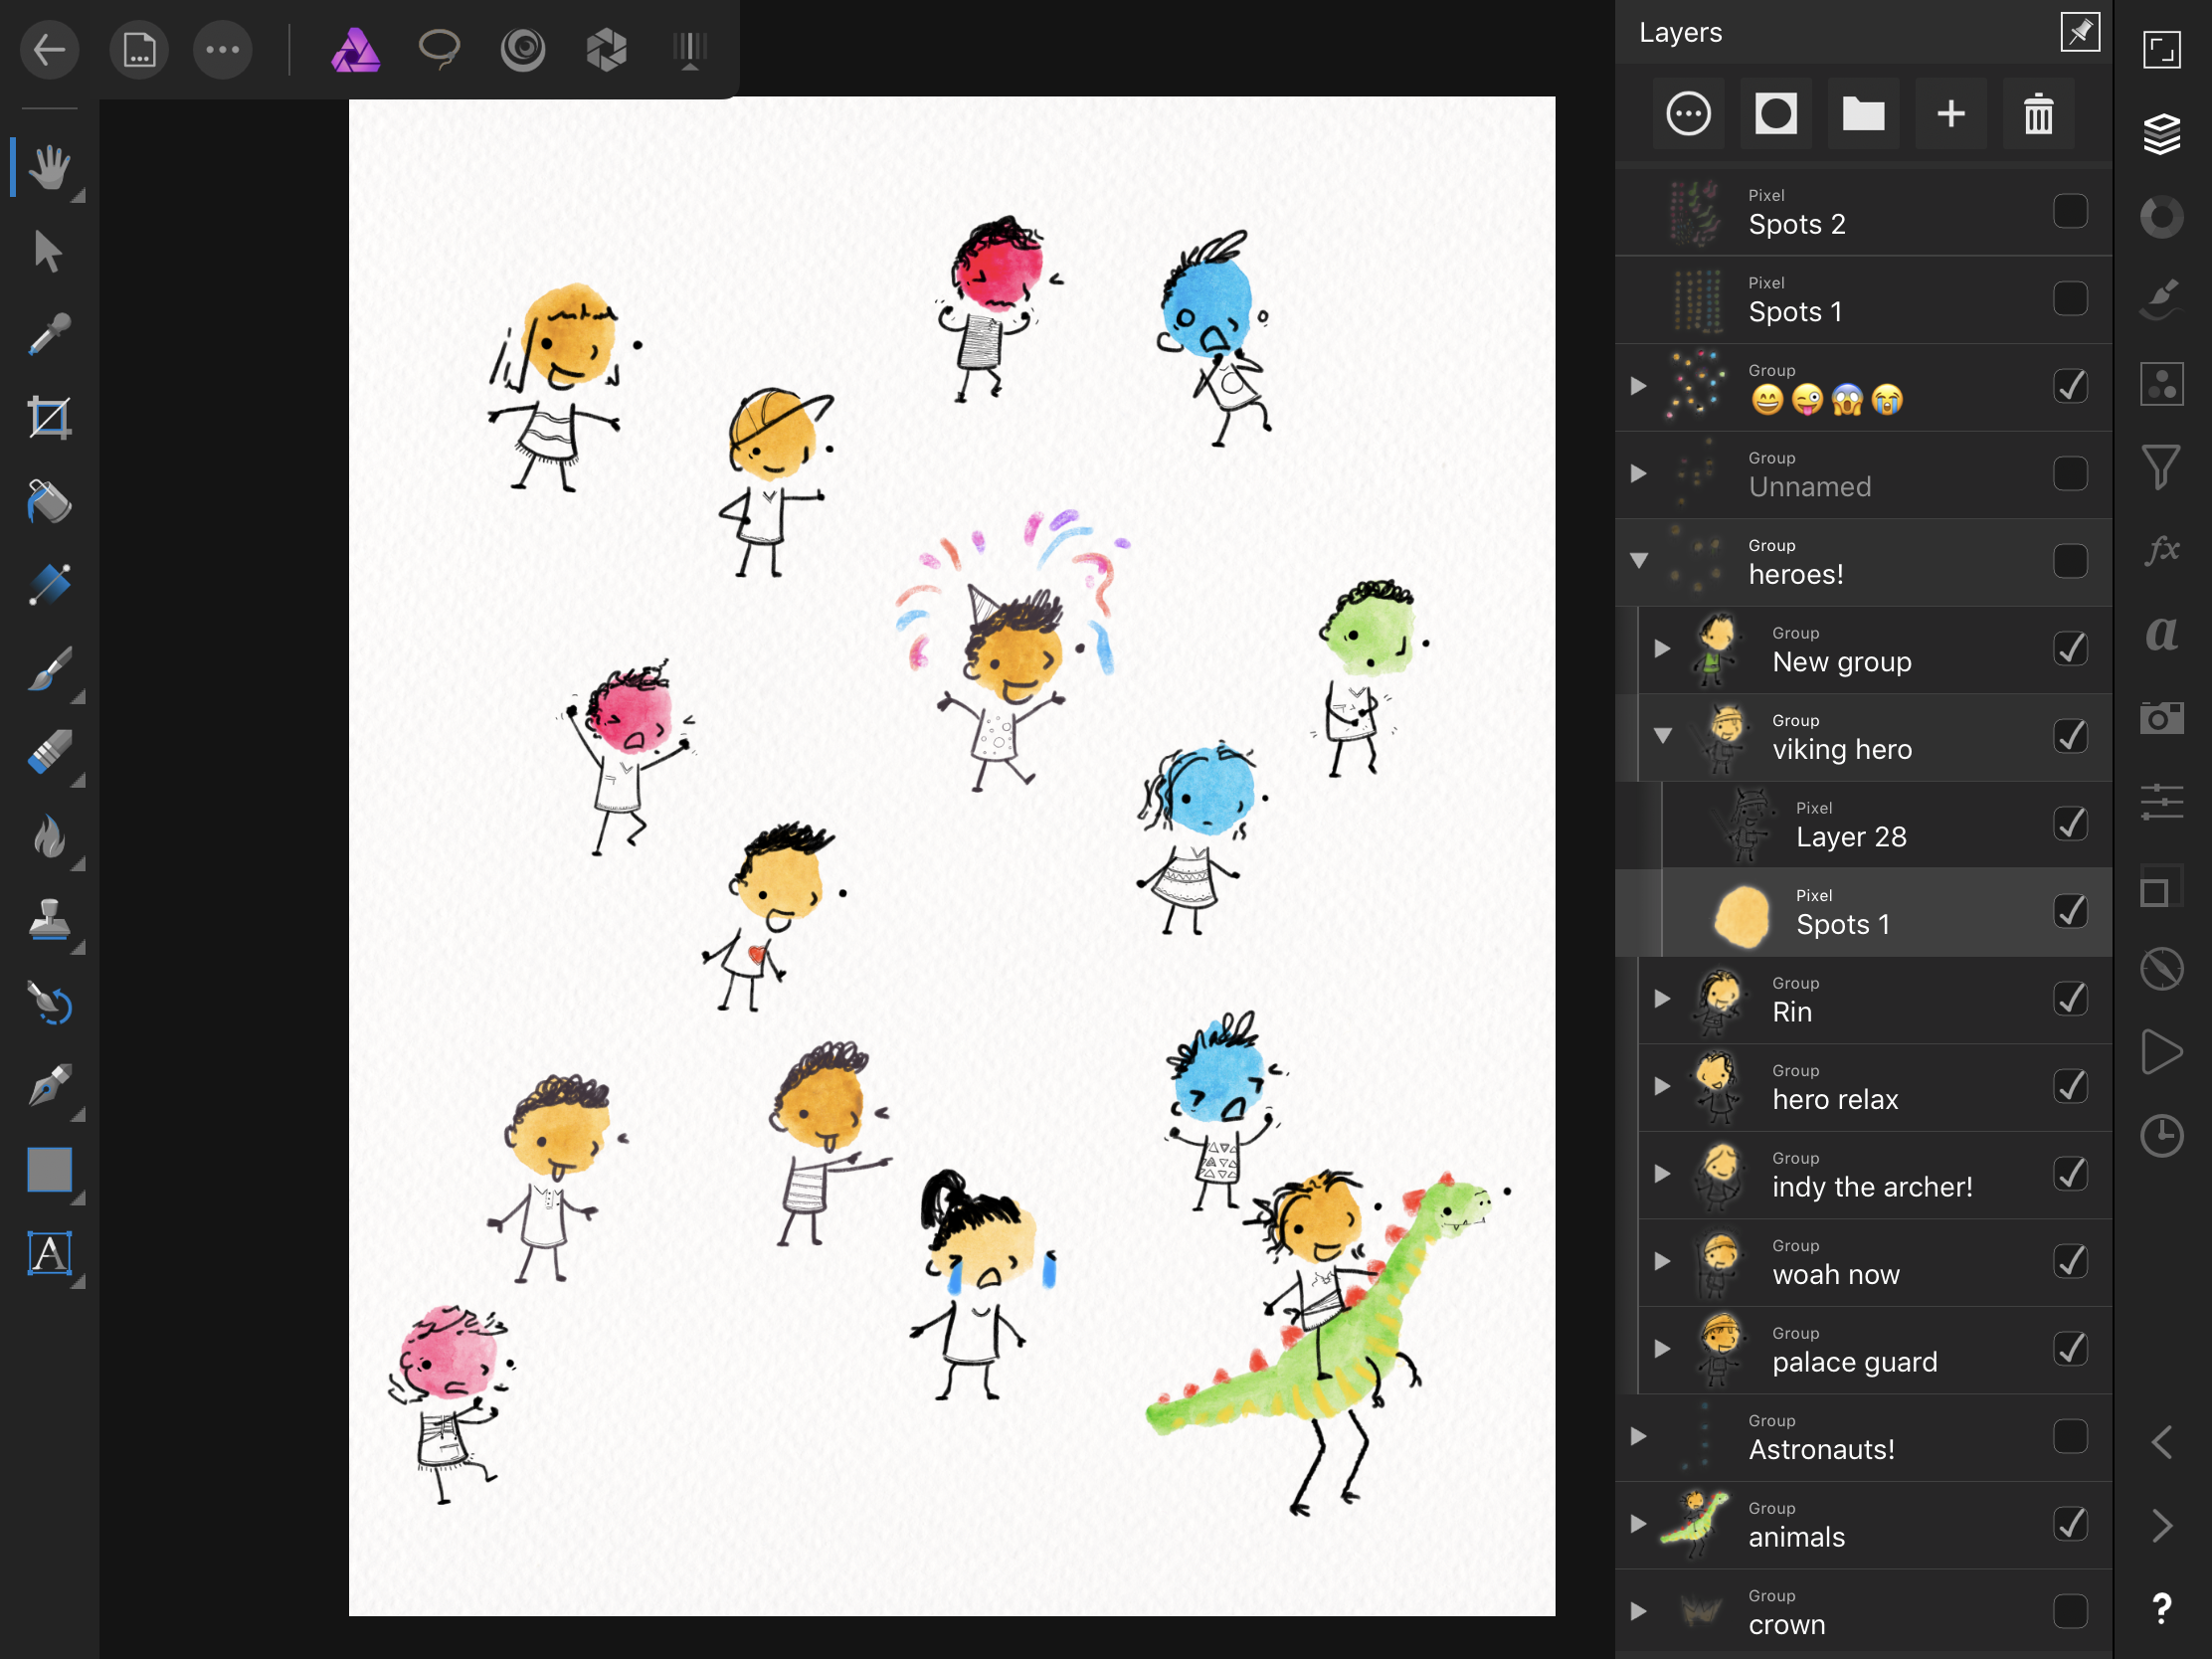
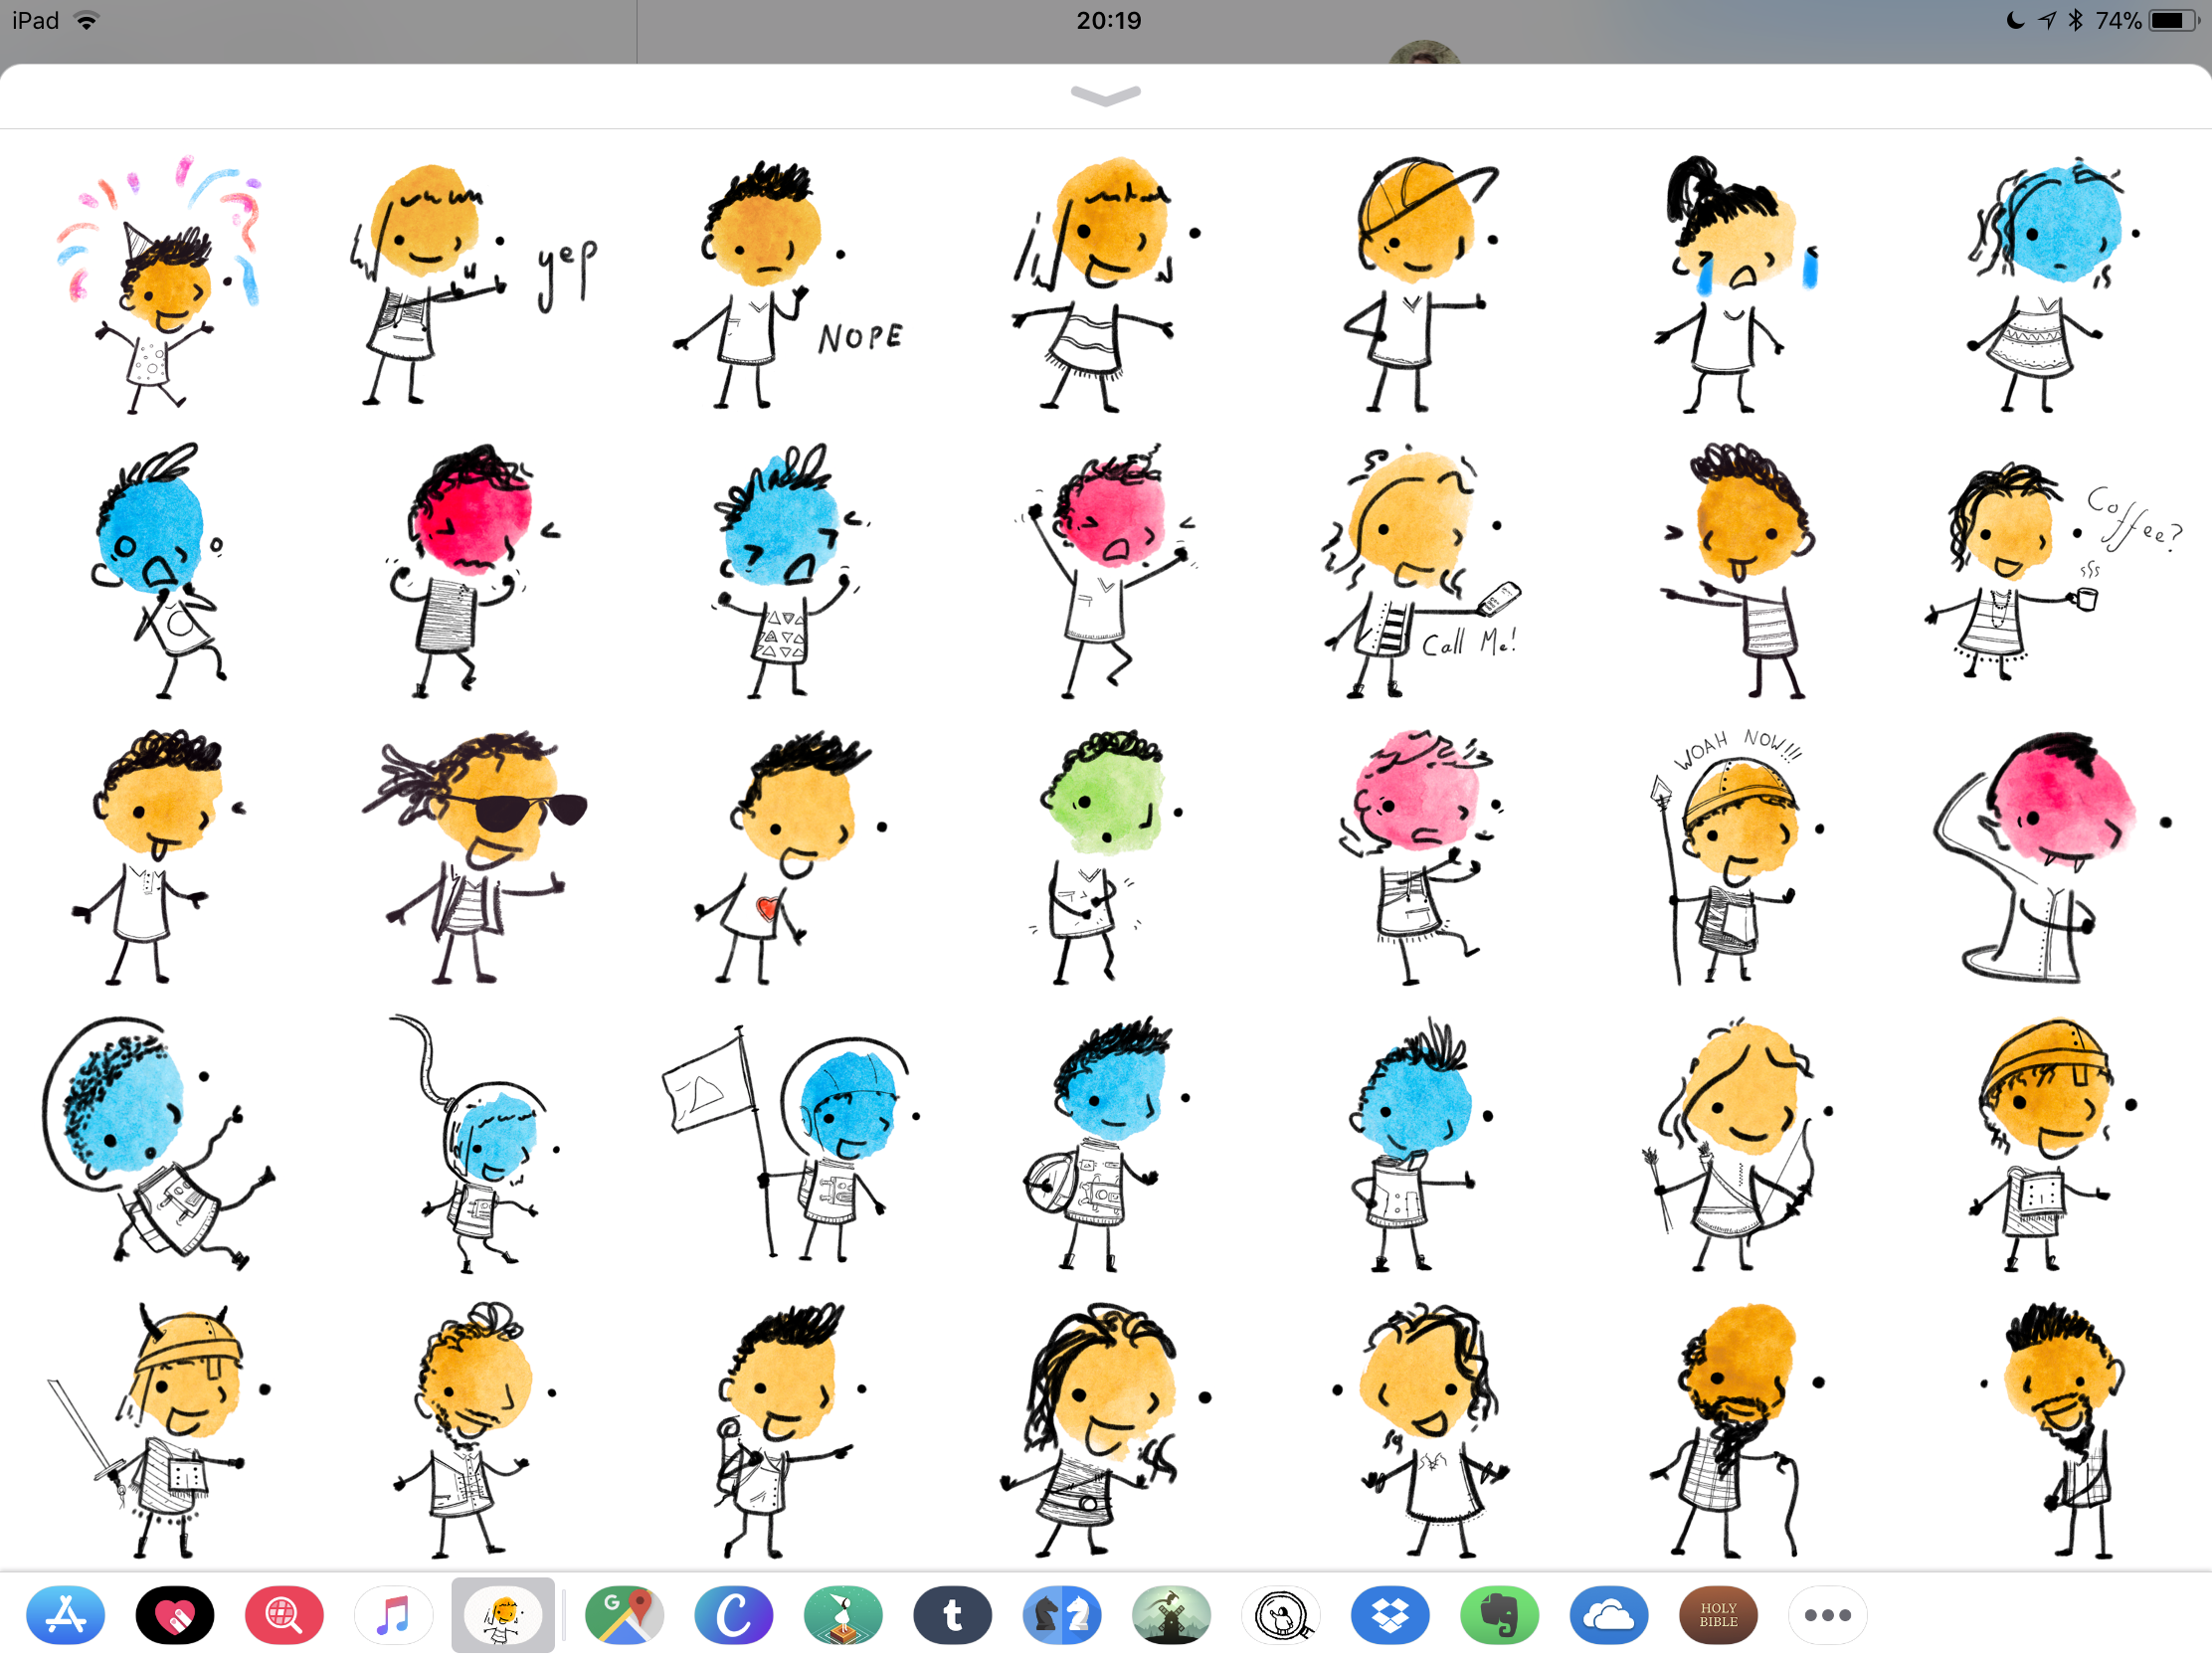
Using Affinity Photo for the iPad helped me to create this set of over 50 stickers for iMessage! They were created from a high-resolution scan of watercolour splotches. From affinity photo on the iPad I used a variety of techniques to mask out the background and separate the splotches from the paper. I also used it to remove dust from the scan (my scanner is far from perfect). (If masking techniques for removing colour from a textured background is something anyone would be interested in learning, let me know - I’d be happy to put a demo together!) The black ink lines of the charactres were drawn in Procreate 3, and then the file was re-imported so the characters could be grouped and organised, as well as the outerglow tested to give the ‘sticker’ effect. A tiny bit bit of photoshop was used at the end but that was only because I could use it to make an action which would auto export all 50+ stickers - I know the ability to record macros is coming soon to the iPad version of Affinity, and when they do I’ll use that in the future instead! It it was fantastic having the wide colour support as it meant I could really show off the popping reds in my Characters! (I love the one representing Fury, he’s so mad!) Not only was was this a pleasure to do from the iPad, it was my preferred method! Affinity gave me a much better workflow for creating these characters. You can view the set on my website: http://www.jethrowilson.com/illustration/ink.php Or download it from the App Store! https://itunes.apple.com/gb/app/inky-stickers/id1187198333