Search the Community
Showing results for tags 'parametric'.
Found 4 results
-
 I have always wondered why 2D vector applications have not implemented a procedural modifier based workflow for design exploration and block-outs. The features could be implemented similar to warp groups, basically expanding upon it to bring a modifier based workflow. So perhaps this could be integrated into Designer in the future. It should at least include the following modifiers: Linear array Circular array Array on path Mirror (options for particular axis) Booleans (all the various options) Smooth curves Fillet & Chamfer (basically a modifier which captures any edits using the fillet tool to procedurally fillet specific vertices) Edit Vector (like the Edit poly modifier in 3ds Max, it should capture any edits to the vector object below this modifier in the layer group. It would then propagate any edits to the modifiers above. This can be used to make some manual edits to an otherwise procedural object.)
- 11 replies
-
- 4
-

-
- parametric
- procedural
- (and 3 more)
-
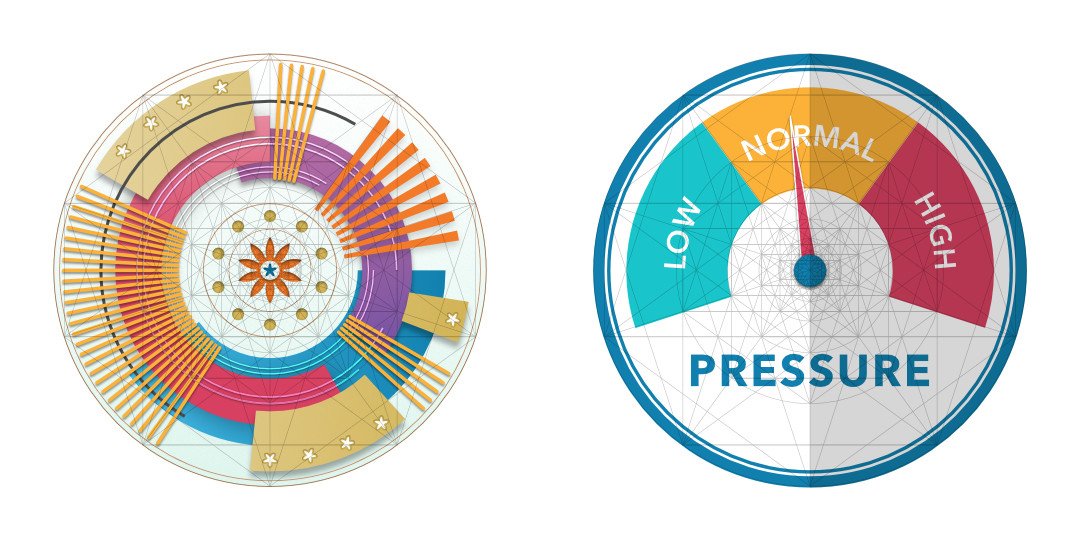
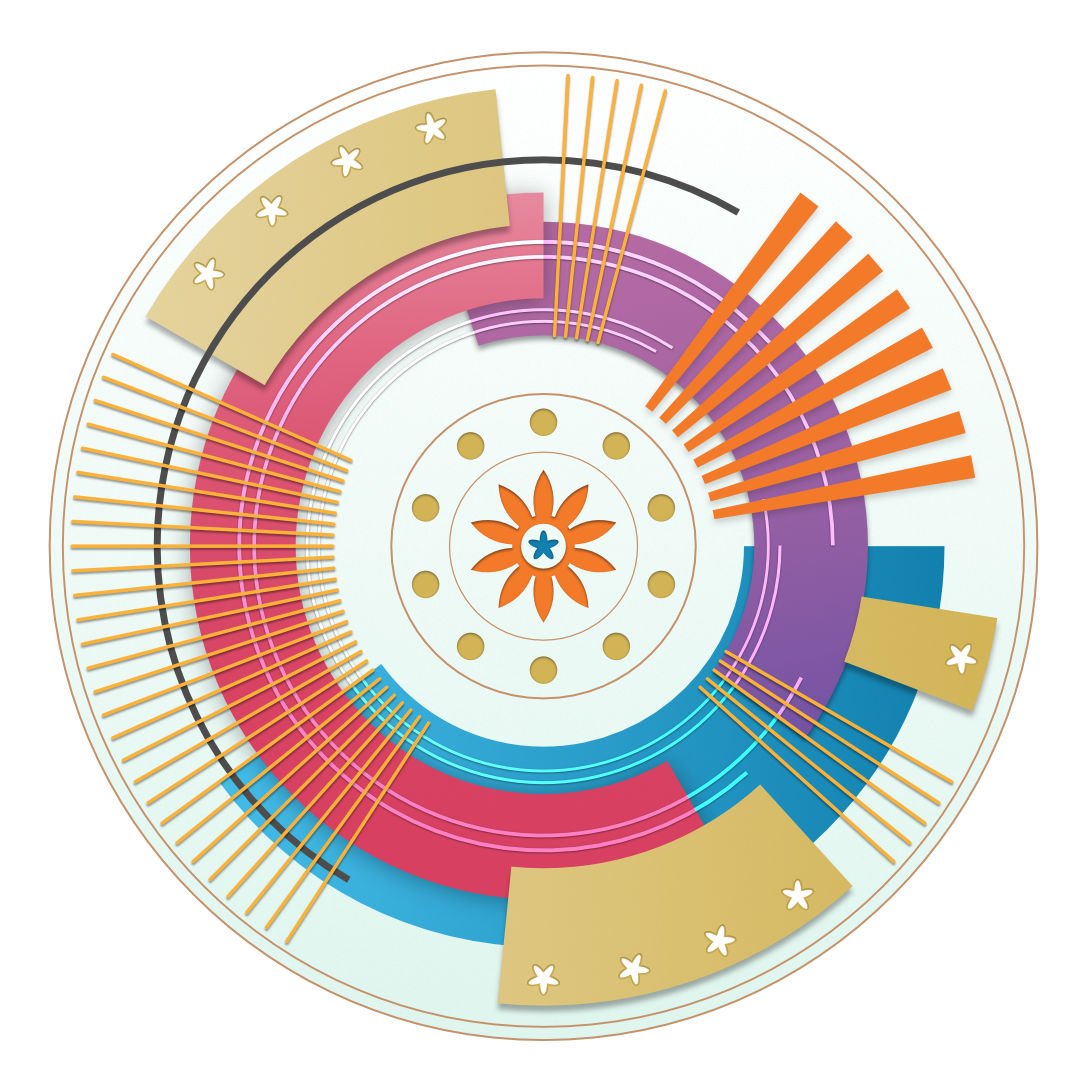
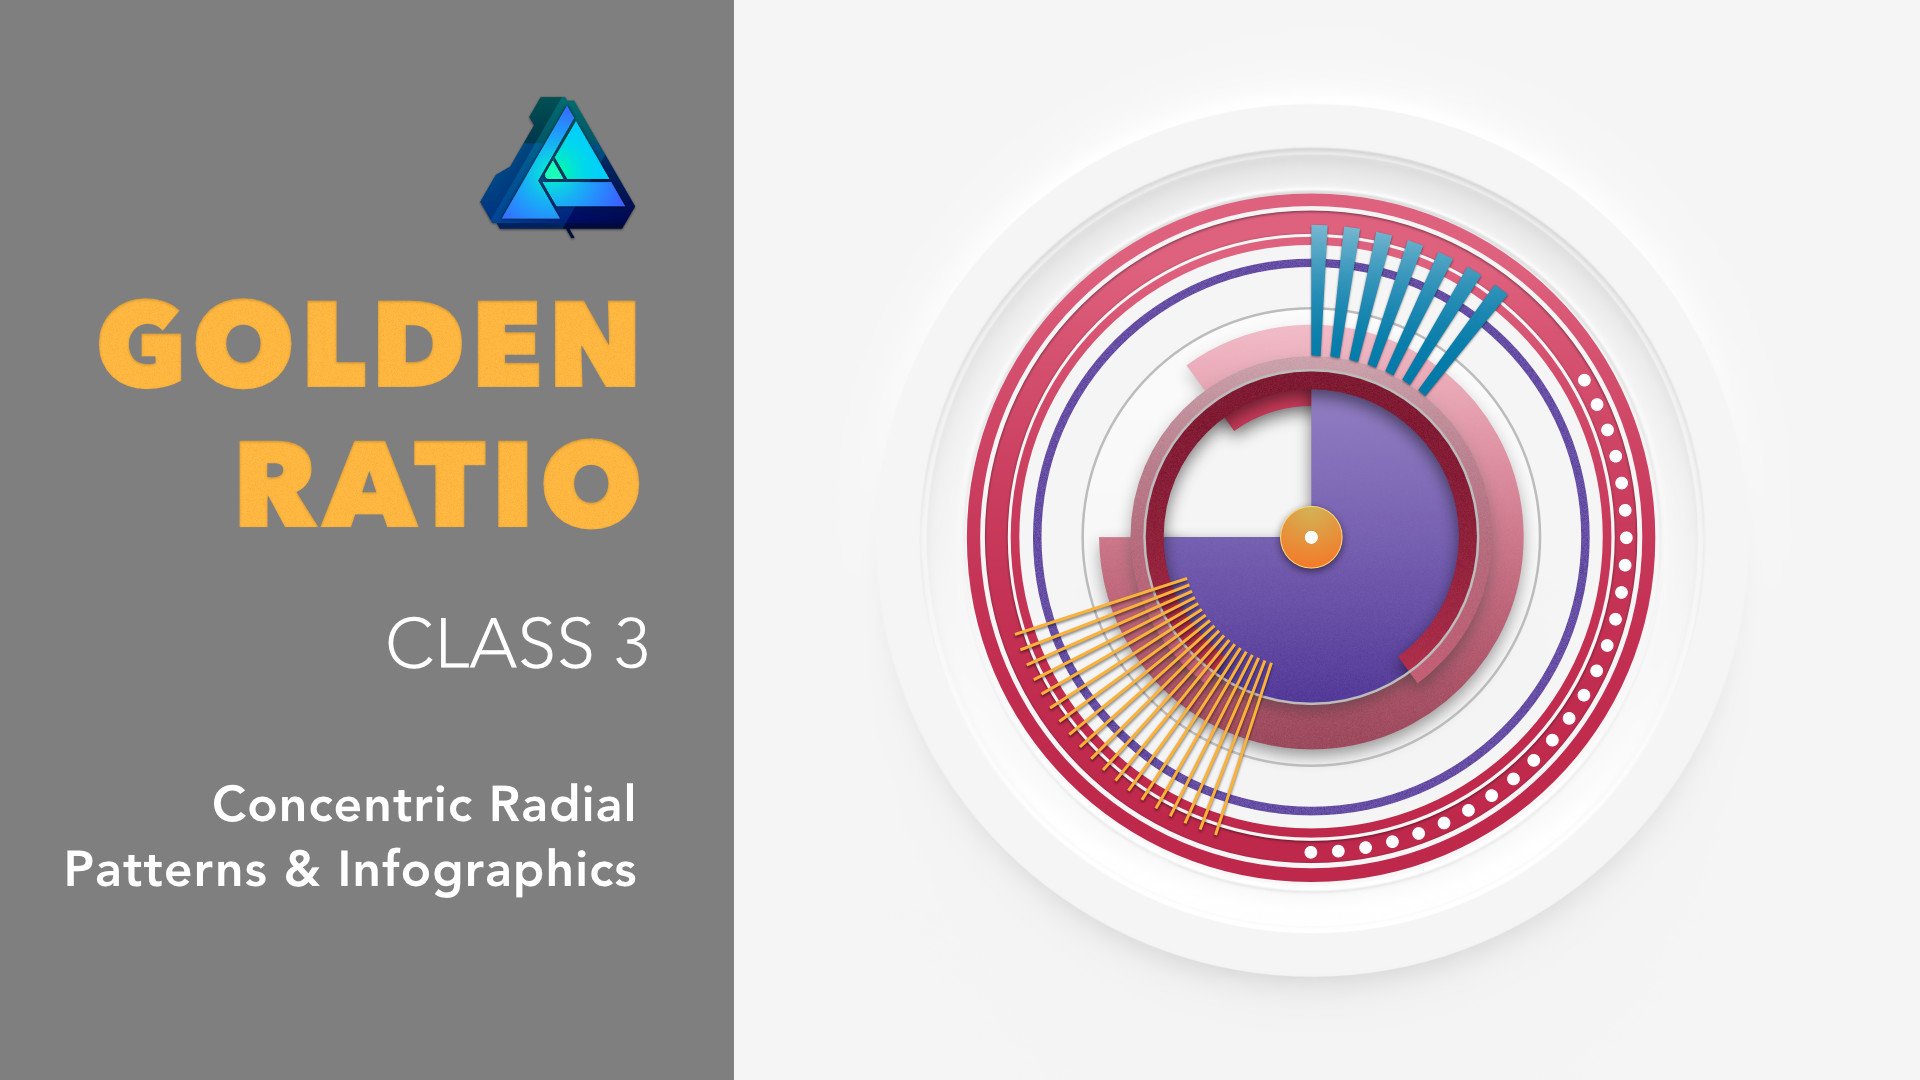
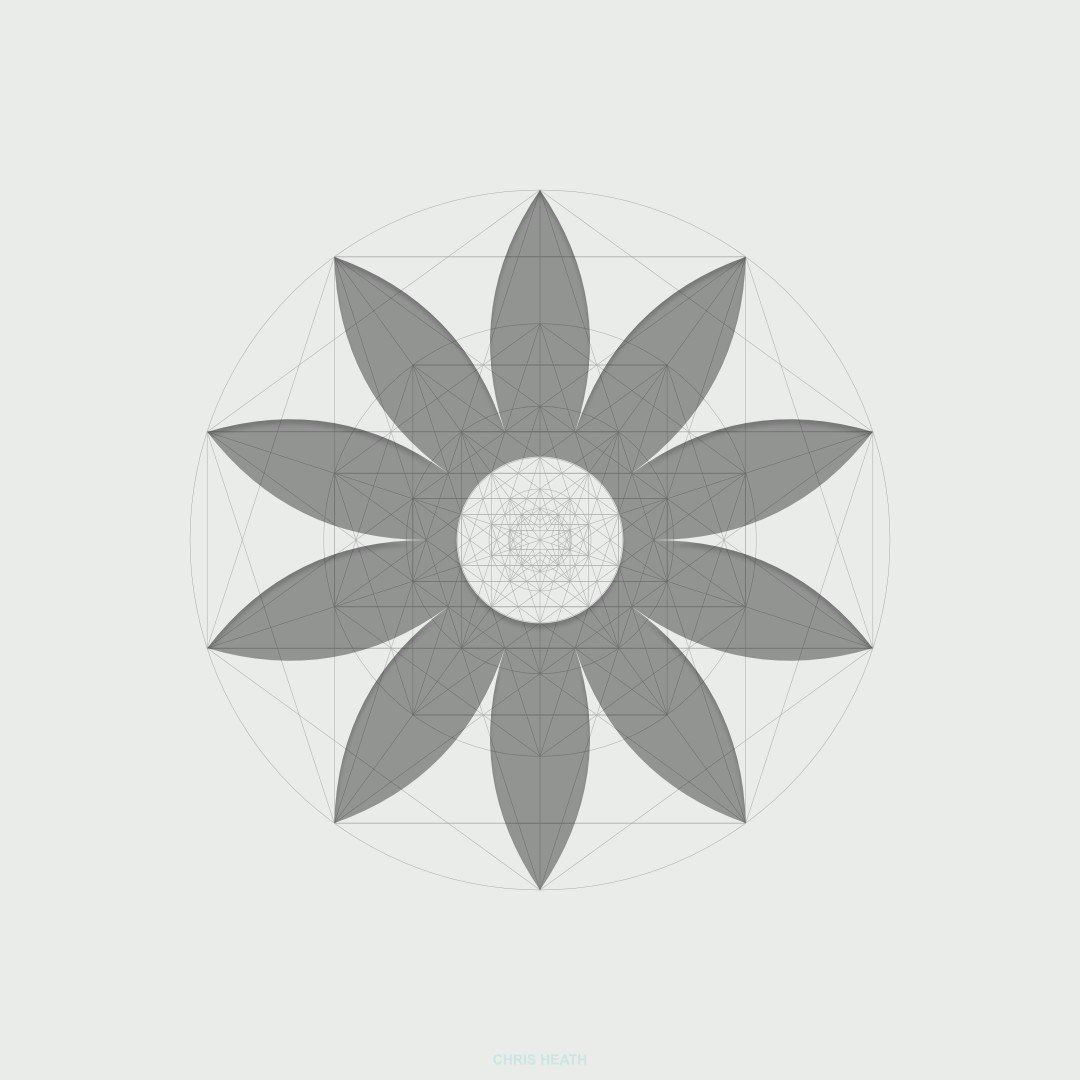
 Designed to help you create balanced asymmetric designs and patterns, the third class in the Golden Ratio series has just been released on Skillshare. Note: Permission to use the Affinity Designer logo has been obtained. Premium Link: If you already have a Skillshare Premium account, use this link: skl.sh/2D0QUPx If you want to sign up to Skillshare Premium to watch any class, use the same link skl.sh/2D0QUPx. At the time of writing, sign up and receive the first two months membership free. Cancel any time during the first two months. Free Link: Alternatively, the first ten people to use the following link will have free access to this class: skl.sh/2SrPnX1 Note: This free-access link is set to expire at the end of November 2018. With an Affinity Designer file and examples included with the class, you can get up to speed with the golden ratio and learn how easy it is to introduce a sense of harmony and cohesion to your work; no matter how simple or complex. Learning to apply the golden ratio to your work couldn’t be easier. The class is 33 minutes in duration and an Affinity Designer template file is included. To make the creation of these patterns easy, we will be exploring Affinity Designer’s Donut and Pie tools. We will also play around with the Cog tool; one of Affinity Designer's parametric shapes. The cog tool is so versatile, you’ll be wondering why you haven’t been using it. So Now There are Three Want to know more about how you can make the most of the golden ratio, check out all three classes: – Asymmetrical Drawing & Lettering with the Golden Ratio skl.sh/2JZ4h2Y – Create a Vintage Style Logo from Concentric Circles and the Golden Ratio skl.sh/2P7B08J – Concentric Radial Patterns & Infographics with the Golden Ratio skl.sh/2D0QUPx Note: All three classes feature Affinity Designer.
- 4 replies
-
- 1
-
-
- golden ratio
- skillshare
- (and 5 more)
-
 I it would be great to have a parametric replicator over or within shape or along shape using any layer as source. we would be able to change size and color of the included element by random or progressive scale etc.... Exemple of use Present Paper... or massive banners. Let me know if you have any easy way to achieve this.
- 8 replies
-
- 2
-
-
- pattern
- parametric
- (and 2 more)
-
It would be nice to see same curve options as in Rhino (3-, 5-, 7 degree) for more accurate work. Very helpful in maps, schemes and plans.