Search the Community
Showing results for tags 'motion blur'.
Found 7 results
-
 In this Affinity Photo Tutorial I show how to use abstract motion blur artistically. Technically, this is not motion blur, but rather zoom blur, because a vanishing point must be observed. I'll first show how to apply the zoom blur to just the train. Then I'll show how you can do it exactly the other way around. This requires some preparation, such as determining the vanishing point, creating a selection, and of course, understanding the difference between motion blur and zoom blur. Of course, you can apply the effect to anything that moves: a car, a dog, a projectile. I wish you much fun. Ciao Jack
-
- 2
-

-
- affinity photo
- tutorial
- (and 6 more)
-
 Whilst trying to rescue a photo taken at a low light event, I was researching this solution and found that Photoshop has a filter called 'shake reduction' to tackle this very problem. There is also a manual solution in Photoshop by using the 'Ruler Tool' to determine the angle and radius of the blur. The last step is to use a filter called 'Smart Sharpen' where these measurements are entered followed by some fine tuning of the image. Here is the link to the YouTube video explaining these steps: You can probably guess my question; Does Affinity Photo have equivalent tools to these Photoshop tools or is there a different route to achieving the same end result in AP?
 -
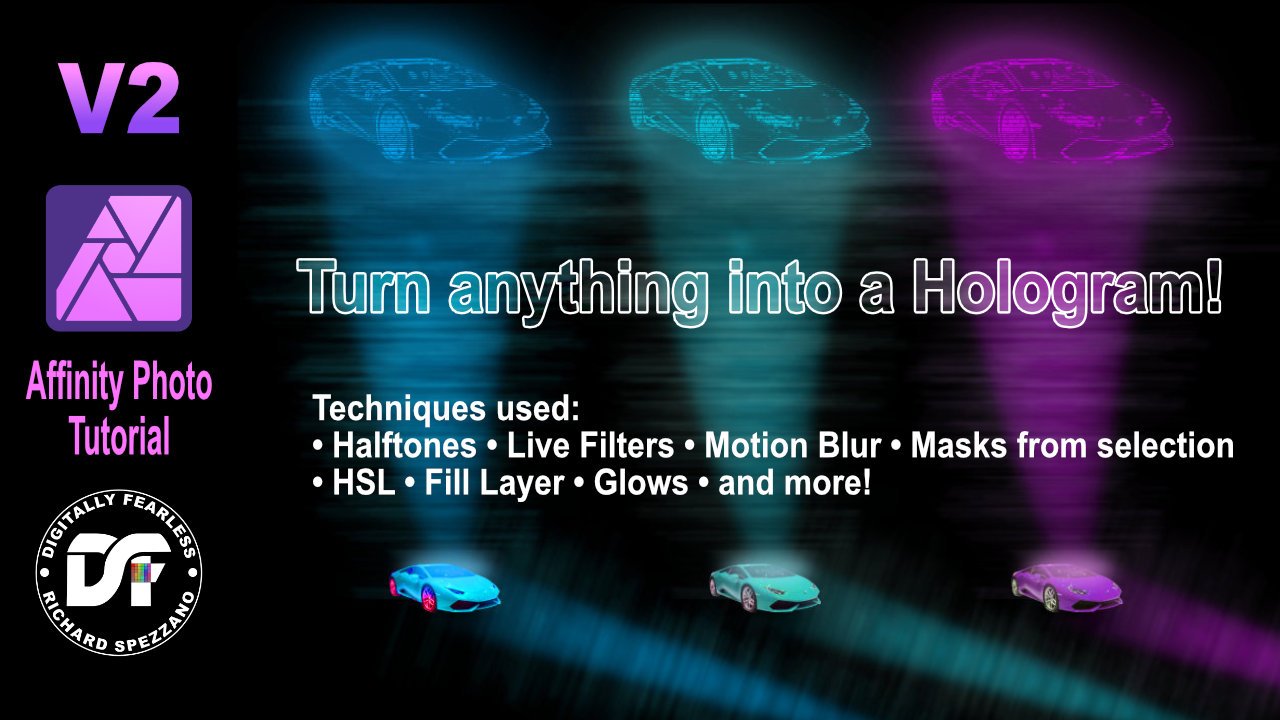
 In this Affinity Photo 2 tutorial for the desktop, I show one way to make holograms using live filters, halftones, different types of blurs, masks from selections,HSL filters, glow FX and more. I also did this tutorial for the iPad. Check out my YouTube channel for that version. https://youtu.be/ENdlHsLpGZY
-
 hello, can you tell me how to get a partial motion blur effect on my pictures (like on the picture)? Does Affinity have something similar to the photoship „path blur“ tool? thanks alot greetings patrick
-
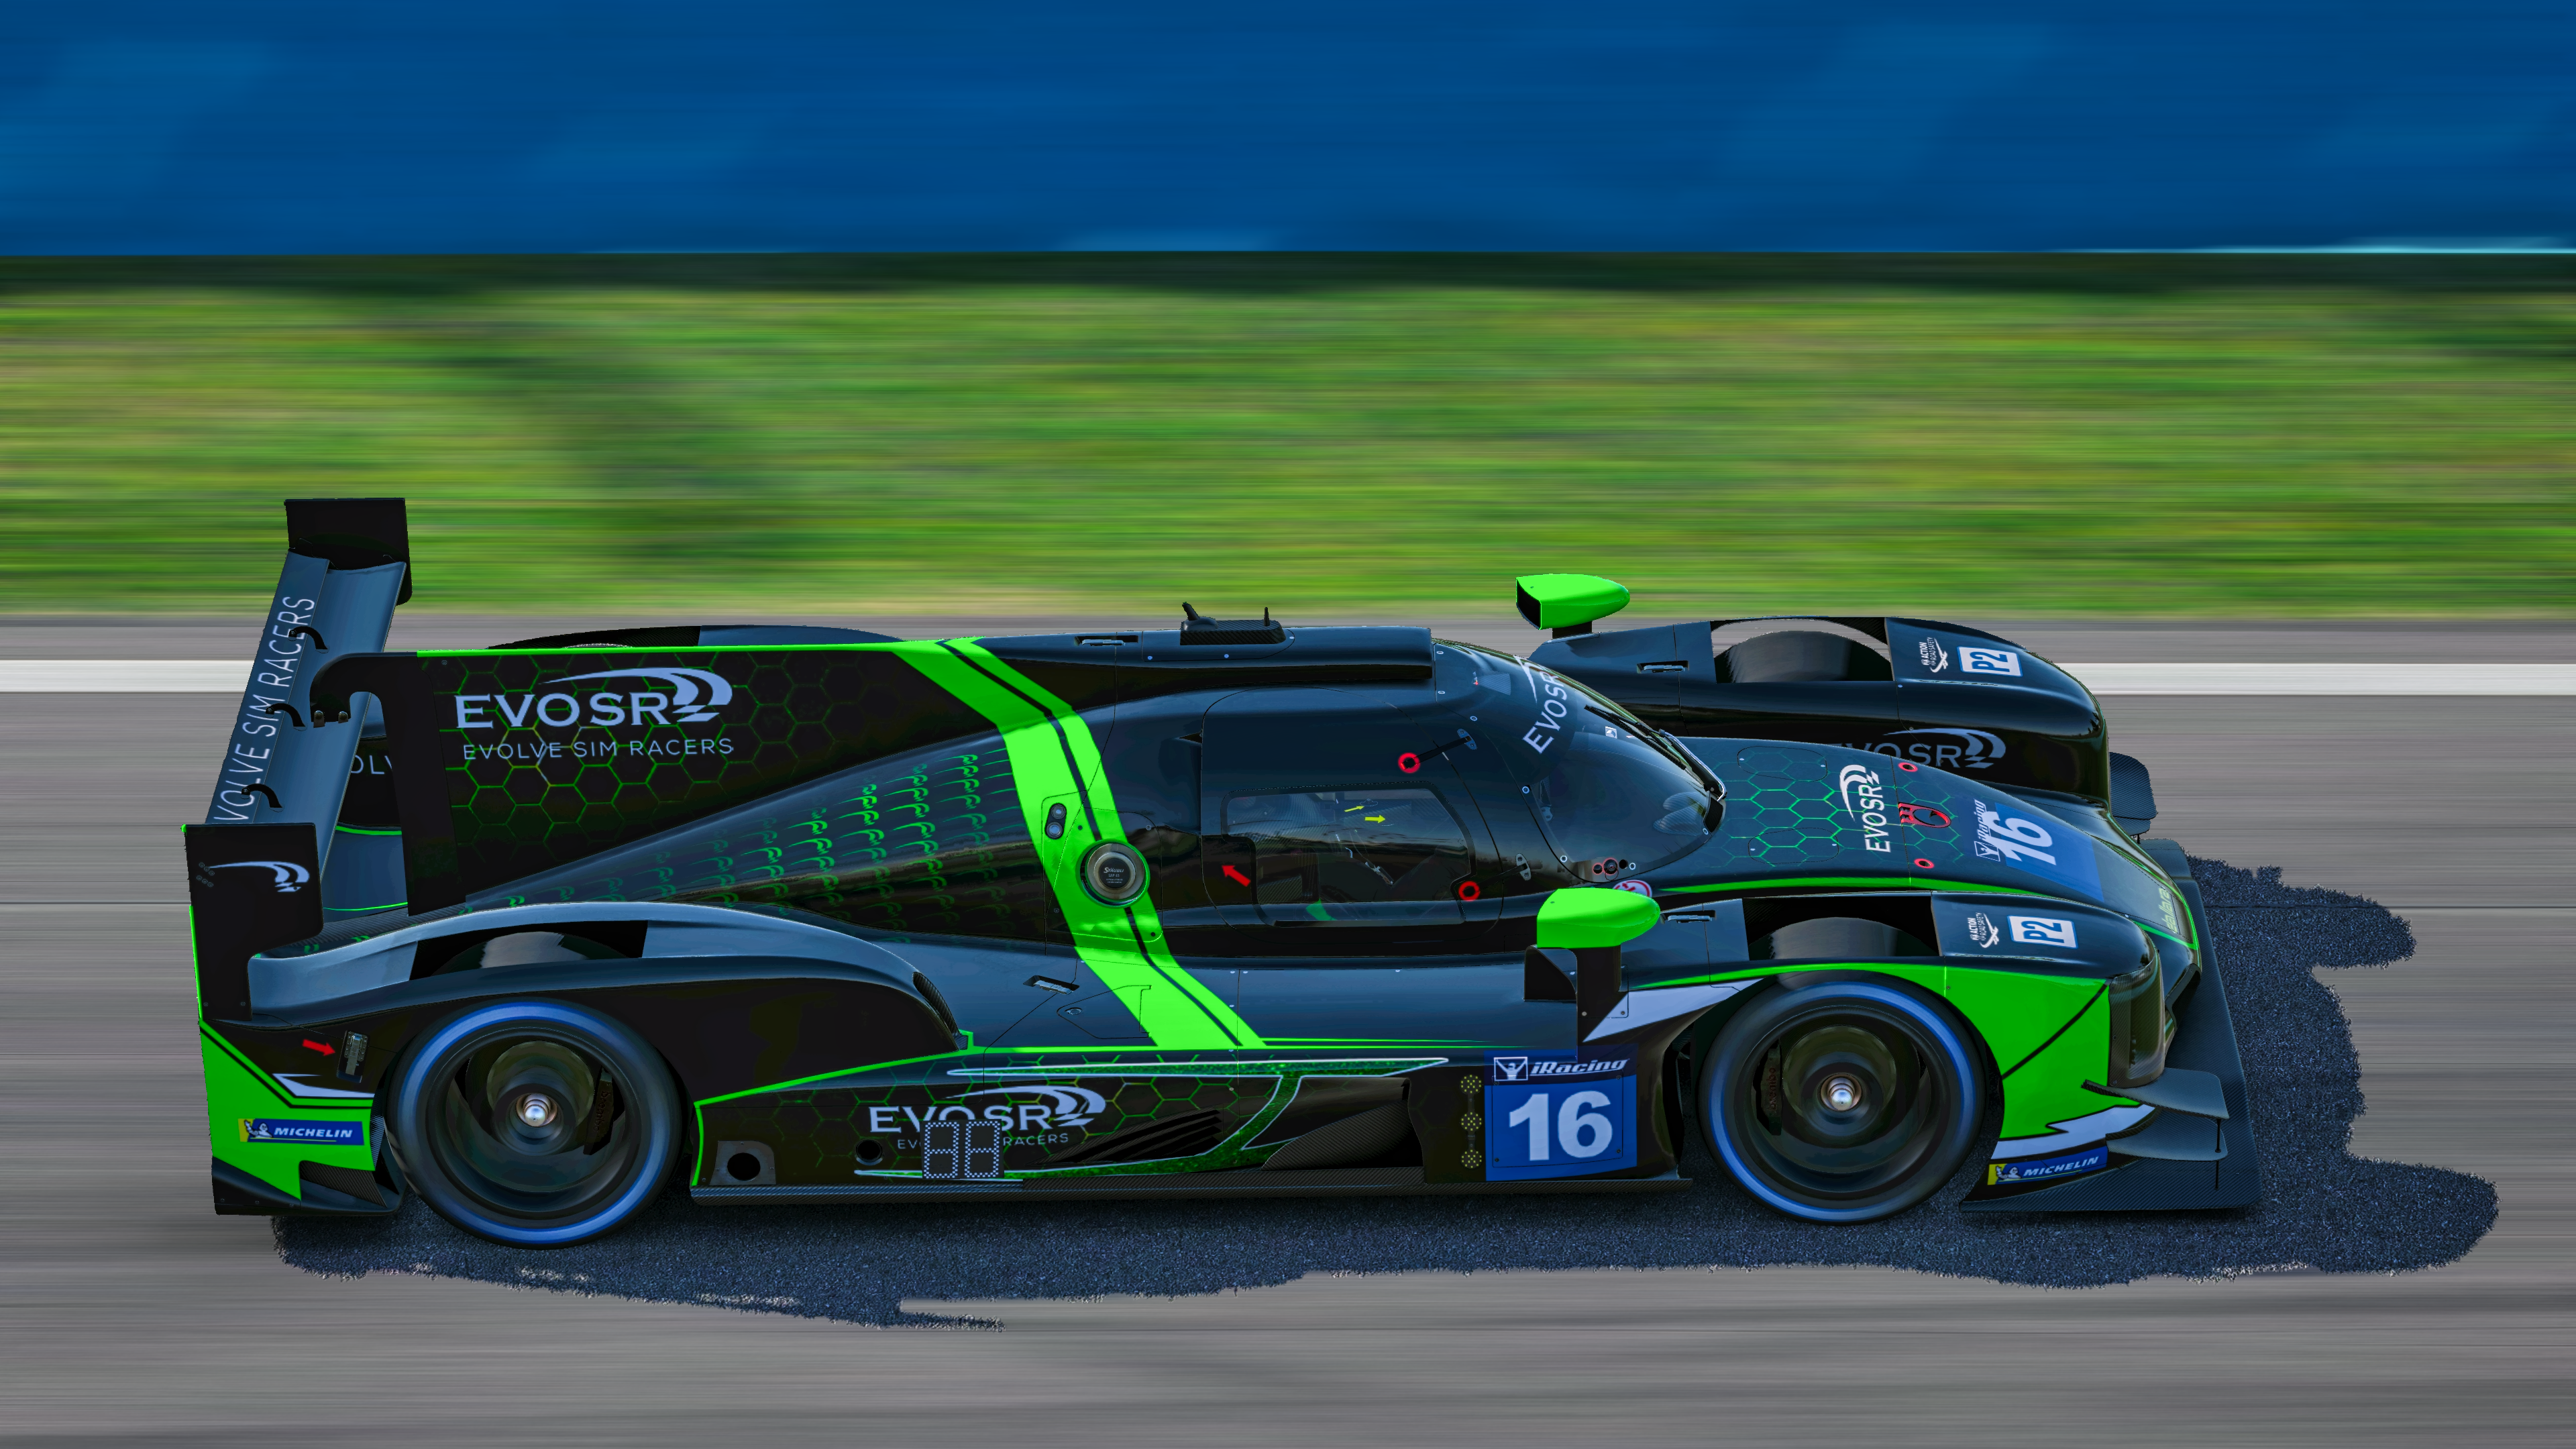
 I take photos in a game called, iRacing, and I have to edit them. The problem I am having is getting the motion blur to affect the ground under the shadows without affecting the shadows itself. I was told Photoshop does this with ease, so I know it's possible I just don't know if Affinity can do it and how. Does anyone know?
-
 Affinity Photo 2021-05-27 22-18-22.mp4 I'm trying to blur the the with motion blur. It seems to be pulling pixels through my selection, which I do not want. I've tried various refine edge, but to no effect. Can someone with some experience, if possible, please help with a solution? I've attached two video screen shots for you to see what I mean. Affinity Photo 2021-05-27 22-34-23.mp4 Affinity Photo 2021-05-27 22-18-22.mp4 Affinity Photo 2021-05-27 22-18-22.mp4 Affinity Photo 2021-05-27 22-18-22.mp4 Affinity Photo 2021-05-27 22-34-23.mp4
 -
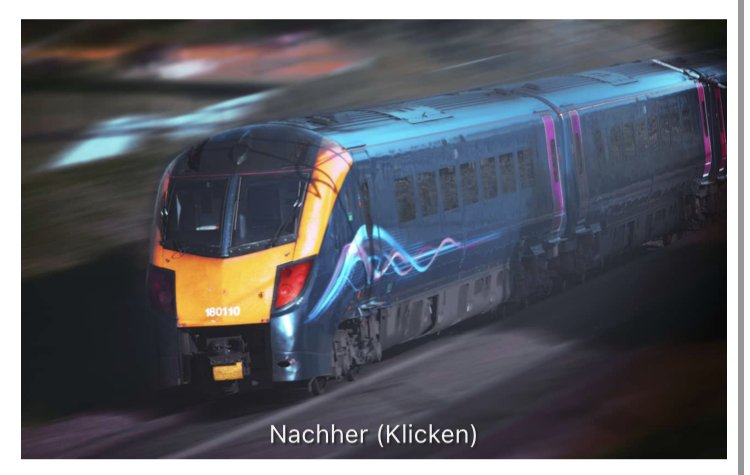
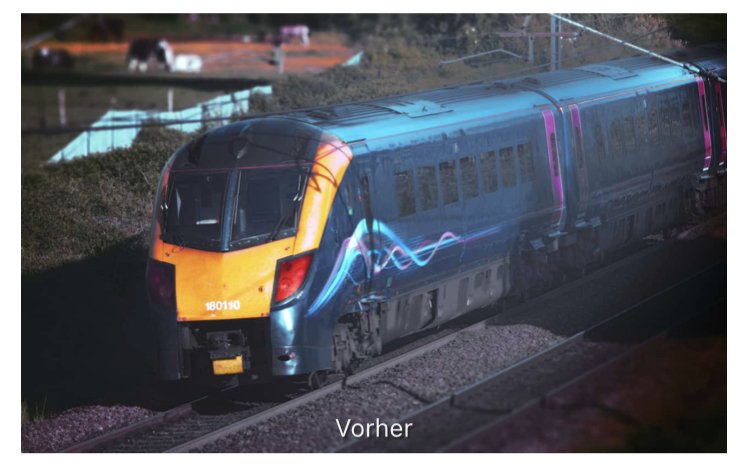
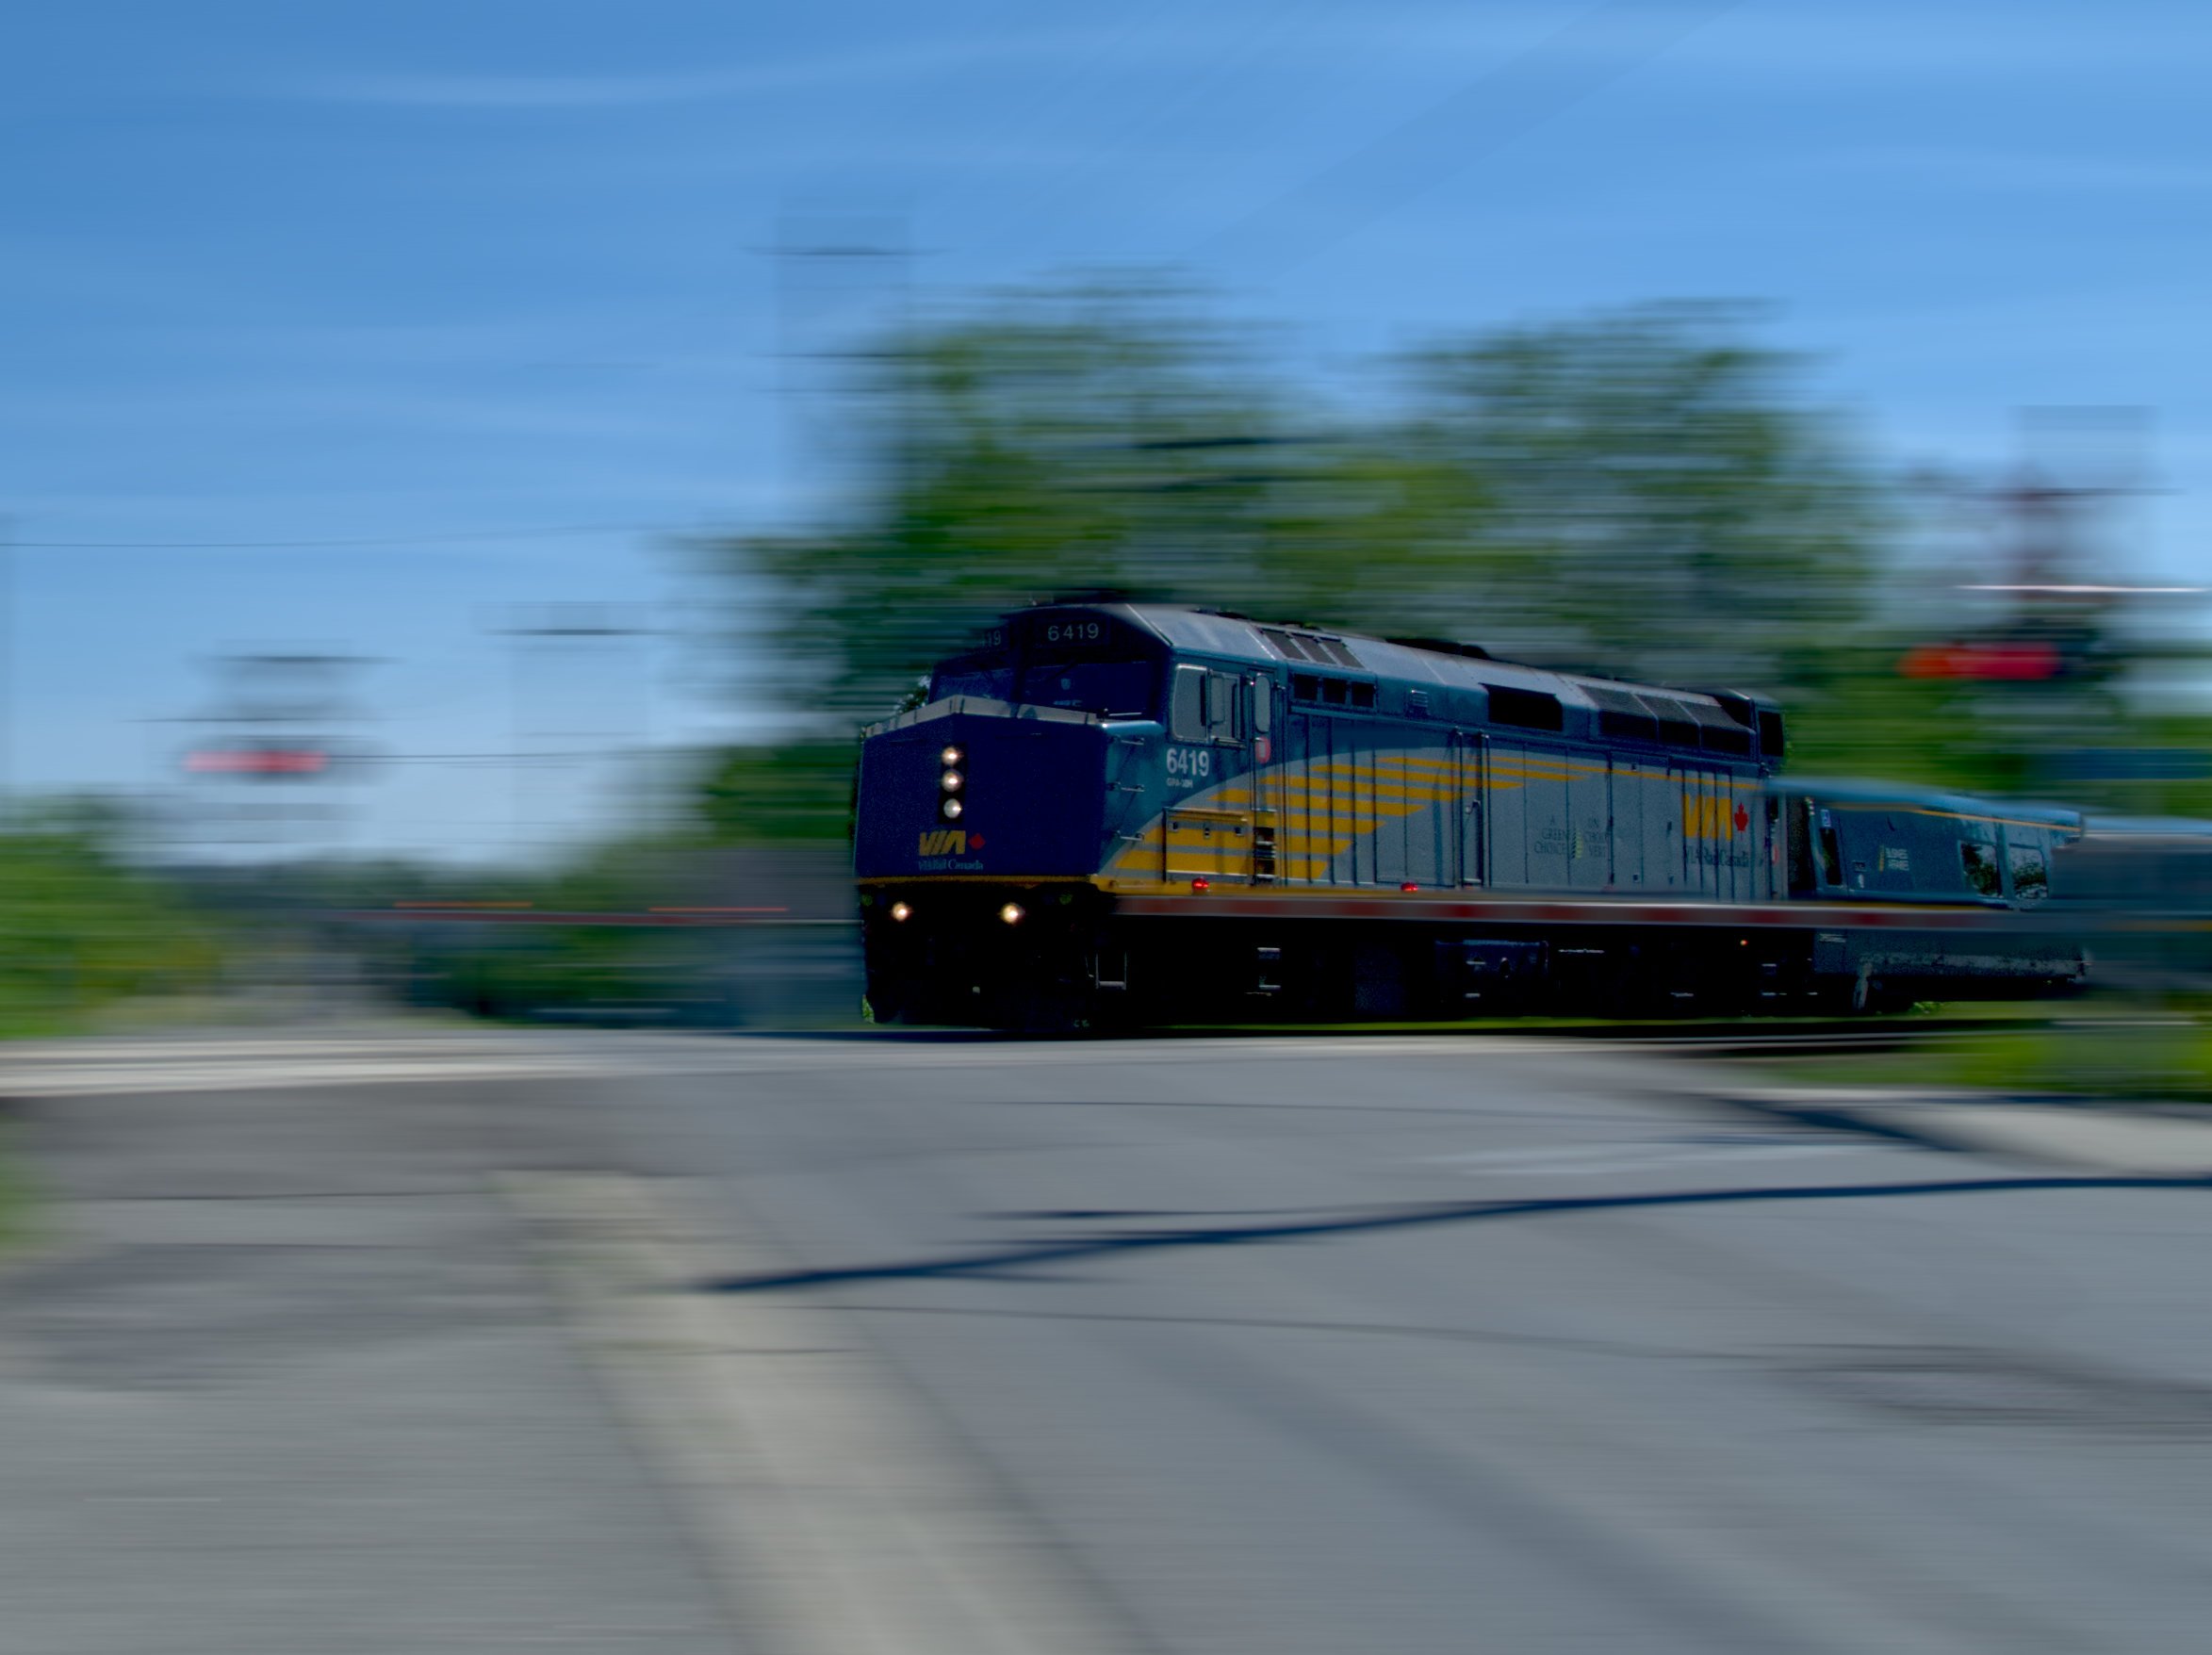
I decided to have a little fun with what otherwise was a boring photo of a passenger train at a level crossing. To get this effect in Affinity Photo, I duplicated the photo layer. Then I added the Motion Blur filter to the top layer (Layer > New Live Filter Layer > Blur > Motion Blur). I selected Radius: 72 px, Rotation: 0, Blend Mode: Normal, Opacity: 100%. Preserve Alpha is checked. Next I selected the Erase Brush tool, and erased the blur to reveal the original train photo on the layer below. I played with the size of brush until satisfied. The front is not perfect. Playing with Preserve Alpha checked and unchecked makes a difference, perhaps adding a bit too much blur. It's all subjective, right? Before digital, getting an image like this would require panning at a slow shutter speed to blur the background while keeping the moving subject in focus. Then wait for the film to be developed. Original NRW (RAW) image was made with the Nikon P7000 compact camera.