Search the Community
Showing results for tags 'marquee'.
-
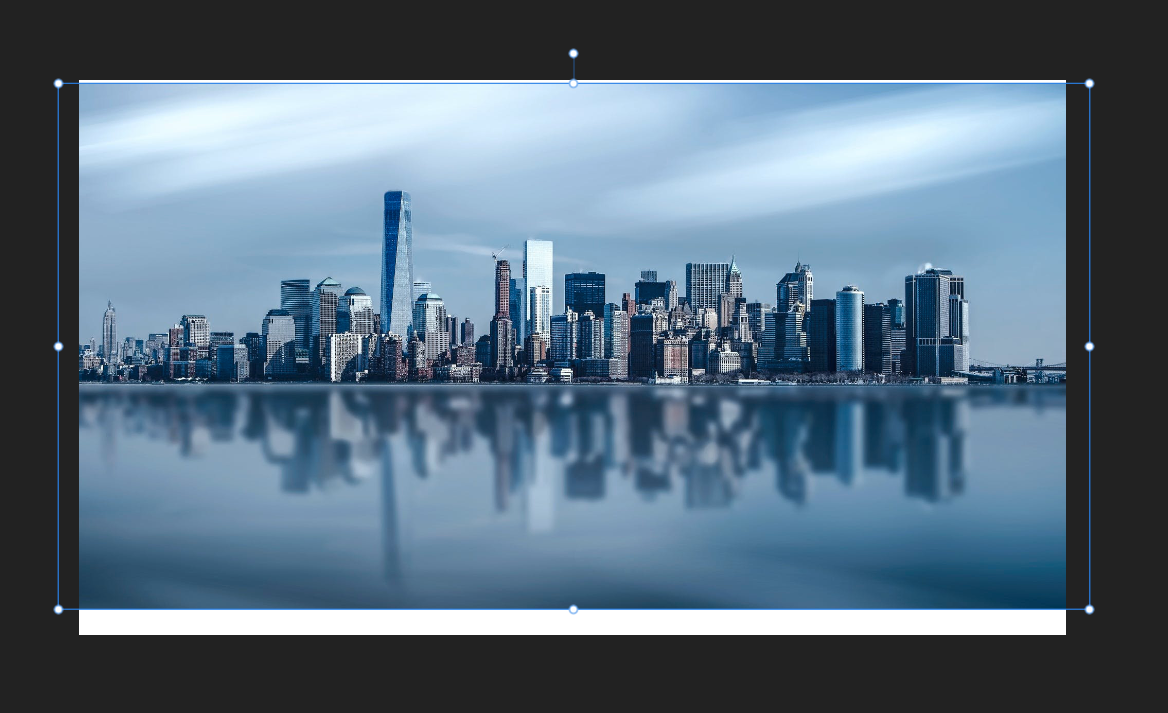
 here's the example. How to delete this image's areas that fell outside of the canvas? Is there an option for the marquee tool to include outside of the canvas when creating a selection?
-
 Hey everyone, the title explains the misbehaviour of the shortcut ⌘D in the Pixel Persona ( Designer, most likely also Publisher). Cheers Dennis
 -
Hello Community! Question regarding fill layers, selection marquee and masks (in all applications of the suite, but especially in Photo due to my workflow in that app): I often find myself in a situation where I already have an active selection marquee and need to create a fill layer to which I want to apply this selection as a mask. Way to replicate this: With an active selection marquee, navigate to Layer → New Fill Layer. Click on New Fill Layer – the active selection marquee is now gone and an invisible, inaccessible, non-editable mask (?) is created/applied to the fill layer. (Unless I'm missing something). Question: How can I access this mask/delete the automatically generated invisible »mask«? Is there any way to change this behaviour? The Affinity Help mentions nothing about it. And yes, I know there are a few workarounds for this. 😉 For example, plan ahead and create the fill layer first, or select the newly generated fill layer with the invisible mask and convert it into a regular mask, and so on. But this is not always so easy and costs at least a few extra steps that I would like to save myself. Expected behaviour: I would rather have the selection converted and applied as a normal mask to the fill layer or remain an active selection. Cheers and happy weekend Dennis
-
When using the rectangular marquee tool, sometimes I know the exact pixel dimensions that I need to be selecting. I would like to have the ability to specify a selection box size and/or ratio, rather than simply dragging an area.
-
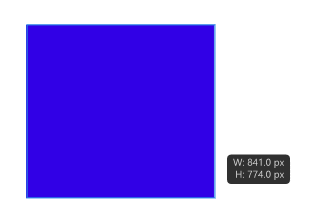
 Would be nice if Affinity shows size tooltip while using the marquee tools and the crop tool. Like the one while using the shape tools - showing W and H. I know I can see it on the Transform panel but the tool tip is easier to see.
-
Hi, there is also another bug, this time with selection marquee. When the layer has applied some live filters or for example some crop mask, selecting it by intersecting with the marquee is unfortunately not stable. The behaviour is shown in my video. Selection.mov
-
Would be nice if I could snap Marquee and Crop tool to objects but only guides and the edge on canvas. This makes cropping/filling/deleting easier along object edge.
-
 I recently downloaded Affinity designer and I am trying to simply edit an image. I can't seem to find the marquee tool. What I am trying to do is; Drag/select an area of the image or background. Cut that section out, and replace it with a new graphic or paste in a new image. Is this possible with affinity designer?
 -
How can I transform a selection? In Adobe Photoshop the action was performed by creating a marquee selection and then hitting "Command-T" This would allow me to stretch an area thus removing an unwanted area. Thanks in advance!
-
 Hello. Having consigned my CC account to the trash can, I am now learning to use Affinity Photo and Affinity Designer. My question concerns the addition of a stroke to the selection marquee. I have searched the forums and cannot find any answer and wonder if a more experienced user of Affinity Photo can help me. Photoshop had a very simple method by which a stroke could be applied to any selection marquee. This was a really useful feature and I used it regularly for highlighting salient features of images which I had included in presentations, where the images would be included to illustrate important points in the discussion. I would like to know what sequence of events I should follow in Affinity Photo when applying a coloured stroke to a selection marquee. Thank you for your assistance.
 -
Hi, In the whole 1.8.2 Affinity collection I can't add or remove object to/from already selected objects by shift-dragging the selection marquee. The preference option "Select object when intersects…" doesn't make change. Peter
-
 In Photoshop it is very simple operation to drag a constrained marquee from a centre point by holding down the shift and option keys whilst dragging the marquee tool. I cannot find how to do this in Affinity Photo, and from what I have read in old posts, it may not even be possible. Is this truely the case? It is a simple function I use all the time and could easily be a reason for why I cannot abandon the PS boat in favour of AF. Please can it be introduced ASAP if it does not exist but if it does then how? Marquee3.mp4
 -
I often create repeating patterns which (among other things) require dragging a selection of motif from the top to the bottom of square in order to create the repeat. I'll select the portion to be copied and moved (just below a guide line), create a new layer (cmd+J), and drag this below my other guide at the bottom. But when I do this, the edge of the motif has a shadow, as though the selection didn't fully "grab" the motif. Feathering and anti-aliasing is turned off. This seems like a huge bug (unless I'm doing something wrong, but then that wouldn't be intuitive).
-
 When I use Adobe Photoshop, I can easily cut or copy part of the picture with the rectangular marquee tool and Ctrl+X or Ctrl+C command. A few seconds later I copy it into another picture with the Ctrl+V command. When I try to do it in Affinity Photo, marquee rectangle is displayed, but nothing is selected. I looked into manuals, but they provide no clues why the Affinity Photo rectangular marquee tool does not work. I have found the answer - Copy Flattened = Ctrl+Shift+C. (I do not know how to delete this thread.)
 -
 This is a simple feature that I thought was already in Photo by default. It's very important and it's missing. I would like to be able to drag a marquee selection from the centre (circular, rectangular...), not just the corner. A shortcut would be nice, like in Photoshop (ALT + DRAG, ALT + SHIFT + DRAG for constraining proportions and so forth). While we are here I would also suggest the option for moving the selection temporarily while creating it (again in Photoshop would be by holding the Space Bar, moving the selection and then releasing the spacebar and carry on the selection creation). Thank you!
 -
 Hello All, When painting within a marquee selection, some faint paint artifacts are being displayed outside the marching ants. Is there a solution to prevent this? why is the painting area not being constraint to the marquee area? Version 1.7.1 Thanks, Miguel Painting_outside_marquee.mov
 -
 When I draw an elliptical marquee in Affinity photo, the outline of the selection appears just as it should but when I release the left mouse button, the outline disappears. If I draw a huge ellipse, then a much smaller ellipse is sometimes outlined when I release the mouse button. Using the rectangle select tool works normally. However, the add, subtract, intercept, xor, and divide buttons are inactive and the modes. Ctrl drag changes the mode to subtract. I want to report this as a bug but thought I should check here first. Photo version 1.7.1.404 - Windows Thanks, Dave
 -
Hi everybody, Here I am with another noob question. How do I create a marquee selection from the centre, rather than the corner while dragging? I will use Photoshop again as an example: to create the selection from the centre I just hold "ALT" and then drag. If I want it with constrained proportions and create from the centre simultaneously, then I just hold "Shift + ALT" and drag. This is a very important feature. Again, thanks in advance to anyone answering my question!
-
 I finally give up. How do you stroke something? I drew a rectangle with the marquee tool and want to stroke that line. I do it all the time in Photoshop, but I cannot find a way to do it in Affinity. I also can't find any instructions or tutorials online. There seems to be help for what to do with the stroke after you have it, but I need to create it in the first place. I have the same question for filling the selection. thank you
 -
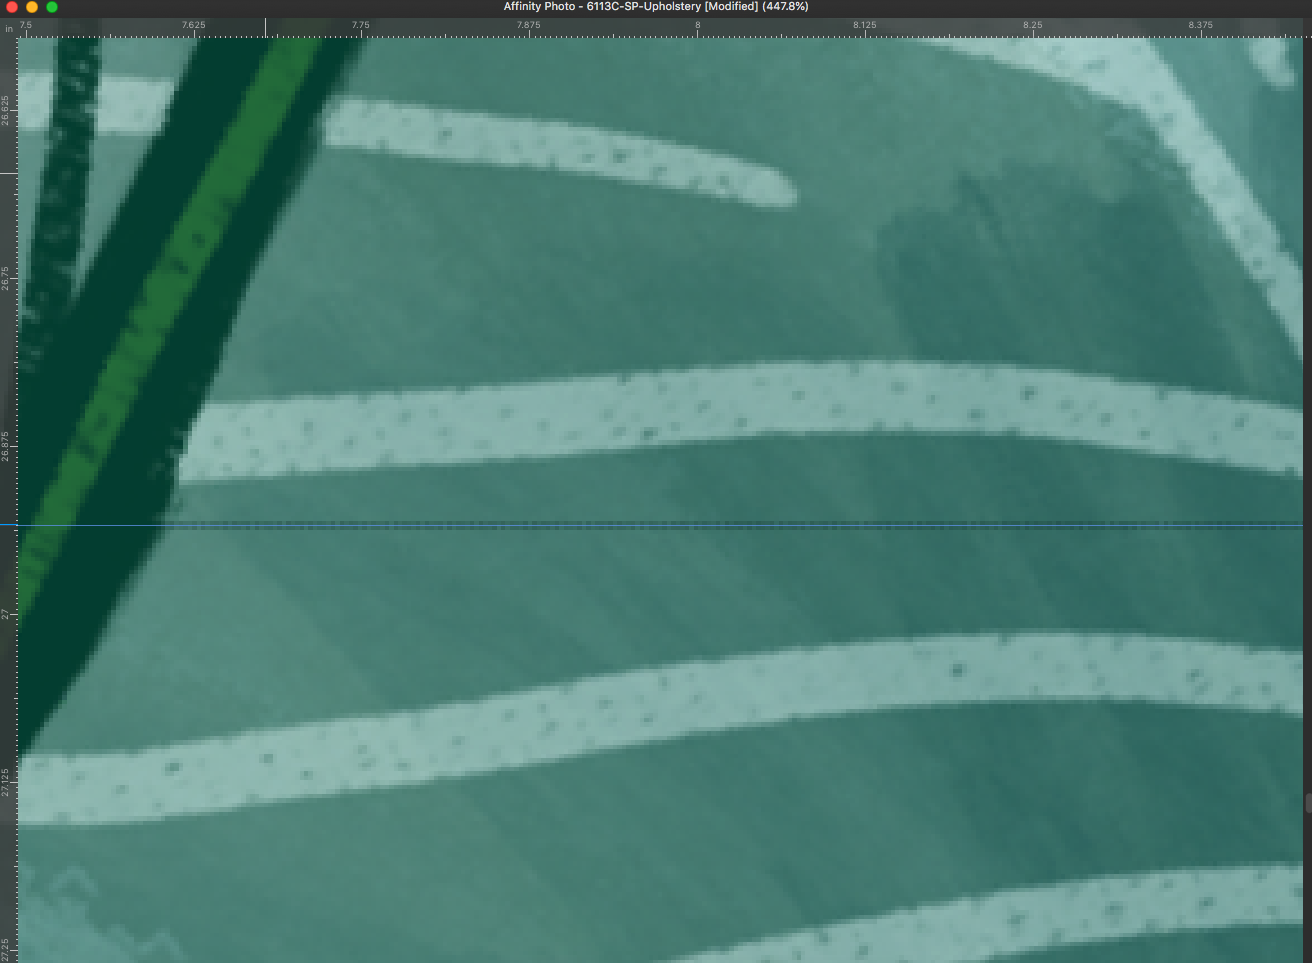
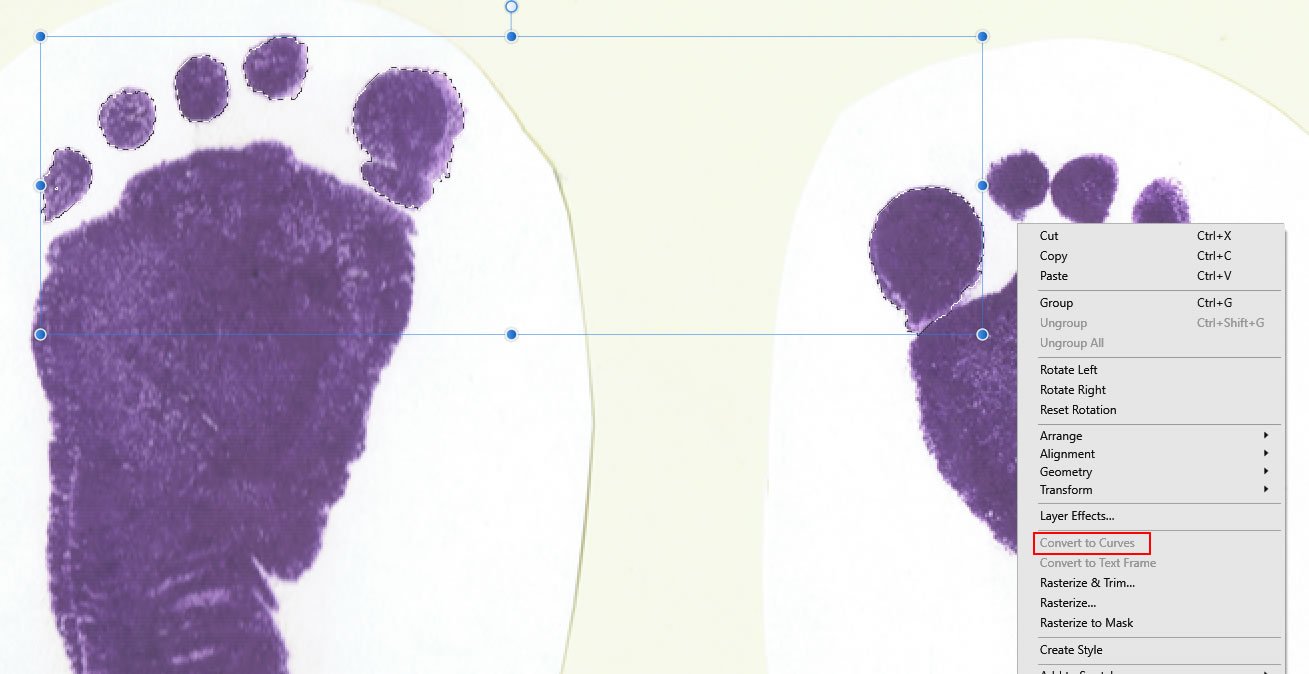
 Hi, can AD or AP (Desktop)convert the selection brush marquee tool to a path or curve. In the image below I have used that tool and have the marquee but Convert To Curve is greyed out in the right mouse option box. I can do this in Fireworks 8 quick and easily. Thanks for any help.
-
 In PS I would select marquee tool over section of an image, and with the movement tool I could move that part of the image within the marquee dotted shape wherever I wanted to in the layer. I am having difficulty doing the same in AP, I have tried several options to make it work but without success, it must be able to be done. Please advise.
-
Hello, I am having trouble with the Marquee tool. When I make a circle holding shift to make it perfect it wont stay in the corner I click and becomes offset as I drag outward. If it stayed at the point of click and dragged out I could match it perfectly with the circle I am trying to protect and erase around. Since the entire position of the circle moves around for some reason instead of having a stationary anchor point I have to resize it (common scene, please fix and make points anchor to were they are actually clicked.). But when I resize the circle the whole background image resizes, but this is the opposite of what I want, I want to perimeter the circle over top and match the circumference. I unchecked the boxes, put marquee on its own layer, I've tried work around still not working and frustrated... All I want to do is make a marquee circle and resize JUST THE MARQUEE CIRCLE not the selection, background or anything, don't want to add subtract or anything fancy...Just resize...this should be so straight forward and simple, and yet.....*sigh* I should have just got Photoshop... Why this this not straight forward and simple? Why can't i just use the pointer tool to resize the Marquee to th size I want without affecting the original picture. Please make it so that the marquee circle (and squares and yes all the marquees.....) stays in its anchor where clicked and drags from there. This would save so much frustration and resizing issues. Affinity Photo is great but designer is a far ways from any kind of workable program, Im very disappointed in how buggy the designer is compared to the photo. Default black for text and outlines are brown and not black.....Gotta change them every time......Come on guys pick up those boot straps and make designer as good as photo because the way designer stands.......its....well kinda garbage and lacks a lot of common scene elements and features. Come on guys please do better make designer as good as photo.
-
 Hi guys, How do I copy a pixel selection? In Fireworks you simply draw a shape with the marquee tool, hit Ctrl+C, Ctrl+V, and the pixel selection is copied. How can I do this in Affinity? The help file doesn't seem to explain this. Thanks
 -
Hi, In Affinity Photo there is no way to crop using a Marquee selection. The only way to crop is by using the Cropping tool. Can we have a similar option that is available in most other photo/image editors where you can "Crop to Selection". Quite often it is quicker just to use a marquee selection that to mess around with the handles of the Crop Tool. Thanks, Jay.
-
Hi, In Photoshop there has always been the automatic ability to drag a Marquee around an area of an image in a layer to isolate it. After dragging a marquee around the area, pressing a cursor key would immediately snap the marquee around the area snugly (Even anti-aliased as you'd expect). This then allows you constrain your painting to be within the marquee selected area. I believe you can also do this in Gimp also by using the Float option (It's been a while since I used it). Thanks, Jay.