Search the Community
Showing results for tags 'engraving'.
Found 6 results
-
 Suppose I am drawing engraving-style illustrations. The Pencil Tool and Vector Brush Tool with pressure settings are not bad. However, I find that they are not efficient enough when I need to adjust the thickness of each line in an entire file. It would be useful to have a "Line Thickness tool" in future versions of Affinity Designer for creating engraving-style illustrations. Please~ FYI: The Line Thickness Tool in Clip Paint Studio https://www.youtube.com/watch?v=uOLaebfKLoA FYI: Scratchboard Illustration of a Plum for a Jam Label https://www.youtube.com/watch?v=q58XjxmJxUU
 -
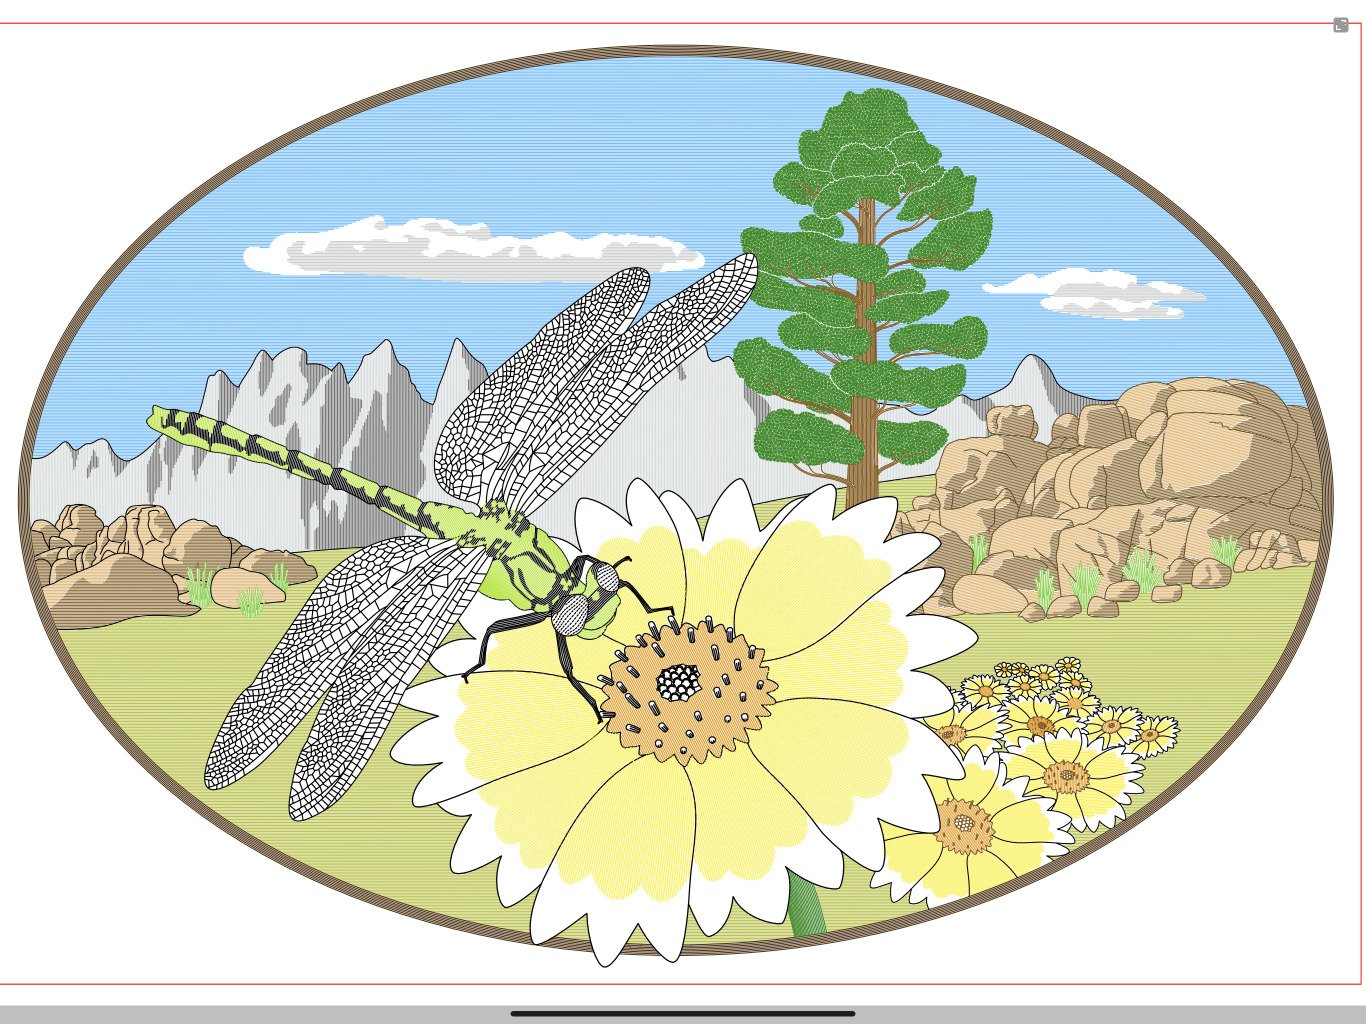
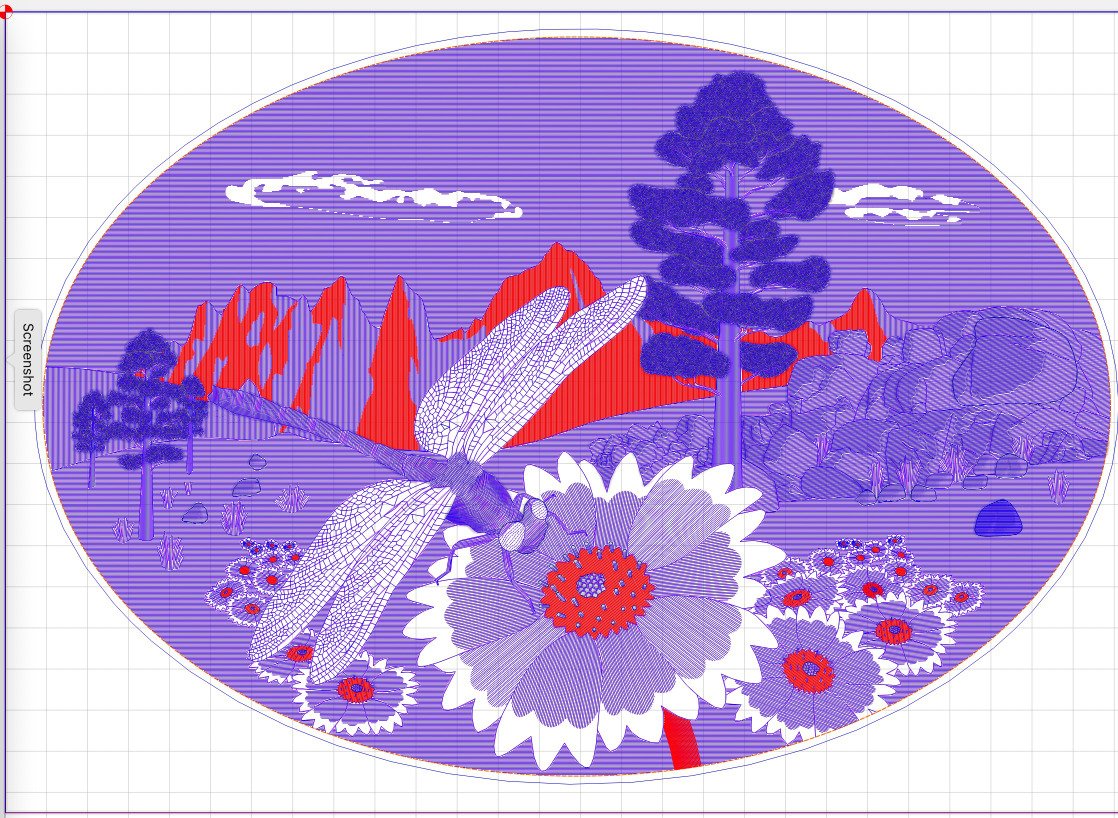
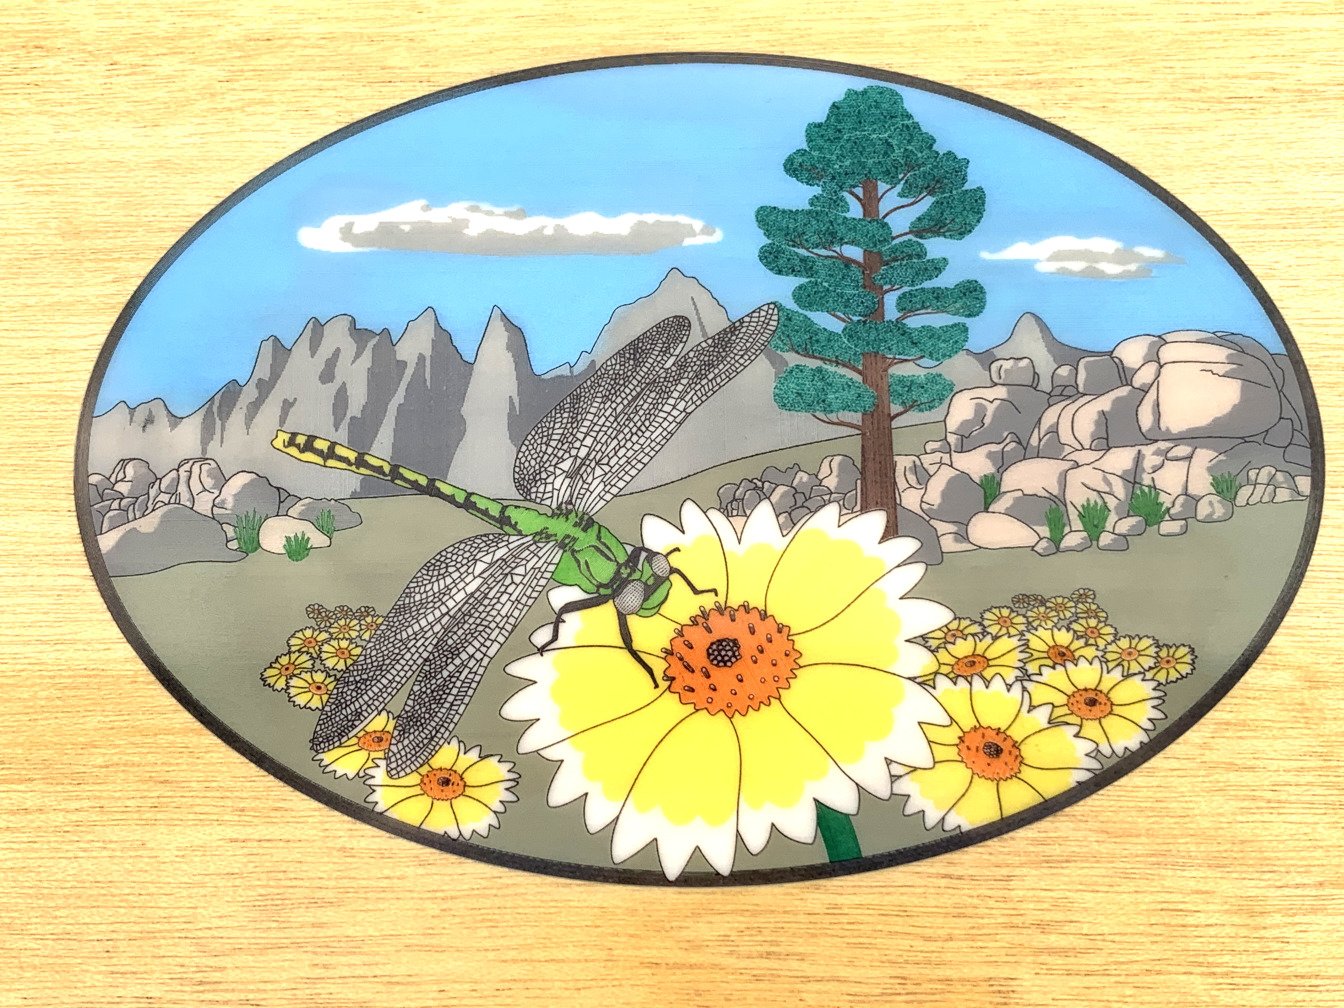
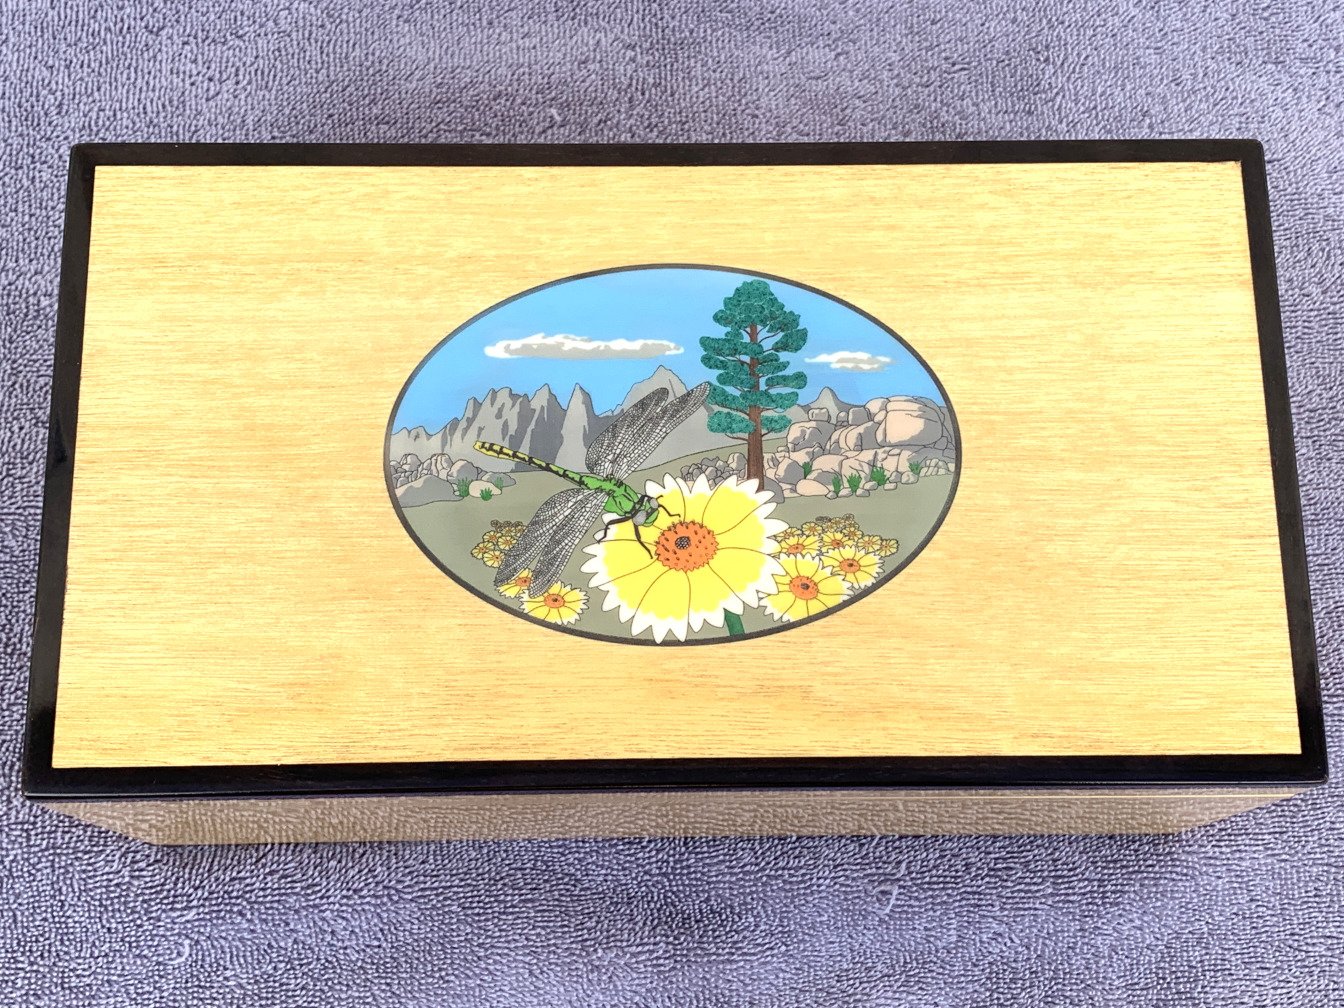
This is the first project using a process I'm developing for colored engraving, on a Nomad CNC machine, of faux ivory substrates, for inlay into jewelry boxes. The process needs more improvement but I was happy enough with the results to begin a second piece. It begins with the creation of the artwork in Designer. The actual oval is smaller than show, at least on my screen, about 130 mm wide. The lines to be engraved are 0.15 mm apart. Here is the graphic depiction of the lines to be engraved by the machine. The red color represents one pass out of a total of seven necessary to keep the colors separate. The final product inset into the box. The box itself, a gift to my niece. She wanted a "tree" and "daisies" although I gave her Tidytips instead.

-
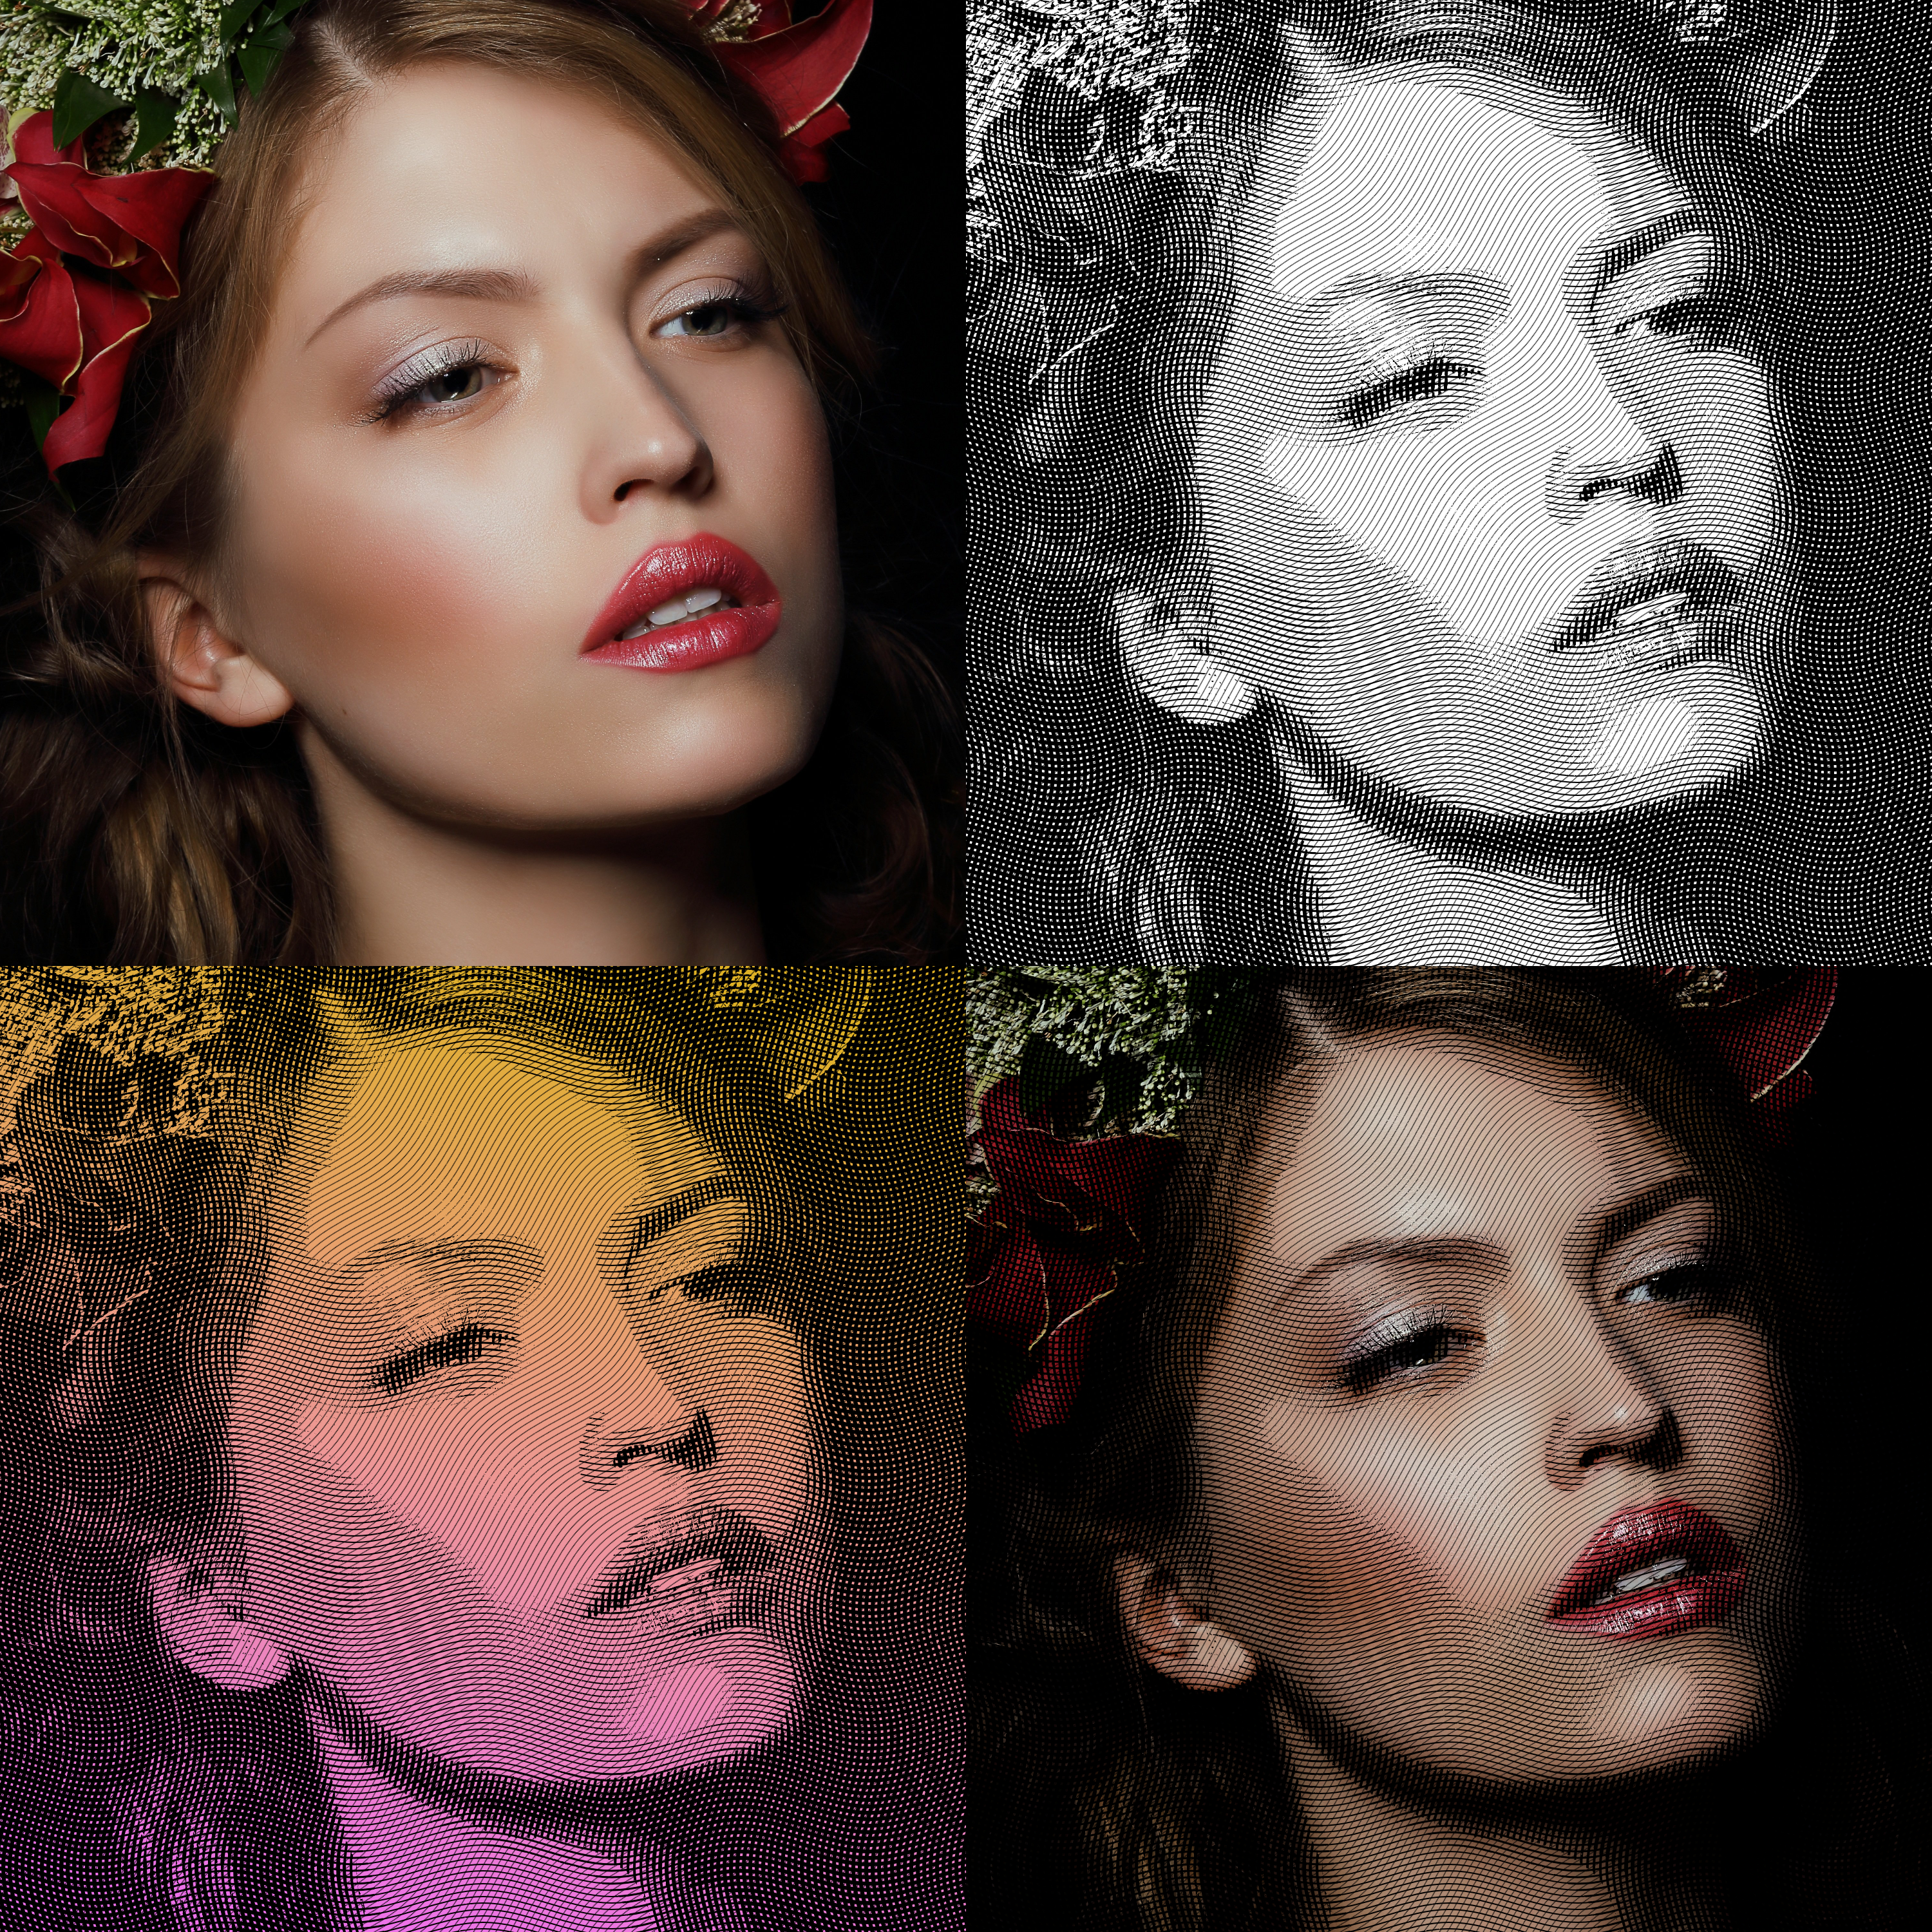
Hi, I made two templates, Horizontal and Vertical, for engraving effect. You can modify them as you want! You can play with gradient fill layer, with BW adjustment, also you can replace the engraving files. (for a stonger effect, you can duplicate them, and then you have to play with opacity, you can pick-up another blend mode) I attached them below, also a folder with some engraving patterns in .png. I attached the final result, in a gradient and two colors, for the Vertical template. More, in the below link. I would like to say a big THANKS to the author GraphicalFinity. engraving-png.zip
- 5 replies
-
- 4
-

-

-
- engraving
- affinity photo
- (and 2 more)
-
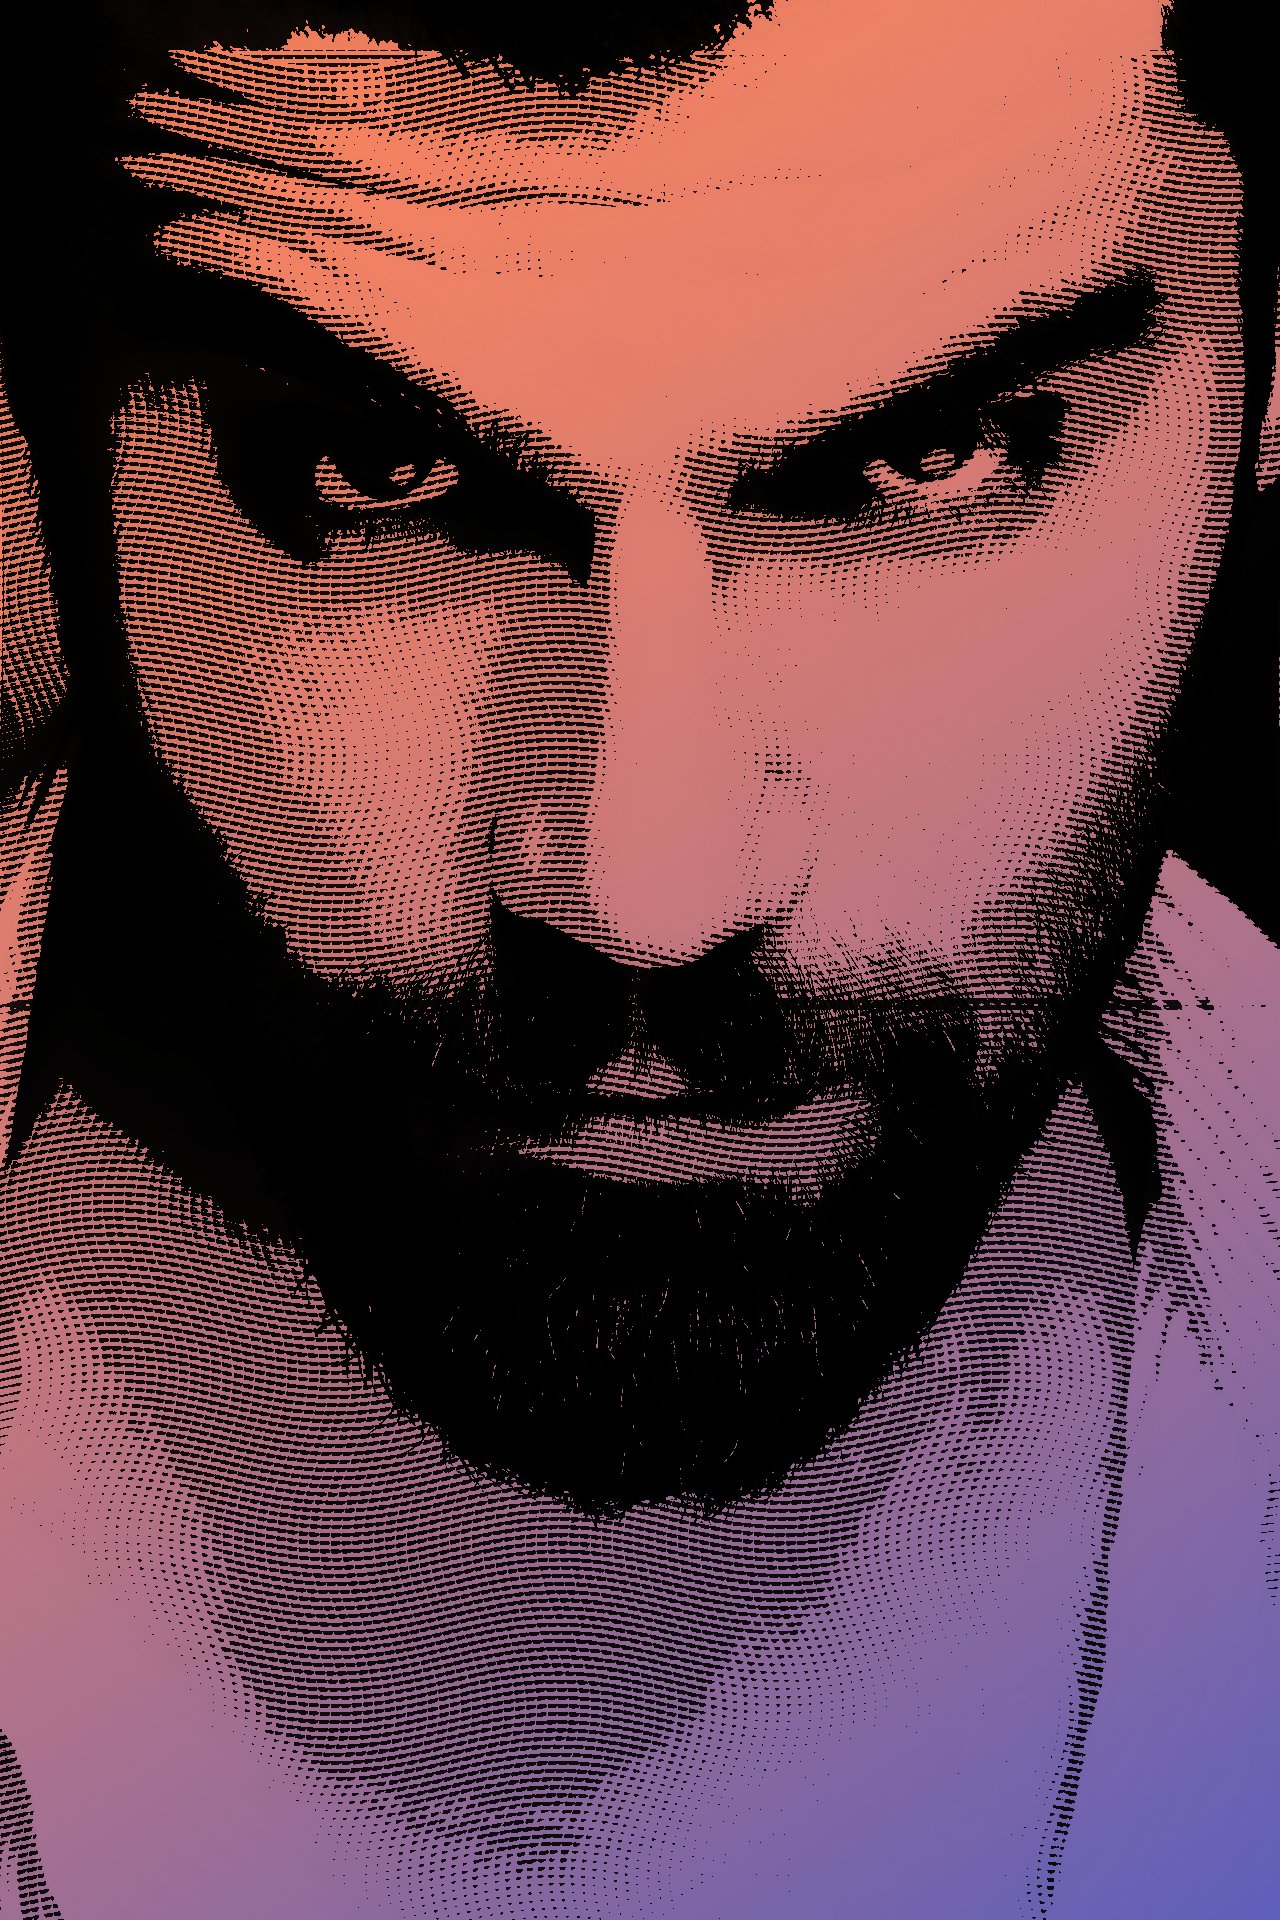
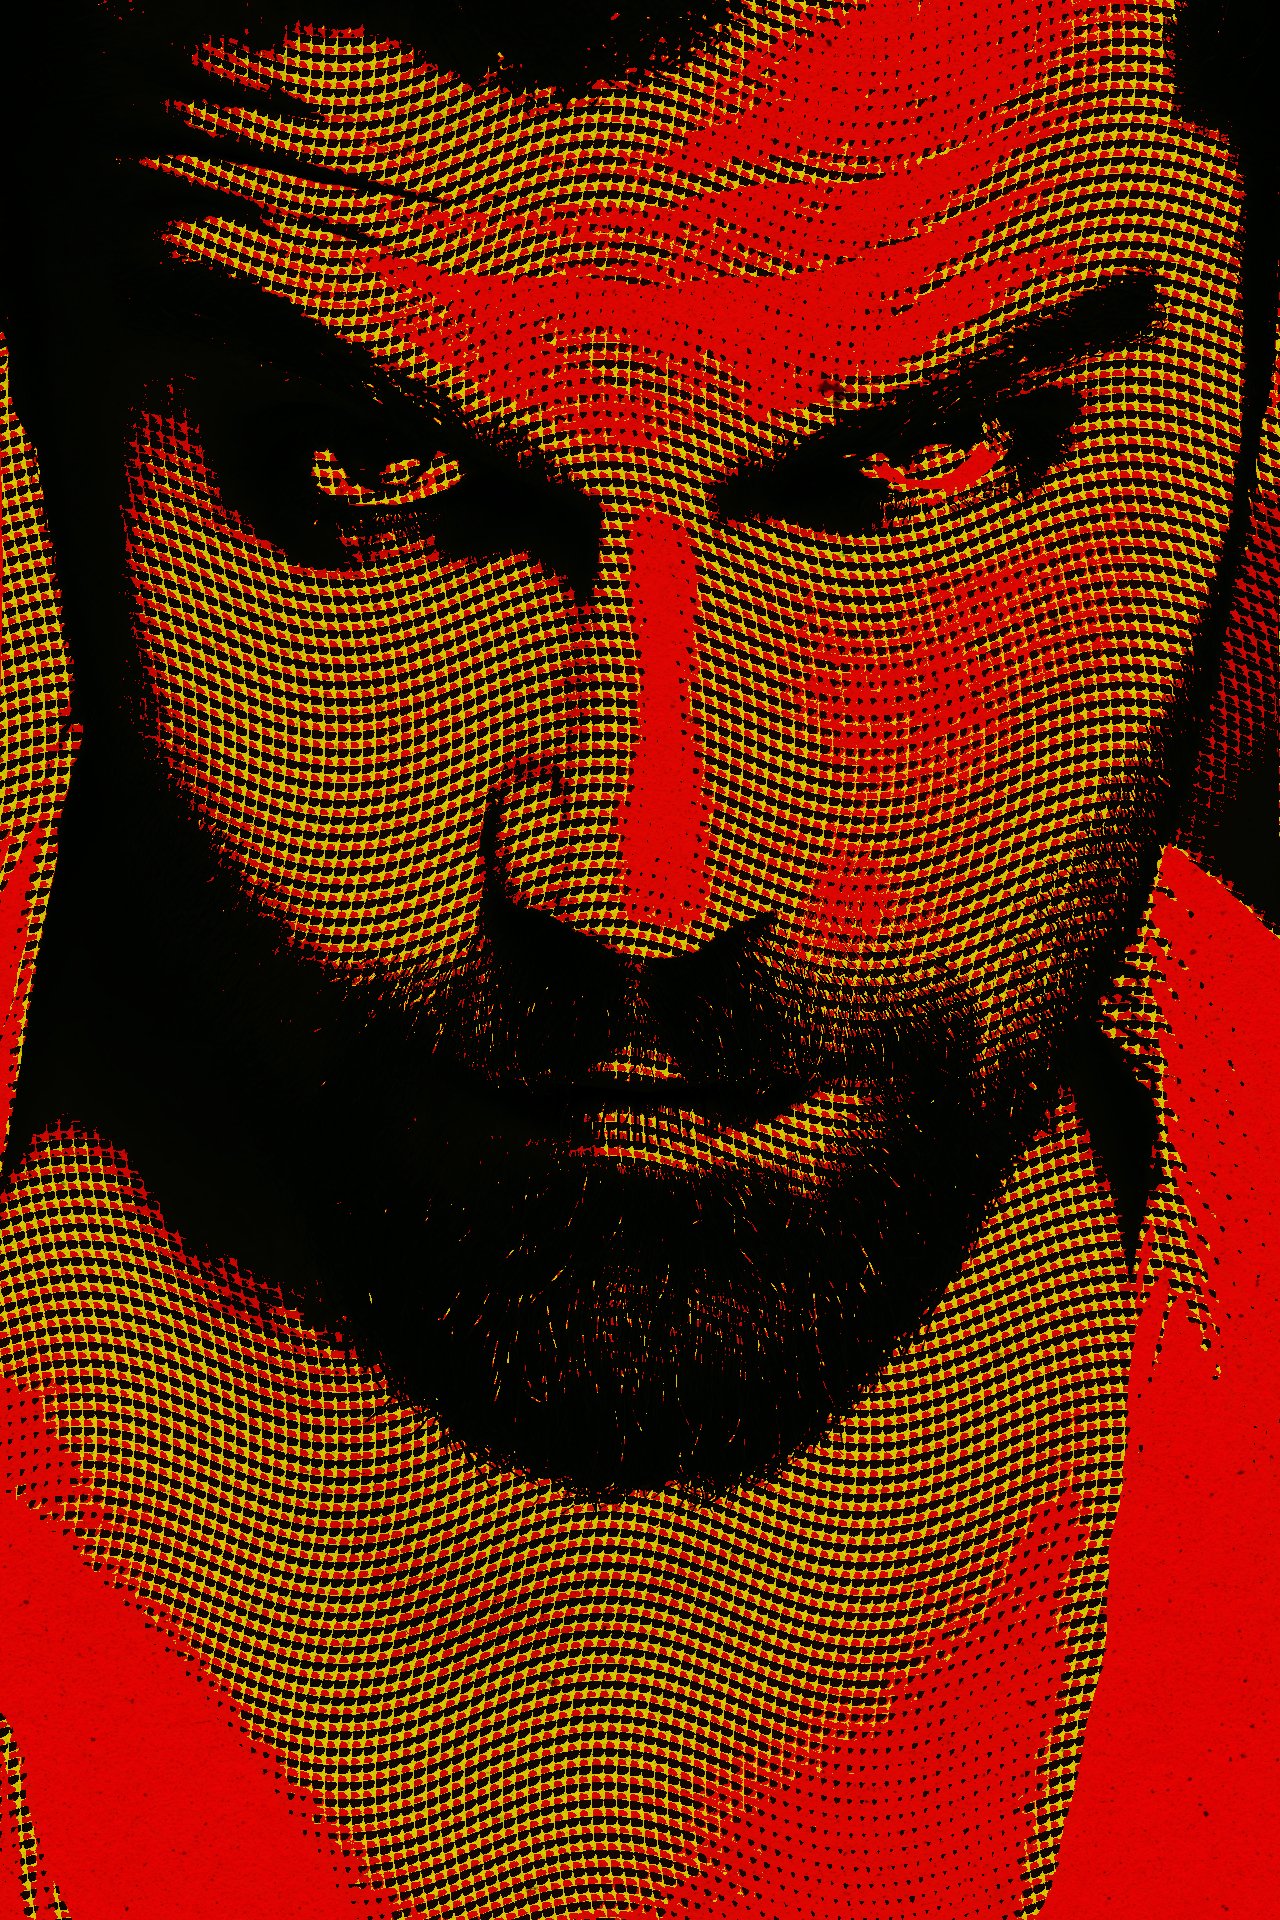
 I had to edit some images for a client, who wanted to embed them into some kind of bank notes. The motives on them used to be classic copperplate engravings. So I created some macros for AP, some of which I want to share with the community. Requirements: The image needs to be square format (it will get resized to 3000 x 3000 px) The image needs to be flat (only 1 layer) The styles provided in this post need to be added prior to starting the macro I got an error message when trying to upload the files (probably due to their size, hence some google cloud links: Engraving Styles (2.2 MB) - https://drive.google.com/file/d/1aHP4golVVLoidsw_aLs_EcMltfsM3oIu/view?usp=sharing Engraving Macros (1.8 MB) - https://drive.google.com/file/d/1mMbZFTd-fLDuACyRCa7bne7cd0wksYUu/view?usp=sharing The macros and assets have been moved to Gumroad. (https://thargoran.gumroad.com/l/engraving_effect) t's still for free—just enter the code APforum2023 (I'd appreciate some stars rating nonetheless). Sorry, but the free period expired.
- 14 replies
-
- 23
-
-
-
 I have two Questions I. what is the main advantages and disadvantages Affinity Designer vs Corel draw standard 2021? Especially for glass engraving. And it is there some help (workflow) for Affinity Designer engraving? II. It is possible export (import) file from Affinity Designer to the FreeCad (www.freecadweb.org) and it is possible to export from Affinity Designer to the G-code? BTW: I am proud owner Affinity Photo
 -
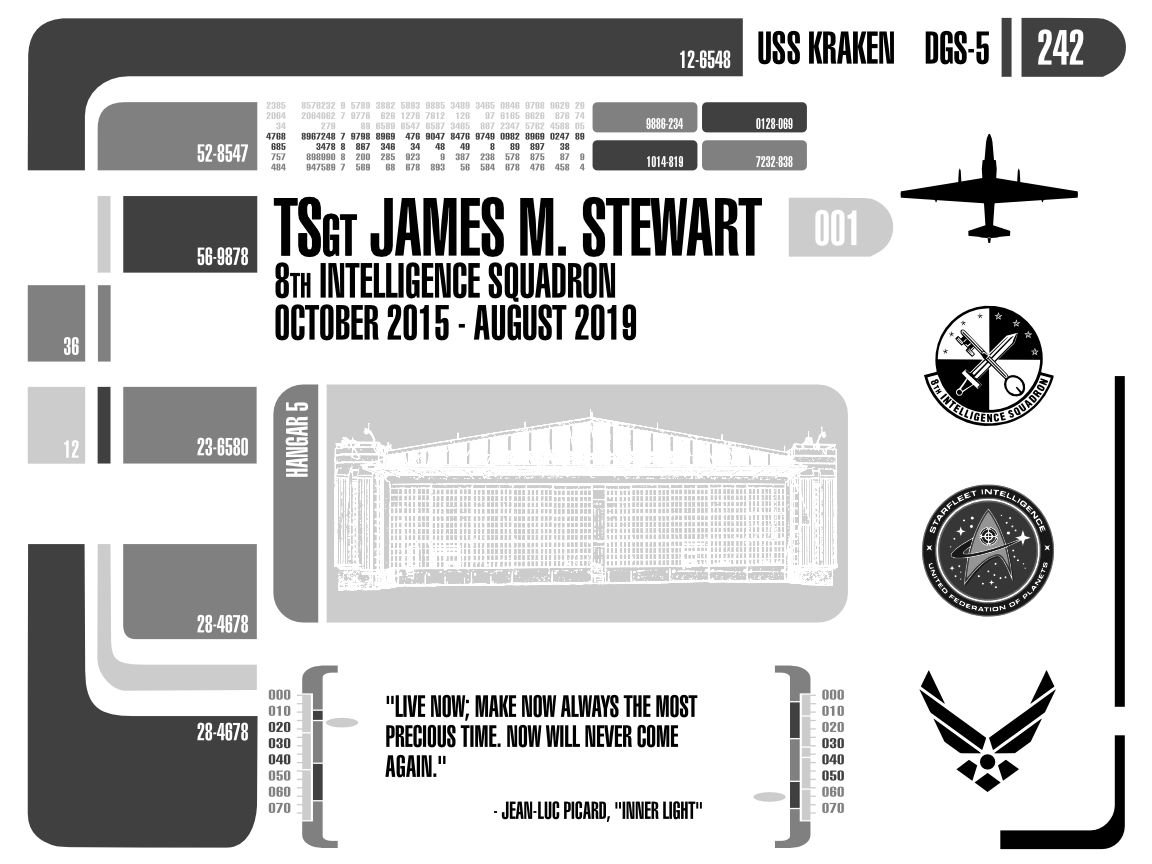
 Hello everybody! One of my Airmen is leaving to a new duty station, and following tradition we are presenting him with an appreciation going-away gift. His family are big Star Trek fans, so I thought giving him a Star Trek themed piano finish plaque a-la a "PADD" would be neat. Everything is a vector. For the hangar, I edited out everybody from the squadron photograph I did and combined it with some test shots without folks to get a full hangar without people. I tossed that image into Inkscape to get a vector from the photograph after doing some edge detection, levels, and black-and-white adjustments in Affinity Photo. I am seeking a blueprint of the hangar so I can make a nice clean one, this vector is a mess but it worked in a pinch. The Star Trek bits are taken from an LCARS program called LCARS 47. I had to convert them to vector, but that wasn't difficult at all since the shapes are easy. The Starfleet Intelligence pin is by the DeviantArt user cbunye (pending permission from him for me to engrave it.) Mockup done in Blender.