Search the Community
Showing results for tags 'easy'.
-
So I was searching around for any and every video on YouTube to give me a better understanding of how to use the pen/node tool. I stumbled across a video on YT: "AFFINITY DESIGNER CURVES FROM SINGLE STROKE. This tutorial helped me solve one issue (finding the easiest way to trace an image with a lot of curvy lines BUT with each curve flowing smoothly together from one to the next). I had created a logo (i can't show the whole logo) but as you can see some of the curves i created originally APPEARED smooth when i zoomed in close but some noticeable errors when i zoomed out/away from it. Once I zoomed out the logo had these subtle curves that made the logo look like it was starting to form corners. As I followed the tutorial, I got to where I was only using the SMART MODE tool, with these options selected: - ALIGN TO NODES OF SELECTED CURVES - SNAP TO GEOMETRY OF SELECTED CURVES - ALIGN HANDLE POSITIONS USING SNAPPING OPTIONS - MOVE BY WHOLE PIXELS - SNAPPING while I was working through, I was going by what I would always hear from the pros and amateurs "move the node handles around until you get as close as you can to the images/shapes. so that's what I did! Still wasn't perfect though. A-HA!!! THERES A PATTERN ("not sure if I'm just late to the party lol") Once you put your first node, you get the CURVE option after putting the second node which is your first line. You then go and make that line fit as perfect to the curve as you can which is the easy part. Then comes the hard part as soon as you add a 3rd node and however many more you want, trying to make that second curve fit PERFECTLY with the first curve usually doesn't match the way you want it to because at the same time you're also trying to make it fit with the 4th node. It then becomes this tug of war between the nodes LOL. node A. node B. = line/curve a-b node B. node C. = line/curve b-c node C. node D. = line/curve c-d node D. node E. = line/curve d-e **USING THE SHIFT KEY EVERYTIME (USUALLY)** **USING THE SHIFT KEY EVERYTIME (USUALLY)** **USING THE SHIFT KEY EVERYTIME (USUALLY)** Once you have the first curve (line/curve a-b) set to your liking , before adjusting the second curve (line/curve b-c) YOU WANT TO SELECT THE NODE (node C.) AND USE THE HANDLES ON IT TO START BUILDING THE END OF THE SECOND CURVE (line/curve b-c)...…..THENNNNNNN...…GO BACK TO THE PREVIOUS NODE (node B.) AND ADJUST THAT ONE TO MAKE THE SECOND CURVE (line/curve b-c) FIT and FLOW SMOOTHLY WITH THE FIRST CURVE (line/curve a-b). so therefore once you move onto the third curve (line/curve c-d) start by adjusting the handles of node D. FIRST then jump back to ex. node A. node B. node C. node D. node E. etc. line/curve a-b, line/curve b-c, line/curve c-d, line/curve d-e after the curve between node A. & node B. has been made (line/curve a-b), jump to node C. and using the handles to adjust the curve (line/curve b-c) to your liking THEN start adjusting the handles on node B. creating line/curve b-c which flows perfectly with the previous curve line/curve a-b AFD - nodes.mp4 HOPEFULLY I HELPED SOMEONE!
-
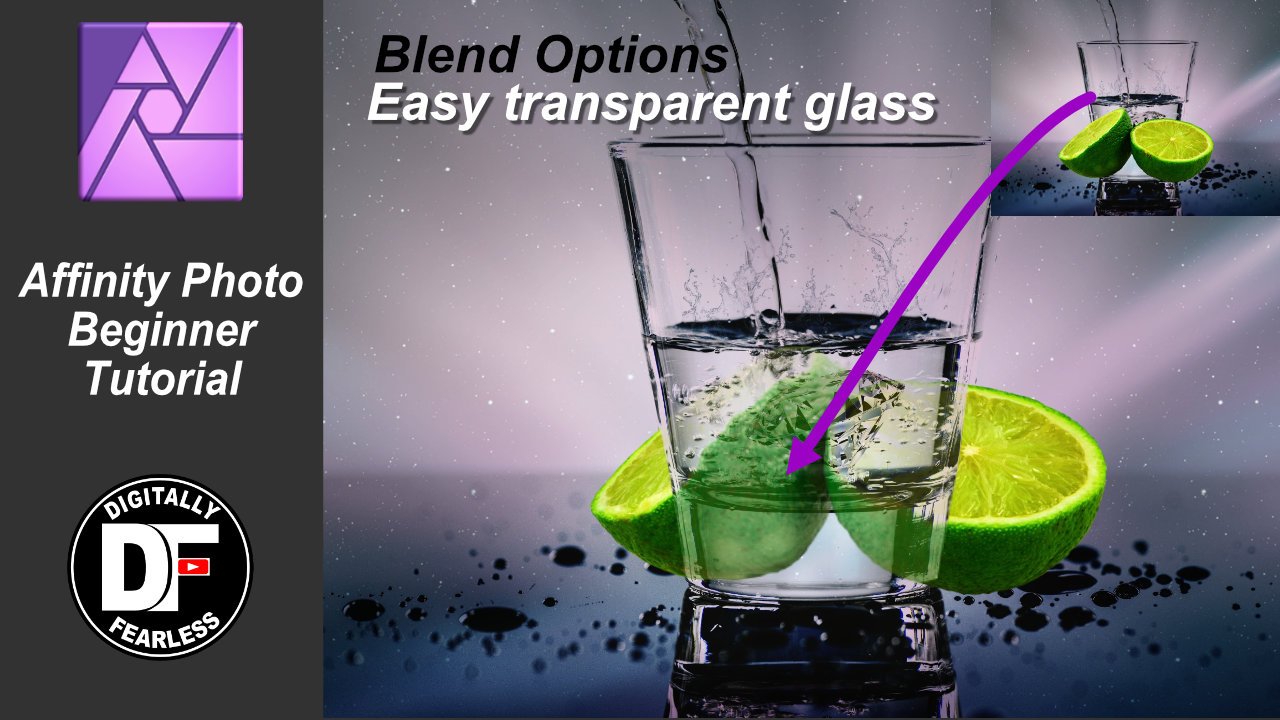
Transparent glass in minutes. Digitally Fearless Affinity Photo beginner video tutorial on how easy it is to use blend options (blend-if) to make transparent glass. This tutorial also uses curves and liquify. https://youtu.be/PI4pz5RqrWQ
-
- affinity photo
- beginner tutorial
- (and 8 more)
-
I have a map with all kinds of different text boxes. As with the immense amount of those, i'd thought i'd suggest that it would be quite nice to be able to change all fonts within a folder so that i could update my complicated folder structure with ease. Obviously there could be more expansions to that feature such as additional font settings or maybe specific RGB increments for all contained shapes etc. Thank you very much!
-
Hello, My name is Kuba, I'm from Poland, and i work in local Radio. When working on my materials for job, i have to make not only audio recordings, but also some photos for online post at our website. I'm doing best i can, and recently my friend told me to start signing my photos, so everyone can know who's the author. Trust me, it's very important to have signed photos. My mentioned friend got a better job, because he was signing his photos, and somebody found him this way... Lets go back to my topic. When i'm adding some simple text i often have some problems. Some pictures are different size, because of necessary cropping, and pasting puts them in some weird locations. same applies for vertical photos. They are not so common, but sometimes i have to do something in portrait mode, so i have to add watermark by hand, and it's not very precise. When you're scrolling through the online gallery, and all watermarks are in different places and sizes it looks very cheap and unprofessional. I'd love to see some simple tool for watermarking witch would allow me to: - Add preset watermark to picture; ^ In set place(i.e. 10% of picture from bottom and 10% of picture from right. Every picture is different resolution, so pixels might not work for watermarking) - Set global size of my watermark (So that regardless of resolution watermark always looks the same, i.e. 5% of picture overall space) I mean by this, that for example my watermark is set in lower right corner with 10% of picture border from bottom and right. and in picture in 1000x1500 it takes as much overall space in % as in 4000x6000 resolution picture. Sorry for my not perfect english, as i mentioned i'm from Poland... Feel free to comment, add suggestions, your experiences or tips for watermarking in the comments section. If you think this could be a great tool, but have something more specific to add, say it! Maybe someone at Affinity will read this and give us a great tool? Who knows...
-
Hey guys, I just wanted to let you all know that I started a YouTube channel that is dedicated to making Affinity Photo tutorials. I have 9 videos posted now, but will definitely be making more. I really love Affinity Photo, and although I'm not a master, I wanted to share the things that I have learned! :) Dispersion Effect Turn any Photo into a Pencil Drawing Giving Photos an Old Look Put a Lake in a Light Bulb Double Exposure Effect Remove Unwanted Objects/People from the Background Set the Earth on Fire Remove/Change the background How to change colors in a photo Let me know what you think of them! And let me know any suggestions you have for future tutorials. Thanks! Ezra
-
Dear Team, I`m iOS Developer and need an App for edit images. I need create images and edit existing files. I need know: 1 - Is possible resize images; 2 - Shadow effects; 3 - Basic effects from Photoshop (because designers give me projects for export labels); Thank`s, and sorry for my english, I`m Brasilian developer and my friends designers are like this app too.


.thumb.jpg.619916e81c68dc9c7d11efa35a114a4b.jpg)


