Search the Community
Showing results for tags 'digital portrait'.
Found 3 results
-

affinity photo Digital oil painting with Affinity Photo
Gregory-CJ posted a topic in Share your work
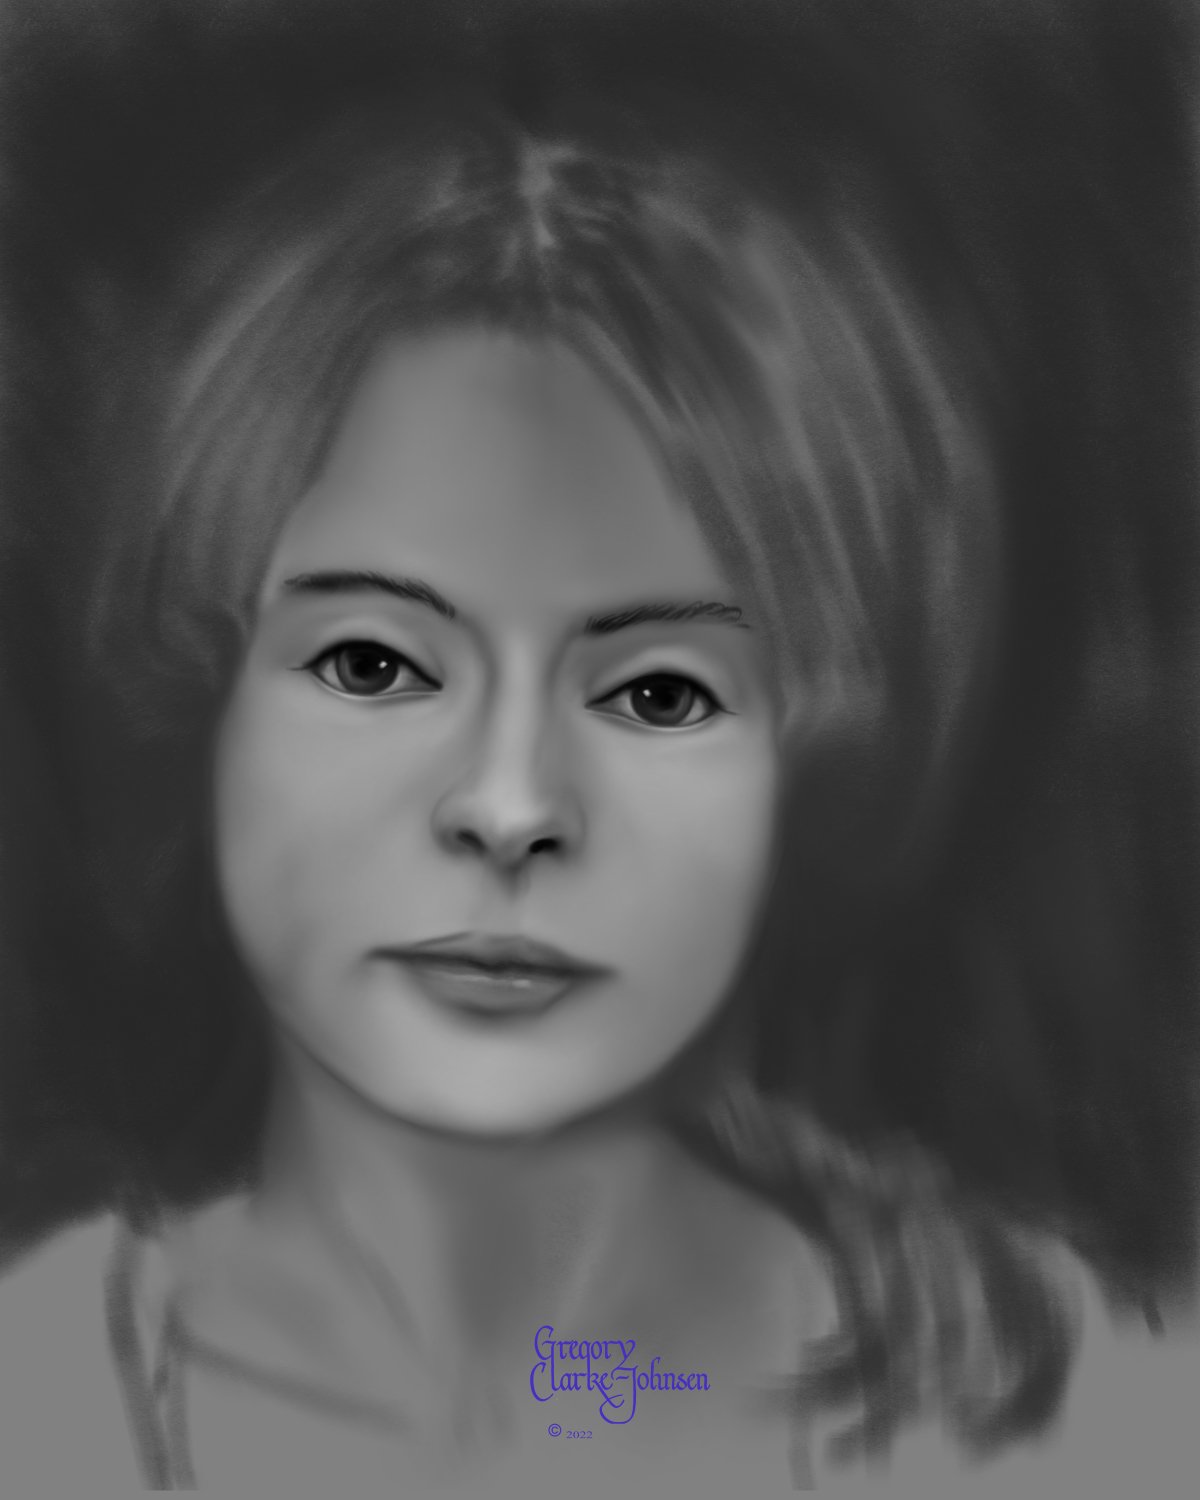
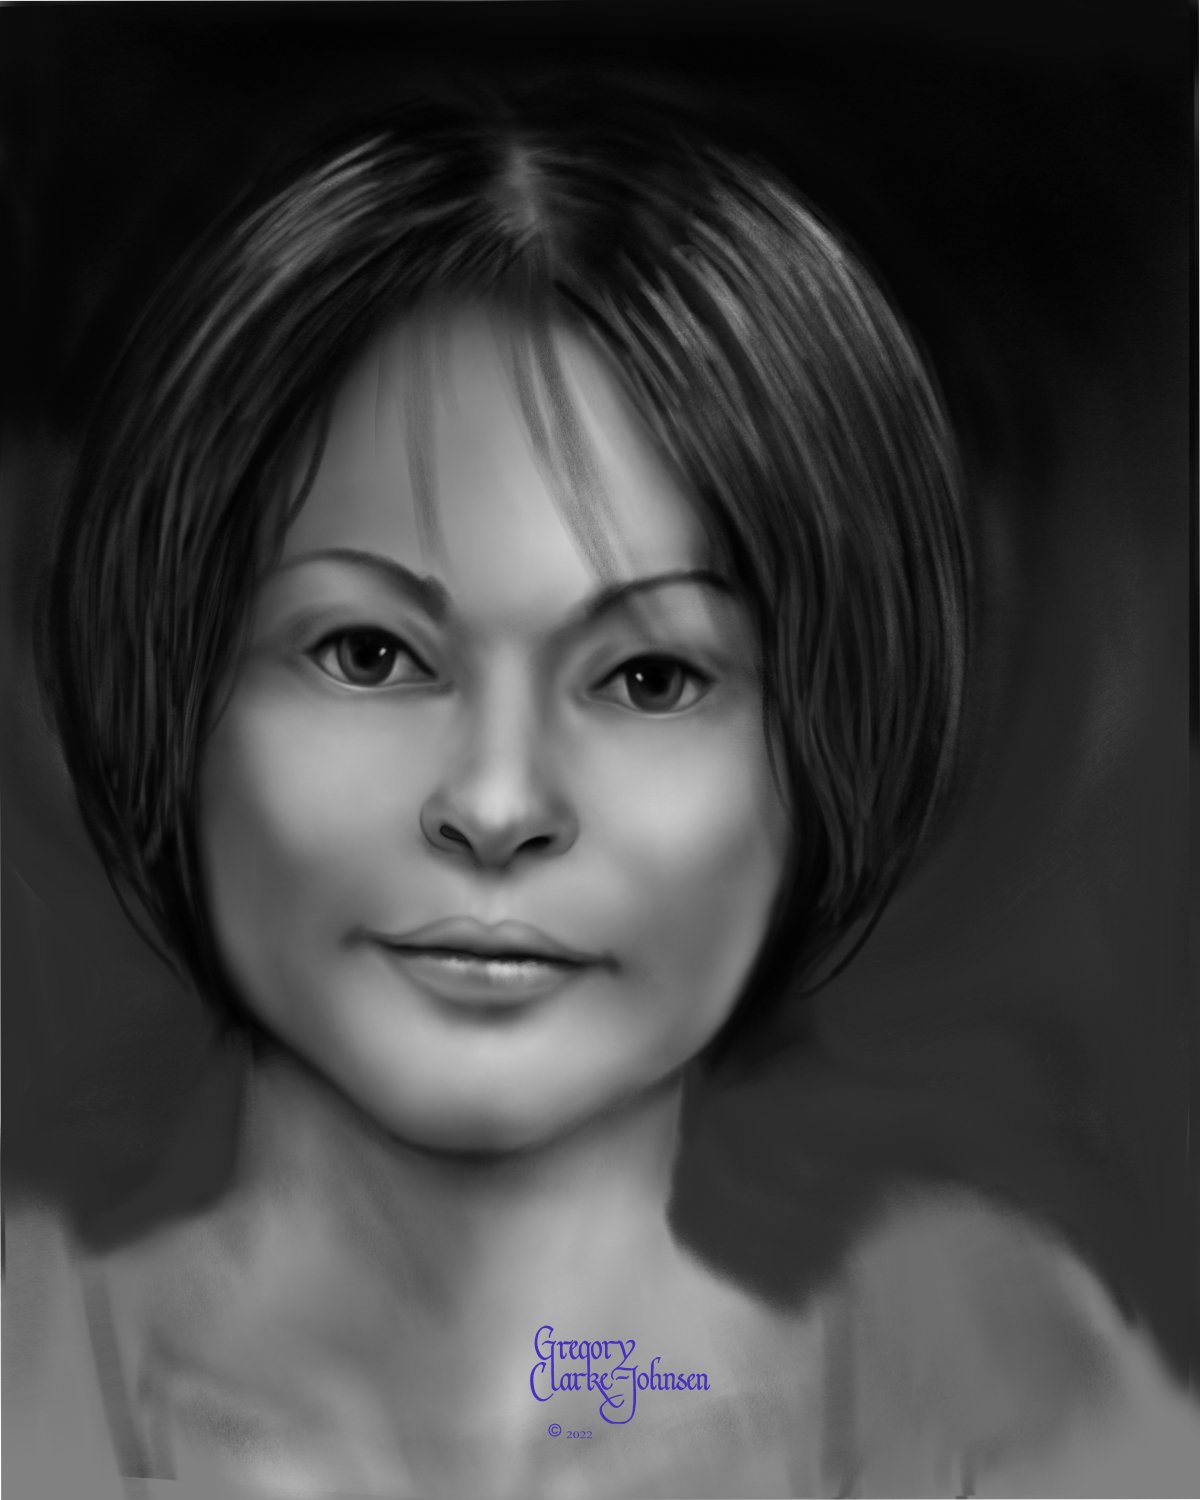
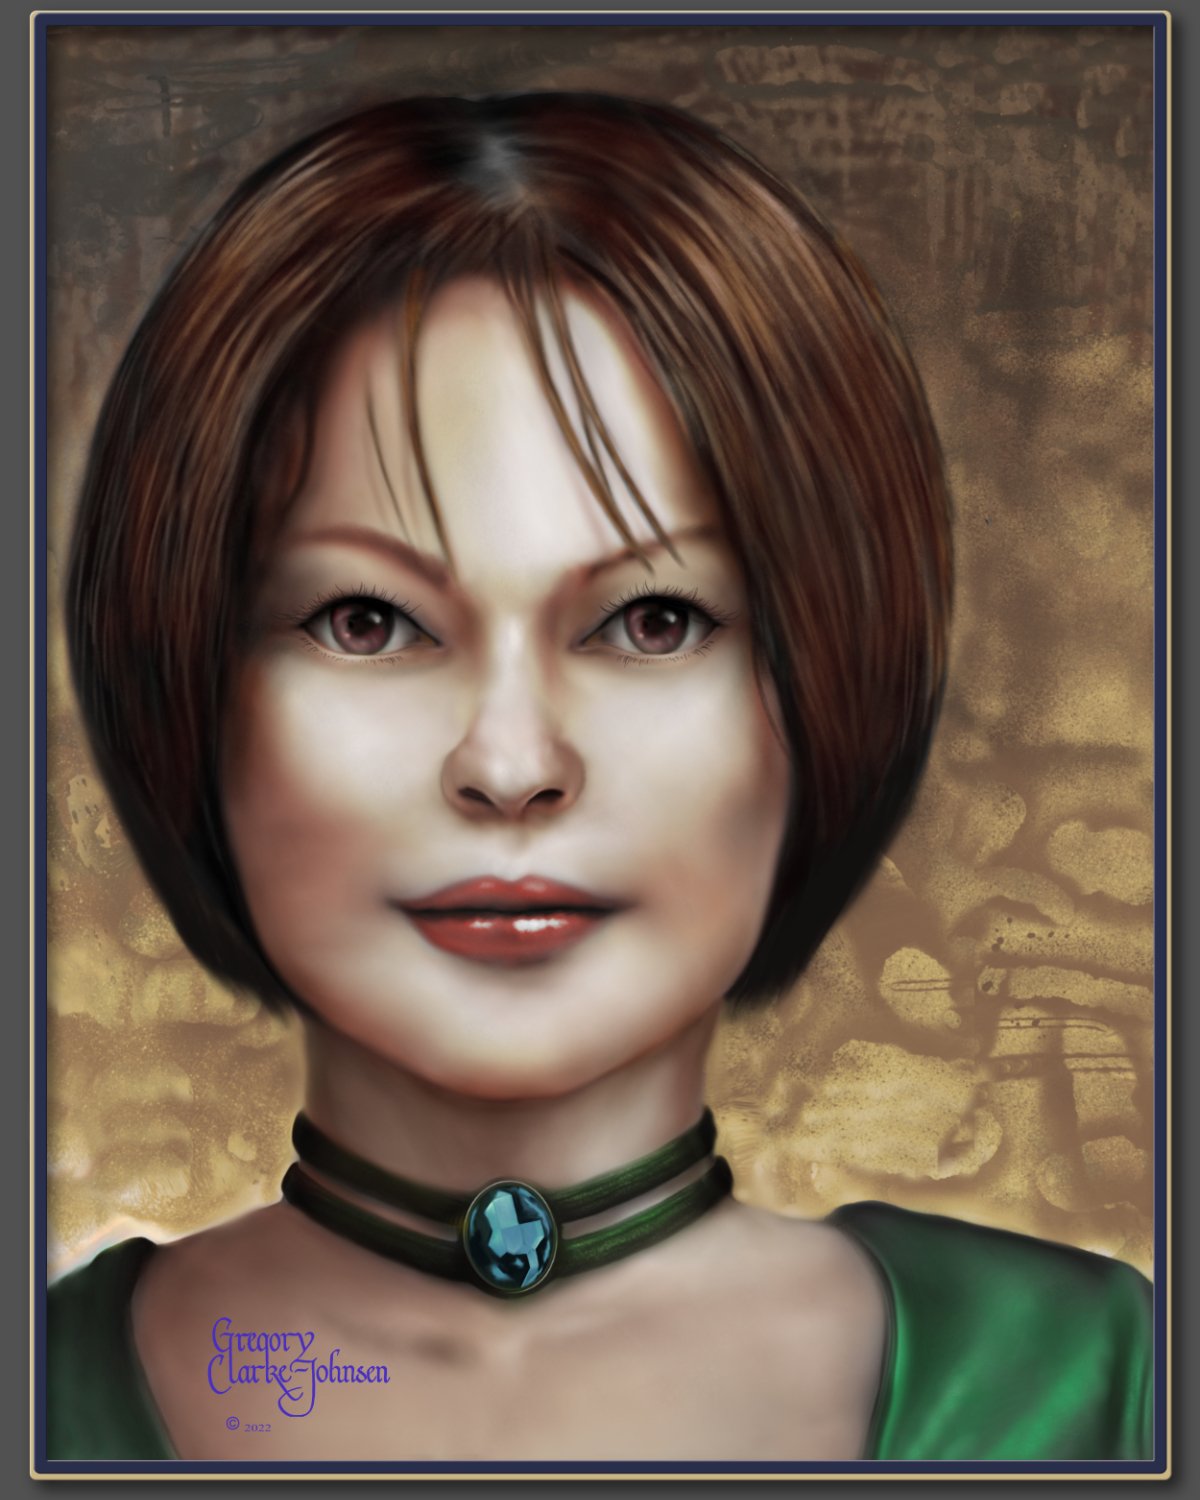
Hi Digital Painters!, I have been using Affinity photo for the last ~ 7 years and have tried a variety of approaches to digital painting with this software. My latest approach which I find successful, involves three main steps. 1. Define the flat shape of the head ( in this example) using grayscale and the default digital pencils... I especially like the 4B natural pencil and the Carpenter's pencil and a few blending brushes I created by reducing the strength of the default painting brush. 2 Create the form of the head by introducing light and dark to create volume and light and shade to create the lighting/luminosity across the surface of face, again using grayscale. 3. Add color- use gradient maps as a non destructive approach to adding colour. 3b. final tweaks. Hope you find this helpful. All the best Gregory Follow me on instagram @clarkejohnsen
-
- 5
-

-
- digital oil painting
- digital painting
- (and 1 more)
-
Starting to understand the layer functions in AP. I use a white rectangular layer between background and the layer that I draw on; this white layer's opacity I change to see the background and the result of my drawing. Mostly used various (customized) Brushes, the Smear tool and the Burn and Dodge tool. Some effect filters. This portrait was drawn from scratch and many temporary layers have been merged down. Actual size of the portrait is 60 x 46 cm, reference image was a small b&W photograph. What I would like to see in the Layer Adjustment functions is a button to see the original state to compare with applied function.
-
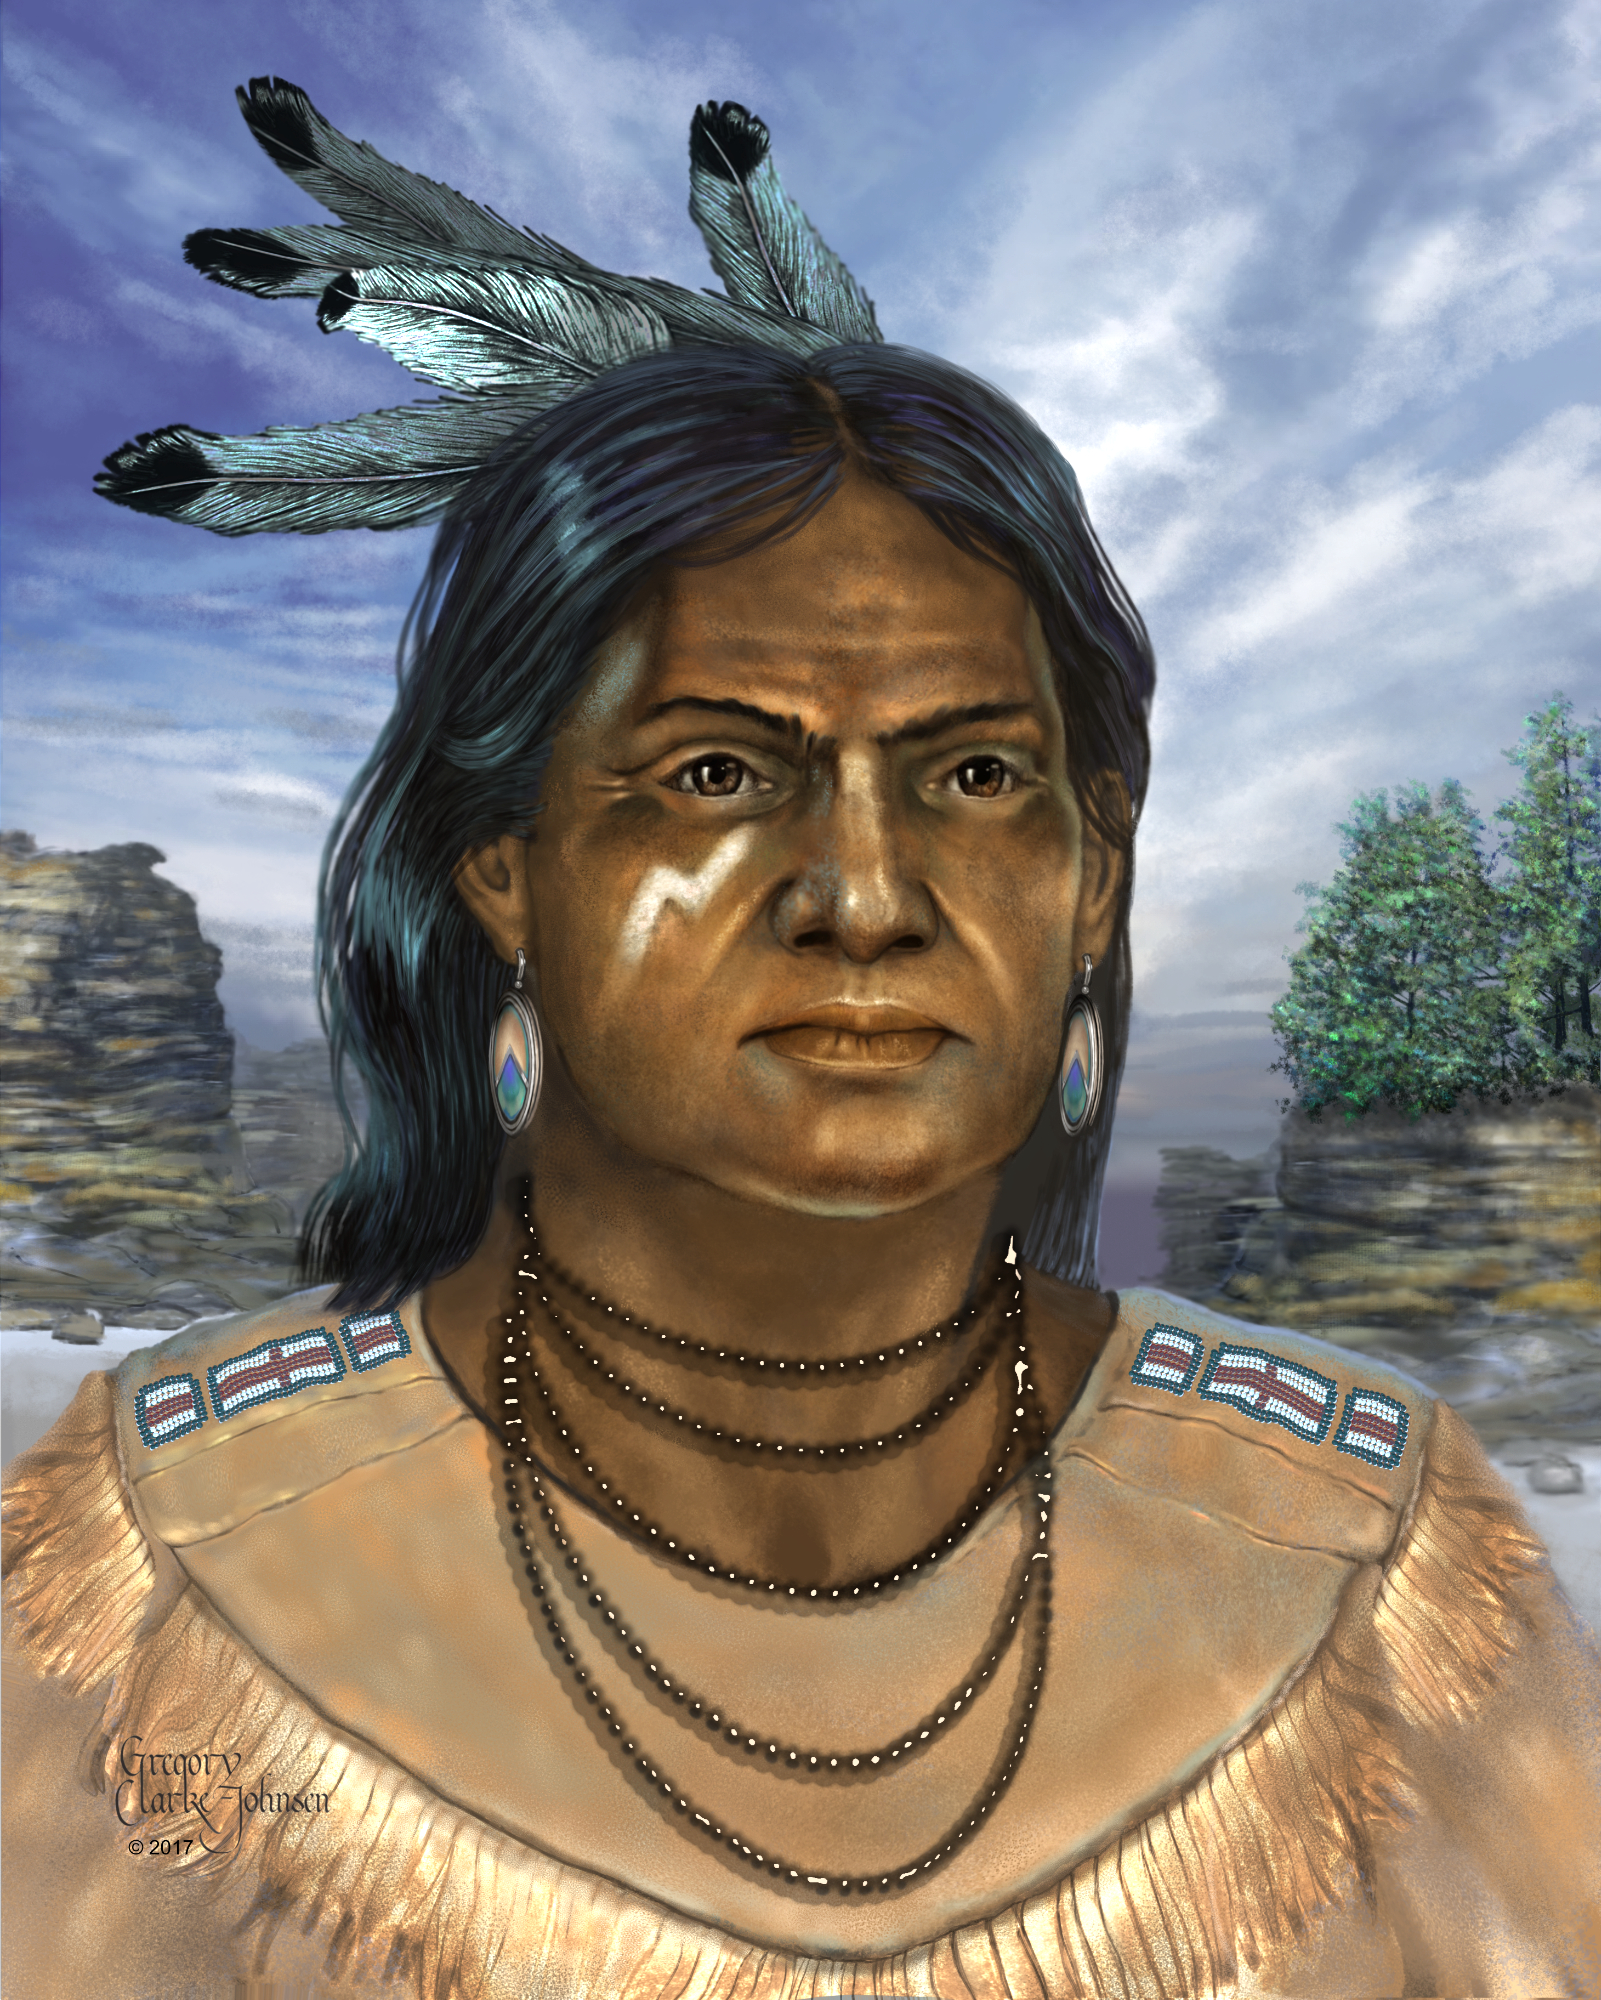
Hi, Just recently discovered Affinity Photo and so glad I have. Been working in Photoshop for many, many years and was wanting a change. i.e., a desire to move away from Adobe's subscription based business model. Digitally hand crafting a painting with AP is pure Magic! This image started as a graphite/pencil drawing which I scanned into AP. As you can see, I flipped the image and made some anatomical and perspective corrections to the head with the liquify persona and then went to town hand painting the image. Initially, I used some of my favorite PS brushes which I imported but soon began to discover that the Default brushes that come with AP are far superior to my PS collection of brushes that I collected over the last 15+ years. So I completed the painting primarily with the default brush selections. Here are two images. 1. the final painting 2. the image as it developed. Let me know what you think. All the best
- 6 replies
-
- 5
-
-
- gregory clarke-johnsen digital artwork
- first nations man
- (and 3 more)