Search the Community
Showing results for tags 'centered'.
Found 4 results
-
 Sorry to bother with Fireworks features but this one I happened to use a lot. In AD, zooming in with CTRL/+ currently zooms in on the center of the viewport. Fireworks used to do that when you didn't have anyuthing selected. However, if you selected an element on your viewport and hit CTRL/+ you'd zoom in on the selection until ultimately it's full screen centered (similar to double clicking on a thumbnail in the layers panel). Makes sense since you're working on those and want to watch them closer, not?
 -
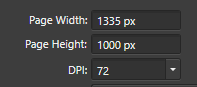
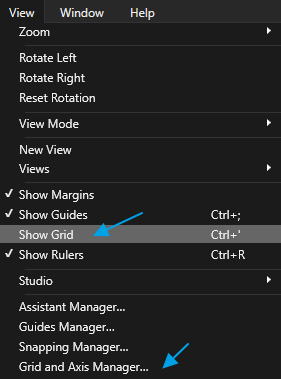
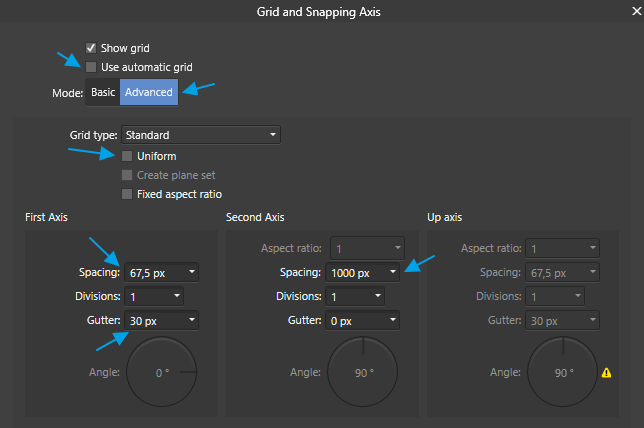
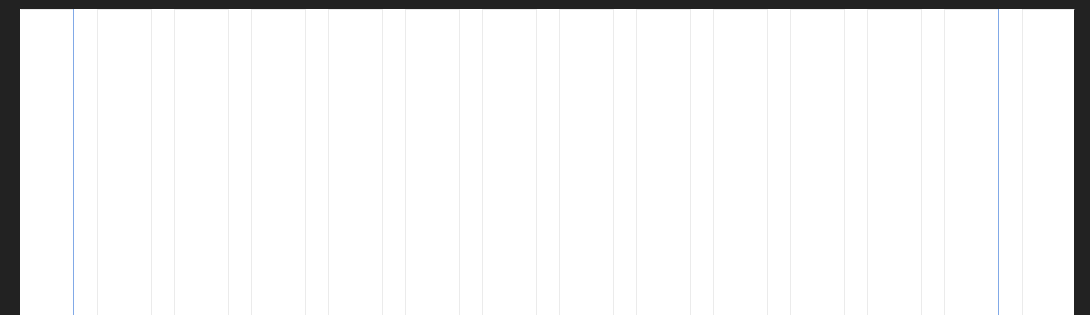
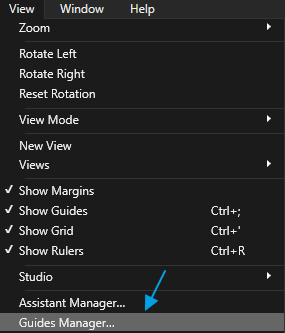
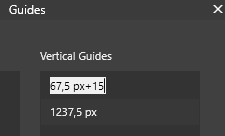
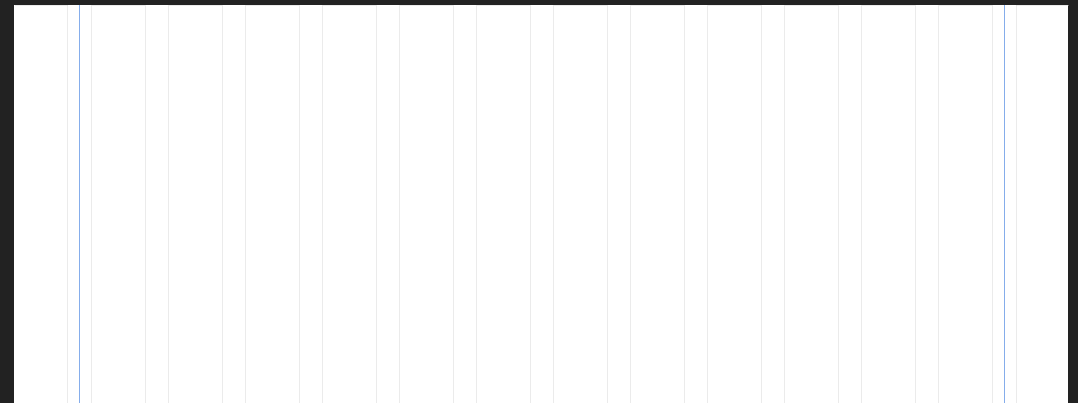
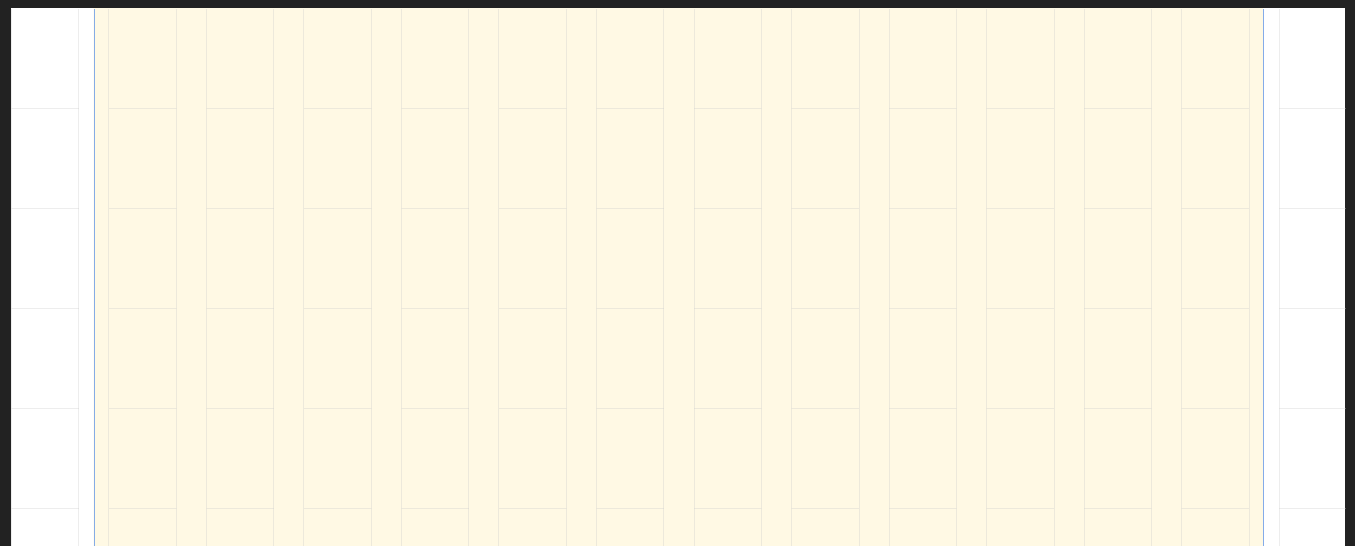
 Hi all, I figured out a way to configure a centered grid design in Affinity Designer, with a custom number of columns and gutter width. Below is a spreadsheet to calculate the required values. If you make a copy of the file to you Google Drive, you can edit the values. https://docs.google.com/spreadsheets/d/1imTD6Ao3OJyS0_E-fnHTr5l9GKG9zulM4uIutVZGAnE/edit?usp=sharing Example values for the calculation: Grid width: 1170 px Nr of columns: 12 px Column width: 97.5 px (= grid width / nr of cols) AD Gutter: 30 px AD Spacing: 67.5 px (= col width - gutter) AD Document width: 1335 px (= 2*spacing + gutter + grid width) Here's how you would use these values in AD to set up your grid. Create a new document, use the calculated document width, 1335 px in this example. Go to the View menu, enable 'Show Grid' and open the 'Grid and Axis Manager' Apply this grid manager configuration: - Untick 'Use automatic grid' - Select 'Advanced' mode - Untick 'Uniform' under 'Grid type' - First Axis spacing: 67,5 px - First Axis gutter: 30 px - Second Axis spacing: 1000px, for this example we use the document height but you can use any height you like Add guides to the left side of the first and last gutter. Go to 'View' - 'Guides Manager' Add half the gutter width to both guides by appending '+15' and pressing enter. This should be the final result. You will end up with two additional columns on the left and right side of the document. The reason for this is that there is no way to have a margin on the left side of your document using the grid setup. By following this tutorial you end up with a document that contains 2 more columns, but you simply do not use them. In the export persona, you can easily set the slice to export only the part of your design you need. In the screenshot below, I've marked the area you actually use. Of course there is an example .afdesign file to save you the trouble ;) centered 1170 px 12 col grid kareldries.afdesign
-
Hello, I'm new to Affinity Photo. I'm trying to make a marquee selection, centered on the starting point. In Photoshop i did this using the ⌘ modifier, but in Affinity Photo that's reserved to subtract to the selection. How can I accomplish this? Thank you in advance.
-
 Hi I hope I'll explain my problem well. I am trying to use Affinity Designer as my new UX tool for wireframes and mockups, and so far so good. But there is a little something that is irritating. Every time I want to center some text inside like a circle or a square, it is never truely centered. My snapping tools are on. but still even if I put my text on the red and green line, the text is always a little off. I saw that every text got a little space between his bottom and the bottom of the selection box. So I think it is because of that, I am looking in the transform text dialogue box to see if I can do something... but no good conclusion. What should I do? Thank You