Search the Community
Showing results for tags 'Portraiture'.
Found 7 results
-
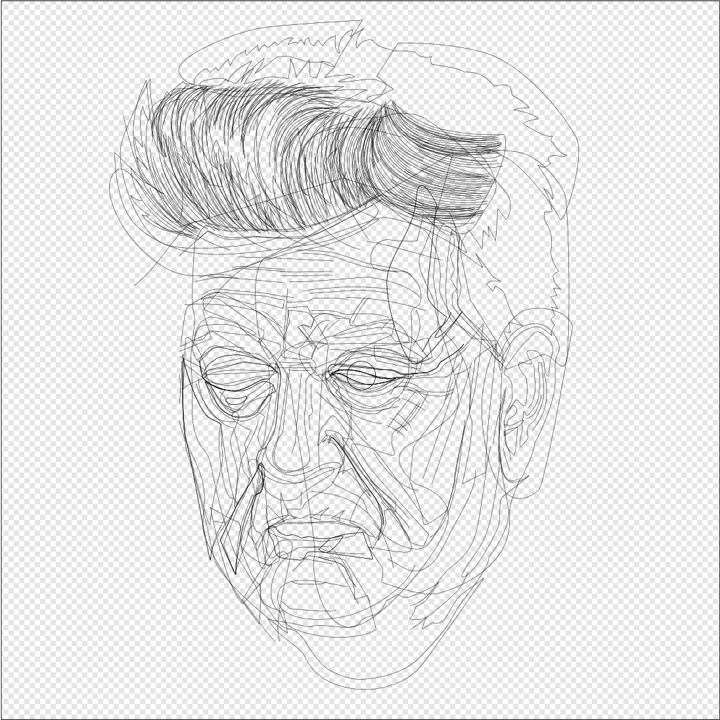
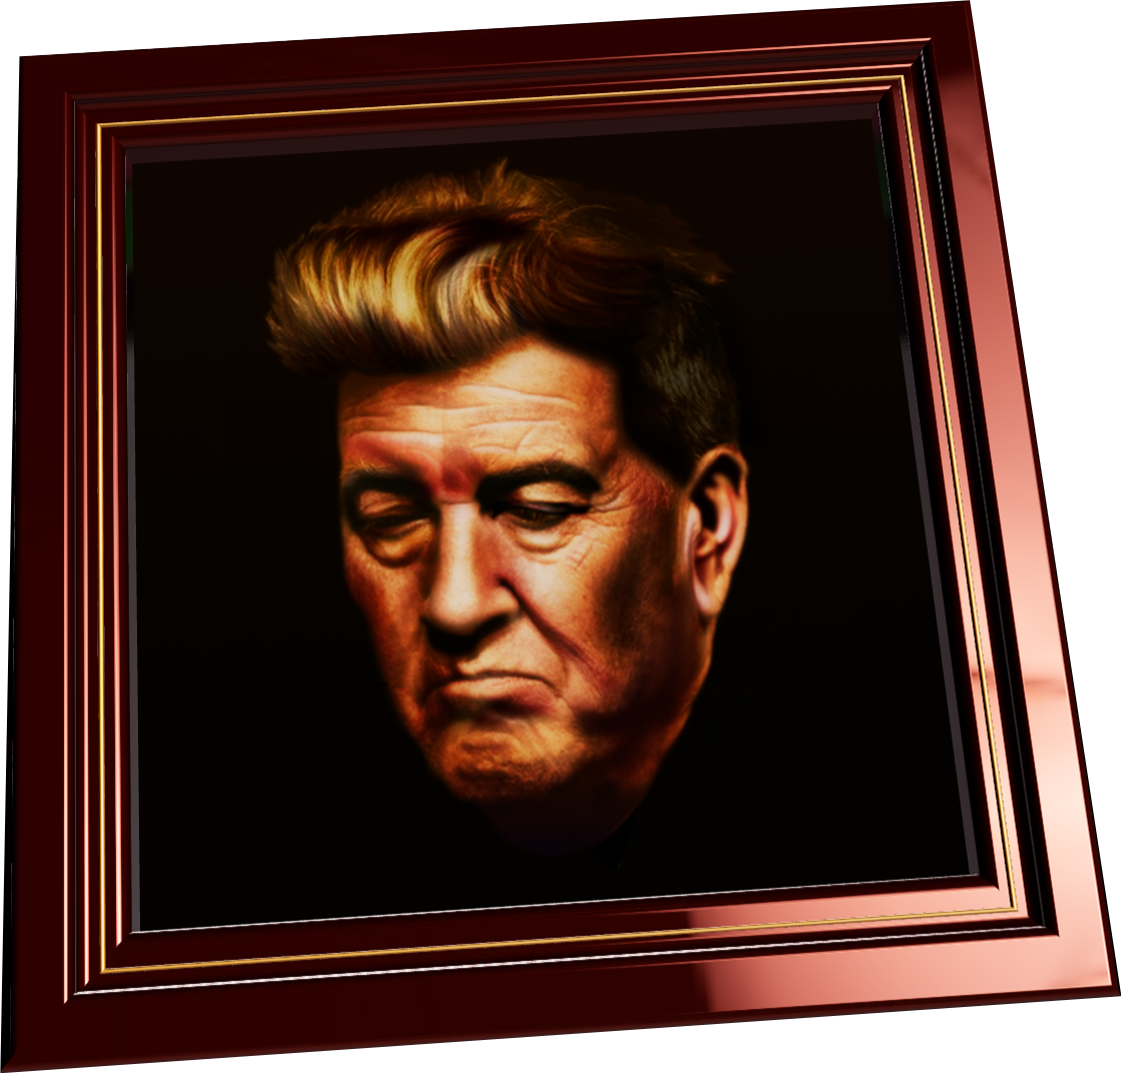
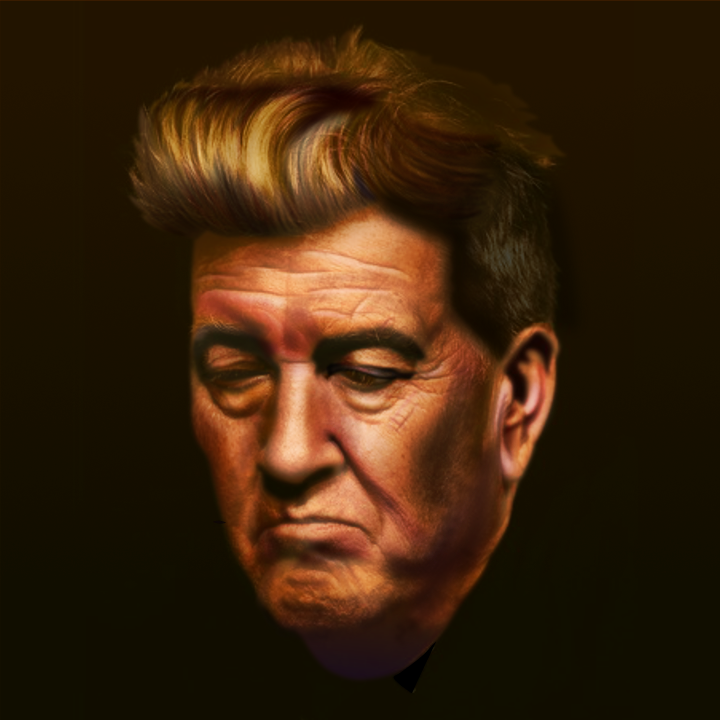
Vector portrait of movie director, actor, visual artist and musician David Lynch. All 12 stages of progress in my portfolio blog: https://communicats.blogspot.com/2024/01/david-lynch-vector-portrait.html In aforementioned blog I briefly explained how the effects used have been created, but I will repeat them here for clarity: In Affinity Designer there are what Serif calls 'Vector Brushes' that actually are based on bitmap images. So, this in fact is not a 100% vector portrait. Users can draw these brushes themselves in vector format, that are exported as png-files. For almost every 'vector' portrait, drawing specific brushes have to be created, since no hair strand or pore texture in a person's face are the same. To such brushes Gradient Fills and Gradient Transparency effects are applied and sometimes they are Duplicated using Filters (below the Layers panel) that in some cases are offset, re-sized, skewed or mesh warped a little. In a number of cases it helps to apply the 3D lighting effect - highlights and outer shadows - to these brushes too. In the Gradient Tool there is an option to use bitmaps as the fill, which also is useful to achieve the desired effect. To these type of fills the same effects can be applied as used to manipulate the Vector Brush strokes.

-
 Follow the steps to install the Portraiture plugin for macOS without having any other editing apps installed. 1, Start the install of the Portraiture plugin 2, You will be prompted to select a host to install the plugin into 3, Close this window, the install will finish 4, Open Affinity Photo, Preferences > Photoshop Plugins 5, Click Add Folder and browse to the following location: /Applications/Imagenomic/Portraiture 2 Plug-in 6, Click Add Folder under Plugin support folders and add the following: / 7, Now click Close, you will be prompted to restart Affinity Photo Once restarted the plugin is available under Filters > Plugins (This was tested using the trial of the Portraiture plugin 2 and Affinity Photo 1.3.5)
 -
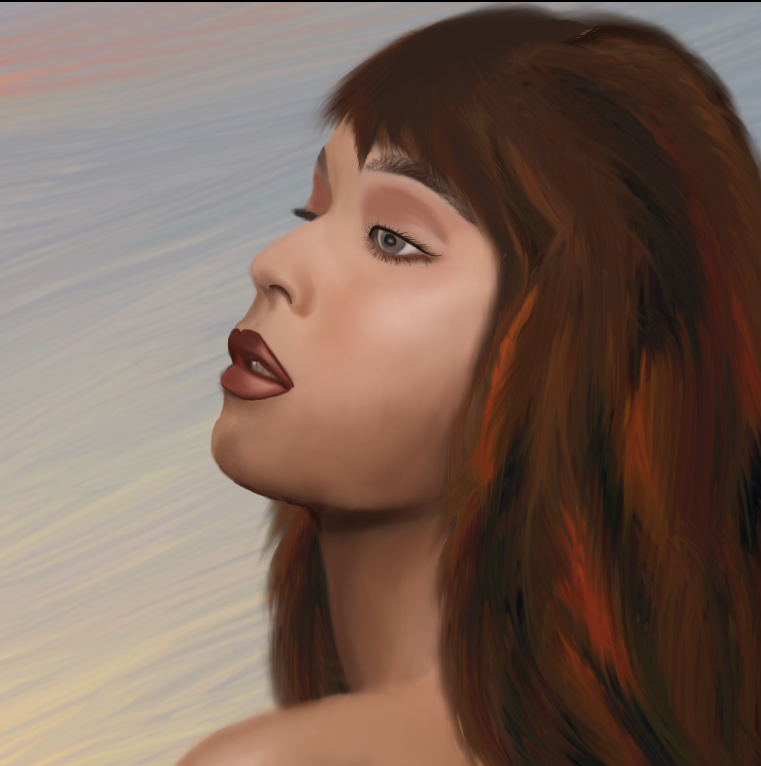
Hello my fellow designers, I'm uploading my latest artwork of czech model in style that I really love and is quite popular nowadays. I hope you like it! If you would like to see more, please follow this link to my instagram: Marek Černoch (@mara.cernoch) • Fotky a videa na Instagramu
-
this is my first time when i did try paint portrait. First try in my life. Still is alot things which i have to learn
-
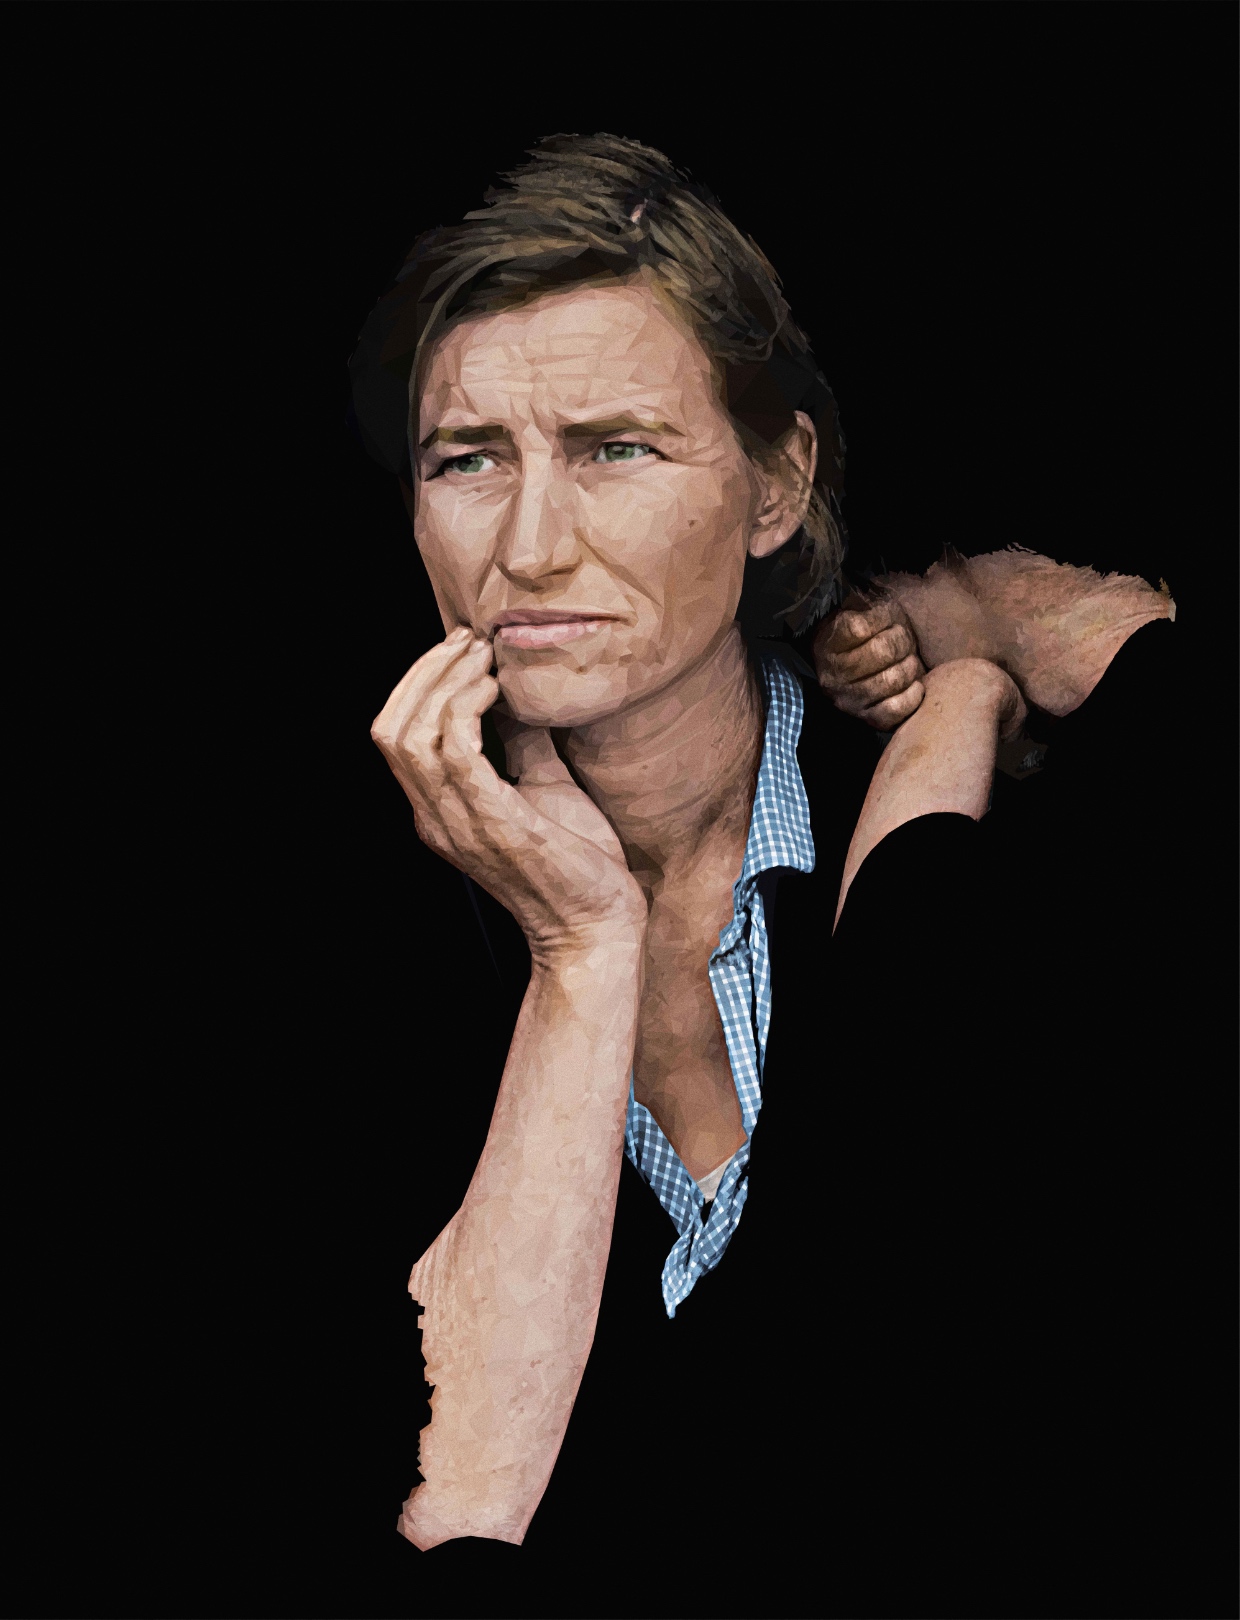
Part of the iconic photo of Florence Owens Thompson by Dorothea Lange. Not sure whether I'lll get around to doing the whole thing, depends on how much free time I have.
-
Go see my work here https://www.instagram.com/xpo_lindahl/ I am totally new to Affinity Photo and look forward to whether it is so good that I will opt out of my Adobe.
-
 I would like to request a similar Edit and walkthrough as this one here on youtube but for affinity for the iPad... Particularly bringing the sun out & complete start to finish since I'm new to Affinity Photo ... I know this result is possible i just can't get down the layers and masking ... If anyone could put something like this together i would be forever grateful Thank You, Joey


-24B&W.jpg.cd56e2b000ddafab77a110986a245829.jpg)