Search the Community
Showing results for tags 'Lighting'.
-
 In this Affinity Photo V2 tutorial Desktop version, I use show how to create multi colored outer glows plus add texture and lighting https://youtu.be/sTxKHA7Grpo Note that I also have an iPad version of this tutorial
-
- 1
-

-
- multi colored outer glow
- texture
- (and 6 more)
-
3D texture with live lighting Affinity Photo tutorial on iPad and desktop. First I show the way I believe it was meant to be used, but then I tried something different. I used a photo of a flower and gave it live lighting with 3d texture. https://youtu.be/lFK-Gqz1x2I
-
Theatrical lighting using the lighting filter - Affinity Photo beginner tutorial Power Tools 27
-
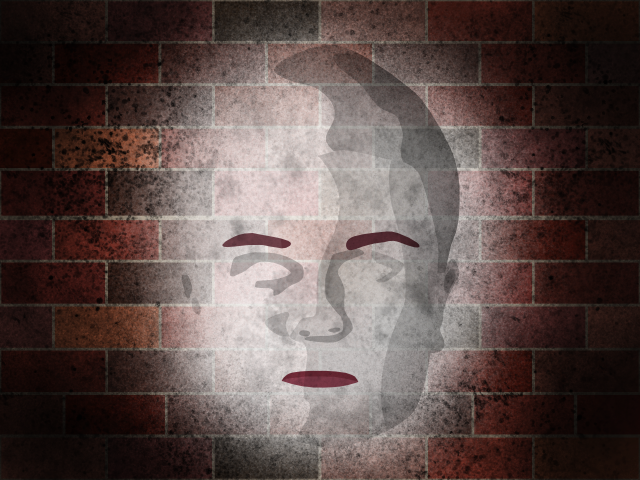
 Hi guys, in this video, I'm gonna show you how you can create your own light effect and apply it to your photo to make it looks more dramatic. I hope you enjoy and learn something new from this video, thank you!
-
- 2
-
-
- affinity photo
- tutorials
- (and 4 more)
-
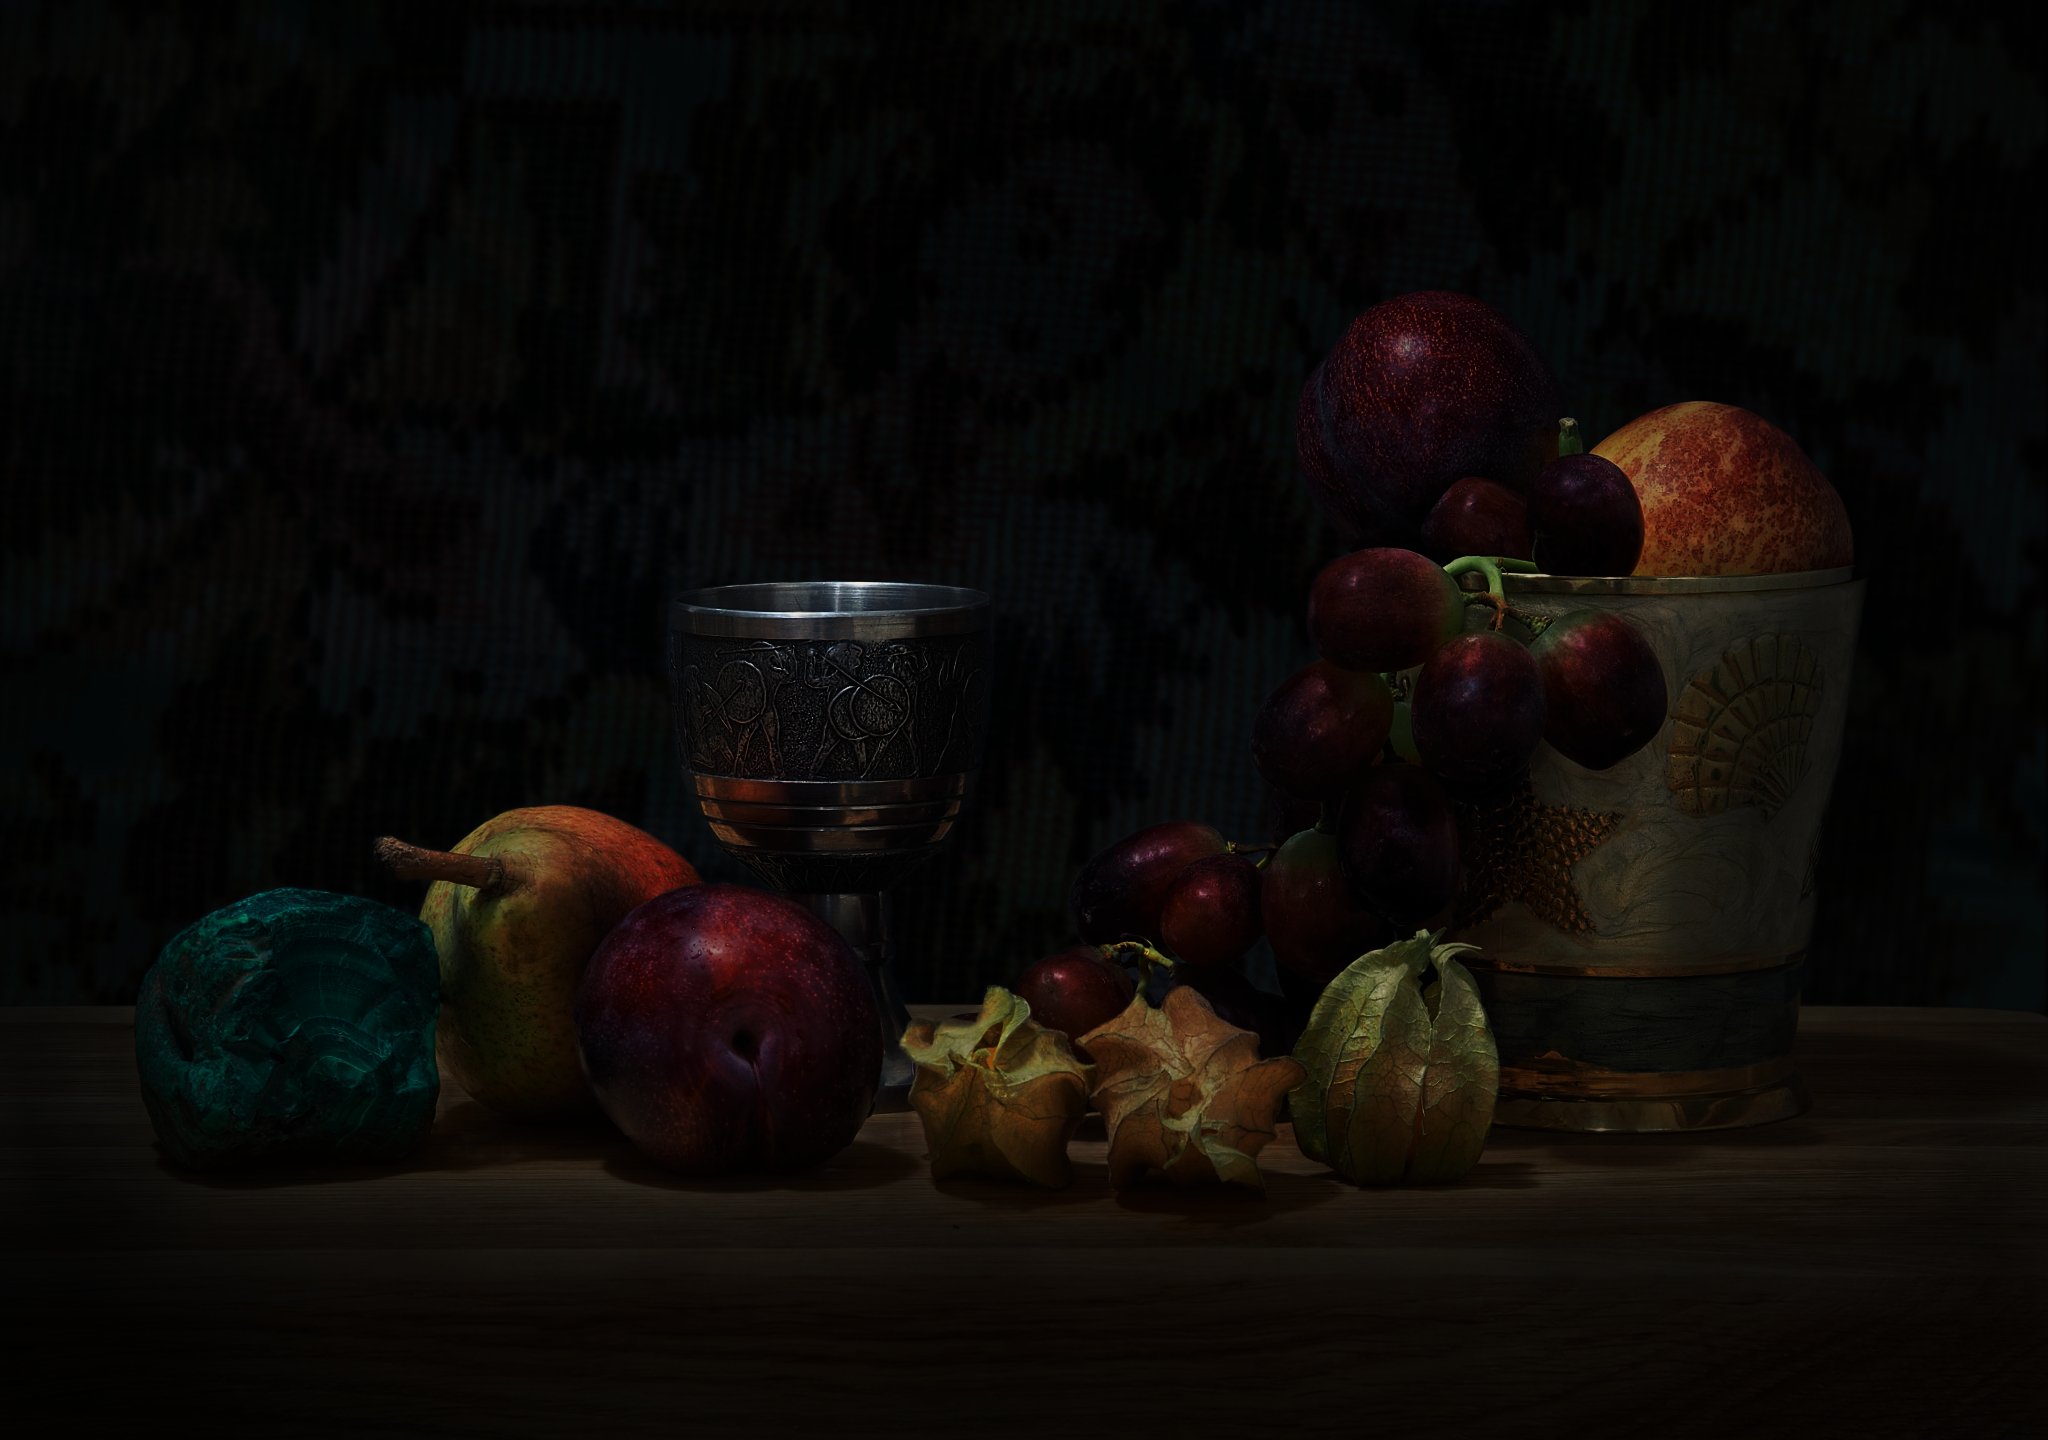
Pp with Affinity Photo, added lighting and LUT. LUT preview in Adjustment panel is quite slow.
-
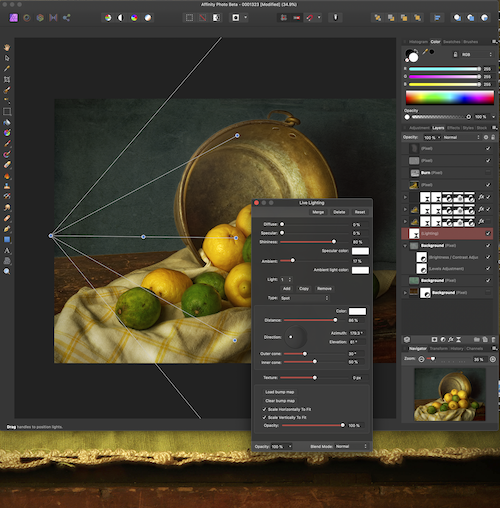
Changed background, added textures and lighting effect, dodging and burning locally, some cleaning. I was looking for some old dutch school feeling. Comments please! Mft
- 10 replies
-
- 8
-
-
- still life
- dutch
- (and 4 more)
-
 Instead of adding a new light inside the Lighting filter I added a new lighting filter on top of the other hoping to get more independent lighting from the first but it doesn't seem to work this way. It "cancels out" the other. Is there a way to do this?
 -
 Very excited to finally being able to present this class: “REALISTIC VECTOR ART PRINCIPLES“. In this class you'll learn all the techniques, methods, tips and mindset to achieve professional results like you see in these samples of my own work. HOW to observe, HOW to think, WHAT to do and WHY. Watch the video to get all the information about this class. See you there! Thanks. https://www.youtube.com/watch?v=ZgYN2MRcl2w -- 10 FREE Udemy coupons for this class will be raffled among anyone asking for them with a comment on the Youtube video. I will reply commenting back with instructions for winners on Friday 13th - Good luck y'all
-
When I print a document that uses a Lighting live filter, it prints as if the filter is deactivated, even though Affinity Photo displays the image properly and, when I export it as a JPEG and print it using Preview, the effect of the lighting filter is evident. Background info: Affinity Photo 1.7.1 running on macOS 10.13.6, viewing on BenQ SW271, printing on Canon Pro-1000 on Canon paper with Canon paper-specific profile. I'm including _DSC1677_AFP_2.afphoto, the AFP document, and Archive.zip, which contains _DSC1677_AFP_2.jpg, an export from Affinity Photo to JPEG with the filter unchecked, and _DSC1677_AFP_2a.jpg with the filter active. I have tried twice to print this directly from Affinity Photo, making sure that the lighting filter is checked. Both prints are identical, and the same as _DSC1677_AFP_2.jpg when printed from Preview.
-
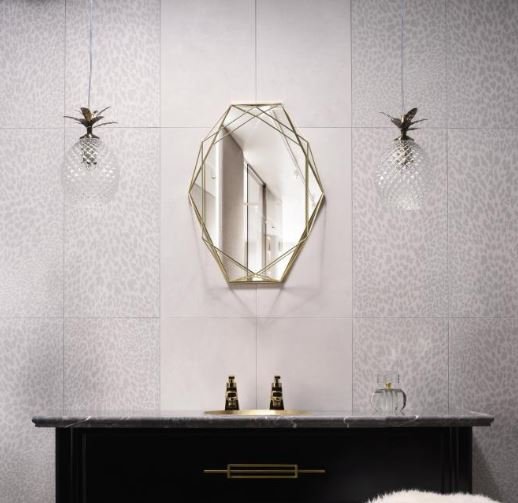
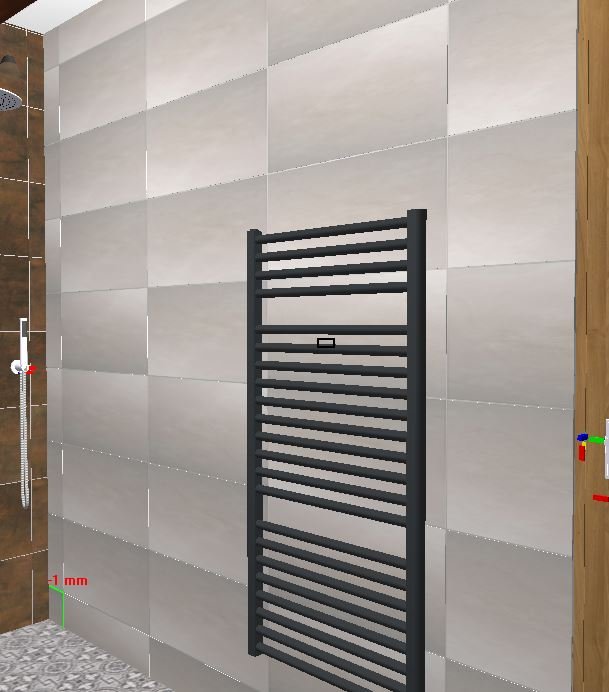
 Hi - Newbie to Affinity and photo-editing in general here. I do 3D bathroom design work but sometimes the only tile images we can get have lighting effects applied to them. When used in 3d, this looks dreadful! How can I remove this lighting effect coming from the top left corner to give an even brightness to the tile? I can then apply lighting in my 3D model to give the effect I want. Many thanks, Laurence Only tile image available Looks awful when tiled to the wall in 3D Even tile shading shown from a promo shot
-
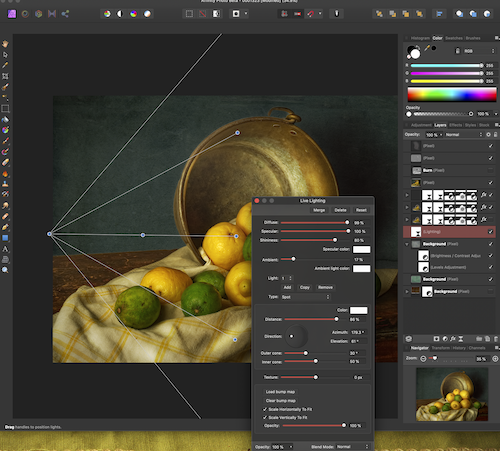
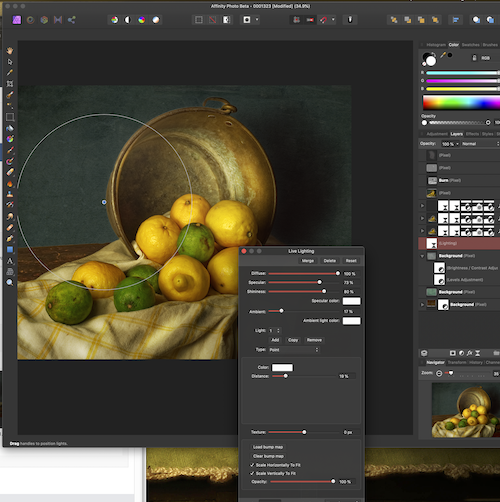
 I re-opened a file I have worked with V1.7. I wanted to work on the lighting of the background but the filter does not want to work. As you can see on the screen shots, nothing changes after changing the lightning parameters. Or I am missing something or the lighting has some problems. I believe that this goes together with other posts of mine on the lighting filter in V1.7. All the problems seems to happen after I save and re-open the file.
-
 The Live Lighting Filter allows you to import an image to use as a bump map. I would also like the option to use an existing layer within the open document as the bump map (Much like the way the Displacement Map filter allows you to use another layer as the source. However I think entering or selecting the layer name in the Lighting filter panel would be preferred over the "Use layers below" approach in the DM filter) With an imported bump map, you can't make any edits to the bump map without opening it as a separate document. That makes it very difficult to edit the bump map in context of the image you are applying it to. By allowing an existing layer within the open document to be used as the bump map, you could easily modify it and quickly see the results. Examples: erase a portion of the bump map where you want no texture, alter the contrast of the bump map, rotate, re-size the bump map, etc. all without the trial & error of editing a separate image. Thank you for your consideration. Love Affinity!
 -
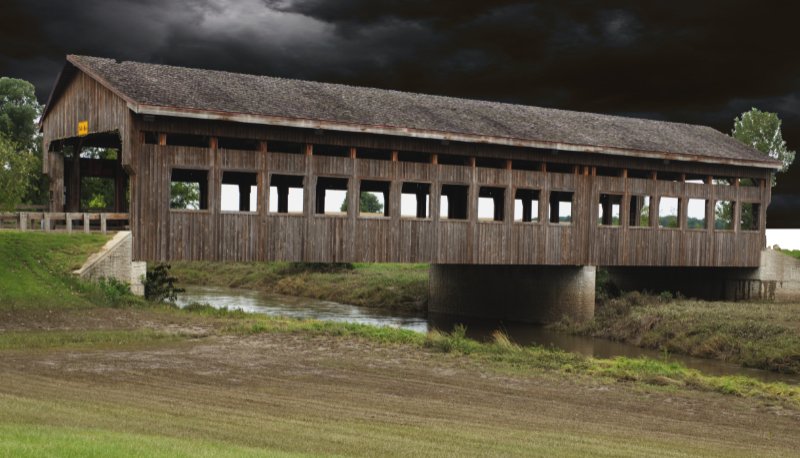
 ok, here's a question for the heroes out there. I have a shot of a covered bridge that I have added storm clouds to and darkened. (see attachment) I want to add a warm glow from several of the windows where the light appears to come from lamps hung above the windows but coming out the windows - similar to Thomas Kinkade paintings. anyone have any ideas? The first attach is the bridge, the second is Kinkaid's Graceland choose files...---------Click to choose files.url
-
 The following video in YouTube demonstrates how he was able to add light onto the subjects feet area without it affecting the entire photo. What I appreciated of the feature, he was able to open a circular zone, and inside that zone, no matter where he dragged it, that’s where the light remained. Is iPad Pro (10.5 - 2017 model) to weak for such a feature? Or does Affinity Photo have it, and I’m just not aware of it? I am aware of the lighting persona, the 3 prongs and it brings up that lighting spotlight that flares out. I mean something just like in this video? (Seems more intuitive to me) Manually Fast forward to 9:42 timestamp. Google doesn’t allow us to timestamp from our iPads devices (facepalm)
 -
 Is there a way to save a live lighting filter as a "new" light? or preset? I've searched the forums and read everything I can get my hands on regarding lighting, but I can't seem to find any setting that allows you to do this, (as a similar function allows in Photoshop). If there is no function like this, are there any plans to develop this in the future?
 -
 I am more drawn towards using Designer but will be spending more time later this year learning about Photo. One of my HUGE Designer / Photo add on packs which is my main production flow, requires me to need a photo editor, Despite being a long term user of another editor ( not PS!) which offers utilities not included in Photo, I find thta I can get what I am wanting in Photo without too much hassle. Let's say I am liking it alot.. So as my effort of showing off my creations here is one and I included the original image for comparison. Hope you like it. I encourage all positive critiques!
- 6 replies
-
- 1
-
-
- lighting
- recolouring
- (and 2 more)
-
 It's often nice to be able to add a pool of light, for example under a lamp or generally around the image to create more contrast. A simple way to do this: Gradient tool (left toolbar) Type: Elliptical (top context toolbar). Note: this will create a new pixel layer. Click on colour panel in top toolbar. Leave left circle at white and set right circle at 50% grey. Blend Mode: Overlay. Control intensity with Opacity. You can easily drag and shape the pool of light. Change the left circle to any hue to create coloured pools. Drag half-way mark on ellipse axes to change gradient, or even click on axis to add more points. To do dark pools: Reverse gradient (top context toolbar button) and Blend Mode: Multiply. Note: While these are non-destructive (on separate layer), you don't seem to be able to go back and re-edit the ellipse afterwards. Using the Filters/Lighting filter as a point would seem an alternative, but it doesn't appear to be able to do an ellipse.
 -
Why does any new light I add take on the same attributes as the previous one placed? And if I change one they all change. This has to be a bug.
-
What do you think?
-
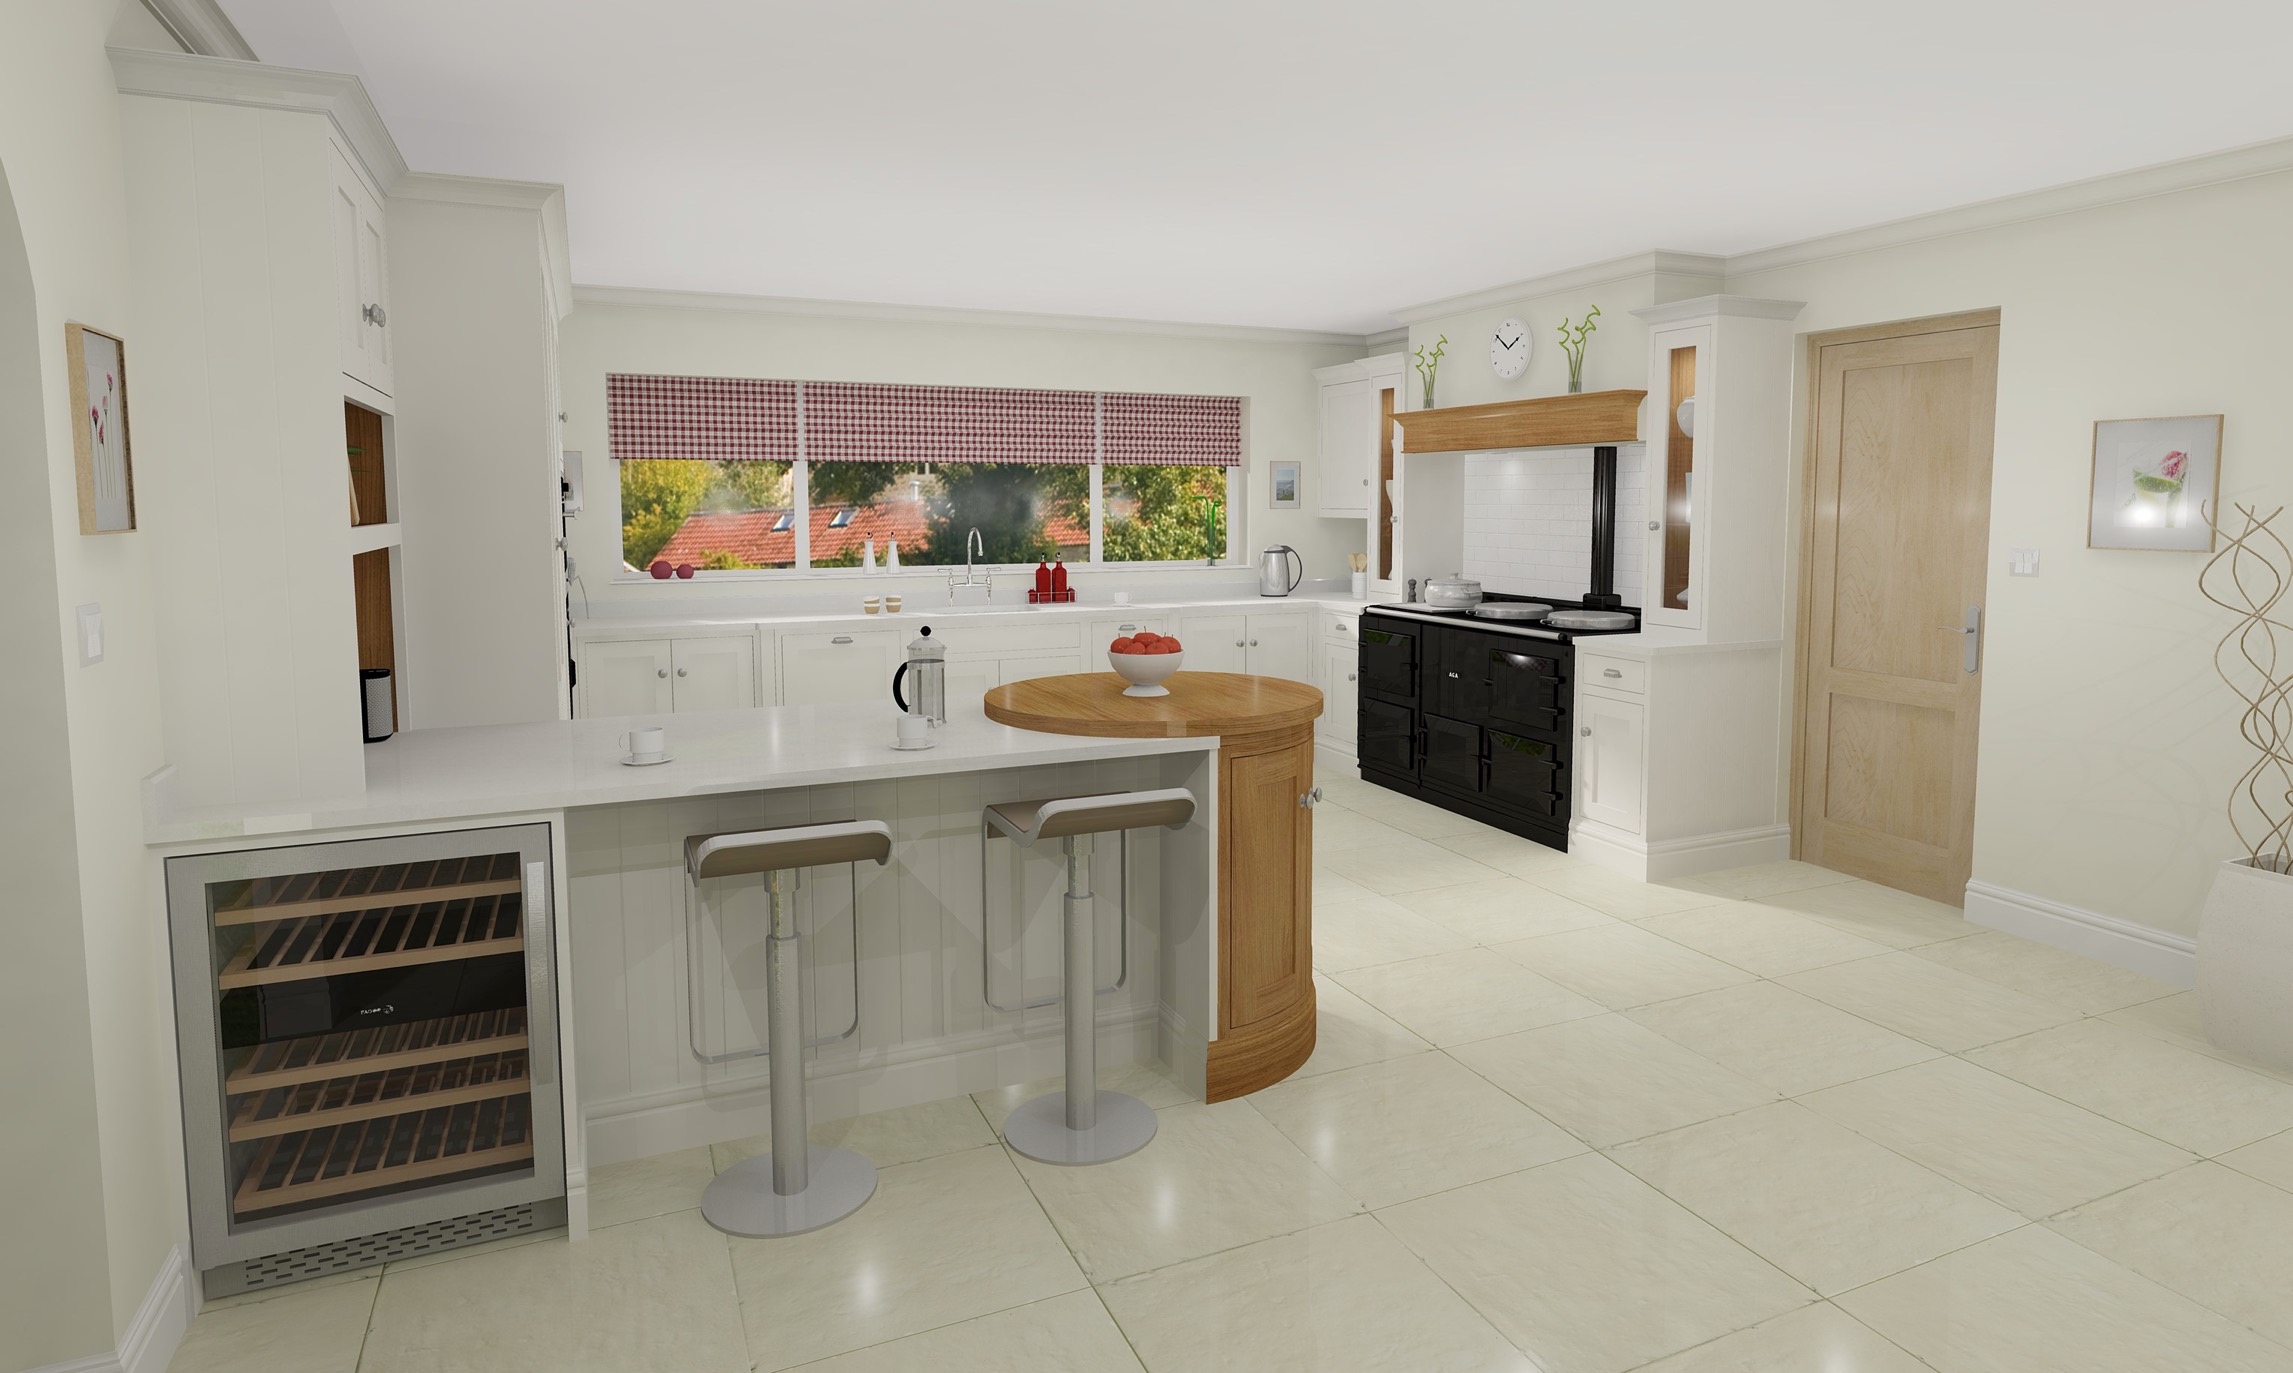
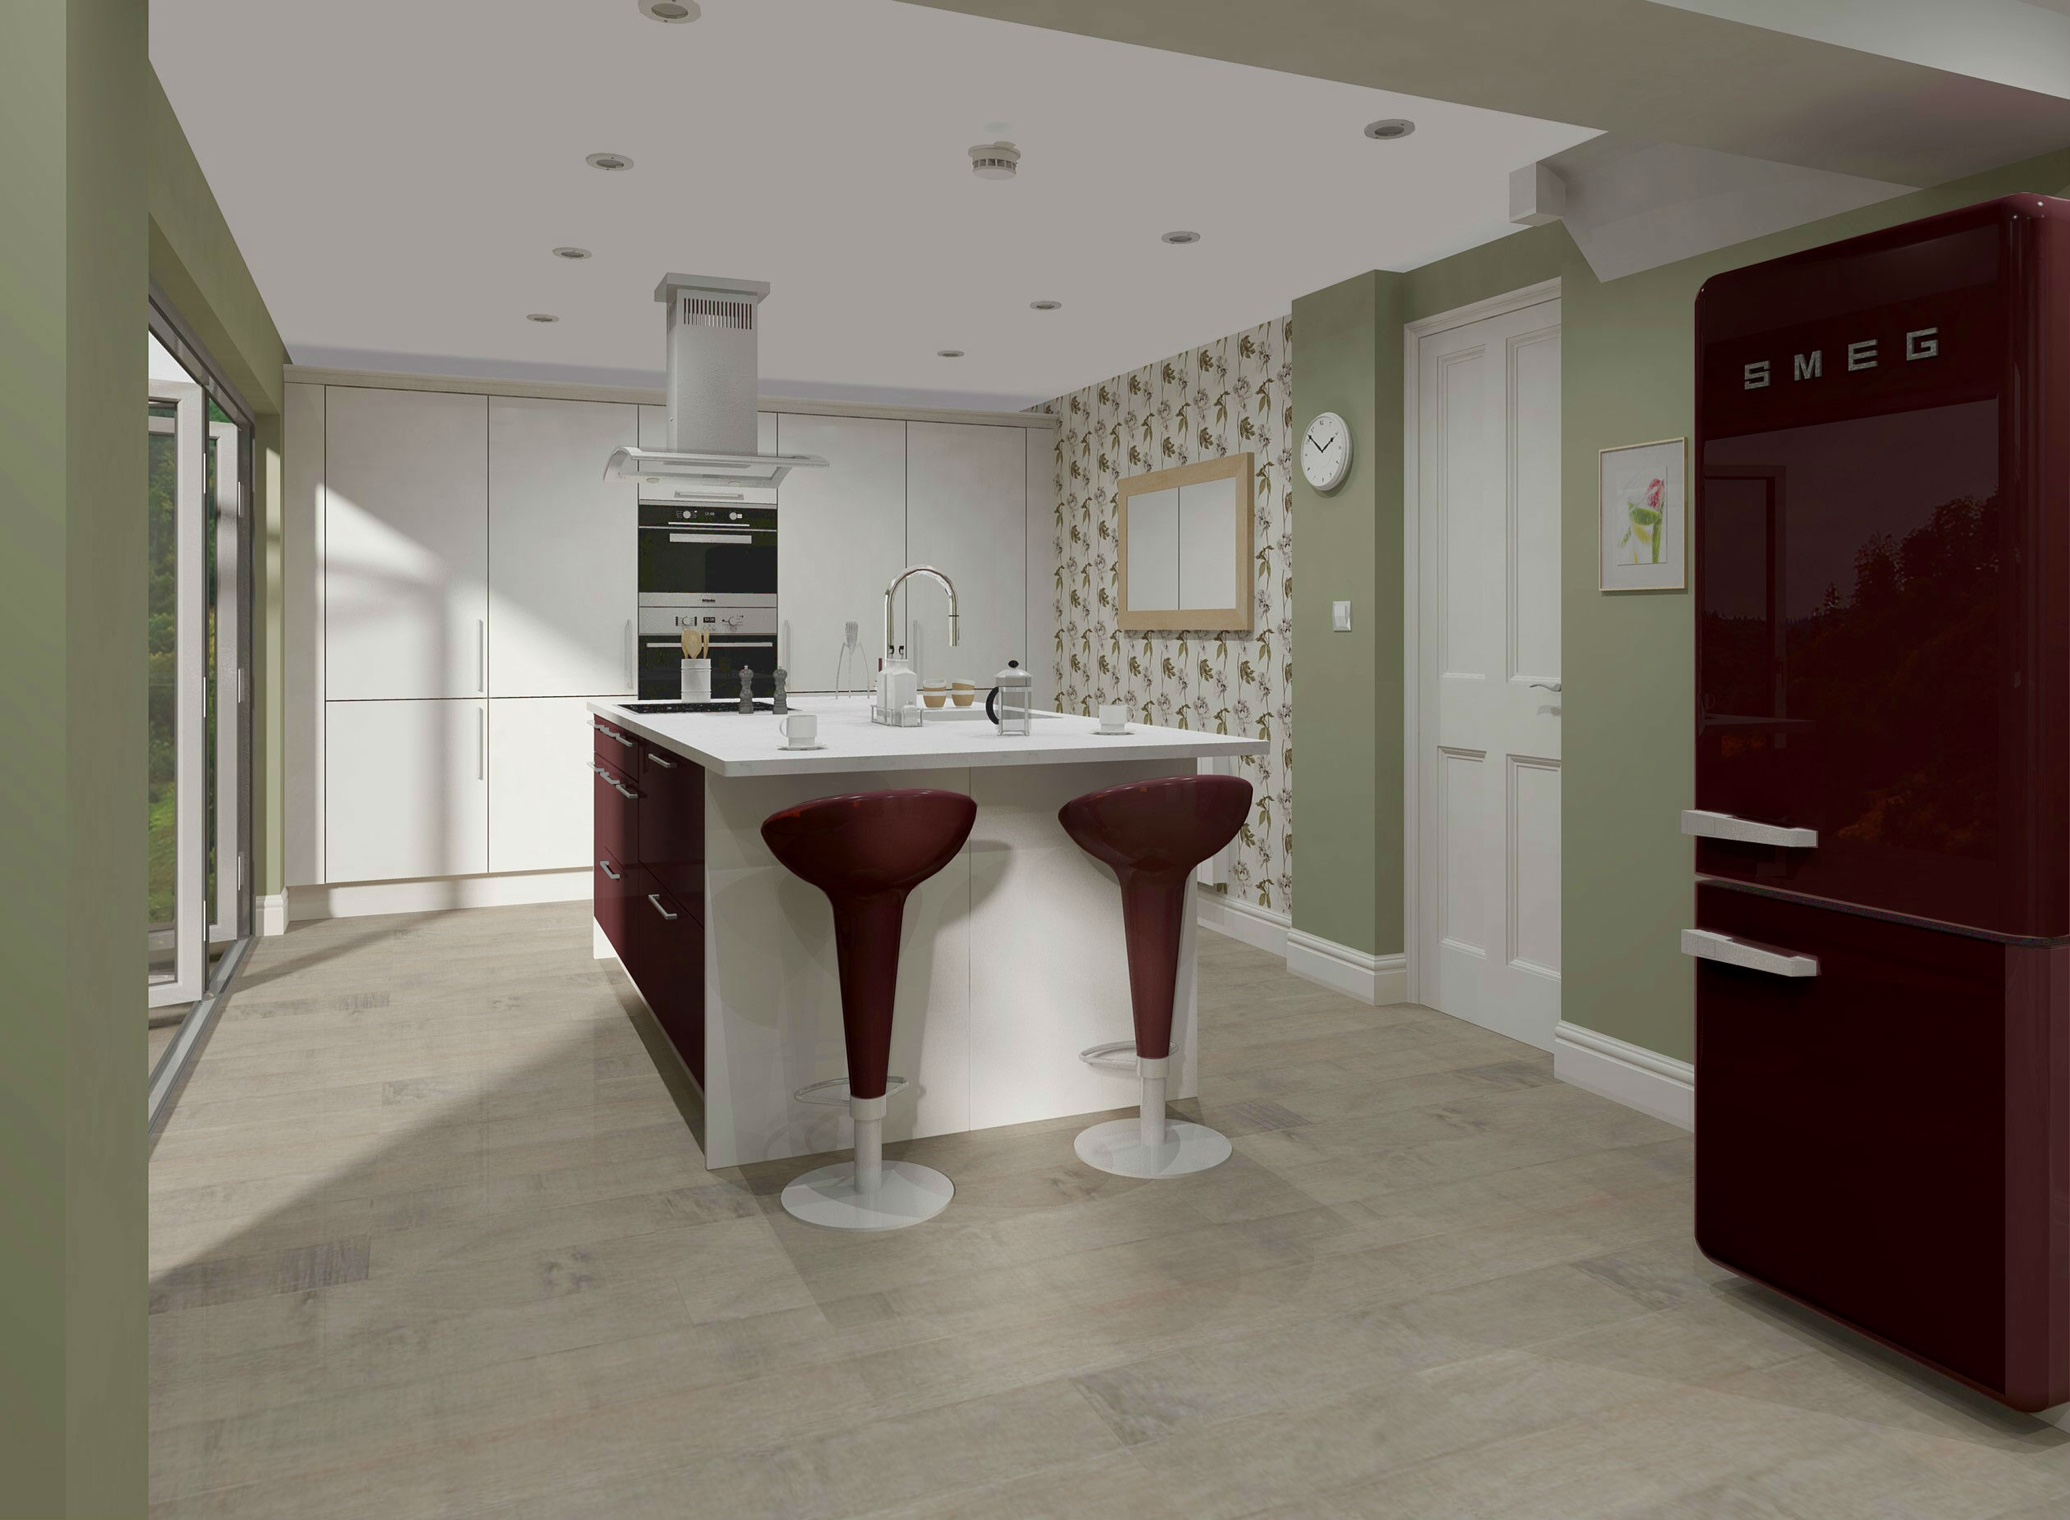
 Hi all, I am new to Affinity Photo, has anyone got any advice on how I can Make my cad visuals attached look more realistic with this software, what would I use to make adjustments? Thank you in advance.
-
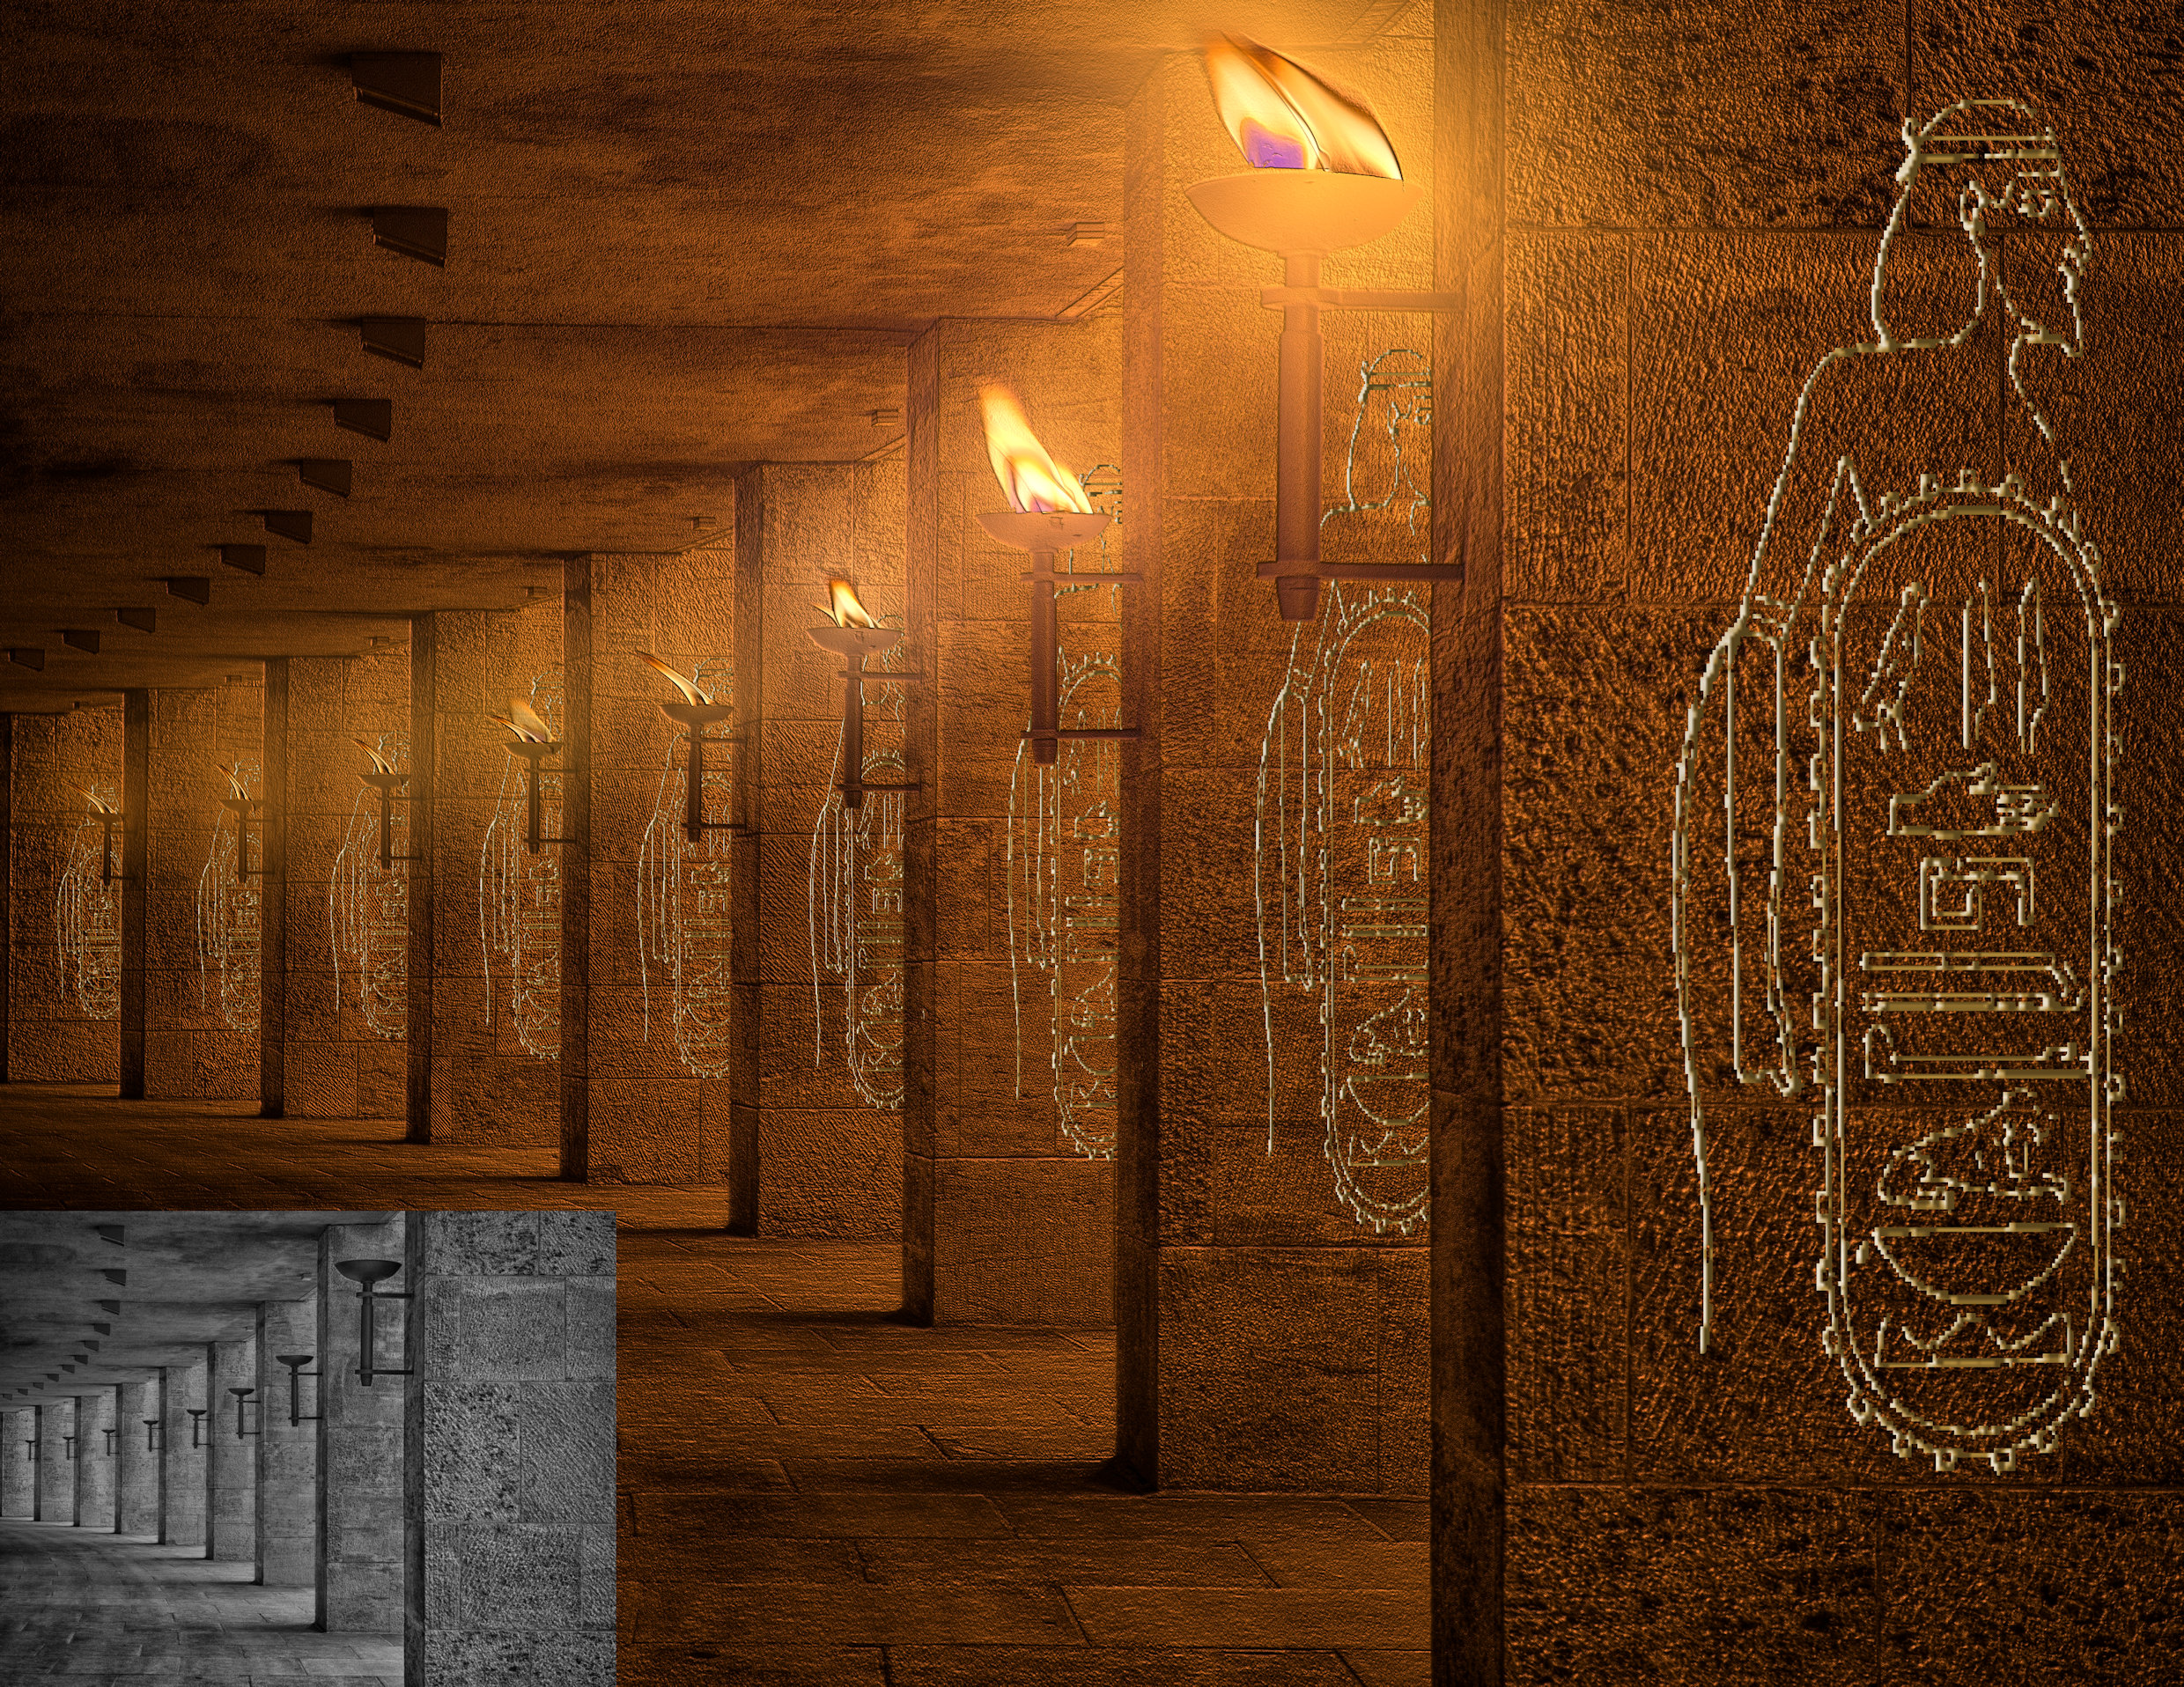
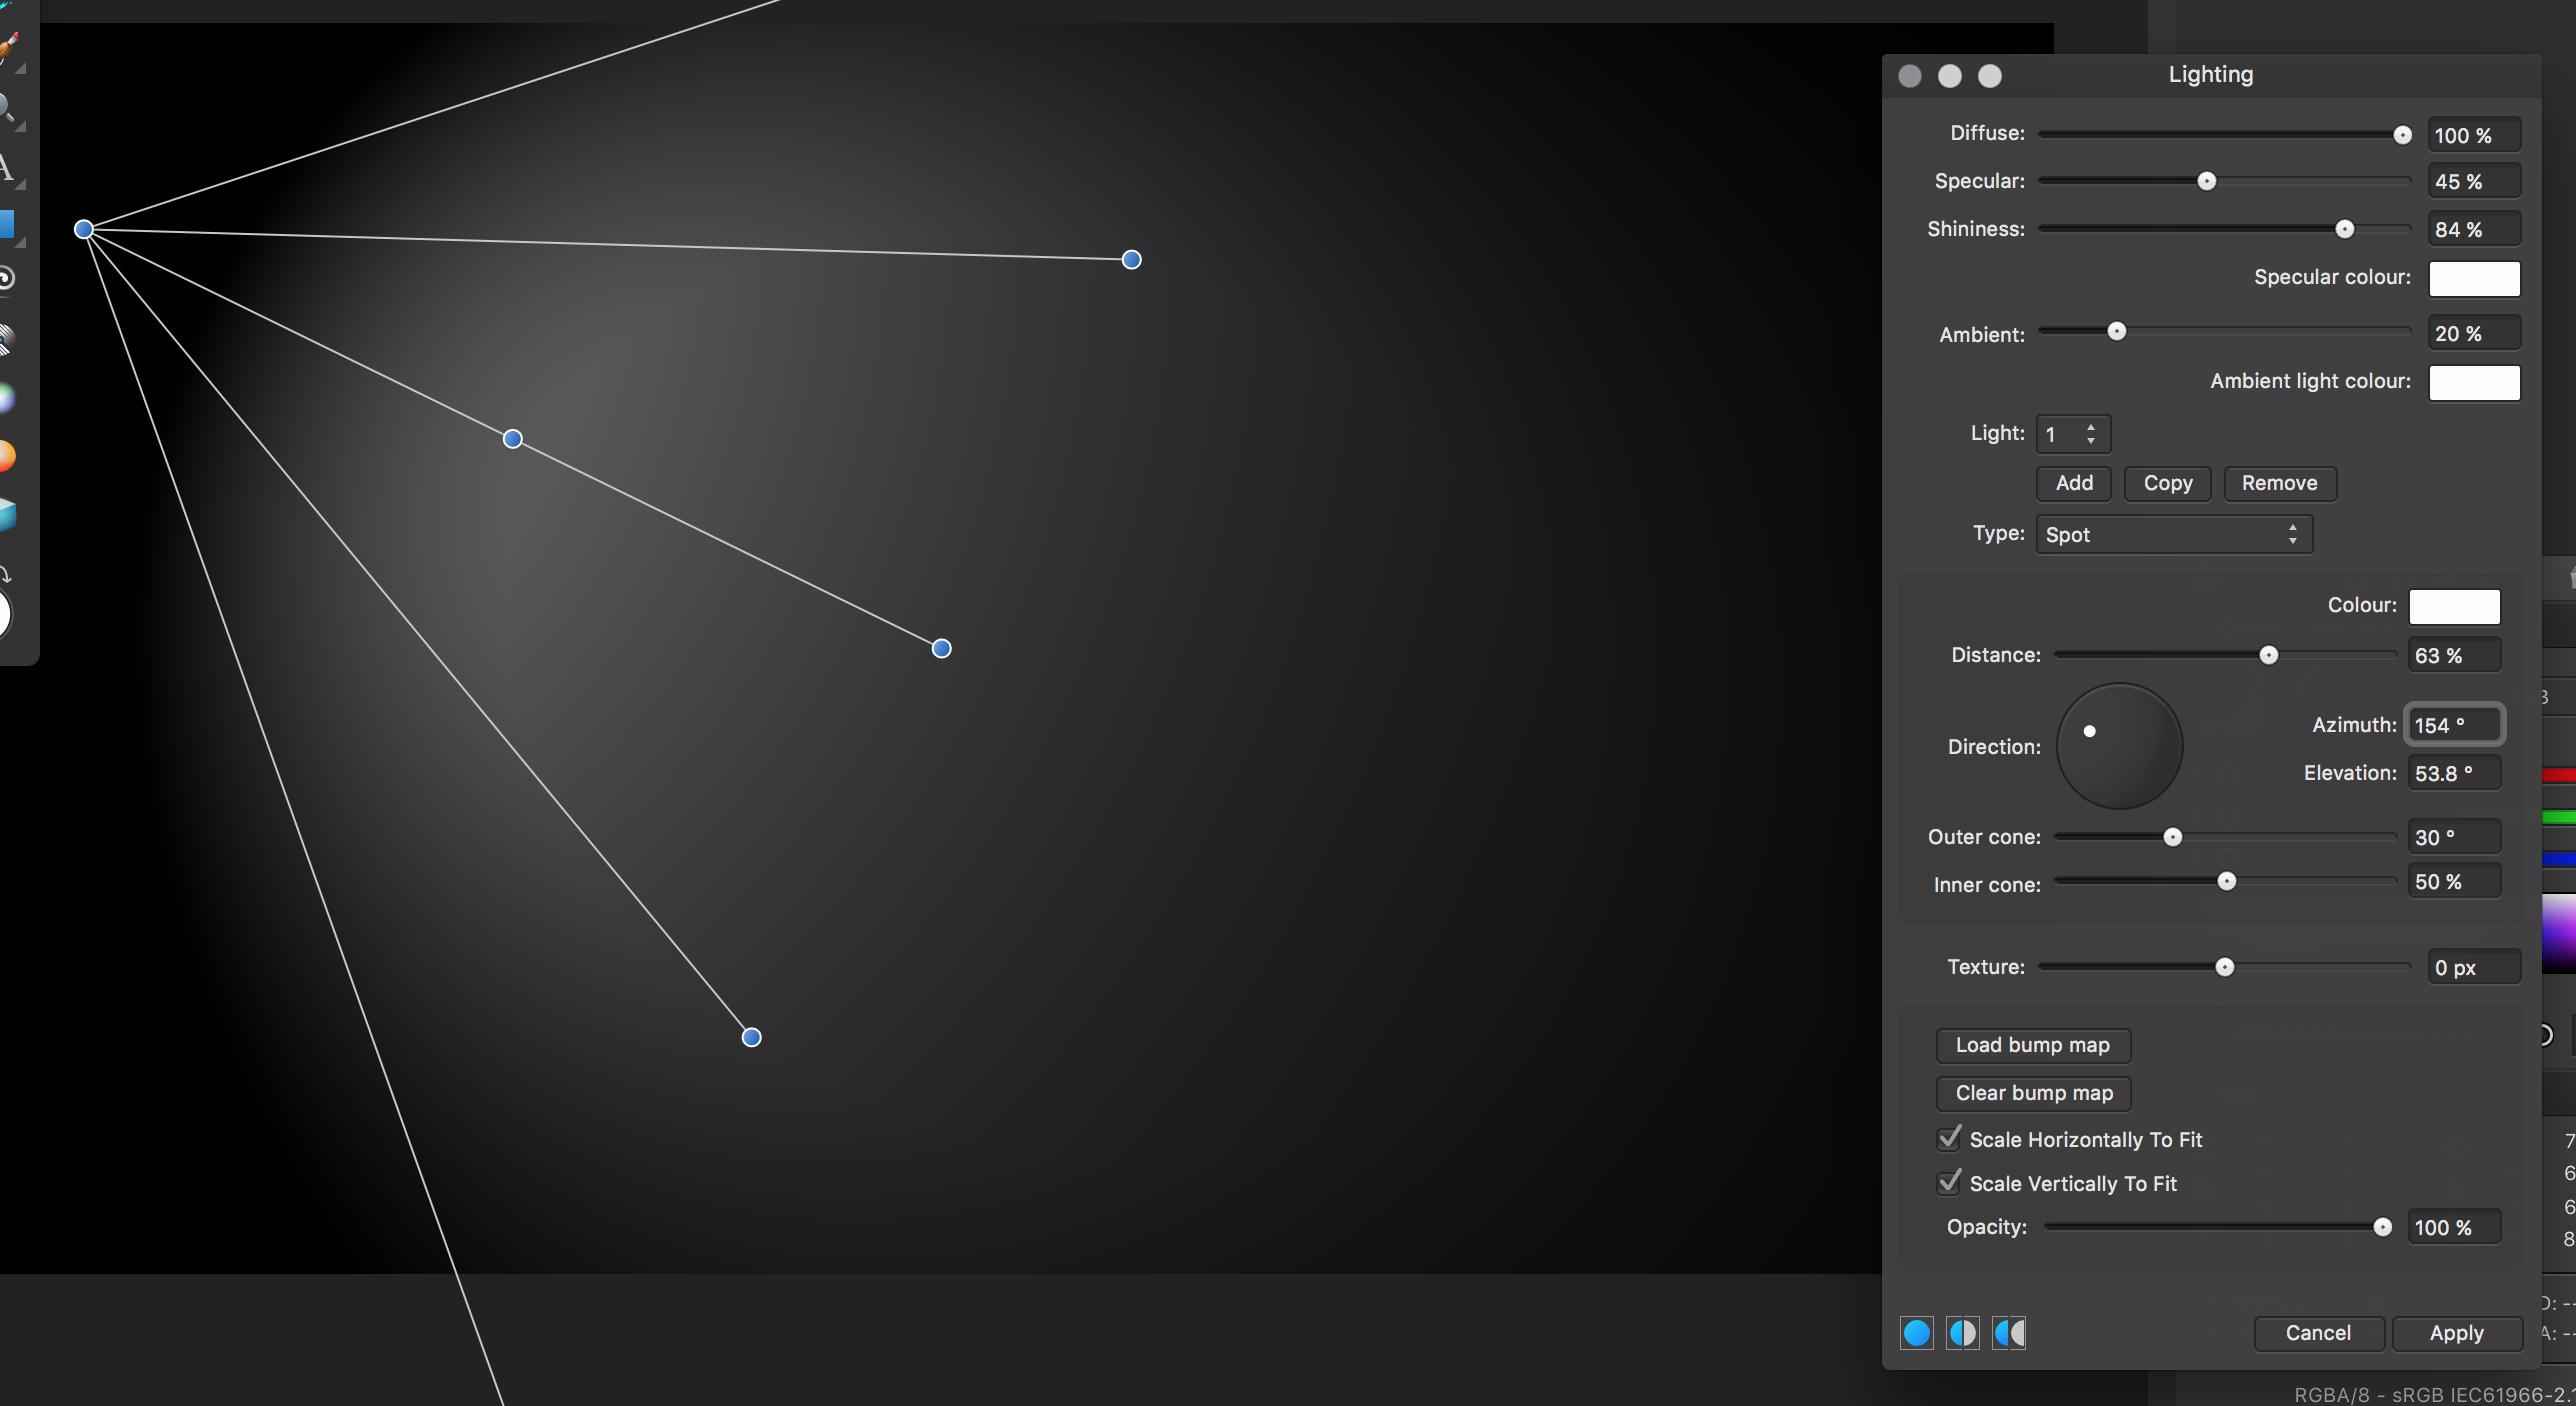
 Hello everyone! When trying to light a scene, I see some limitations to the "Lighting Tool": There are steps between the different shadings creating an outline for seemingly each used color value. Is this an intended optimization? Is it just the way this tool is limited? Or is this a bug of some sort? I first thought it was a limitation of 8 bit documents, but even after using 16 or 32 bit, this doesn't improve. Best wishes, Shu
-

affinity photo AP Lighting live filter product photo
Frank Blakely posted a topic in Share your work
I finally got a chance to use the lighting live filter. https://www.flickr.com/photos/80519570@N00/32560850175/in/dateposted-public/
-
Hi everyone I just installed the new lovely Affinity photo and start to play with the features. After first test I ran into some bugs: 1. Selection: DRAG+Right Button to add a new selection is not working 2. Flood selection tool works randomly; once even crashes the whole program. 3. The selection cursor is invisible on a dark background 4. Lighting tool. When changing Distance, Inner or outer cone ... in toolbar the auxiliary lines (starting point of the lighting) jump to the top left corner of the image. 5. Selection: Color range. I miss the possibility to select one ore more specific colors
-
Hi! I was excited to lay my hands on Affinity photo. I enjoyed the other program, so I gave it a try. I was interested especially lighting effects and other stuff. To my dissapointment, it isn't too stable yet. Hard to find out how to move lighting source after I gave more than one to the picture. The lighting sometimes moves around without any reason. But always I tried, after I delete one lightsource and wish to use one only, the program crashes under Windows 10. Every single time. So is it the win or something else...?
-
[AP] Alpha channels in Lighting Effects
evtonic3 posted a topic in Older Feedback & Suggestion Posts
Can you please add alpha channels to lighting effects. This would be a killer enhancement.