Search the Community
Showing results for tags 'Halftone'.
Found 20 results
-
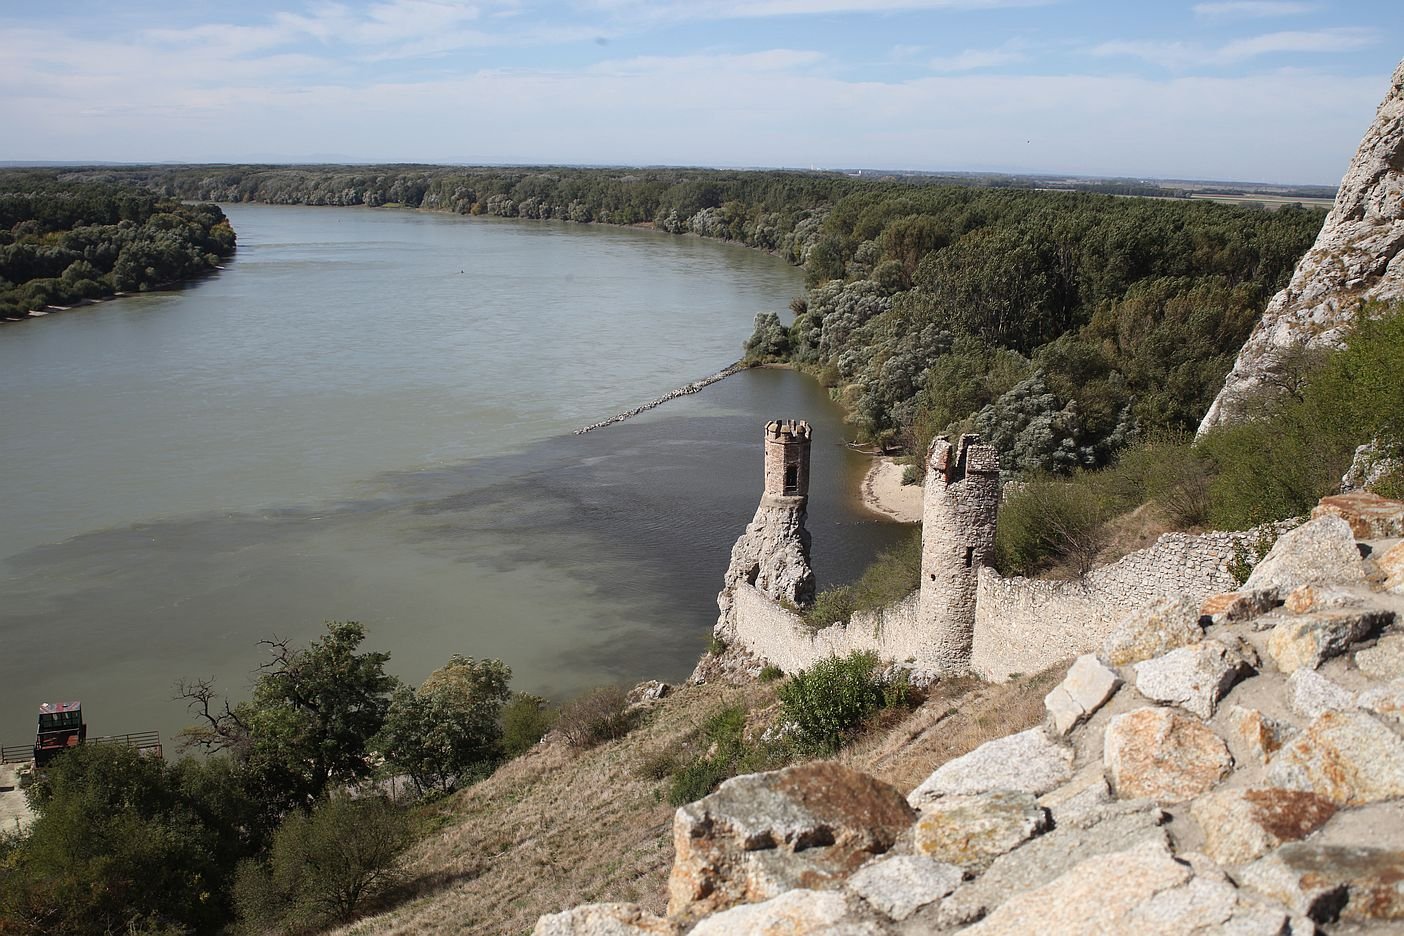
Back in September 2012 I was visiting my home city of Bratislava, Slovakia. I took a bunch of photos with my Canon digital camera, but eventually misplaced the card. Now that I had to move after the fire in my apartment building, I found the card. Here is a scaled-down version of one of the pictures: Today, I have been trying to figure out how to produce a black & white half tone in Affinity Photo. I cropped the above image, rescaled it so the longer dimension would be 11" (so it could be printed to an 8.5x11" sheet of paper, which is the US variation of the A4 size used just about everywhere else) at 1200 DPI. Added a New Live Filter Layer / Colors / Halftone, set Contrast to 100 (which I wish was the default for the halftone filter), Cell Size to 24 (so I get 50 LPI, sine 24 dots per line and 50 lines per inch gives 24*50=1200 dots per inch), and the Screen Angle to 225. Here is the result: I wish I had a screen printer. If I did, I would invert the image and print it in white ink on a black T-shirt. At least in theory, the result would look essentially the same as the halftone above. P.S. The photo is of a lower portion of the ancient Devín Castle which is at the junction of the Danube and Morava rivers at the border of Slovakia and Austria. When I was growing up, an electric fence (the “Iron Curtain”) prevented us from escaping to Austria. I walked by it many times.

-
Enjoy!
-
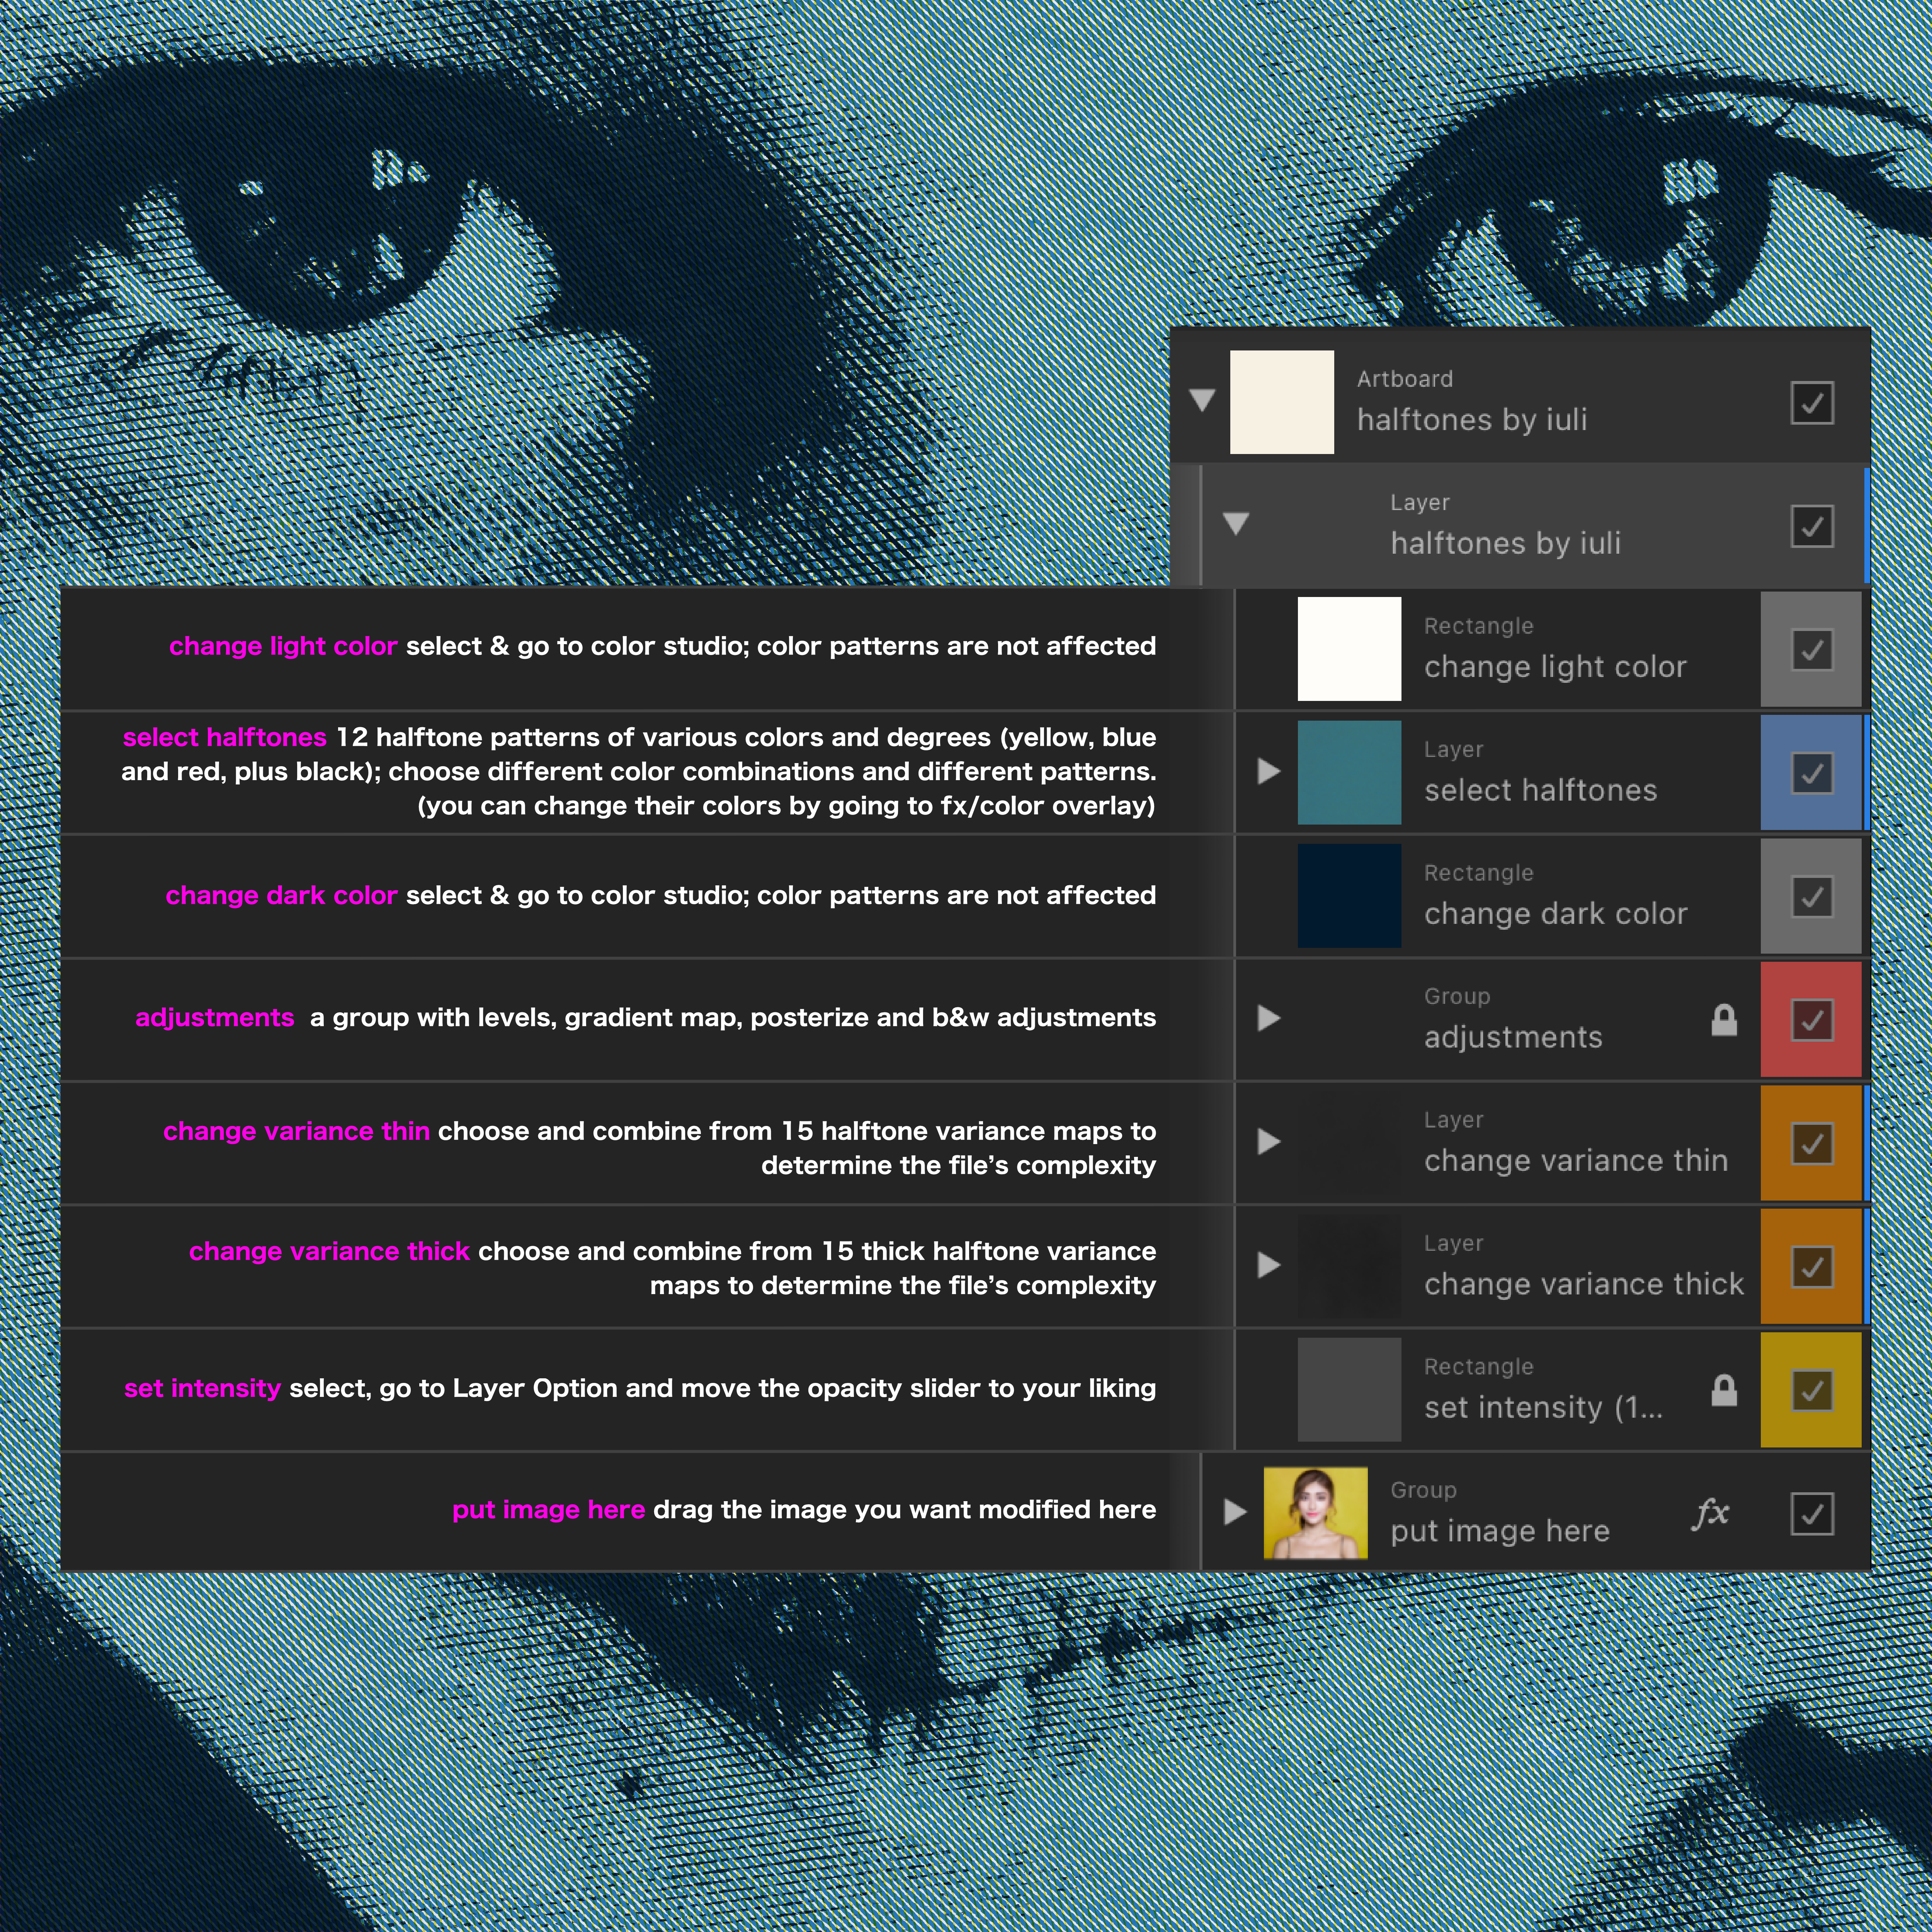
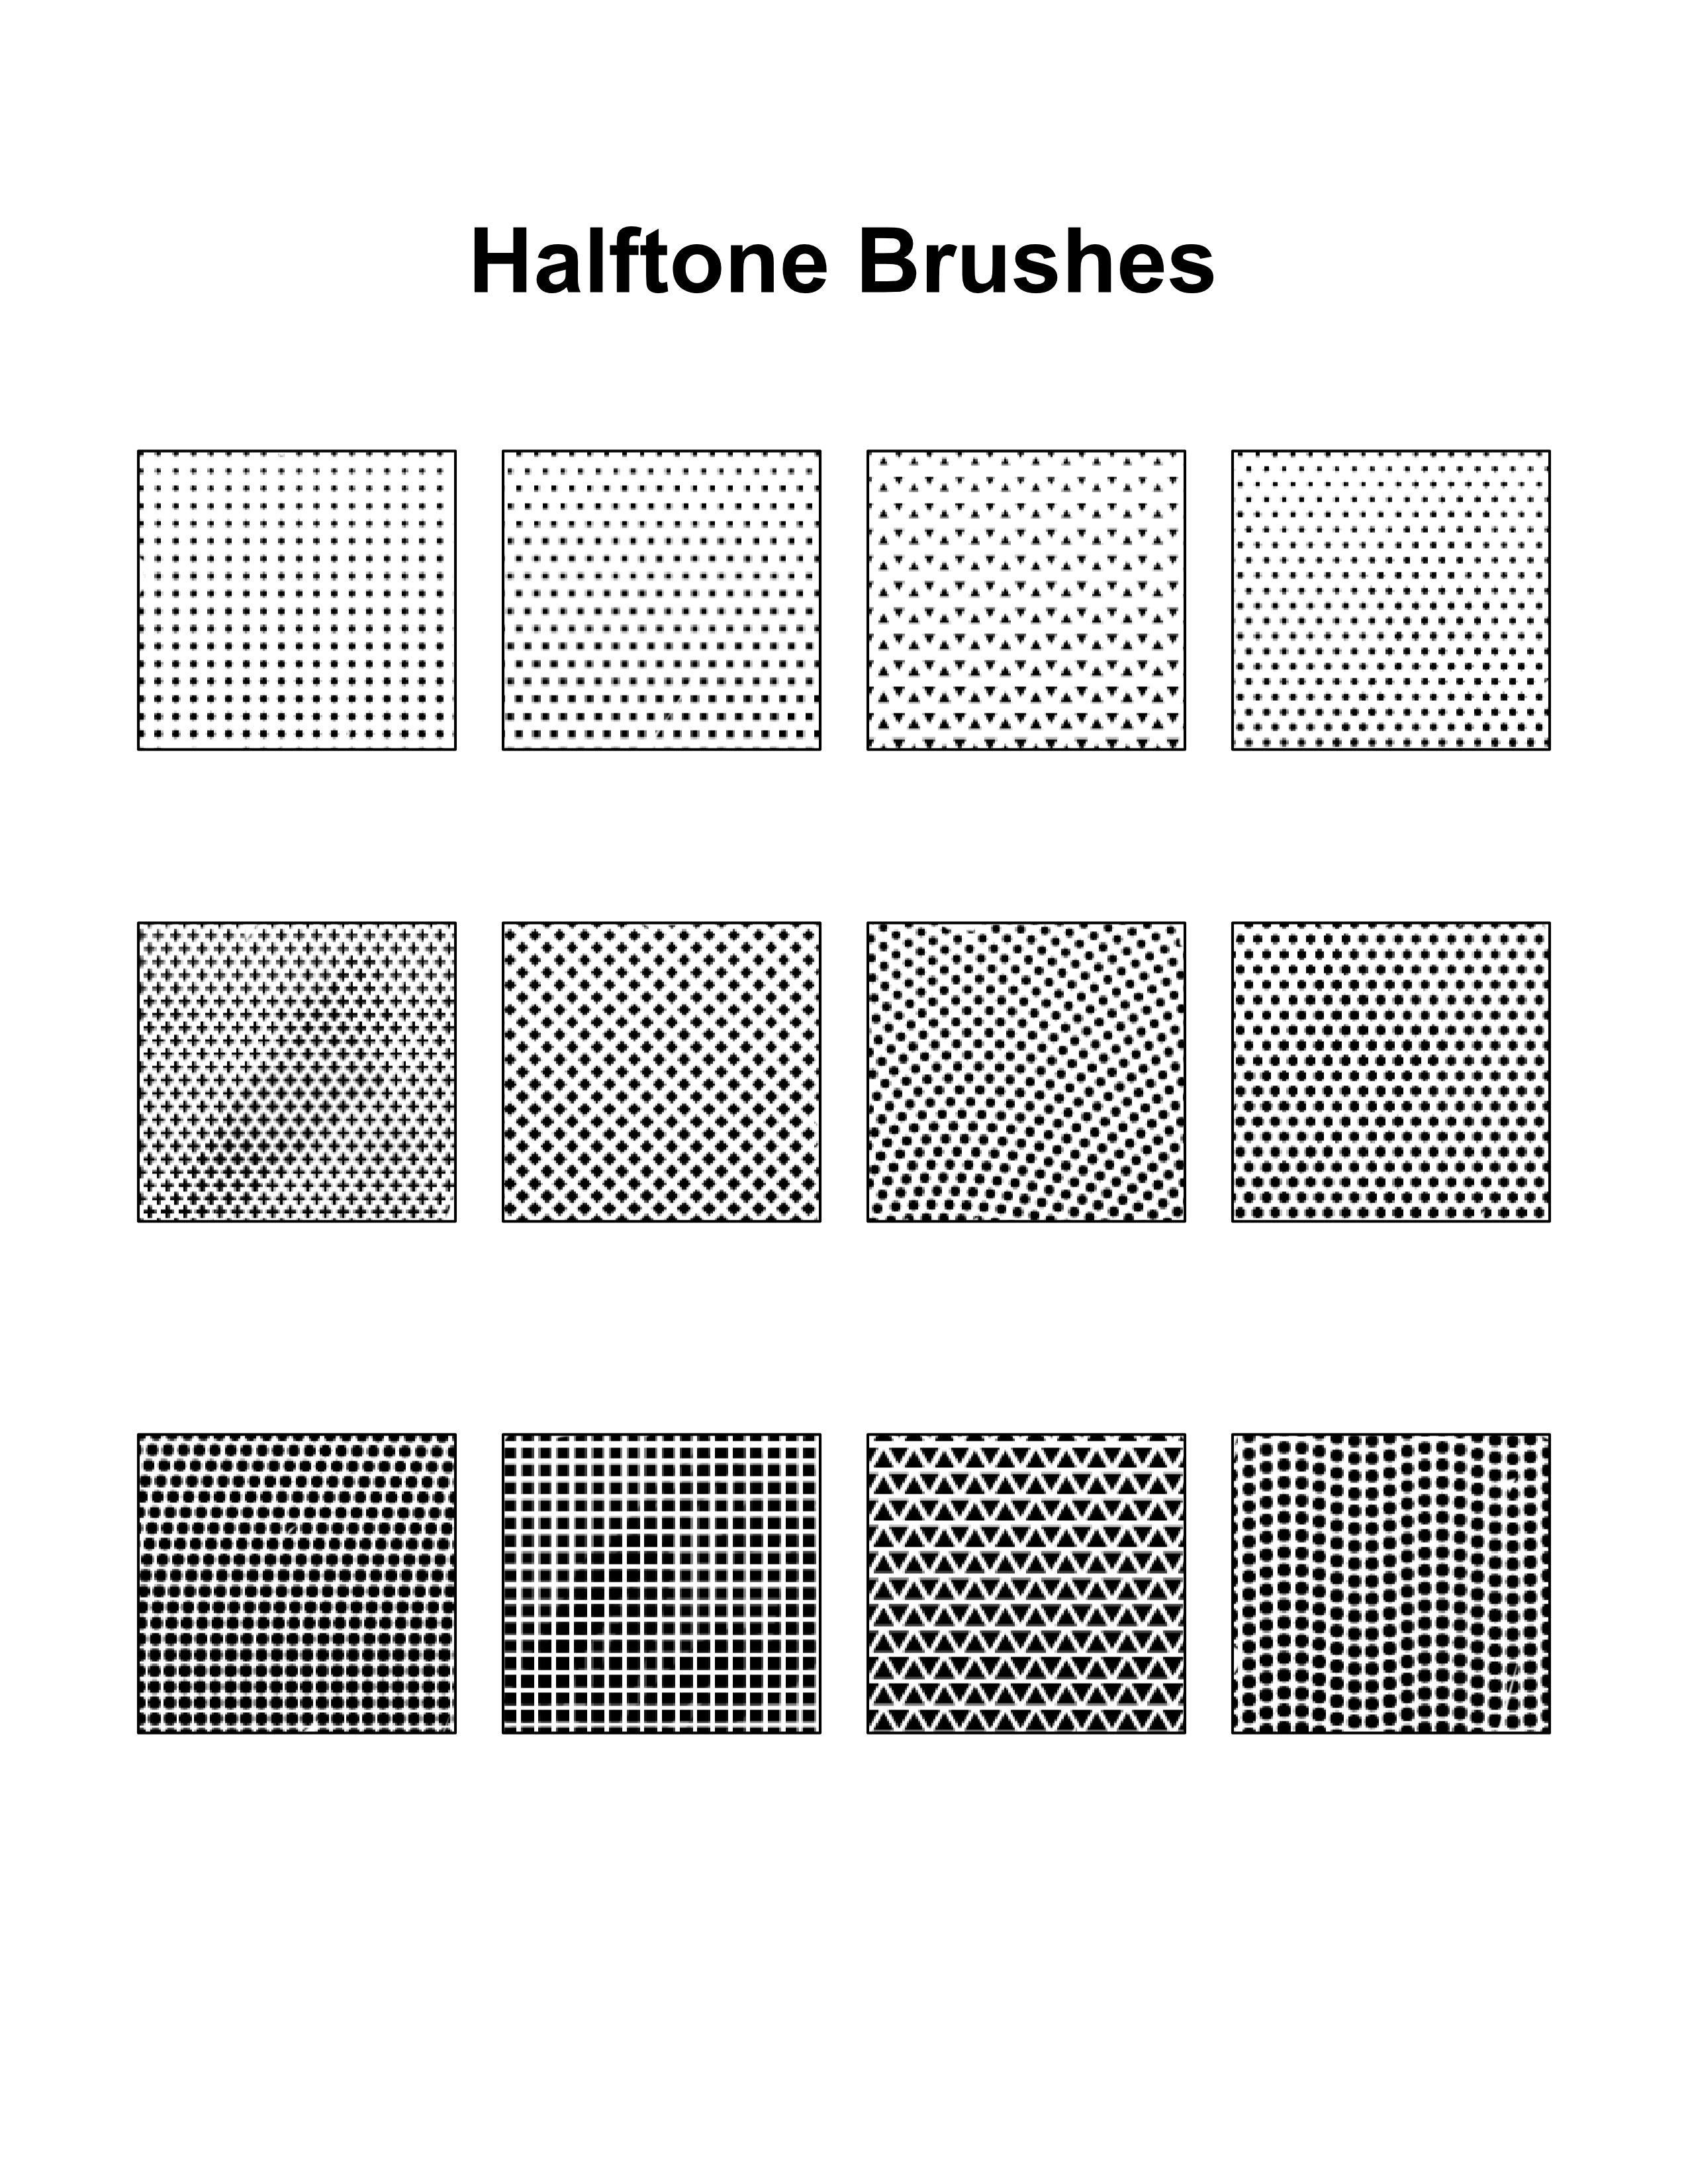
This is not much, it’s a simple .afdesign file that turns photos into pre-digital vintage-like printing halftones (the industry standard here is affinity, not the lame PSD). It is of course compatible with both Affinity Photo and Affinity Designer. Sorry for the big size (over 400mb), it’s because all halftones and maps are ‘heavy’ (I didn’t want to ‘reduce’ them). I made all the files included here over the years, for halftone brushes and styles. The process is simple, and the user has complete control over the final result. I think the file is self-explanatory even for newer users. Instructions inside (and below). Edit, for new users: to have greater control over dark go to “adjustments” / gradient map. It’s one of the most important adjustment, and I should have let it outside. (If they’re too big please let me know and I will upload the files to mediafire) Template is 5000px X 5000px. A quick, soundless and boring video overview: https://www.youtube.com/watch?v=f5A8C5vk3Fs The resulting halftone file is pixel-perfect. There are two files available for download below, one with dot halftones and one with line halftones. They’re obviously intended for Affinity users only. Resulted images can be used for any purpose without any worries. Maybe someone will find these useful. All the best! line_halftones.afdesign dot_halftones.afdesign
- 12 replies
-
- 14
-

-

-
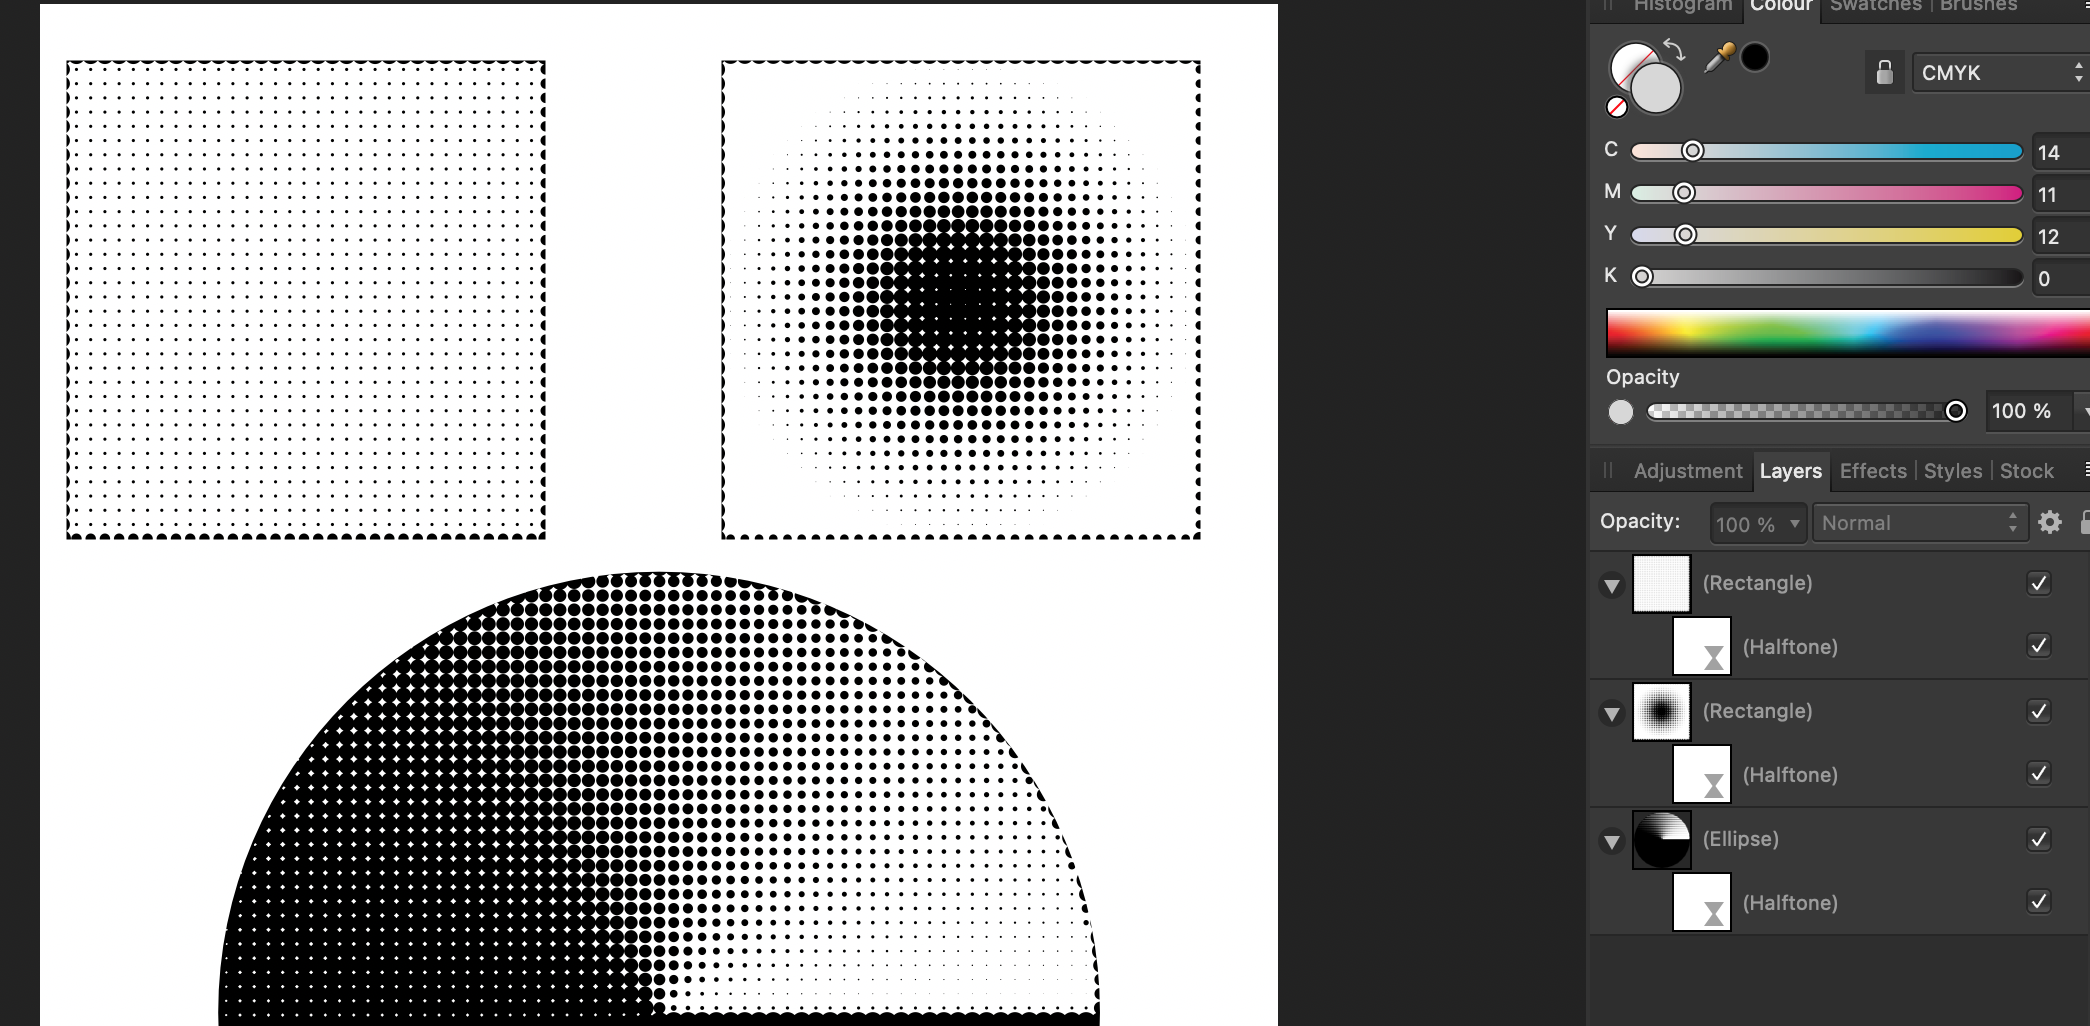
 I have an issue with halftone pattern inside shapes that I can't resolve. If I create a basic shape like a circle or square etc. fill it with a black to white gradient, or a solid color and apply a halftone filter to it. It does create a halftone pattern of the gradient that you would expect. Also adds halftones at the edge of the shape. So it doesn't fade out to white. How can I get rid of the border/edge?
-
 Just thought I may as well post this, as I'm finalising a t-shirt design destined for screen print. Initially I was gonna use VectorStylers new Halftone Repeater feature which is great but still in it's early stages so had a few hiccups, so in the end all design was done in Affinity Pub (studioLink) with the exception of the the distorted text which was done in VectorStyler. I came up with this halftone workaround a while ago while messing around with the early betas of pub that had the data merge layout function added, it's really easy and involves a symbol which is repeated 8x8 then placed inside a data merge layout container sized to accommodate then repeated as much as needed and pasted inside the vector containers that need the halftone, for me this works a little better (at the moment) than VS repeater method but quite similar in principle. Once in place the symbol can then be resized to simulate the density of the halftone which can easily be done with the arrow keys in the transform panel - I'm not really any good at all this tutorial stuff, but it may be able to help someone? The finished PDF/X-1a 2003 file should then be output to film with the Red 032 separation and the black separation output negative which will be the opaque white ink base which is designed to be printed on a black T-shirt This technique also works as a cheat for any kind of repeating pattern: 2143350893_ScreenGrab2022-01-20at09_47_08.mov
 -
Hey, I finally finished these halftone brushes for Affinity Designer. Useful for adding texture and depth. https://www.amerkaricdigitalgoods.com/store/19-halftone-brushes I used them on my work too!
-
 Retro TV Pop-up Affinity Photo tutorial photo manipulation. Desktop version. In this photo manipulation in Affinity Photo (desktop version), I create scanned lines and show a girl jumping out from a retro tv to real life. Halftones makes shapes and the pen tool are used. The link to the iPad version of this tutorial is in the description. https://youtu.be/EKR7IdFw6Os
-
Different or custom shapes besides the circle, for a halftone effect.
-
If you have trouble getting layers to clip, try using the Insert Inside Selection button. This is an Affinity Photo beginner tutorial and number 24 of the Digitally Fearless Power tools of Affinity Photo playlist. https://youtu.be/0rkizBHum50
-
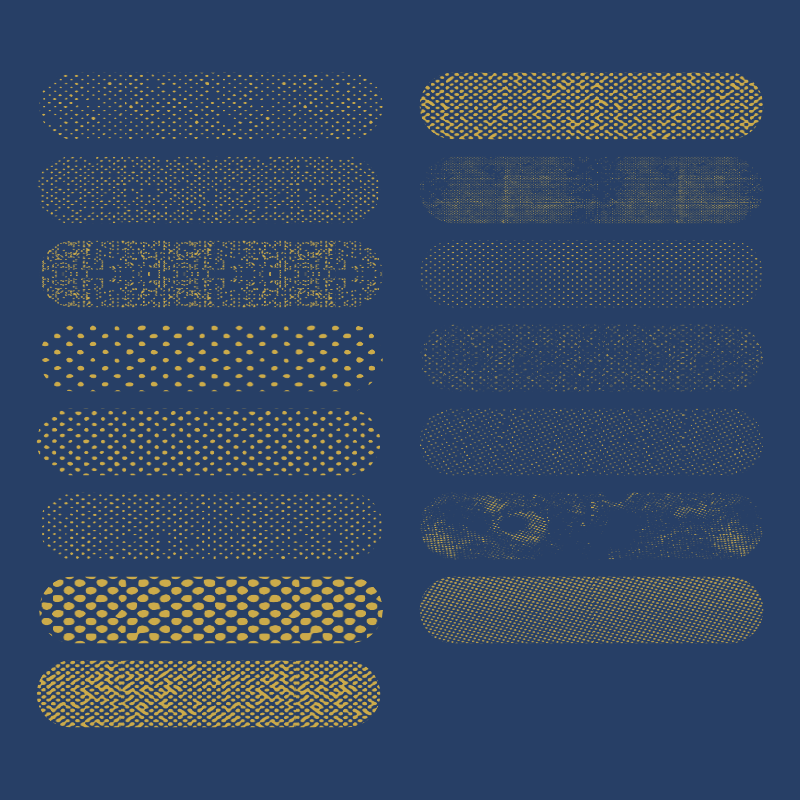
15 Distressed halftone brushes for Affinity Designer. These brushes are created in Draw Persona (vector brushes) Check it out! https://www.amerkaricdigitalgoods.com/store/distressed-halftone-brushes
-
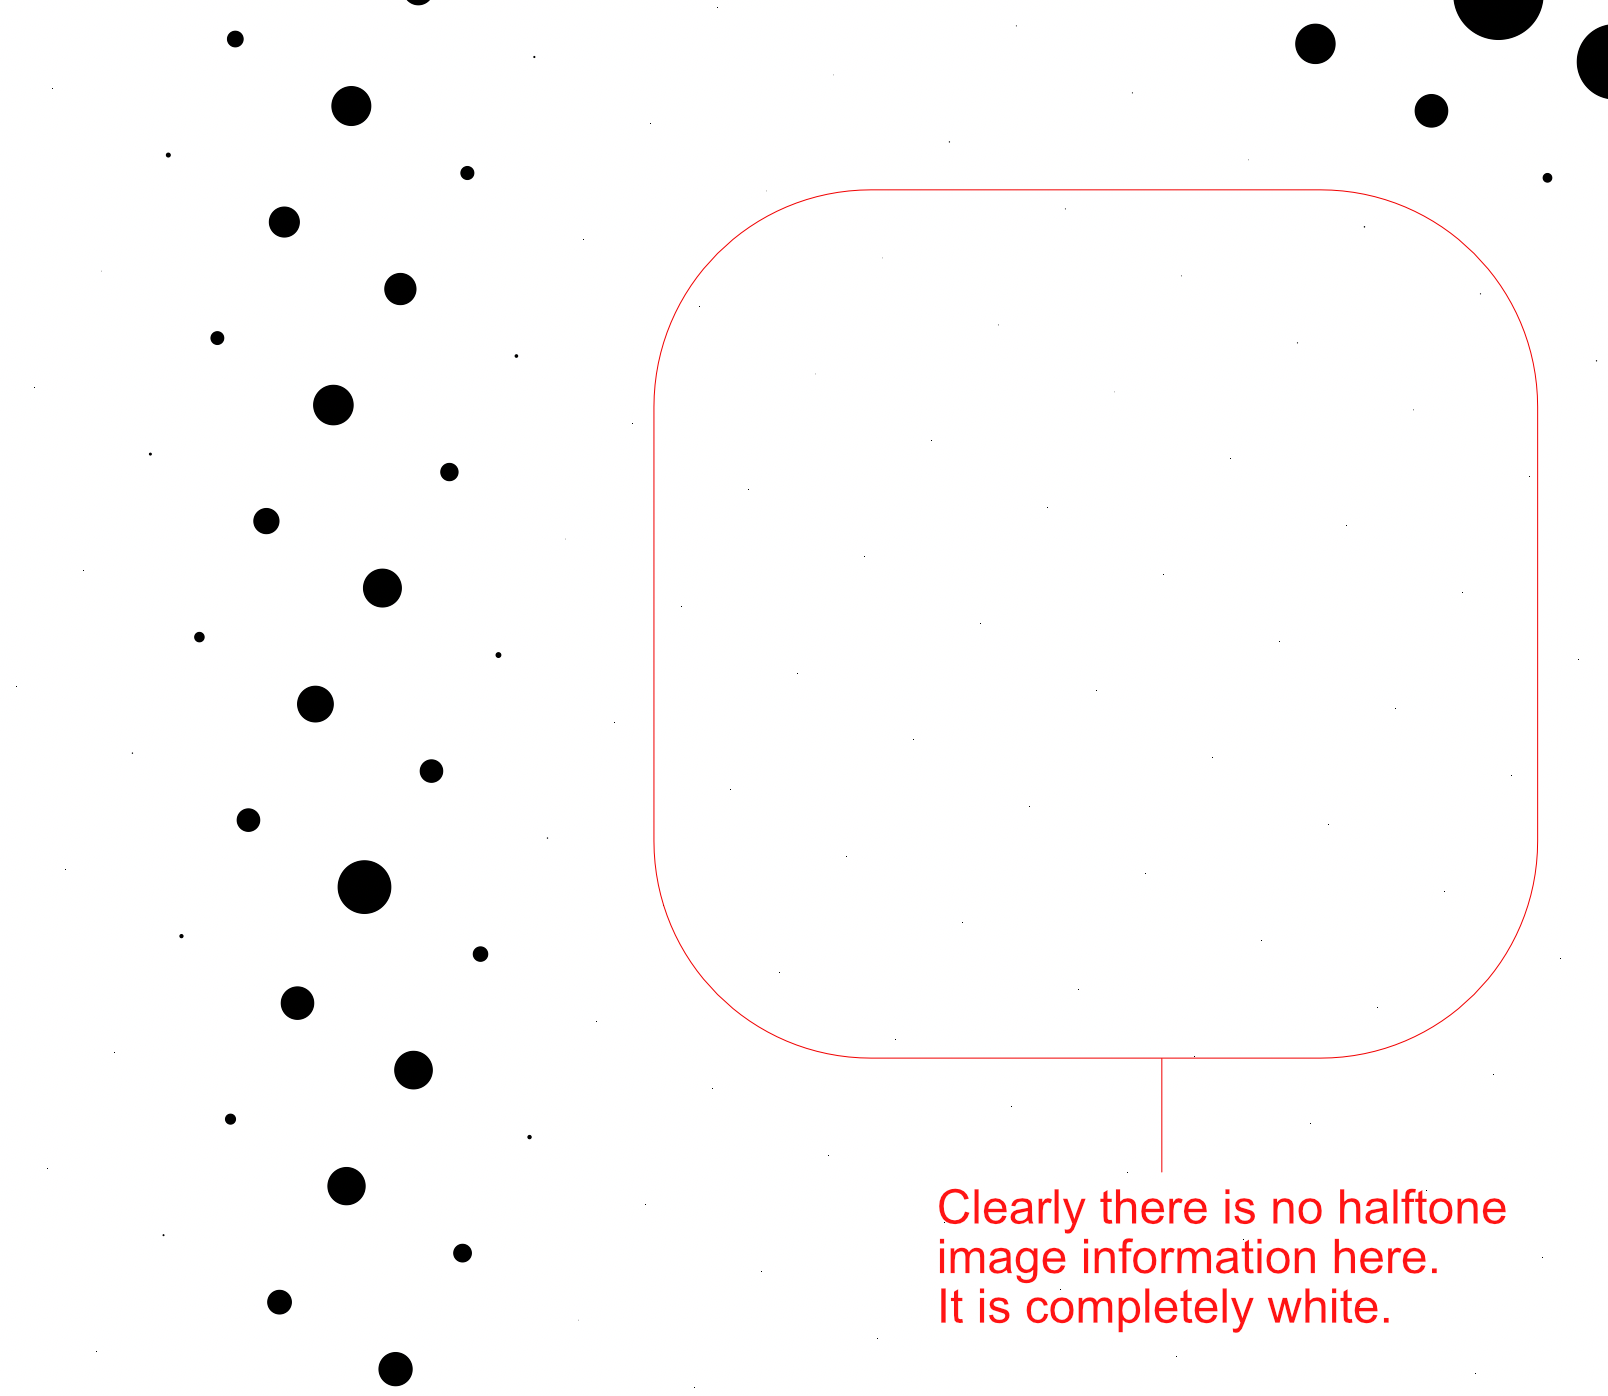
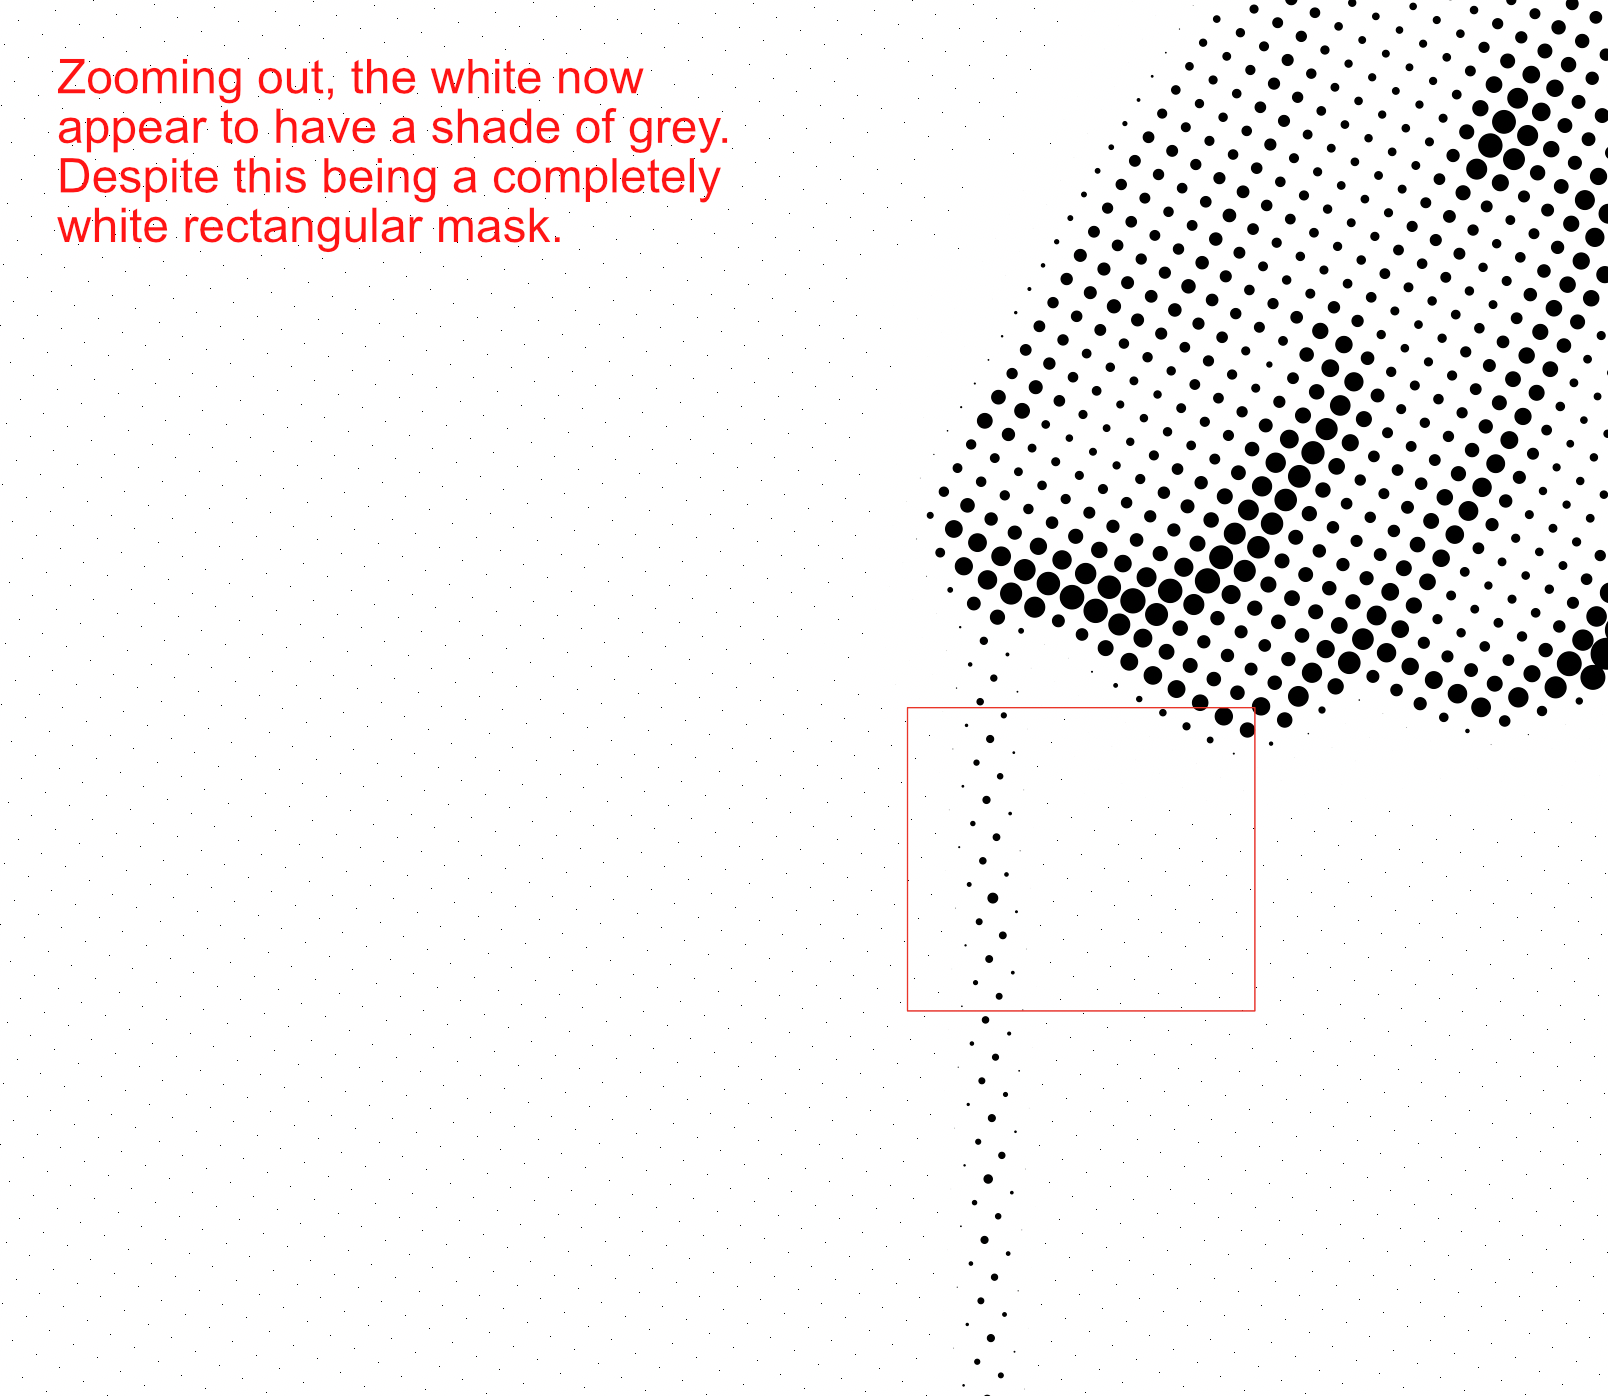
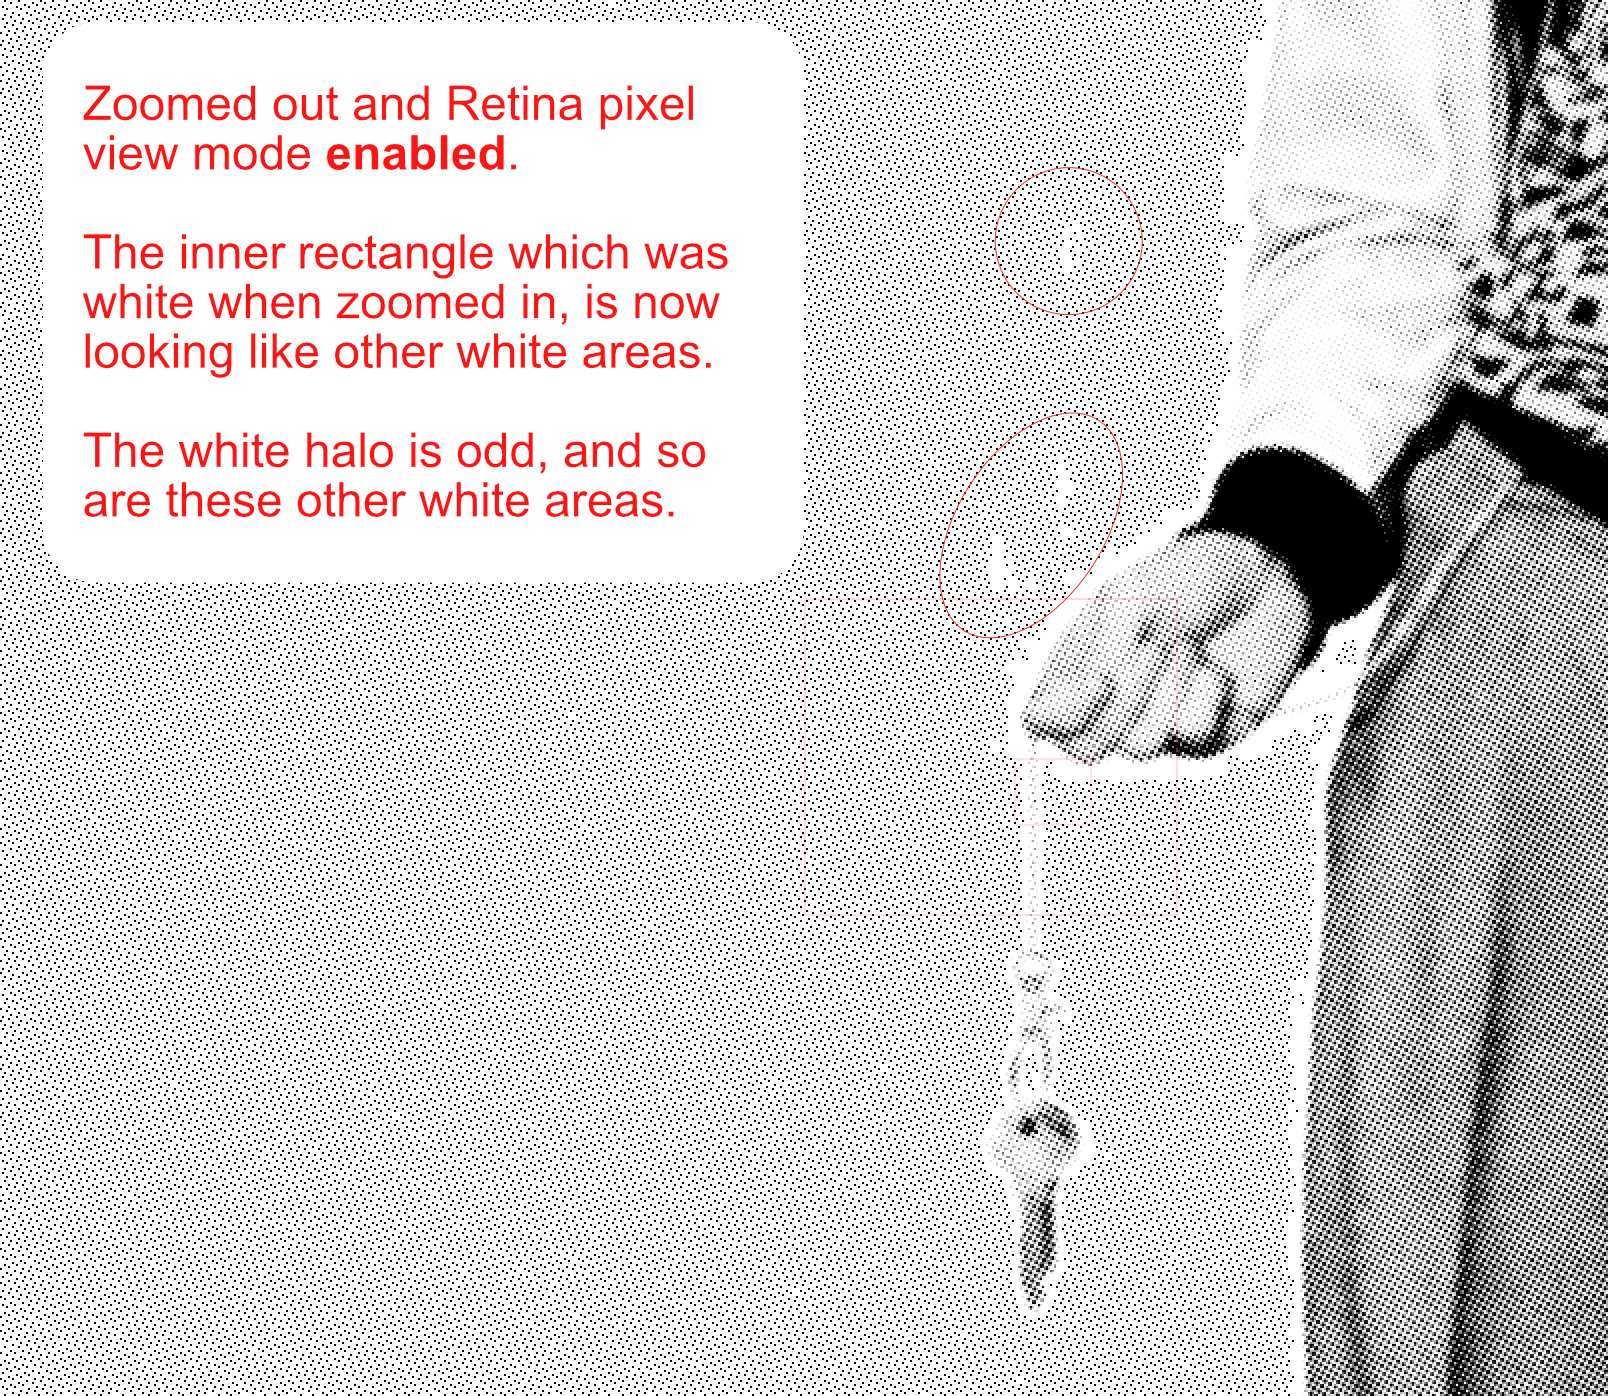
 Hey, I want to create a halftone version of an image. Seems only way to do this is by using Live Halftone filter? I am no expert, but I think it is safe to say that the halftone filter is not working as expected. Comments on the images themselves as well. This is a close-up of a detail in the picture, with no pixel view mode selected. Clearly, the white is entirely white - there are no real half toning going on here that is worth conserving in the exported image. Zooming a bit out, the halftone fill for the white remains the same size as in the first image; now a bit more visible. Enabling pixel view mode, the white is filled - as if it is gray. This is how the PNG export looks like. Which of course is completely useless. And white is there a completely white halo around the desired halftone pattern? Again with pixel view mode disabled, the white even is no clearly no longer white - despite the first image showing no such contrast. Same image with pixel view mode enabled, clearly making the issue even worse. I have no idea how to work around this, or how to "bake" the halftone at a certain zoom level - if that is possible? I need to fix this, as what I have tried so far results in rasterised exports (PNG, JPG, etc) that are completely useless to me. Am I doing this all wrong? Thanks, Johan
-
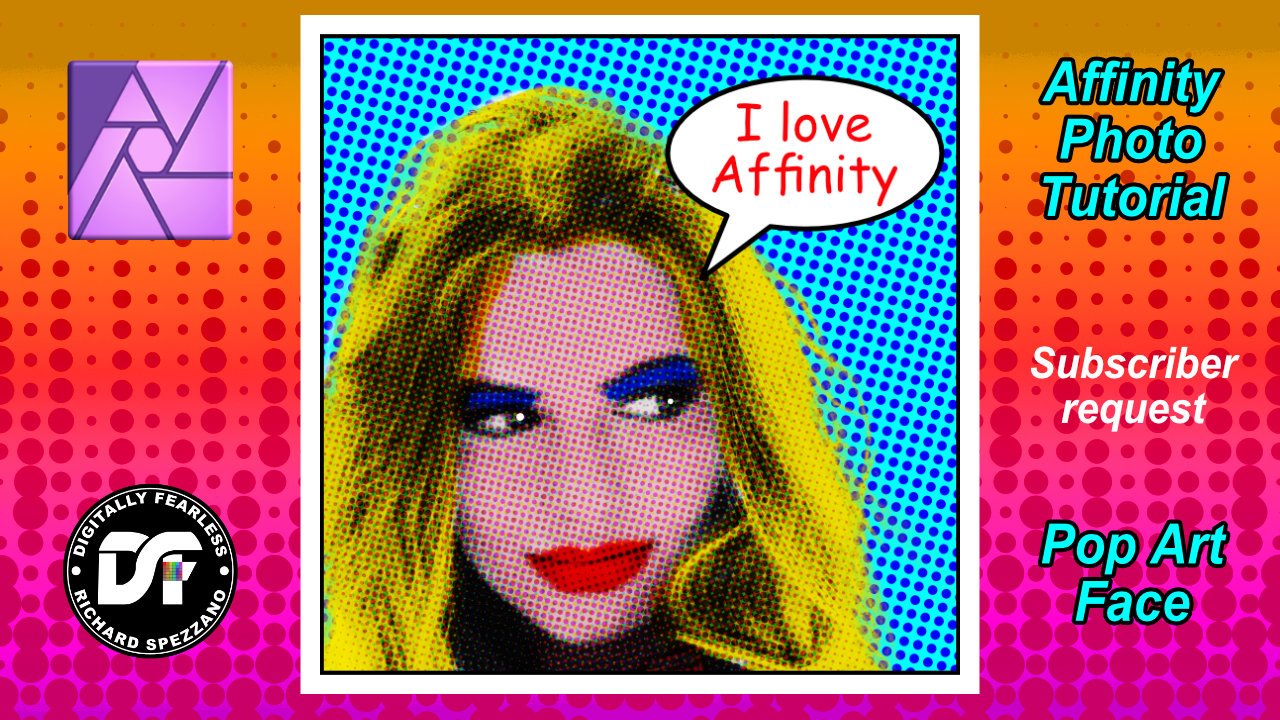
Pop Art Face comic style. Affinity Photo Tutorial requested by one of my Digitally Fearless subscribers. This tutorial uses blend modes, FX and a double half tone. https://youtu.be/9R1w1pRsAgU
-
- 1
-
-
- affinity photo
- tutorial
- (and 7 more)
-
I miss the feature a while now and im wonder why Affinity don't want to implement a halftone effect filter. A halftone effect filter is nothing you use everyday but if you want to use it you don't want to create all dots manually this cost a lot of time and looks still not like the halftone effect we know from Illustrator. Pls give us a TRUE halftone effect filter! Paul Knight
-
I'm sure there must be a graphic novel in here somewhere. If I could be arsed. Addendum: Have added in another character study here. Not sure where all this is heading...
- 22 replies
-
- 12
-
-

affinity designer A drawing - from start to finish
giantlobsterprd posted a topic in Share your work
Here's a time-lapse of me creating a new comic-style drawing. Mistakes and back-pedalling included. Final result: Authoring file: Enjoy!- 50 replies
-
- 48
-
-
- illustration
- b/w
- (and 4 more)
-
 Not sure if it would make sense to incorporate this into the vectorisation tool, but somehow I find it related: VECTOR HALFTONE... would be a killer feature that even Adobe doesn't offer. It is possible to achieve this effect in illustrator with 3rd party plugins from Astute Graphics – heres a link: https://astutegraphics.com/software/phantasm/ This could be a dealbreaker feature for many... (iPad version too, please)
 -
Some more messing about while I wait for "real" jobs to come in.
- 19 replies
-
- 7
-
-
- advertising
- retro
- (and 4 more)
-
Was trying something different here, attempting to recreate the look of printed material. To this end I've create patterns of 1000s of dots to try and get that letratone/halftone feel. What's impressive is that Affinity Designer's devs aren't kidding when they say the thing never slows down or runs out of memory. It really doesn't. I think this number of objects would have made AI weep tears of blood...
- 7 replies
-
- 6
-
-
- illustration
- retro
- (and 4 more)
-
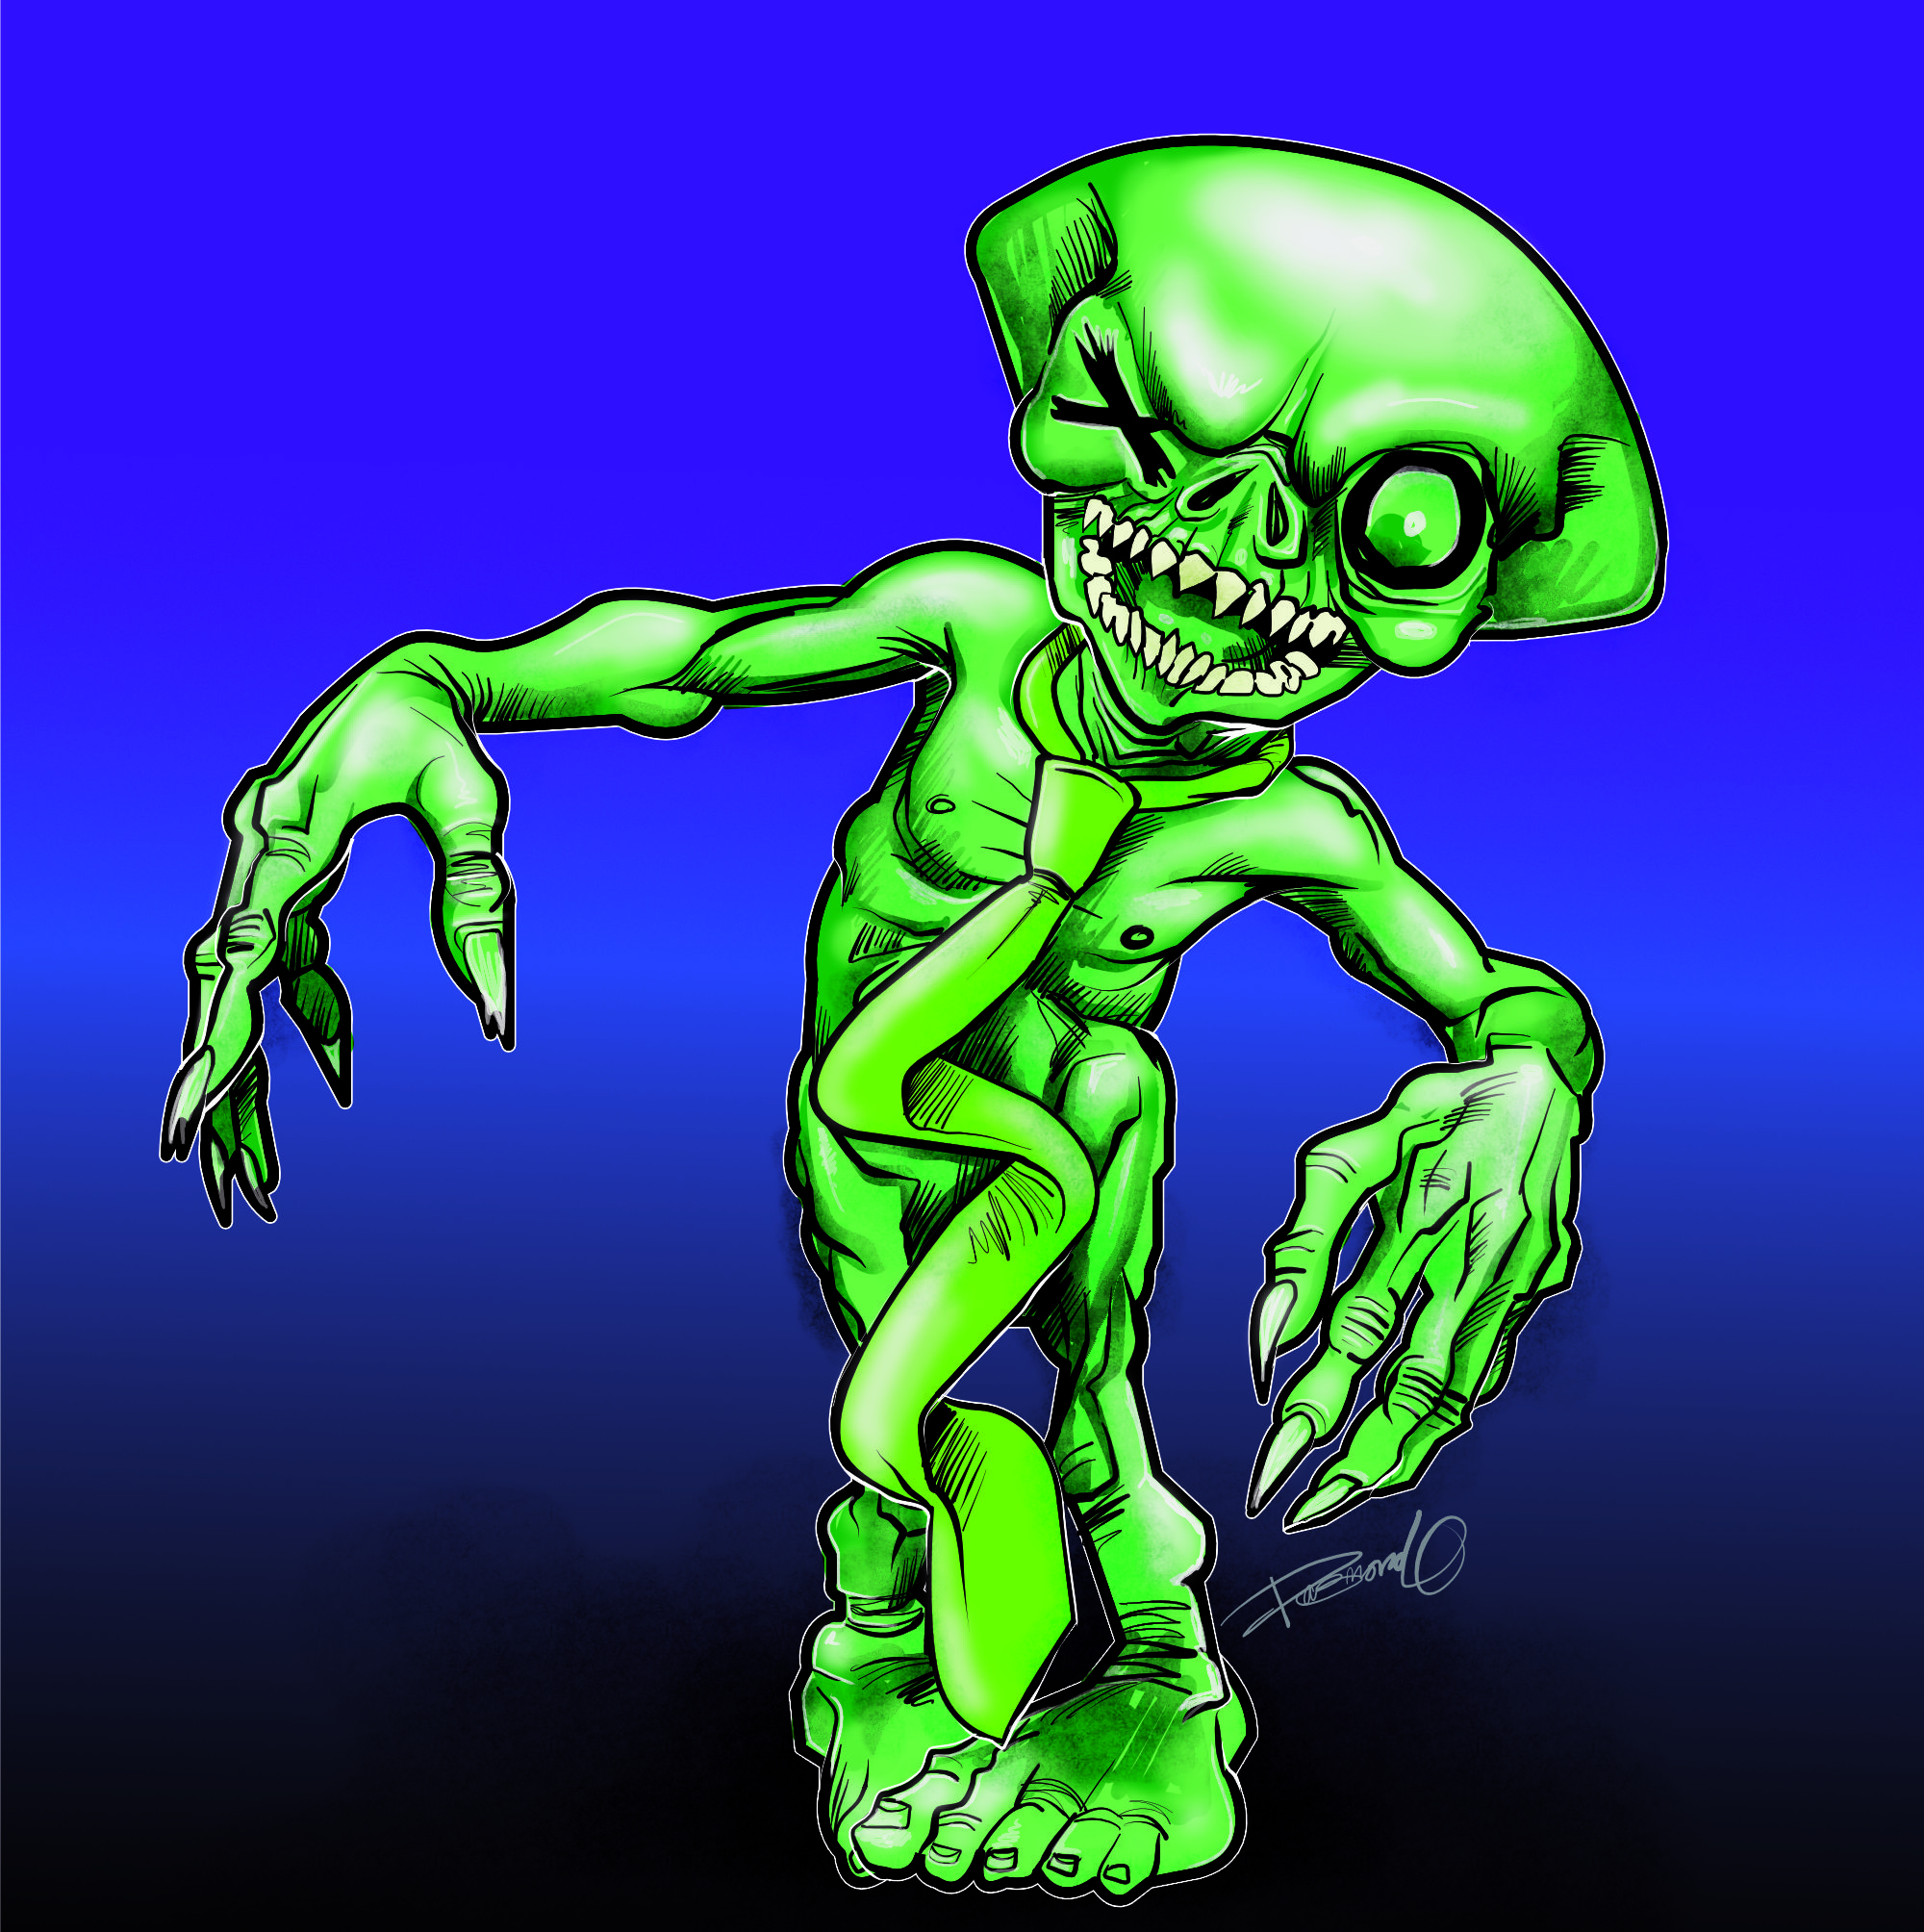
Good work peeps, every update the freehand vector brush tool improves and gets quicker and more fluent I'm hoping it's gonna be as great as Manga studio vector pen brush or mischief with the added ability to export and use in a pro manor - just did some exports to pdf and all vector info is retained, whereas in the previous version it would rasterise most of the vector work - the attached pic is a character Eric Idol who is the band mascot for the band THE IDOL DEAD - I'd love to be able to do the next ldol Dead job with affinity now things are getting quicker - but it's a new tour T-shirt which requires Halftones and spots - DAMN! looks like it's back to illustrator and Vectoraster or Manga studio (AWESOME HALFTONES but no vector or spot output) and InDesign - IF ONLY..............