Search the Community
Showing results for tags 'Fills'.
Found 21 results
-
 Hello all, I've just starting using Affinity designer (trail) and like it very much. I have a little problem though and I'm sure that when someone points out what I'm doing wrong I'll kick myself. I've applied a gradient to an object and now want to return it to a solid fill but I cant find a way of removing the gradient. If I create another fill and apply it always is set to gradient when I apply it the object. I've tried setting no fill creating a new fill then applying it but always its a gradient fill! I'm sure the solution is simple and obvious but I'm missing something here. Thanks in advance, Anthony
 -
 After I have filled several objects with styles that I have created, how can I later click on an object and reveal which style fills that object? I can reveal which layer it is on, but can't find the style that was applied to that object/layer.
 -
 I'm doing some architectural graphics and need just some basic fill patterns. I've watched the tutorials on how to use them but unless I'm missing something, I'm not finding any that come in Affinity Photo. I've searched but not turned up any. Not sure if I am looking for vector or bitmap. Maybe I'm searching for the wrong thing. Can anyone recommend a fill pattern package? Are PS ones compatible? TIA
 -
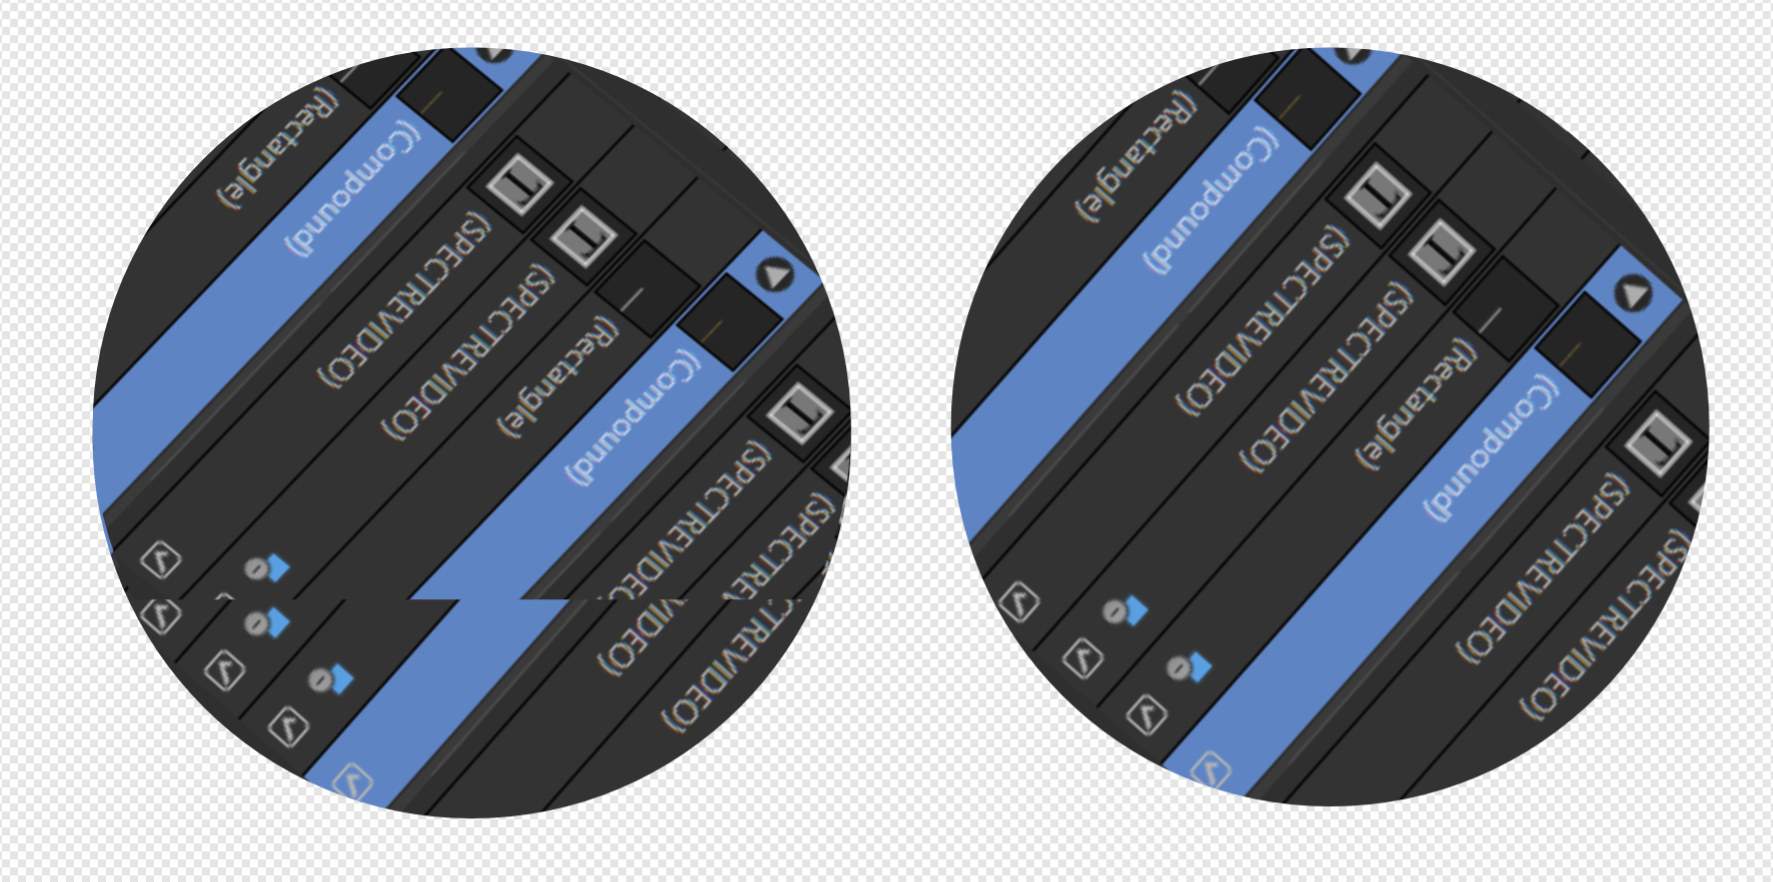
 i use same text than what i use on also Facebook group. this here becouse i feel this looks to to my eyes and understanding bug. and Affinity Designer version is about 1.10. is hard give exact becouse i cannot simply cut and paste version number and reads so tiny in my display. i not only one what see changes in my object if i cut geometry tool shapes from each other? i mean bitmap/gradient filled shapes. is needed and is realted one video idea what i liked where i need cut shapes is related interlocking circles. somehow i feel this curred shape look little different what i expected. as i show here there is circle in right and left there is another circle cutted with rectable using geometry tool and this cutting result is putted top exact same kind circle what is right as you see is not seamless. i cannot use clippping masks becouse at least video maker have problems with it when svg is printed even looks fine in Affinity Apps. some tools read such svg file wrongly. and i used quickly one image what i found what is related this app (made for other place) for. but luckily also image wheere you shoud see my problem easily. and i bet is also probelm so many other cases.
-
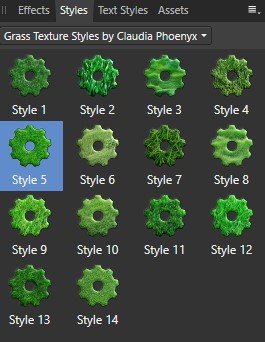
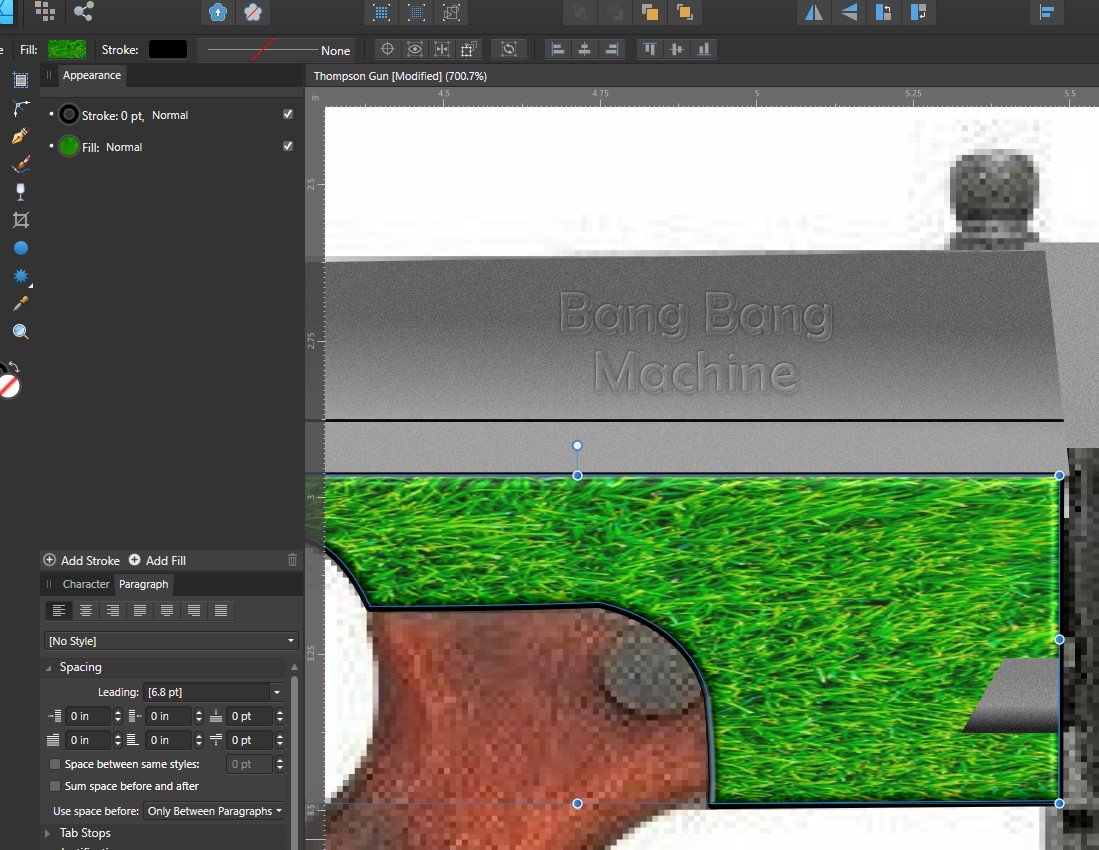
 Hi all, I downloaded a bunch of styles and they all have bitmap fills (see screenshots). Is there a way to change the fill without affecting the FX and so on? In particular I would like to shrink or enlarge the images and rotate them without changing the size and rotation of the container. I can do this in CorelDRAW. Is there a way to do this? Thanks!
-
 Hello, I purchased the 108 brushes, which are an amazing product. But I am looking for a feature I cannot find. Nor has any friend graphic artist come up with a solution this far. Q: Is there any way to embed or a pattern/photo into the smoke brushes? I've tried t find a way, to fill the brush (inner glow) with something else than a colour from the colour palette, but apparently there is no way of doing so. I've tried different overlay alternatives, but no luck. Would appreciate your feed back and support. Thanks Smoere
 -
Hi folks, off the back of this tweet - https://twitter.com/maisum_thiago/status/1159216372683087874?s=19 regarding Aseprite and copying a small portion of a design and having it repeat within an object (or lined confines) I was wondering if it would be possible to have a similar effect within Designer? Would be a great way to mass fill objects with a polkadot or any repeating texture/fill, kind of like a quasi-brush. Thanks, Rori
-
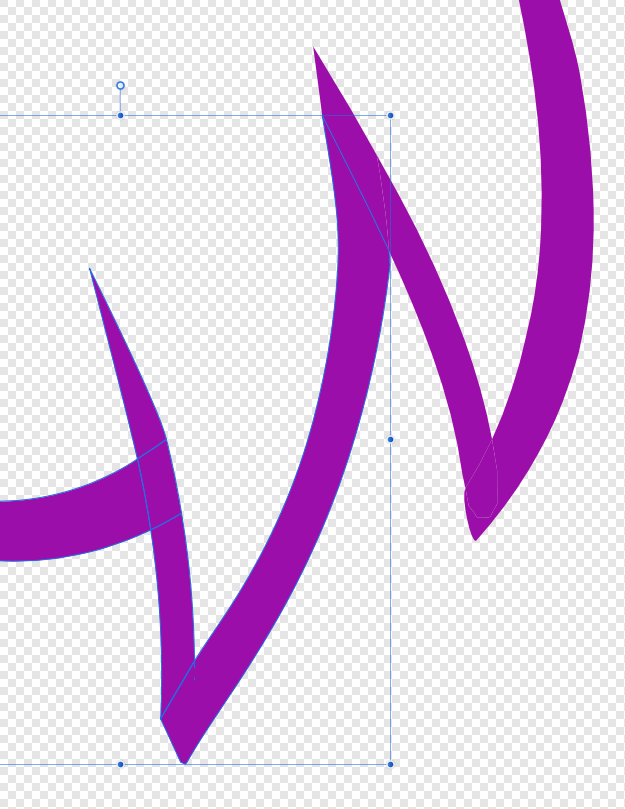
 When I grab these individual fill pieces to merge them together with the boolean operation "Add", it turns them into an outline - . Most of the time this works just fine, but why in some cases might this result occur? thanks!
-
 Hello, I’ve searched through existing posts (see short list below) but it’s not clearly stated if those requests have been added to the development list or out of consideration. (They don’t appear to be reflected in the roadmap unless I’m missing a reference.) Is it possible to get clarification as to whether Affinity has plans to support: Ability to import Photoshop and Illustrator 'Preset' files / styles: Most Important:Gradients: .grd file extension Styles: .asl file extension Patterns: .pat file extensionIncluding preset pattern fills (related post by someone else is referenced below) Moderately important but could live without:Color Swatches: .aco file extension Custom Shapes: .csh file extension I have a huge library of the above (gradients, styles, and patterns in particular) that I'd rather not lose (or have to recreate) by switching to Affinity Designer. Somewhat-related forum posts: Import .ase and .aco files: https://forum.affinity.serif.com/index.php?/topic/1483-import-palette…-importing-ase-and-aco-files/ Import Photoshop and vector brushes: https://forum.affinity.serif.com/index.php?/topic/532-import-photoshop-and-vector-brushes/ Vector pattern fills, custom vector brushes, dotted lines: https://forum.affinity.serif.com/index.php?/topic/1913-vector-pattern-fills-custom-vector-brushes-dotted-lines/ (This one in particular, it’s stated that vector pattern fills are not yet in the roadmap; does that mean that it’s out of consideration, or just that it’s not coming in the near future?) Thank you for any clarification you can provide. Regards, --S
 -
 How do I fill in a space I create or define with a pattern I have created?
 -
 It would be very useful to be able to create vector patterns and brushes. Having to use rasterized images to use as pattern fills or brushes is not really acceptable and certainly not what I expect from a vector art program. I would like to create a vector graphic and be able to use it as vector art on strokes and I'd like to create vector patterns and fill shapes with this vector pattern.
 -
I frequently use bitmap fills in my work - a long-term feature of DrawPlus and PagePlus. The addition of vector fills to later versions of DrawPlus was a delight and I had hoped that it might be implemented eventually in PagePlus. The ability to use vector and bitmap fills would be a real plus for me, and would undoubtedly persuade me to migrate from Draw and Page|Plus to Affinity.
-
 Hi everyone So I am continuing to explore Affinity Designer after purchasing it last week, and I am quite enjoying it! I have a question about a problem I have noticed with have the control nodes of gradient fills are handled, and perhaps there is a simple solution to this that I am missing. In particular, this is an issue I first noticed when using the Fill Tool in Conical Fill mode, although I have since noticed that there is a similar issue with all fills when using the Gradient Fill pop-up panel. When adjusting the Stop nodes, if one drops a Stop node on top of an End Point node and releases the mouse button, that Stop node can no longer be selected and dragged (Designer appears to make preference for the End Point node after that). The Stop node still functions and applies its gradient effect, but can no longer be adjusted. This effectively renders the gradient "stuck" at that Stop node. If this is done by mistake then one has to restart the gradient from scratch with a new fill. This also seems to be true for Stop nodes in the Gradient Fill pop-up panel. Is there an easy way to separate a Stop node from an overlapping End Point node? Hitting Delete on the two overlapping points appears to delete the colour but not the Stop itself, or deletes the entire gradient fill if it was the only Stop node. Any solution to this? I admit I might simply be missing something obvious, so I apologize in advance if I am simply being obtuse. Cheers! JT
 -
 In other applications it is possible to assign multiple fills and strokes to the same object. I searched for such an option in Designer, but I can't seem to find it. Is this possible (yet)? If not, is it on the road map?
 -
Hello, I'm a new user as of today. Running Windows7, 64-bit. Is there a way to apply a transparency to the Stroke of an object which is different than the transparency applied to the fill of the same object?
-
It's disappointing, that the new Affinity Designer lacks some colour blending modes, which I found very useful in Serif Draw Plus X8: quadratical, 4corner-colour-blending, 3colour-blending, grid. I would like to see them in the new product also. Neither Serif Draw Plus X8 nor Affinity Designer has an option to set transparency to an object evenly. Of cause you can achieve this for example with setting linear transparency and then choosing the same alpha values for start- and endalpha. But if you are experimenting with a range of alpha values to find the best fitting, it would be much more convenient, if you would have an option "set alpha evenly" to change the value for (like you have an option to fill an object with a coulor evenly).
-
I am really loving Designer! I can see myself using this more and more as my go to vector design program. However I still have to go back to Illustrator to do simple 3d effects, (revolve, extrude and rotate). Also, I haven't been able to figure out a way to have multiple strokes and fills on a single element. I use the appearance panel constantly in Illustrator and would love to have something similar in Designer. Thanks for helping many of us break or Adobe chains!!
-
 I'm enjoying playing around with AD and I've discovered I can create styles using my extensive collection of seamless tiling bitmap fills so nice! Now my next question is say I wanted to share a style that uses a bitmap fill does a copy of the applied bitmap get stored within the AD styles file? or would I need to supply the bitmap externally in a zip file? Of course I would only share bitmaps that I have created and have the the rights to share. :)
 -
 If I draw a shape within a shape can I combine the 2 shapes so that the internal shape doesn't fill eg a circle within a circle so the fill looks like a donut
 -
Christmas is coming... Made a few Textured brushes.. Zipped file (afbrushes) Below: Chritmas 2015 By William Mabey.afbrushes.zip Enjoy.... Cheers ヅ, Bill FaceBook: https://www.facebook.com/william.mabey Wednesday, November 25, 2015 9:10 PM
-
 Hello, How about a checkbox or something that quickly applies the same color to the stroke that the currently filled object is using and vice versa? I know you can just manually do it or drag and drop the colors on each other from the palette (like Illustrator can), but a button/checkbox or whatever would be so much faster for comp work, etc. However, I'd imagine if something like this were to be implemented, maybe other attributes that strokes can also share with fills (gradients?) can be included (or excluded for that matter). Thank you, as usual I anticipate the next build(s), coming along great!