Search the Community
Showing results for tags 'vector'.
-
 *Edit* This tool would have different functionality than the existing sculpt mode of the Pencil tool. My suggestion for the Affinity Designer apps would be to add a tool along the lines of the flash selection tool. Attached below is an example of what it would functionally be able to do: Basically adjust lines/shapes without the need to select them first. It is a quality of life feature missing in almost EVERY vector illustration tool, but flash. It is a shame really. Even illustrator doesn't take advantage of this idea that lives within it's own ecosystem. This tool in Flash feels a lot like sculpting! Key features: -ability to manipulate segments and points of a vector line without selecting the object. (this also means editing separate objects is super fast) -When manipulating line segments, it does not adjust adjacent segments. (allowing the person to free-form manipulate shapes, and adjust points and segments as they see fit.) -context switches to a selection marquee when outside a certain threshold of a point or line segment. This selection marquee would add points where it intersects lines and allow the user to delete the selected segment(s), or keep the additional points in their current vector line. Let me know what you think!
-
 Hello all. I have been desperately trying to figure this out for a few days now, and am at the point with this program that I want to throw my whole computer out the window.. Anyways, I have a design that I've used several times before, yet now for some reason affinity is not recognizing it as a closed path, closed image, or a whole design at all. I can only select line work, the nodes (should be??) all connected.. Yet when I attempt to fill the image, the fill is all over the place as if the paths are not connected or that I'm trying to fill non-closed space. I don't understand. I normally can select one section, for example, the horns of the this skull design and fill it with a color. So on and so forth. I don't know whats going on and I'm really hoping I'm just overlooking a simple fix. I've tried connecting paths, snapping nodes, grouping, ungrouping, I'm not even sure what else to list but I have run out of options. I attached the exact file that I'm working with below... please help! -MC jellypins ram design.afdesign
 -
 Quick draw on iPad with Affinity Designer. I discovered somethings need to be improved on Affinity Designer for vector painting. Visible stroke of pencil Quick way to close the path Eraser for vector shape Pick up color for brush tool on the context menu Quick fix scale and rotation of canvas to screen How to draw inside a group? Quick horizontal flip for checking composition How to choose a vector brush?
-
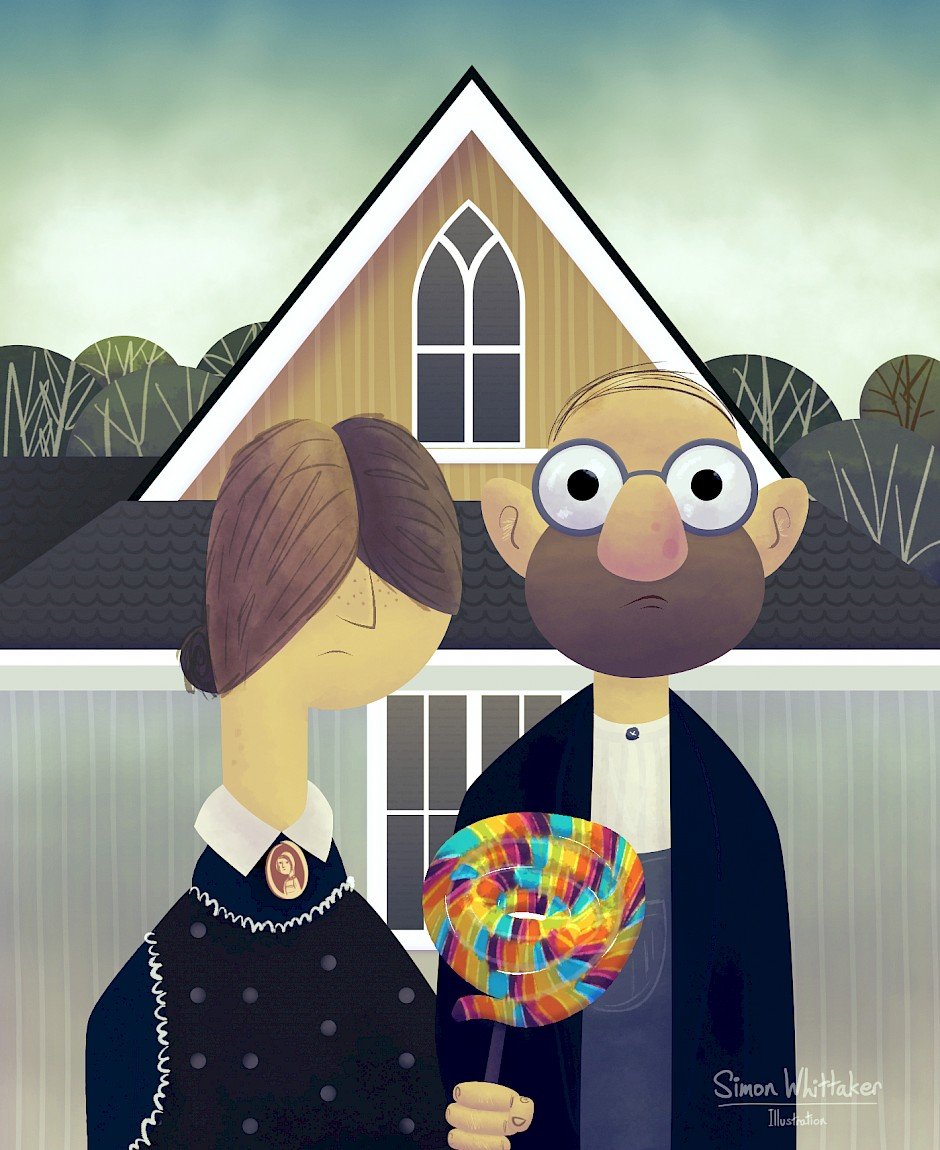
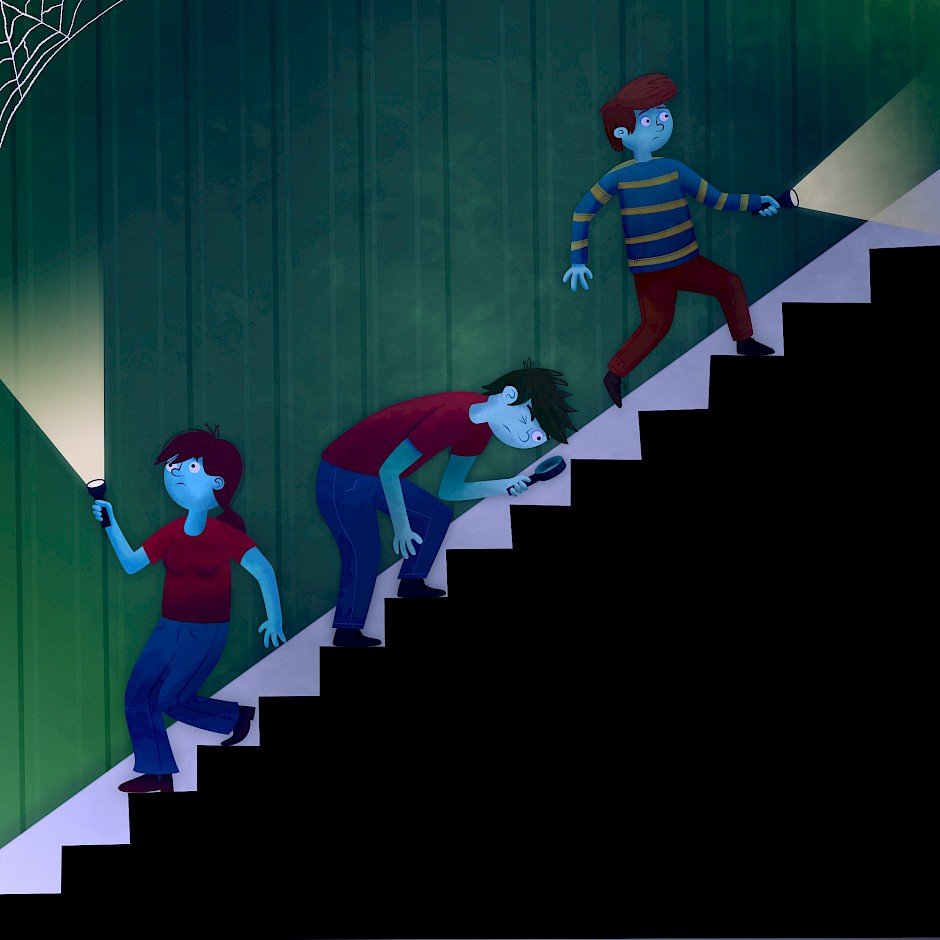
I haven't posted much here recently but thought I'd show a few things I've done in AD over the last couple o' months.
-
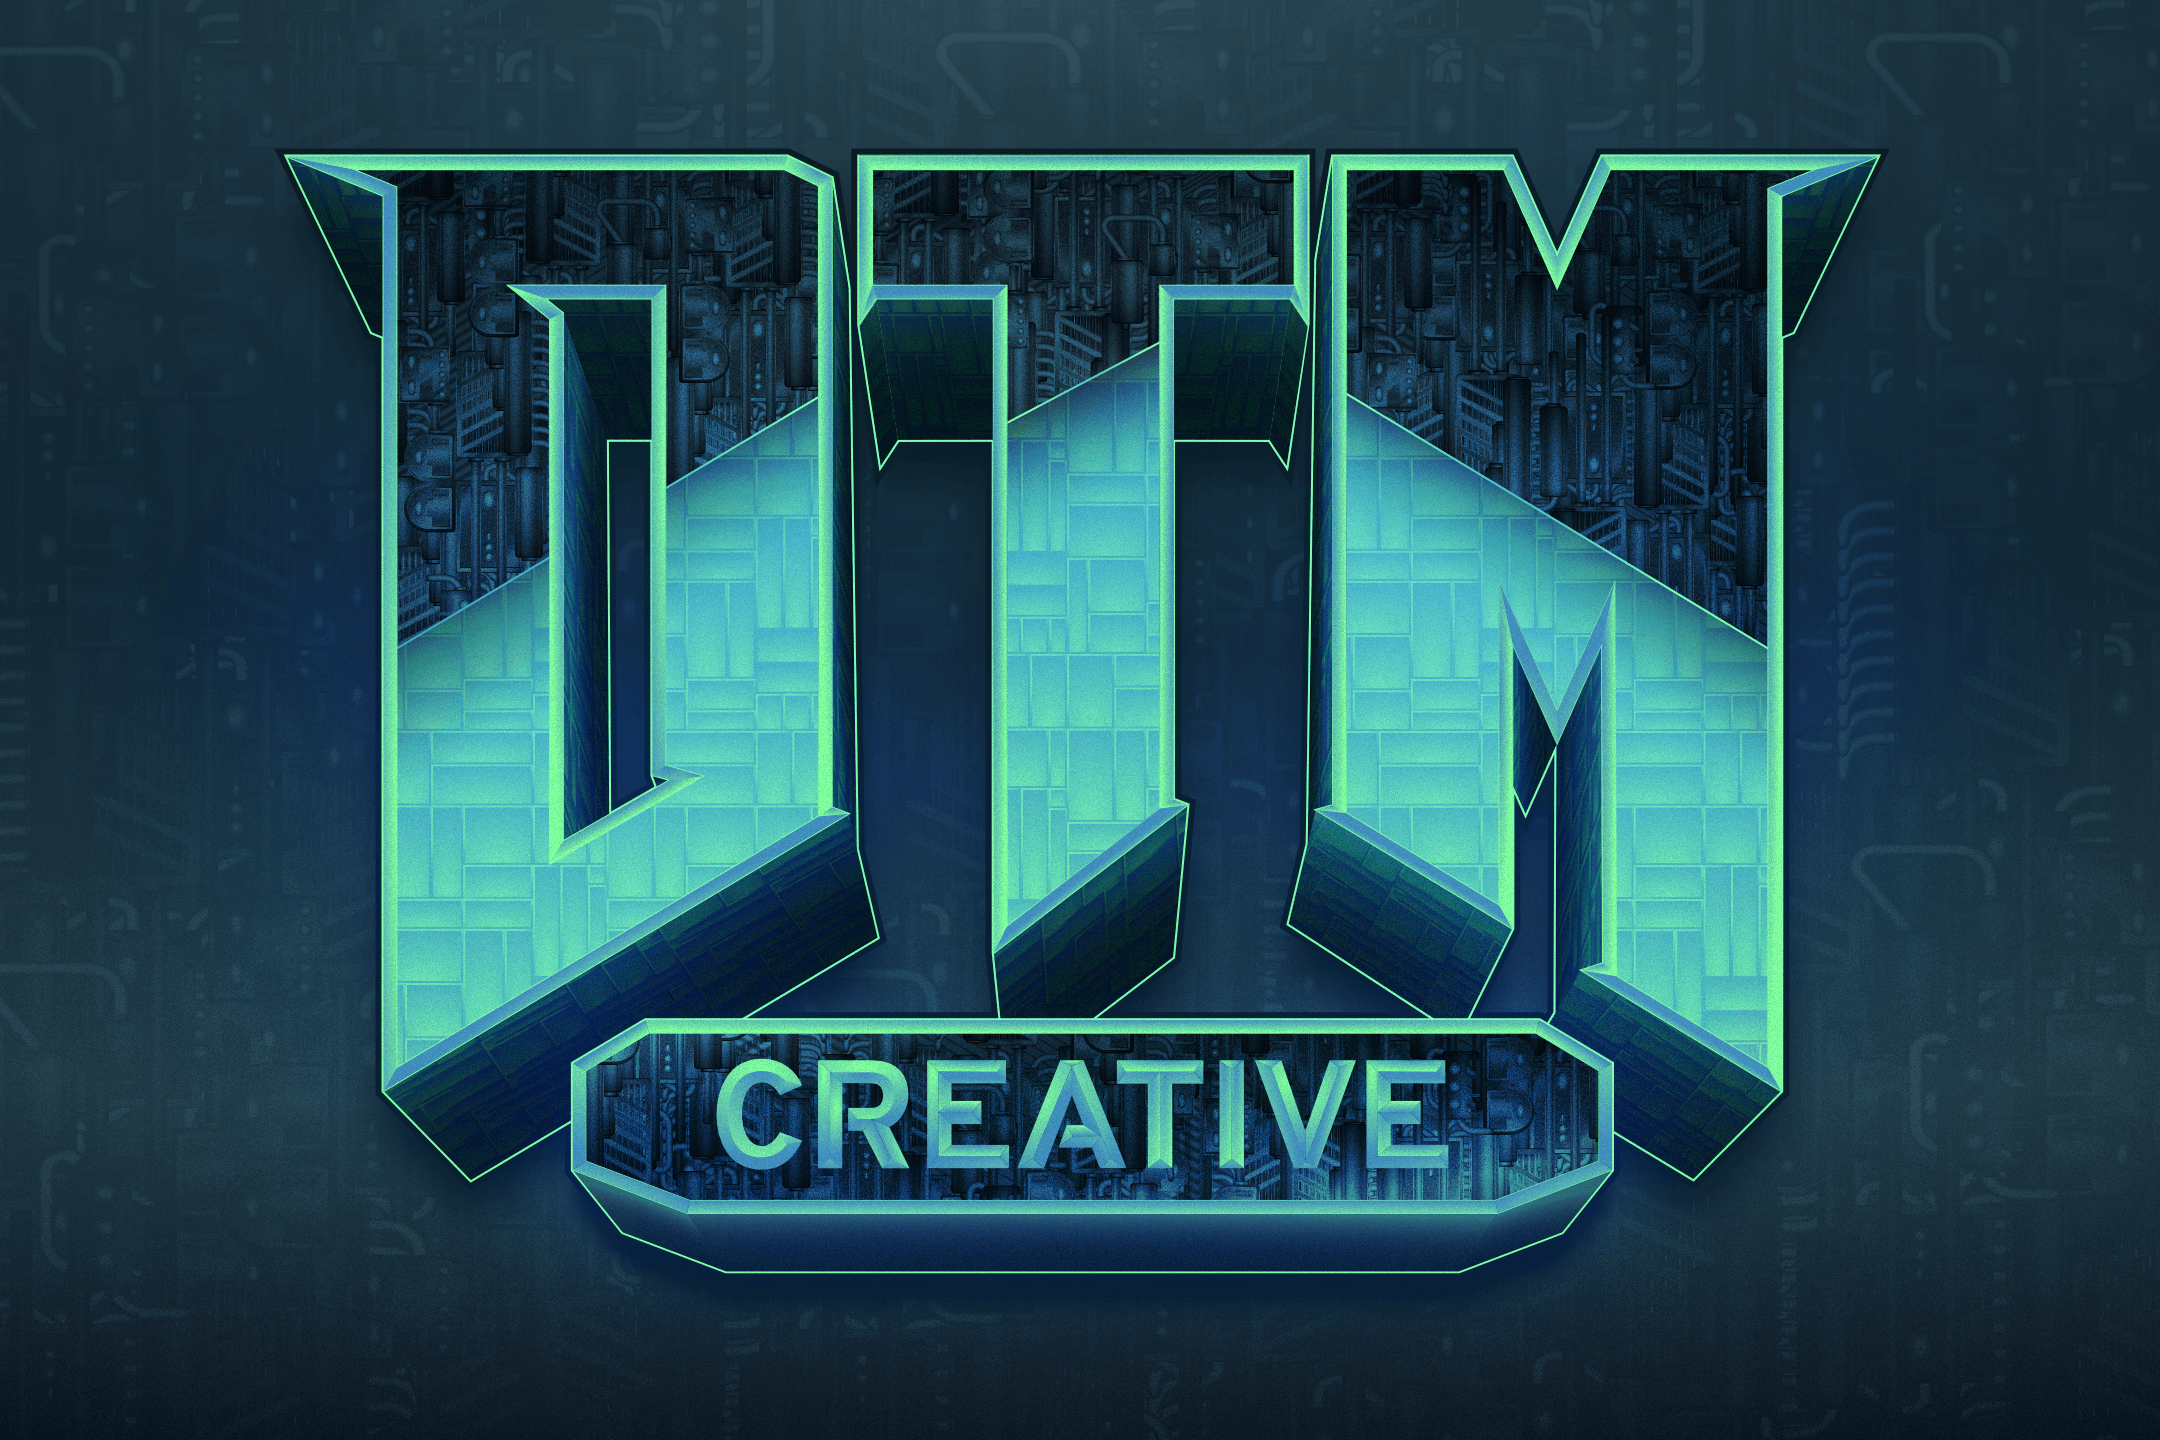
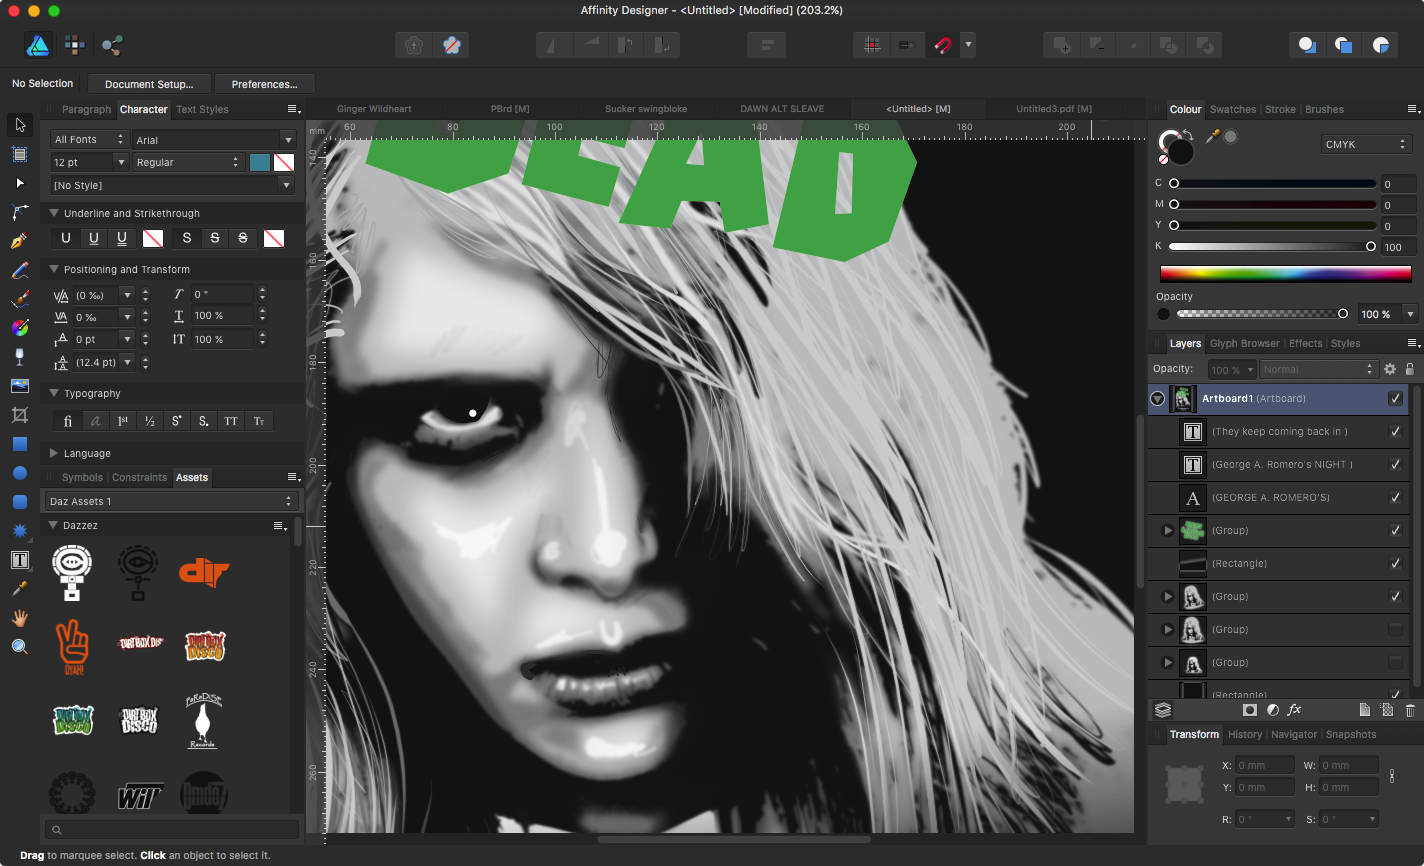
Really wanted to do a DOOM version of my branding for a while, so I took elements from both the original logo as well as the reboot and mashed it together. Really happy with the results. This is my first big project fully utilizing Affinity Designer. Fully vector and fully in-house.
-
 Does anyone know of a tutorial to show how to change line art (like a coloring book page) to vector? Any ideas for the best way to make coloring pages? I have Procreate 4 for the iPad, as well as Designer/Photo and Photo for the iPad.
 -
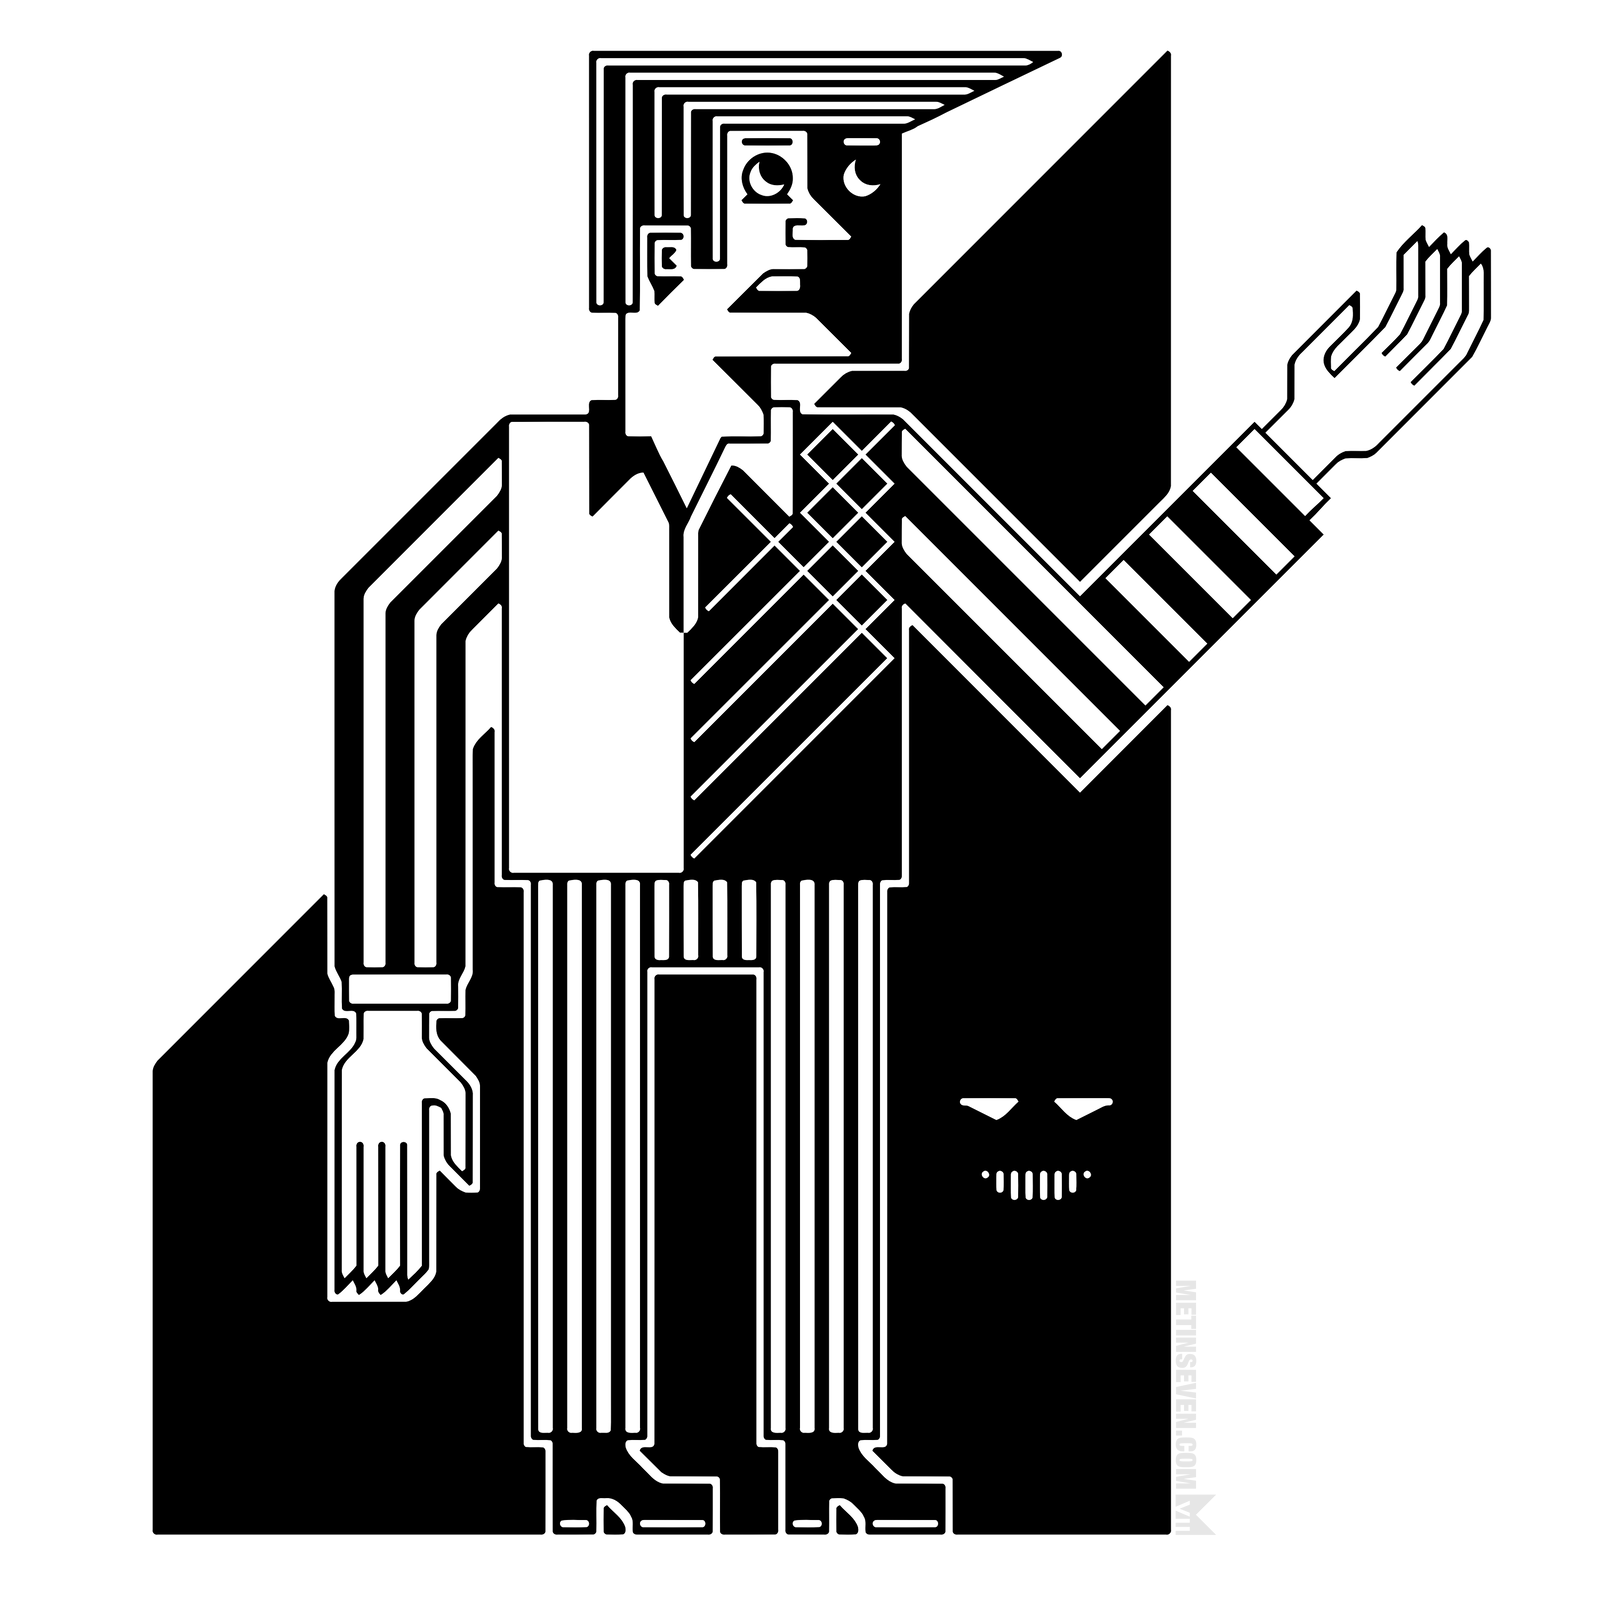
An artistically stylized vector character design. Hope you like it.
-
Hello Affinity fans Today I drawn flamingos, interesting long-legged birds. I have made not use of textures, patterns, pixel layers or brushes, I just wanted a very simple illustration, just shapes, pen and gradients. Give a look at the illustration, drawn in Affinity Designer and tell me what do you think, leave your feed backs, write positive and negative The full project here on behance
- 11 replies
-
- 9
-

-
- flamingos
- illustration
- (and 7 more)
-
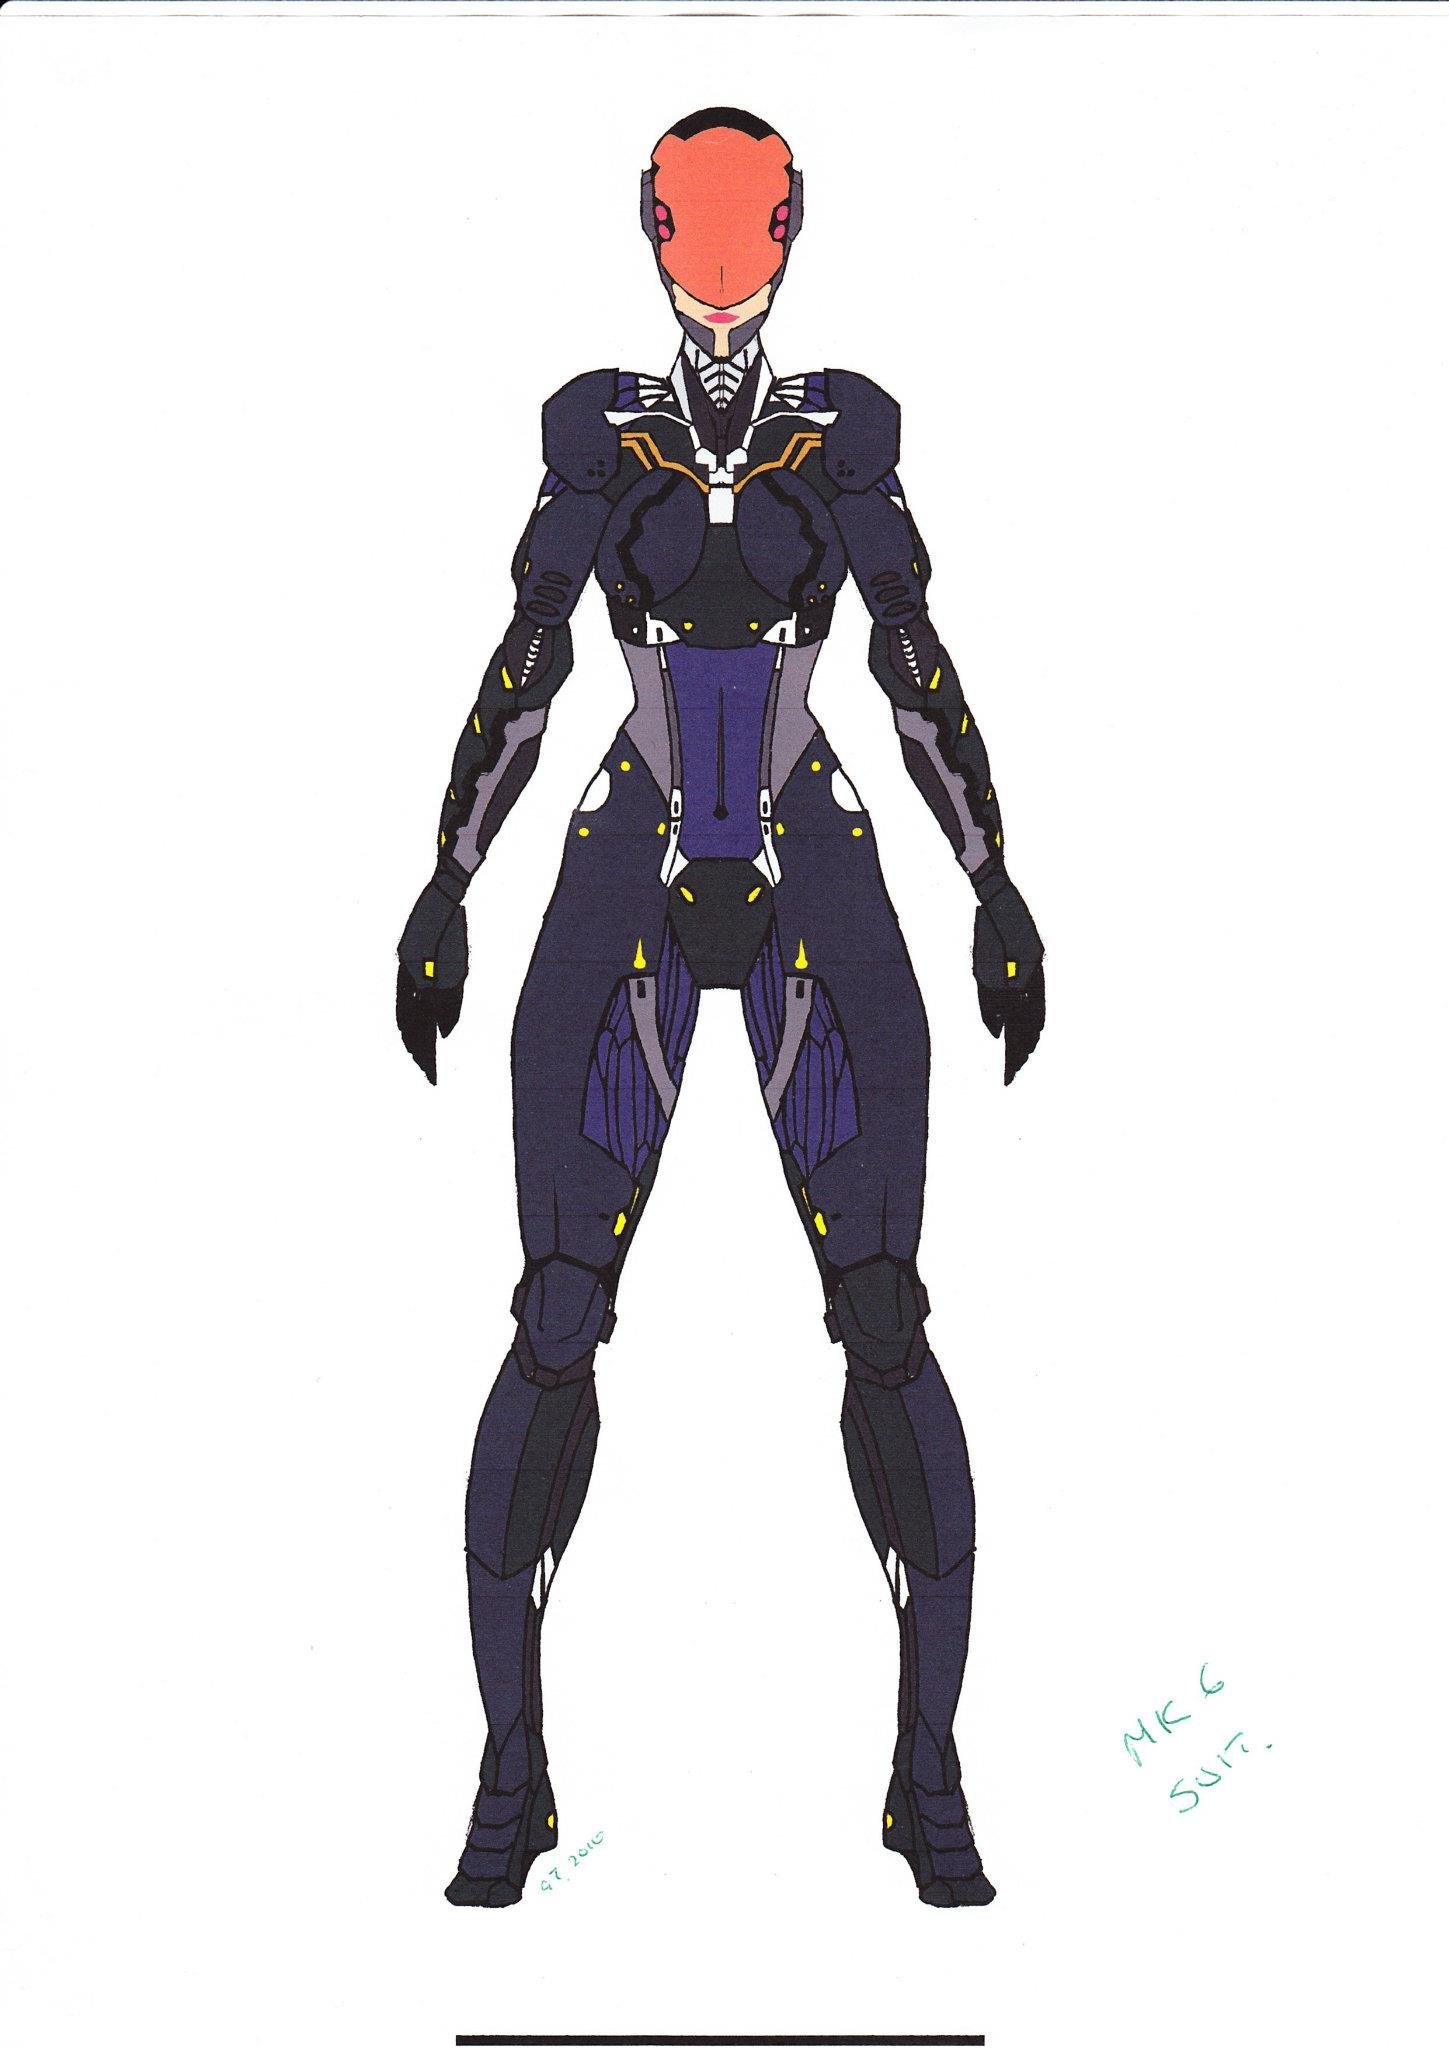
 I'm working on creating my own game in Unity and I've updated one of my old hand drawings of the leading character with AD. Looks good AD and it took a bit of getting uses too after using Photoshop. Still in progress, want to add shading and the finer details. First drawing is the hand drawn one, and the second is the work in progress in AD. I also used AP with an Apple iPad Pro and the Apple Pencil to sketch some of the new elements first before adding them to the image in AD.
- 5 replies
-
- 4
-
-
- code black
- vector
- (and 2 more)
-
 So I only deal with vector art because I design t shirts and it needs to be vectorized. I don’t know what I’m doing wrong.. I’m trying to get an American flag to completely cover or ‘mask’ a figure that’s my original artwork for a Fourth of July design... I’ve tried the “mask to below method” but when I export as a pdf it still comes out rasterized which I can’t have... does anyone know what I’m doing wrong or could help me/ explain to me how add these layers together and have it come out vectorized? Thank you all so much!
 -

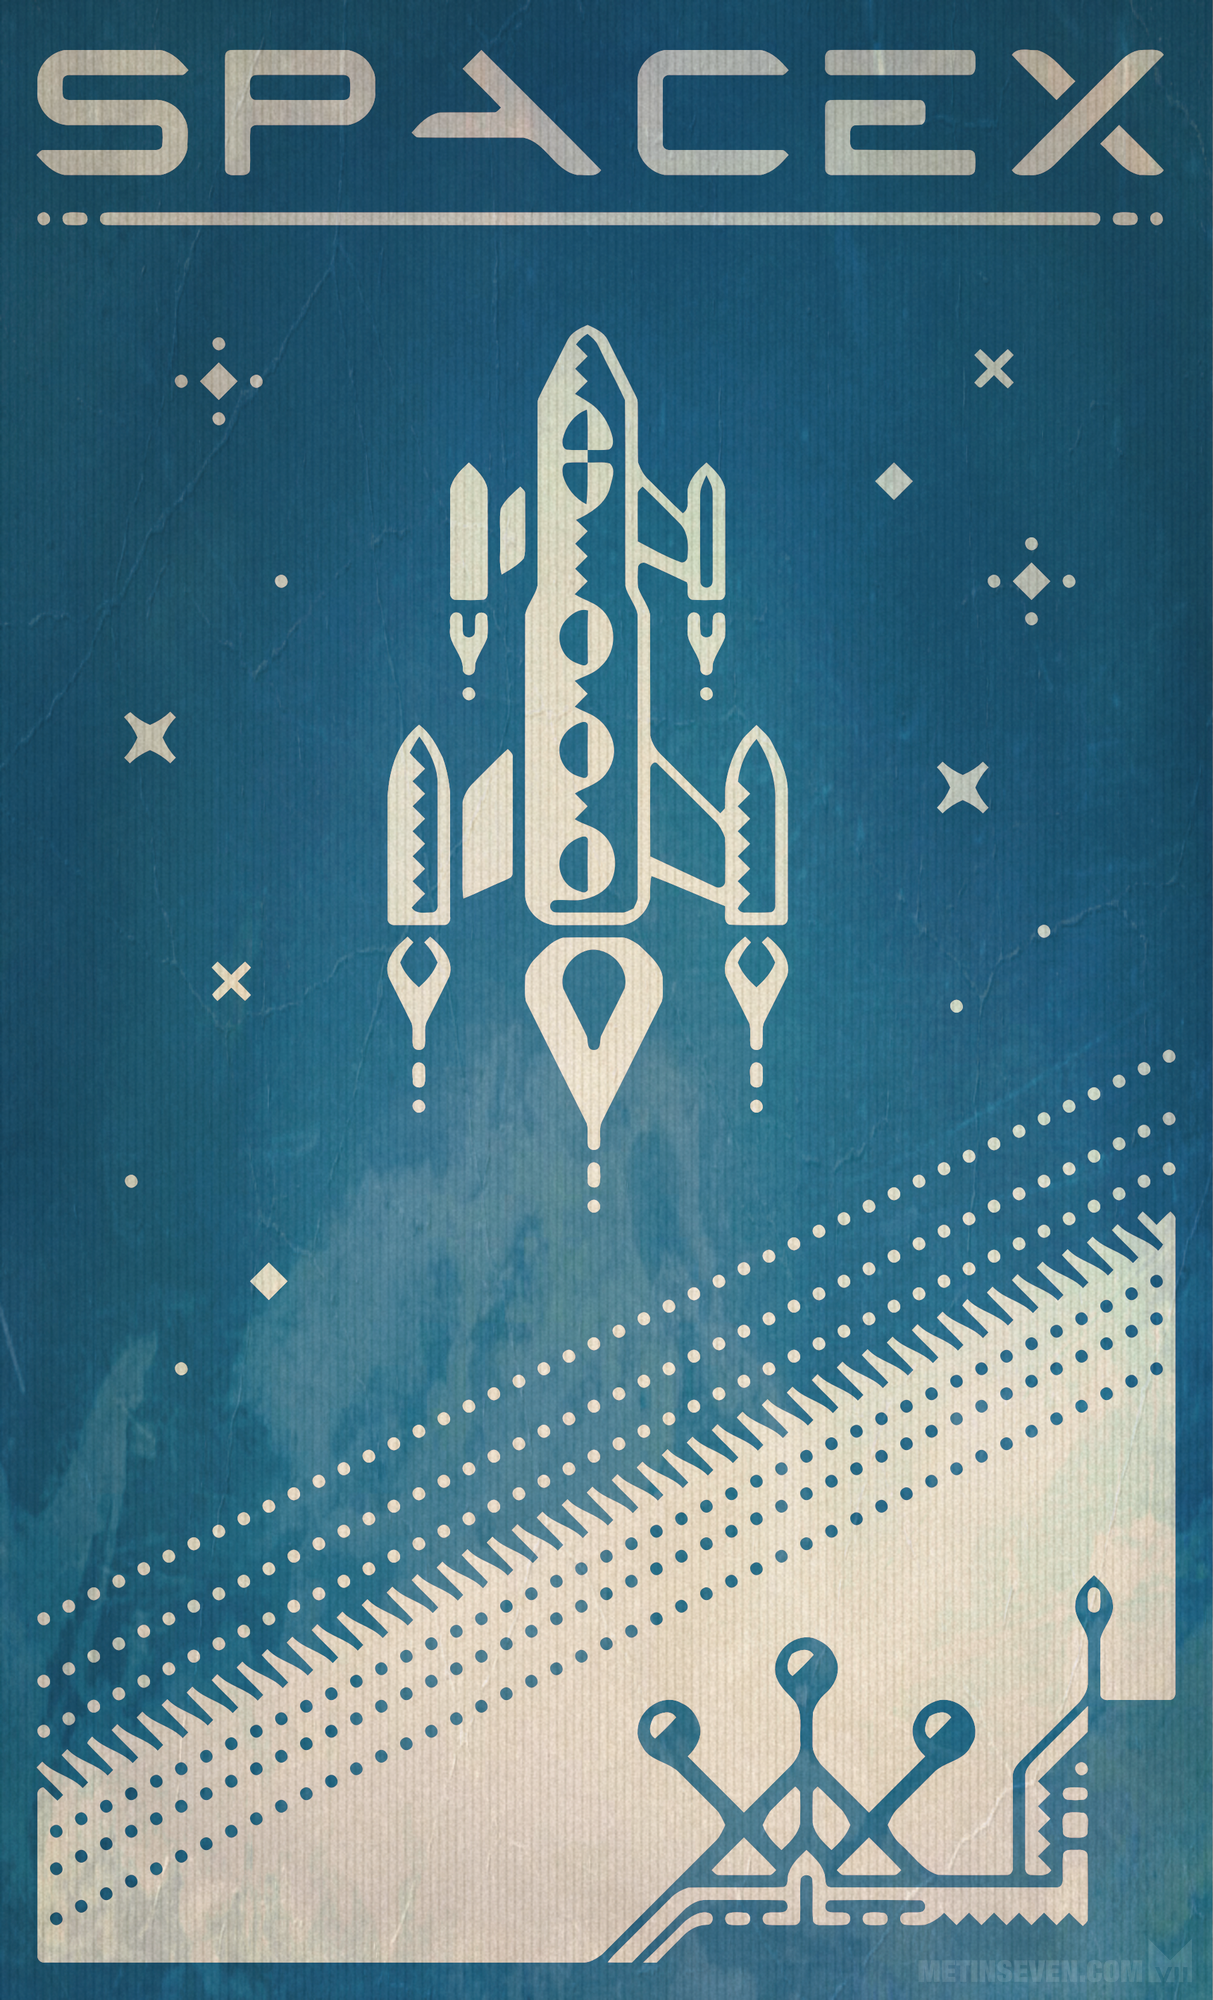
affinity designer SpaceX retro-futuristic poster design
Metin Seven posted a topic in Share your work
Tribute to Elon Musk's inspiring SpaceX corporation, in a retro-futuristic poster style. Hope you like it.
-
 Thank You Upfront for your help. Let me explain what I will be using Affinity Photo & Designer for: I do a lot of 'Logos' and/or Tshirts layouts for people. My Process is to actually sketch, then ink out the designs by hand. Then I scan them with the goal of 'cleaning them up' somewhat before presenting them to clients officially. I am NOT trained in any kind of 'pro' graphic schooling. Although I have over a decade of experience doing logos/layouts (mostly in Adobe PS) - there are so many basics that I simply do NOT understand. NOW... the issues I am having. I ultimately want to learn how to scan my inked artwork in and be able to present it officially as 'vectorized'. BUT what I tend to end up with is VERY pixelated conclusions. Its hard for me to 'draw' the logos inside the actual program bc I simply prefer - and am highly experienced at doing it by hand. And the logos in which I design (especially if they are more album 'layouts' or Tshirt designs) are very detailed, making it near impossible for me to scan and 'trace' inside Affinity & Designer as some have suggested. (I've attached a pic as an example). I could use, from you, my new Affinity Fam... ANY help in understanding how to use Photo & Designer for my specific purposes: Scanning detailed artwork, 'cleaning it up', and finalizing it as a detailed and NOT pixelated product ('Vectorizing'?)
-
 This may be a very silly question. Is there a way to automatically convert a vector image created with rgb colours into CMYK without having to select each individual colour and changing it manually? No I don't want to convert it when saving it but to action it on the page.
 -
 Hello everyone i'm currently working on making my workflow with affinity products to be as fluid as it can so i won't mind not having other products installed. i know Designer and Photo use the same file format and i've learned about the place tool etc... but here is my need: Case: in Past days, using Adobe Products, i could prepare an A4/A5 Canvas on inDesign the work on my photo with PS then all vectors with Ai and when all is done just place them on my inDesign, adjust and if any change i want to do, i just right click on the stuff (picture or vector) select Open/Modify with, select the right software, do necessary changes there click Save come back to inDesign and see all changes Synched. i've tried to do that with Affinity products but up to now, i can't get the updated file synched after i have made changes and Saved the whole thing; it's just stays as it was the minute i placed it; so; maybe i'm missing something here on how to team them and use as efficient as i would do with Ai+PS+iD. Thank you all for your inputs.
 -
 Hi There, I'm tryin to fill a curves shape so it has a black outline and a white fill. This file though has curves and a fill already, so I'm not able to fill it any further. Changing the outline to be black by changing the fill is no problem. How should I go about doing this...? Lily.afdesign
 -
Got no work on and bored so I just knocked this up - all vector
-
 Hello, I wanted to ask if anyone knew of a good way to taper vector lines made with the Pen Tool in Affinity Designer. I know that you can do it on Inkscape and Illustrator, but I haven't figured out a way to do with Affinity. Also, I know that I can you the brush tool to get that sort of line with a graphics tablet, but I just want to see if I can do it with the pen tool. Here is a link to article of that shows how its done Inkscape so you can get a better idea of what I am asking. http://design.tutsplus.com/tutorials/quick-tip-how-to-create-tapered-lines-in-inkscape--vector-23746 Thank you!
 -
This is my profile picture for this forum in a larger size. Hope you like it! #DesertFox Oh, and critique is welcome!
-
For a competition against racism I made this poster and... I won. Thanks serif! Vorschlag Nr.4.5.pdf
-
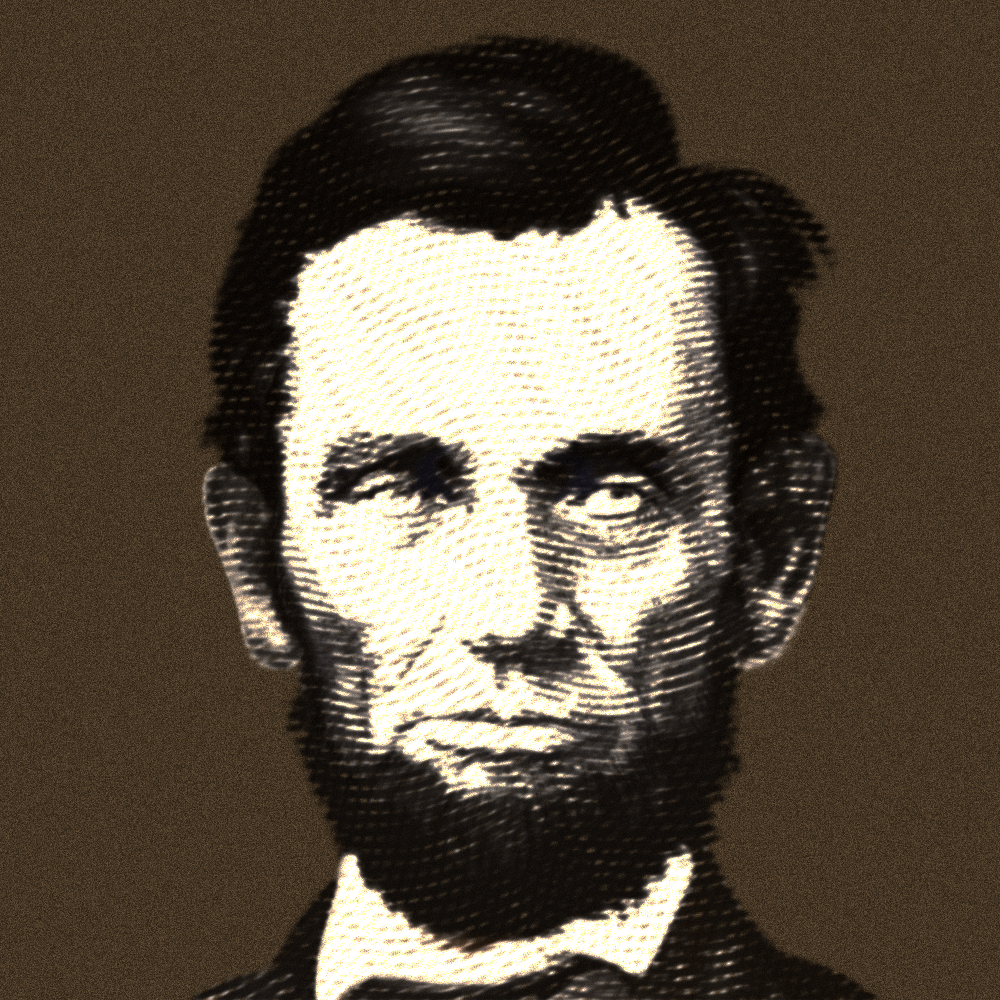
 Experimenting with creating vector woodcut portraits, which is a bit of a nuisance. Many things to consider when constructing such drawings. Still a tad confusing at this point. After four trials and errors I arrived at this level of design complexity. I used my vector portrait of Abe Lincoln as the image for this test. I believe the trick is to find the right way to set up the masking strokes after which basically any image can be used to build a woodcut portrait. Working method: Create a sine line Duplicate it until entire page is covered Select all lines and ‘Expand Stroke’ Combine all expanded strokes – after which they will show as a single ‘Curve’ in the Layers panel Duplicate a number times of your choice Rotate each of them to different angles, making sure they cover entire page – you have to enlarge them until they do Import an image Duplicate it to the same number of combined strokes / Curves that you duplicated in step 5 Apply a different ‘Treshold’ level to the original image and duplicates Rasterize all images Drag each image inside a curve so that the Curve serves as a mask Make sure none of the Curves has a fill or stroke width assigned Remarks: The combined strokes shown as Curves will show up over the images. Hit the Magnifier Zoom tool to see the result without the Curves overlaying them Each Curve containing the rasterized image can be manipulated in several ways – opacity, type of filter I attached the Affinity Designer file to study for those interested. Woodcut test AL portrait 3a.afdesign
-
Carbon filament bulb #madewithaffinitydesigner Keep on drawin' Norbert
- 8 replies
-
- 9
-
-
- light blub
- vector
- (and 2 more)
-
Vector Graphic - Portrait created with Affinity Designer. Guaranteed without pixels http://b-bertuleit.de/vektor-grafik-portrait/
-
 Good morning, all. I am new to Affinity and also new to creating SVG files. I feel as though I’ve got the SVG file creation part down. Lol. This is what I need help with, and I will try to explain this by example: Lets say that I import a simple two layer SVG file into affinity. By this I mean, a transparent background (as displayed by the white and grey checkers) and a layer on top holding the vector (as displayed by the shape represented in black so that I can see the transparent background behind the shape). Let’s say that the shape is a black rectangle. Inside the rectangle I would like to write text. Then, I would like to make that text transparent so that it appears to have been cut out of the rectangle, so I can see the checkered transparent background where the words used to be, in the shape of the text. How do I do this? If you could describe it to me in simple steps and assume that I’m a total n00b, I would greatly, greatly appreciate it. Thank you so much for reading my post!
 -
Hi guys, Are there any plans on updating Affinity with a feather effect for vector objects? That would really be awesome for PSD output, if we use gaussian blur it simply rasterizes the shape, and that's a no no Thank you for a great product, Chris
-
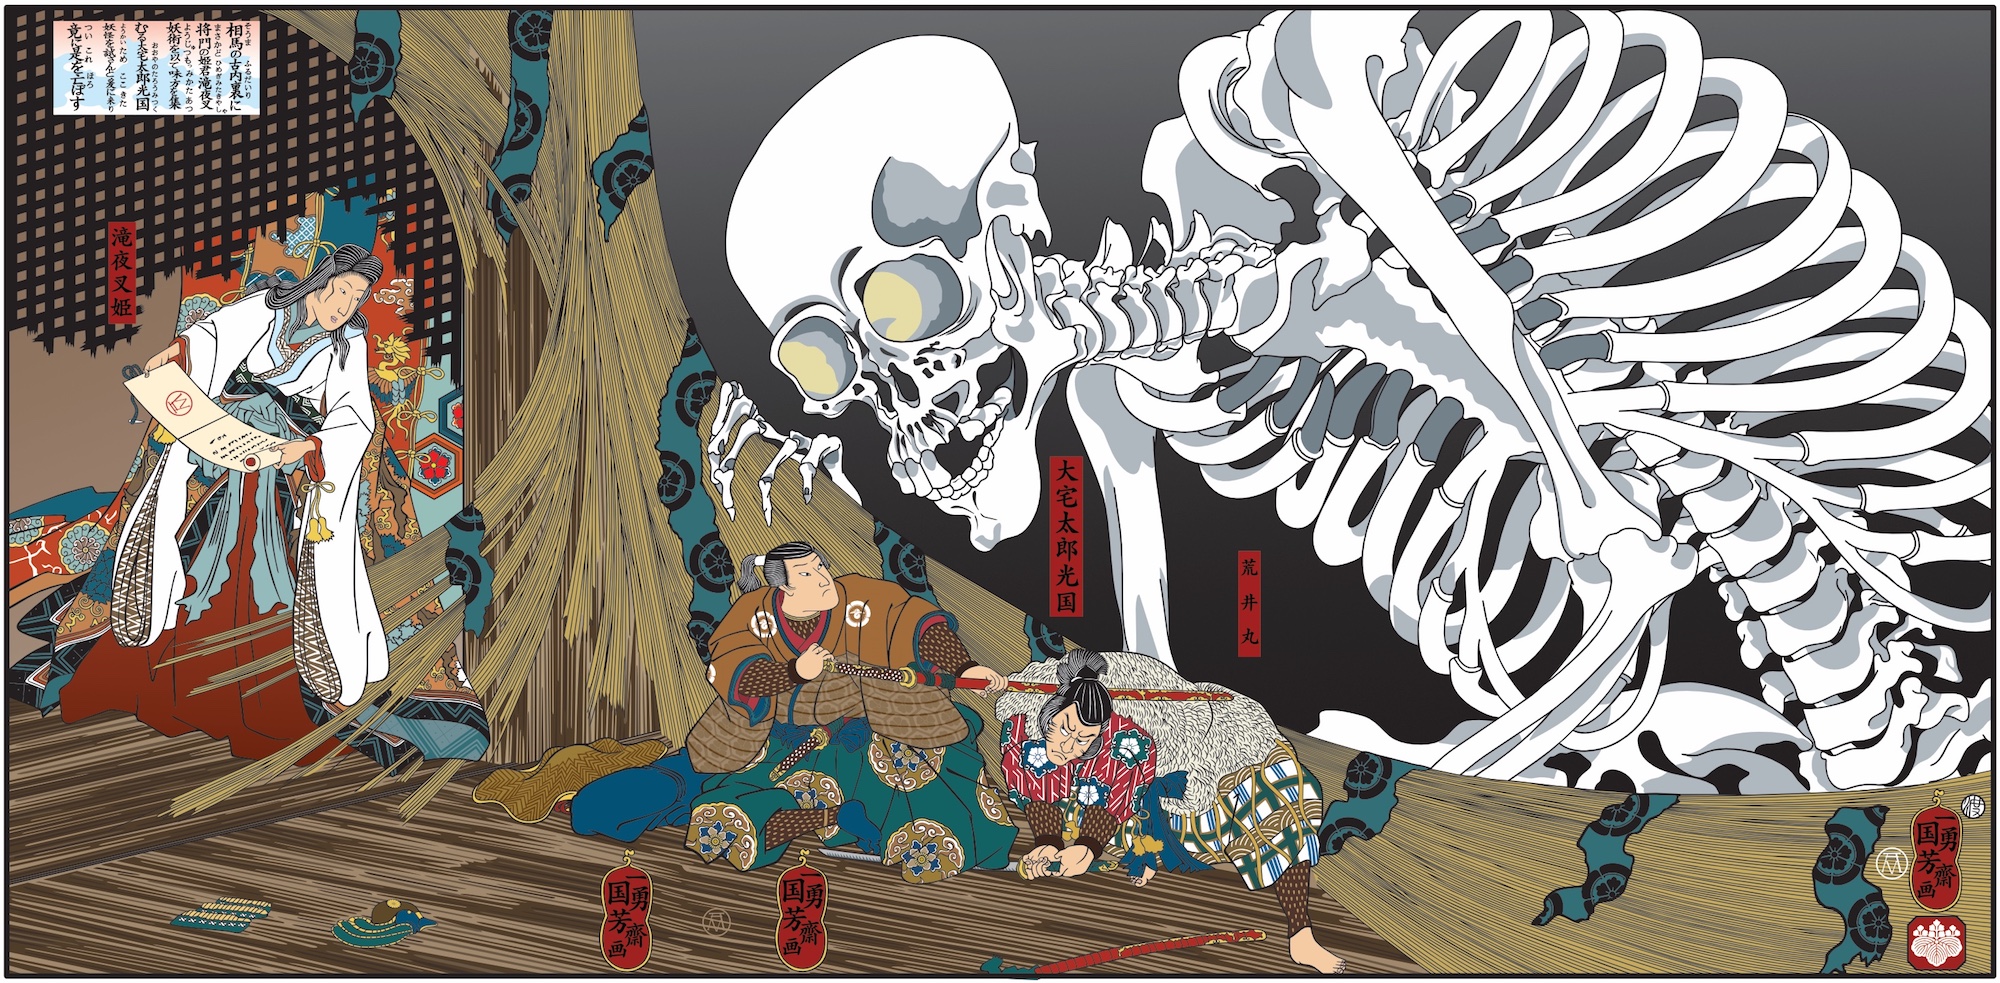
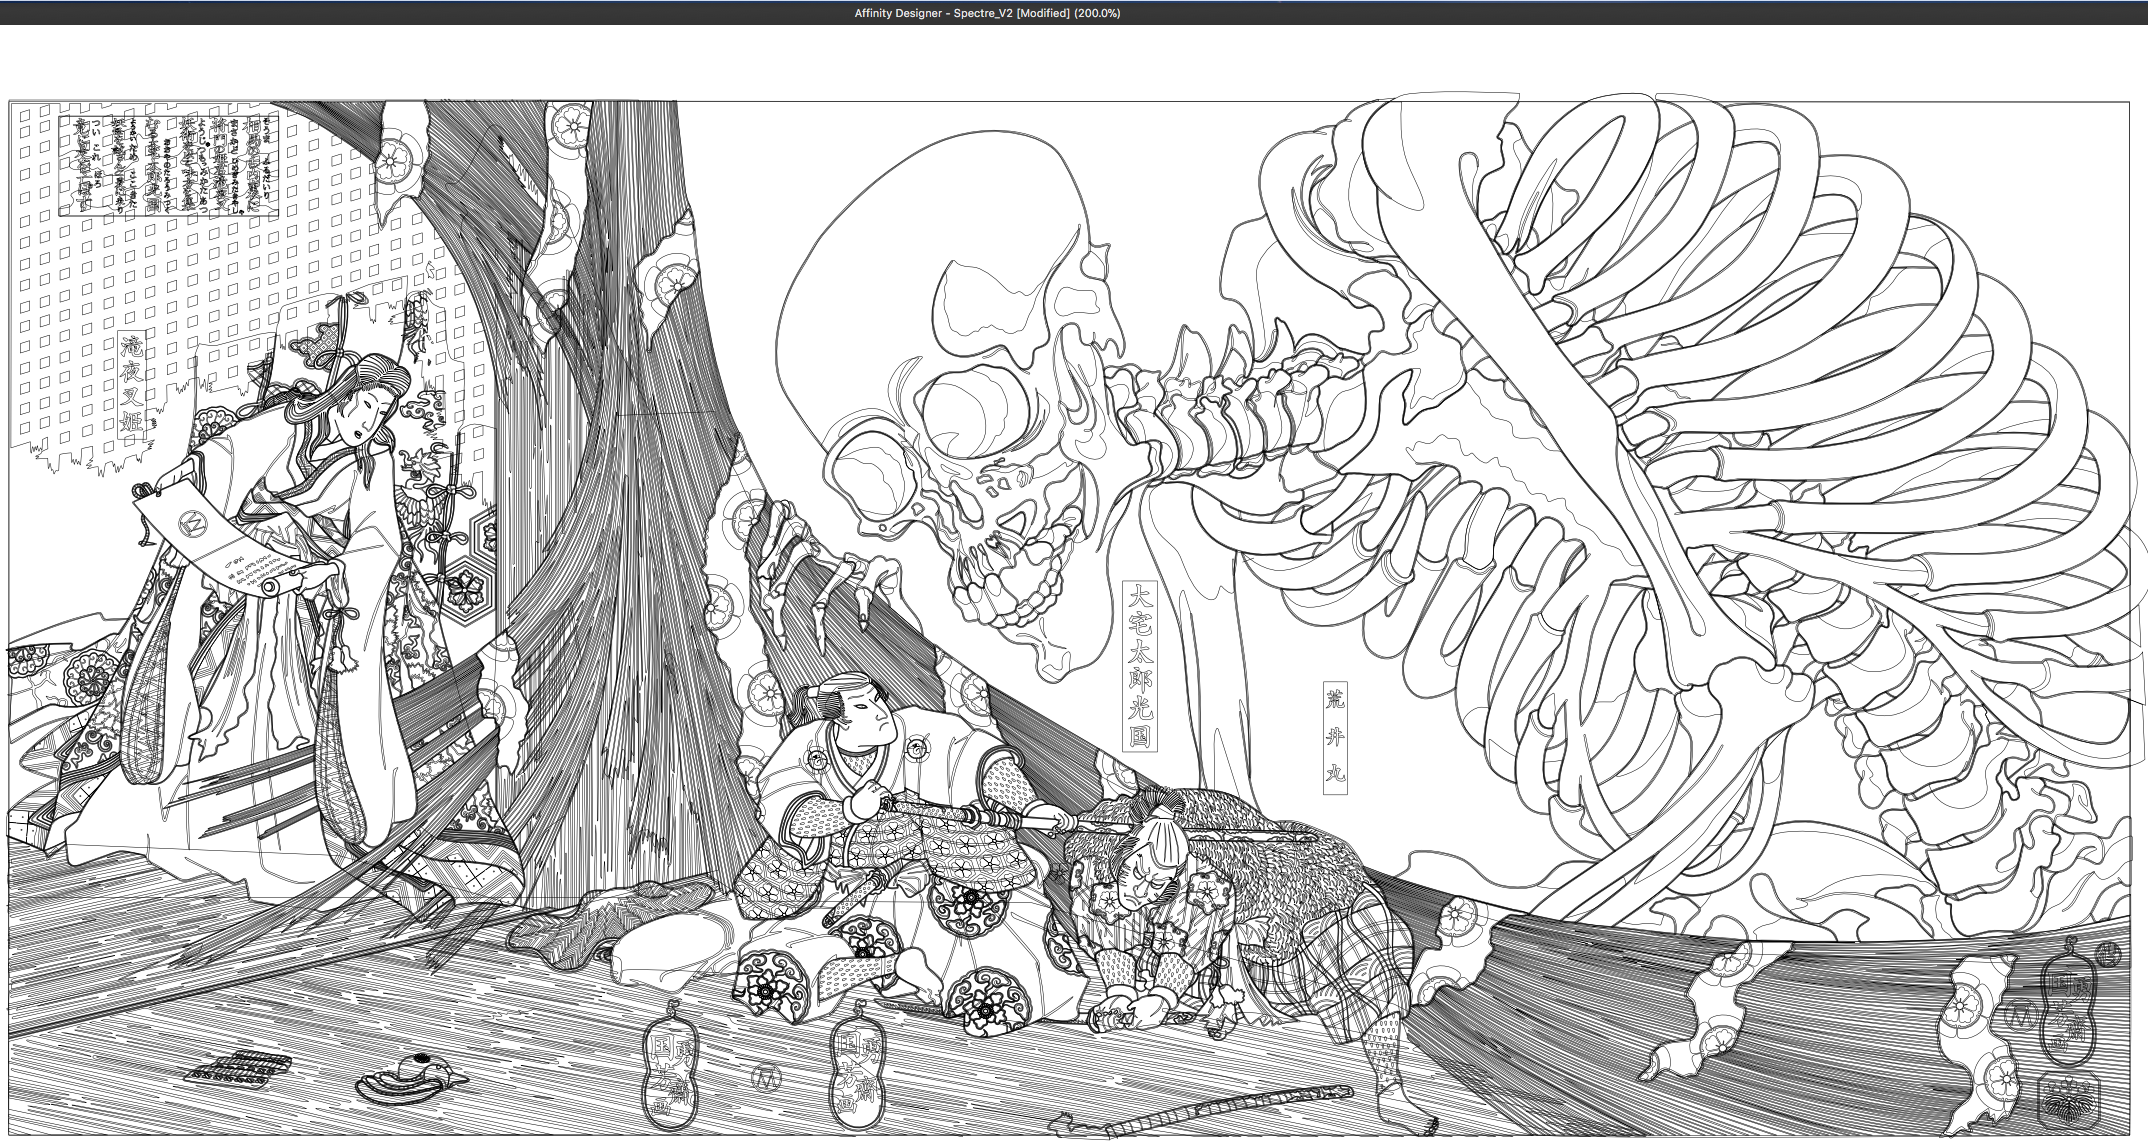
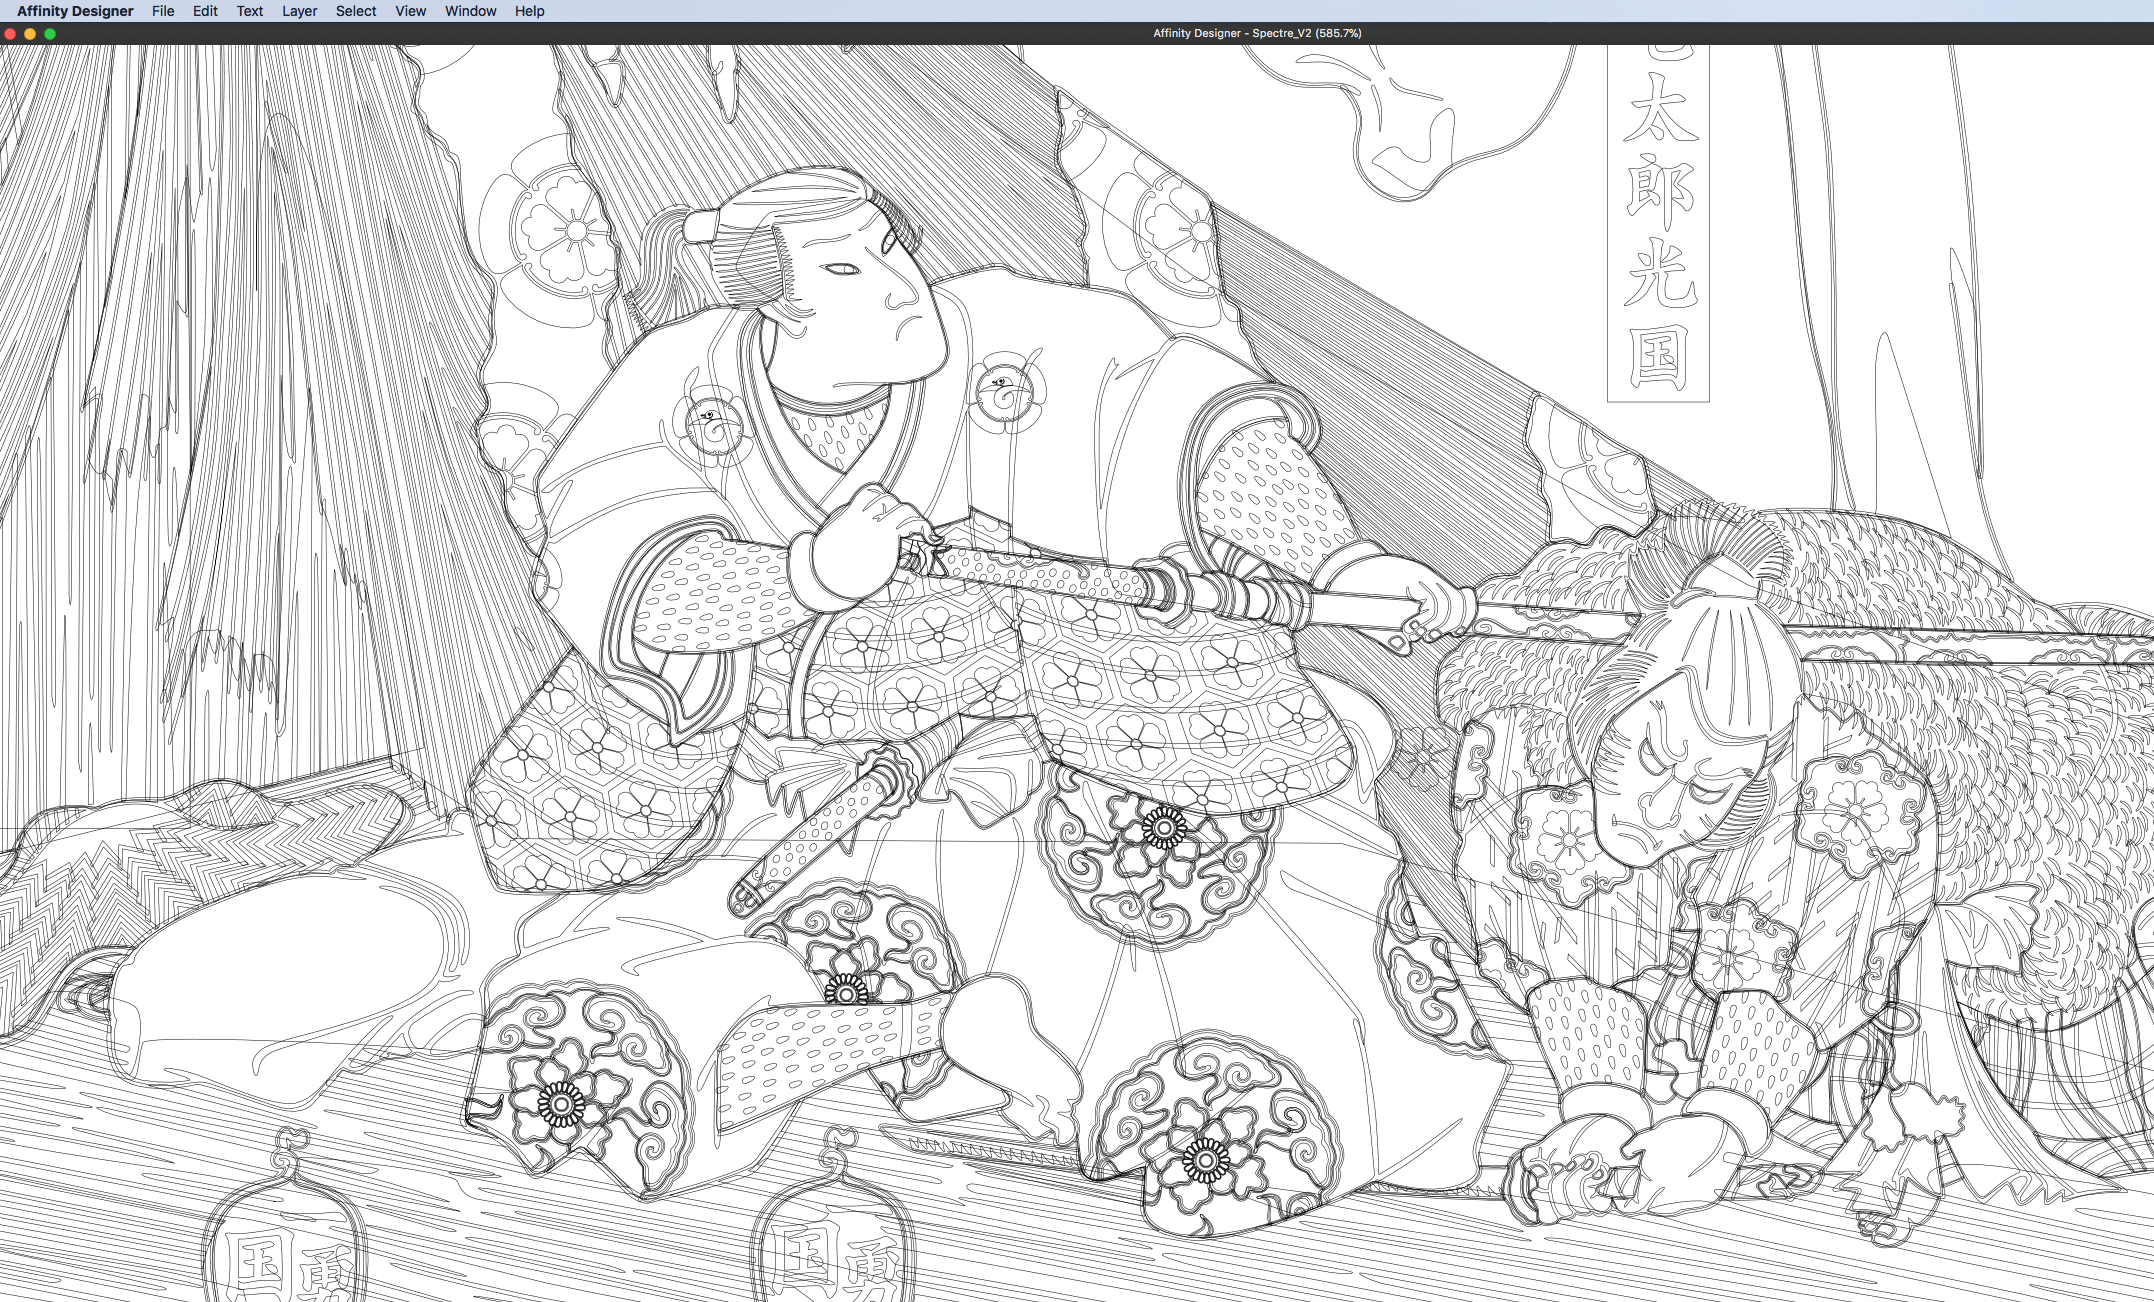
I made this piece as a part of a presentation that I had to make recently to a potential client. It is based on a woodblock print by Kuniyoshi and the original name of the print is Princess Takiyasha summons a skeleton spectre to frighten Mitsukuni. I've never seen an original print of this that was in good shape and I thought it was a shame because it is a very nice print so I decided to make my own version (with a few changes here and there). I hope you enjoy. Hokusai
- 19 replies
-
- 23
-
-
- recreation
- vector
- (and 3 more)