Search the Community
Showing results for tags 'texture'.
-
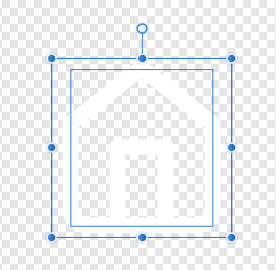
 For some reason, we need icon/texture with transparent background, and this transparent background needs to be white instead of black or something else. You can check this article, this is the reason we need this: http://www.adriancourreges.com/blog/2017/05/09/beware-of-transparent-pixels/ Now, my workflow in Affinity Designer is, an icon, and a white transparent rectangle at back, center the icon with the rectangle, then export it to png using file->export. The way I test it, is using XnView MP to open the png, then right click the image viewer, check "use alpha channel". Then the alpha channel will be removed and show the original color. Problem is, after I export it, the background is black transparent, not white transparent. See screenshots. Screenshot 1 is a home button icon and a transparent rect. Screenshot 2 is the color setting of the transparent rect. Screenshot 3 is the view in XnView, with alpha channel removed. Then I tested with only a little bit of alpha, by moving the alpha slider a little to right, export it to png, and the alpha is correct white alpha, not black. But it's not the ideal result because it shows a little bit white instead of complete transparent. How to do white transparent background with Affinity?
-
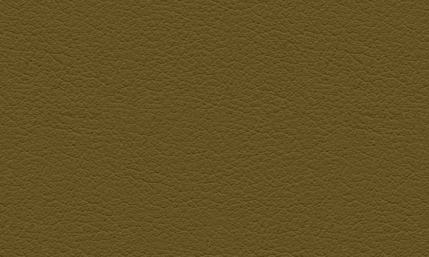
Here’s another site which I found in my bookmarks that lets you quickly create images that can be used for backgrounds (and probably other things too): http://bg.siteorigin.com/ There are loads of different patterns and various options to play with. I’ve attached two examples: Leather; and White Plaster.
- 2 replies
-
- 3
-

-

-
- background
- texture
- (and 1 more)
-
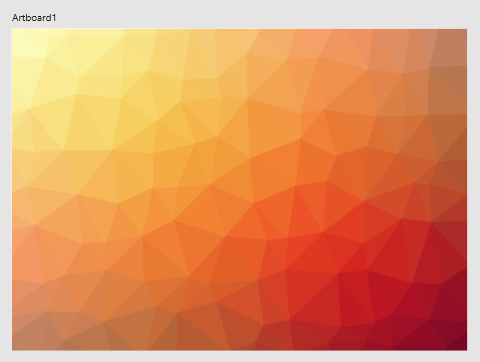
I rediscovered this website while I was cleaning out some old browser bookmarks for web design stuff and thought I’d share it in case anyone else found it useful: https://trianglify.io/ With it you can quickly generate some simple triangle-based graphics - see attached example - which can be exported as either PNG or SVG and then used in your Affinity projects. The output isn’t perfect – e.g. the vertices in the SVGs are not exactly aligned and the PNGs sometimes have ‘gaps’ – but they might be of some use, maybe as a starting point for something else.
-
- 6
-
-
-
- background
- texture
- (and 1 more)
-
 In the Affinity Photo Stroke Panel, it says ' Style—Select a line style button to change how the line is drawn. Choose from None, Solid Line Style, Dash Line Style, and Texture Line Style, respectively. The last option applies the currently selected brush in the Brushes panel to the stroke. ' I'm having trouble getting the Pen tool to use the Texture option in using the current brush. Any tips? Thanks.
 -
 I created a halftone texture brush in designer but it's not working as expected. If go over the same spot with the brush; the transparent pixels get darker until it is a black square. I want it to stay circular halftone. Left: what I get when I go over an area once. Right: What I get when I go over an area multiple times. No matter how many times I go over an area I want it to stay like the one on the left. I have to start over everytime I go over an area more than once. Texture brushes should not accumulate layers. My texture brush image is included in the attachments and these are my brush settings.
-
I did this following a Photoshop tutorial using Affinity Photo. I used the brushes that were offered in the tutorial but created my own denim texture in another program and then imported that into photo where I added a few adjustments.
-
Hello! Is my first post here. :) I'm trying to replicate this tutorial I found to create a foil texture. I found a way to replace the clouds filter using the Perlin Noise on Affinity Photo. But I have no idea to replicate the last step on this tutorial. Anyone has any idea to do this? Thanks!
-

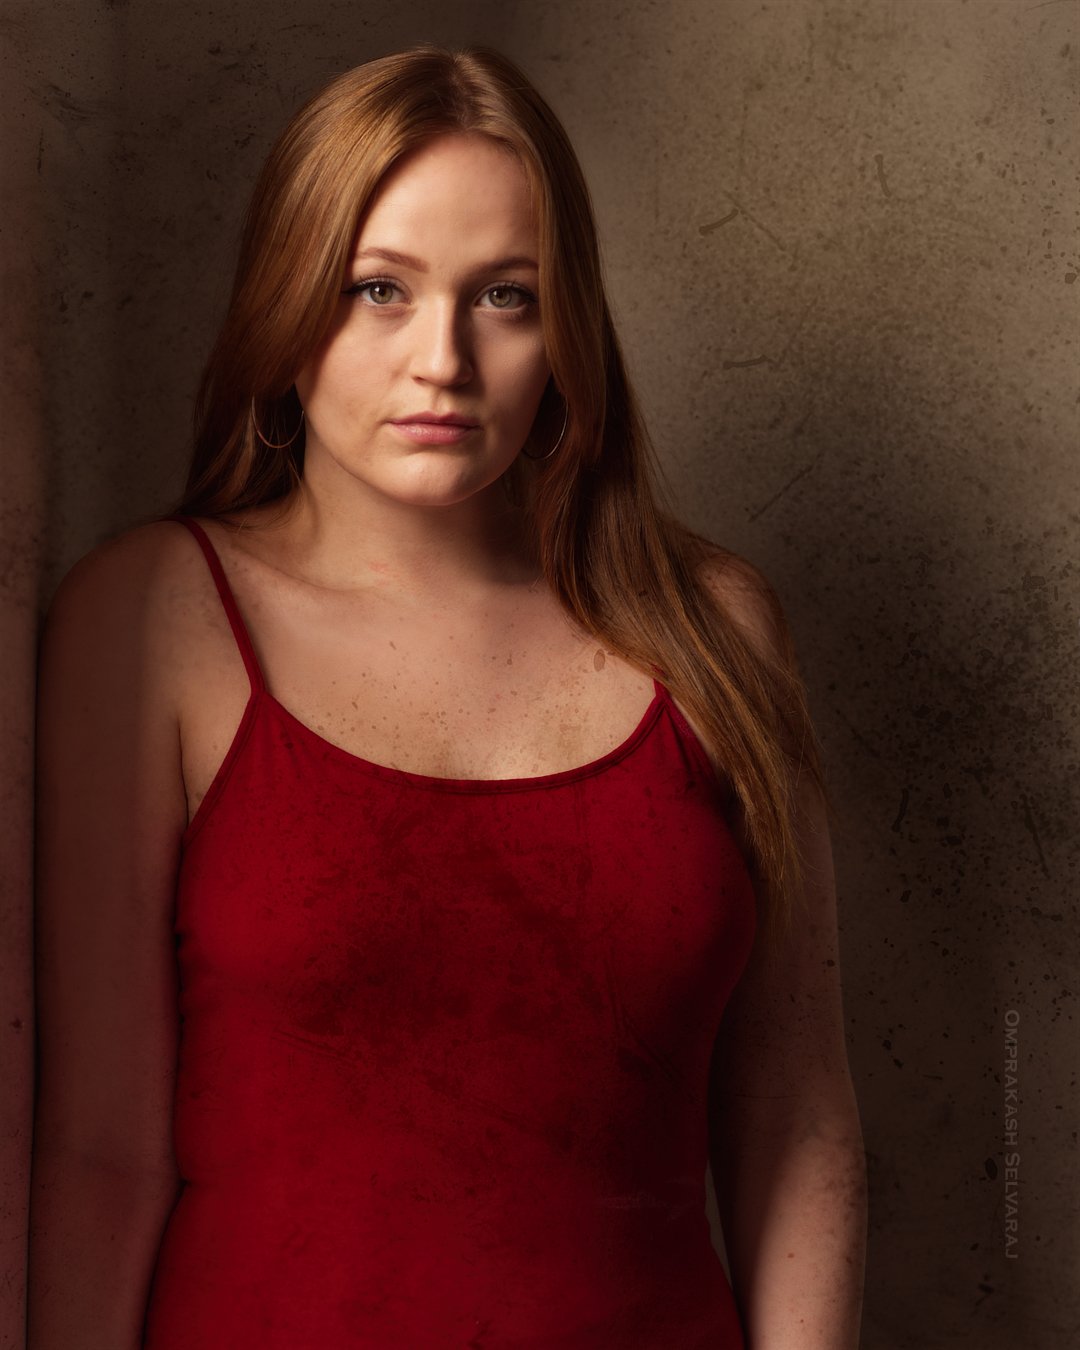
affinity photo My first work with Affinity Photo
Omprakash Selvaraj posted a topic in Share your work
Version 1.7 beta is real power house. Love the realistic brushes and textures it provides.
-
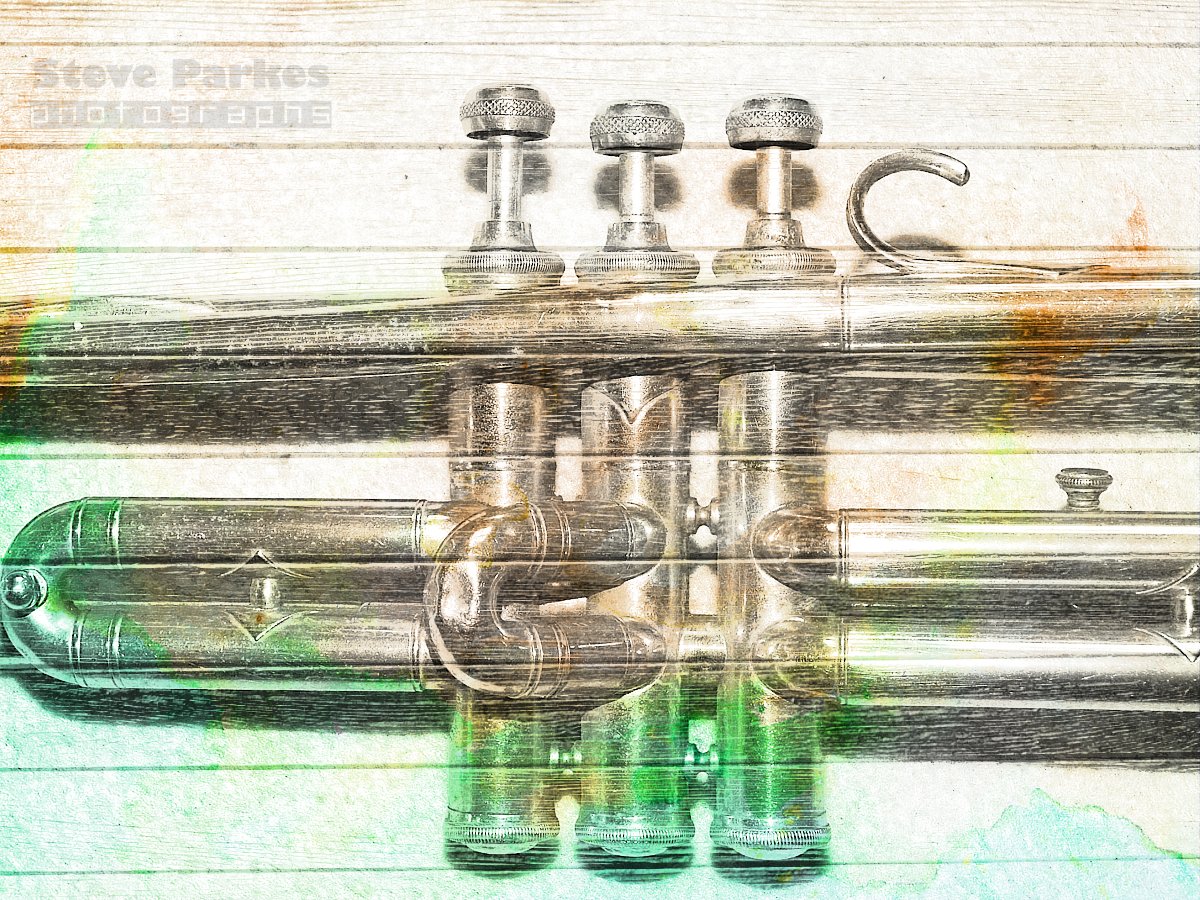
 I've revived a few photos from my archive, using some texture images I've collected -- mostly from legitimate free sources with no copyright issues. These three are of an old trumpet I bought a few years ago. It's no longer playable (and I couldn't play it if it were) but I thought it was photogenic. These three pics have two texture layers, added one at a time, and I tried various combinations of blend mode and transparency till I found one I liked. I think the first one and the third one have something of a nineteen-fifties feel (I was there ) ... This one reminds me of an album cover, but I can't think which one. Do let me know if you do! Here's the first one in afphoto format if you want to see exactly what I did ... 0920z.afphoto
-
Dear Affinity Photo users! I'm glad to announce that Filter Forge 7.0 is released. It supports Affinity Photo 1.5, and will support AP 1.6 as soon as Serif officially releases the update. All the new features with descriptions are here https://www.filterforge.com/features/ but I'll list them here as well. For all the users: 1. We've made Filter Forge faster by improving sample caching. 2. Copy and paste images between Filter Forge and any graphic editor. So it means you can use Filter Forge with AP 1.6 even before the update is released. 3. Generate and preview all active channels during rendering and export all of them to files at once. For filter authors: 1. Instant component search will help you to find and add any component faster and easier. 2. We refreshed 47 existing components, made their list and slider inputs mappable. Now there's even less boundaries for your creativity. Try all these new features https://www.filterforge.com/download/ and let us know what you think.
- 19 replies
-
- 1
-
-
- plugin
- filterforge
- (and 2 more)
-
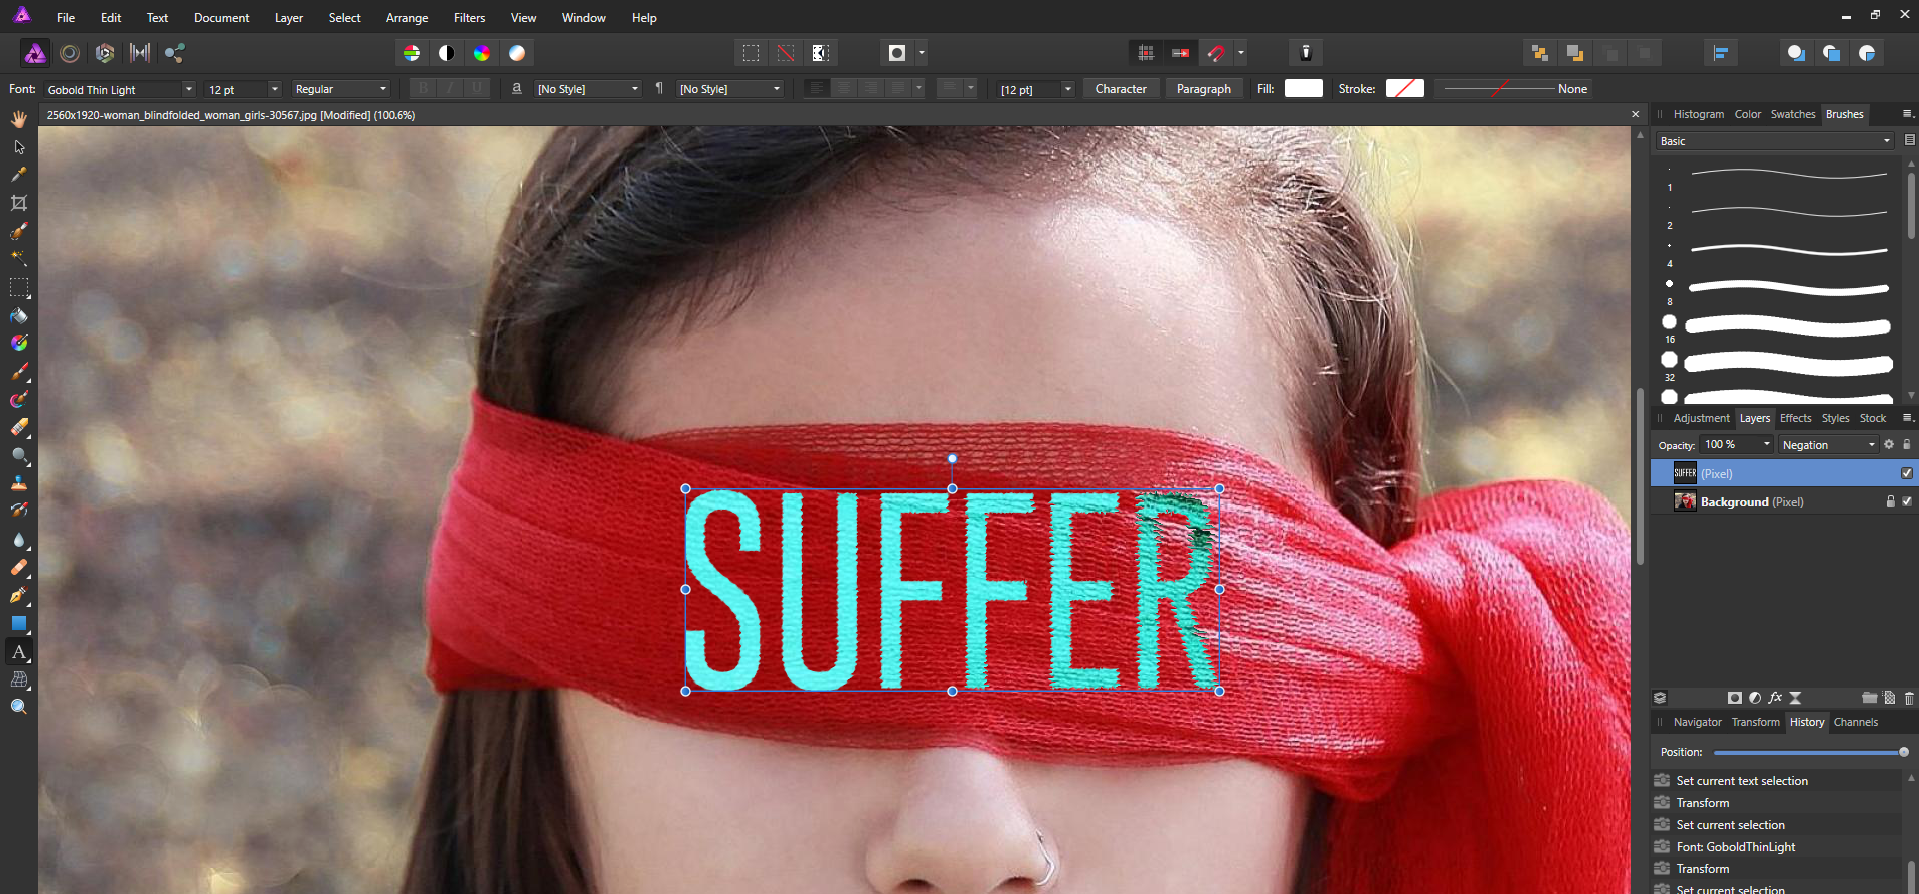
 Hello everyone I have a query for you I'm experimenting on a project in which i would need to add text on a blindfold and make it look as if it's painted on/on the blindfold . I found that "negation" blend mode gives the best results in terms of visible texture of the blindfold , however because of the blend mode and the light unnatural black spots appear . How would you guys suggest getting rid of the black spots (The issue is at the R letter where there is quite a lot of distortion of colors)
-
Dear modellers and illustrators, Allow me to introduce SibStock -- small but growing free high resolution texture site. Below I'll publish new textures updates as they arrive on the site.
-
 Hey guys, I was hoping you could help me out. I'm trying to create some textures to use in Affinity Designer and save them as assets. Should I create them as vector or PNG and can you explain why? I tend to think that vector is better, but it's way too heavy. Thanks
 -
Hi all, tady I started my new project www.downbg.com
- 26 replies
-
- 1
-
-
- background
- pattern
- (and 3 more)
-
 I've been trying to duplicate the above tutorial for 3 hours; now I hate myself. I have to run, can't explain what isn't working for me. Quickly, it's the part of the tutorial that explains how to protect the edge and a bit inside of the edge from the texture via an inner glow on a higher layer. Please help in exchange for a lifetime namaste.
 -
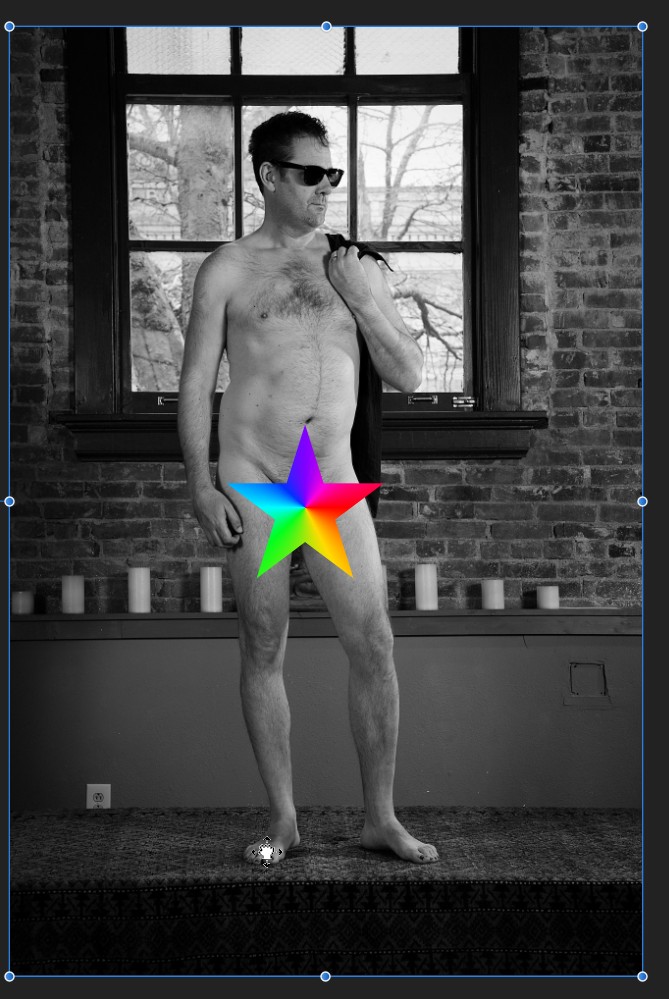
 Hi all, I have this self portrait as sadly-not-up-to-snuff Michelangelo's David and I want to overlay a marble finish on it. I think I could make this happen in Photoshop but I can't work out how to do it in Affinity and I ain't going back to Adobe. As you will see, I have added a layer with marble but I can't make it cover just my body whilst also leaving all the detail in the body. Does that make sense? If anyone has any help to offer I would be very grateful and I hope no one is horribly offended by my image! I have a STAR!! If this is beyond the pale let me know and I'll delete that image since hopefully it might make sense without it. Phil
-
Hello, everyone. I dove in and bought all the programs. Now, I have a 'best practices' inquiry: How do I set-up the artboard so that the white dirt on the 'K' (a texture file) is actually erased (a layer mask? a clipping ask?), allowing the pink circle to be visible? Sorry - I am completely befuddled by this.
-
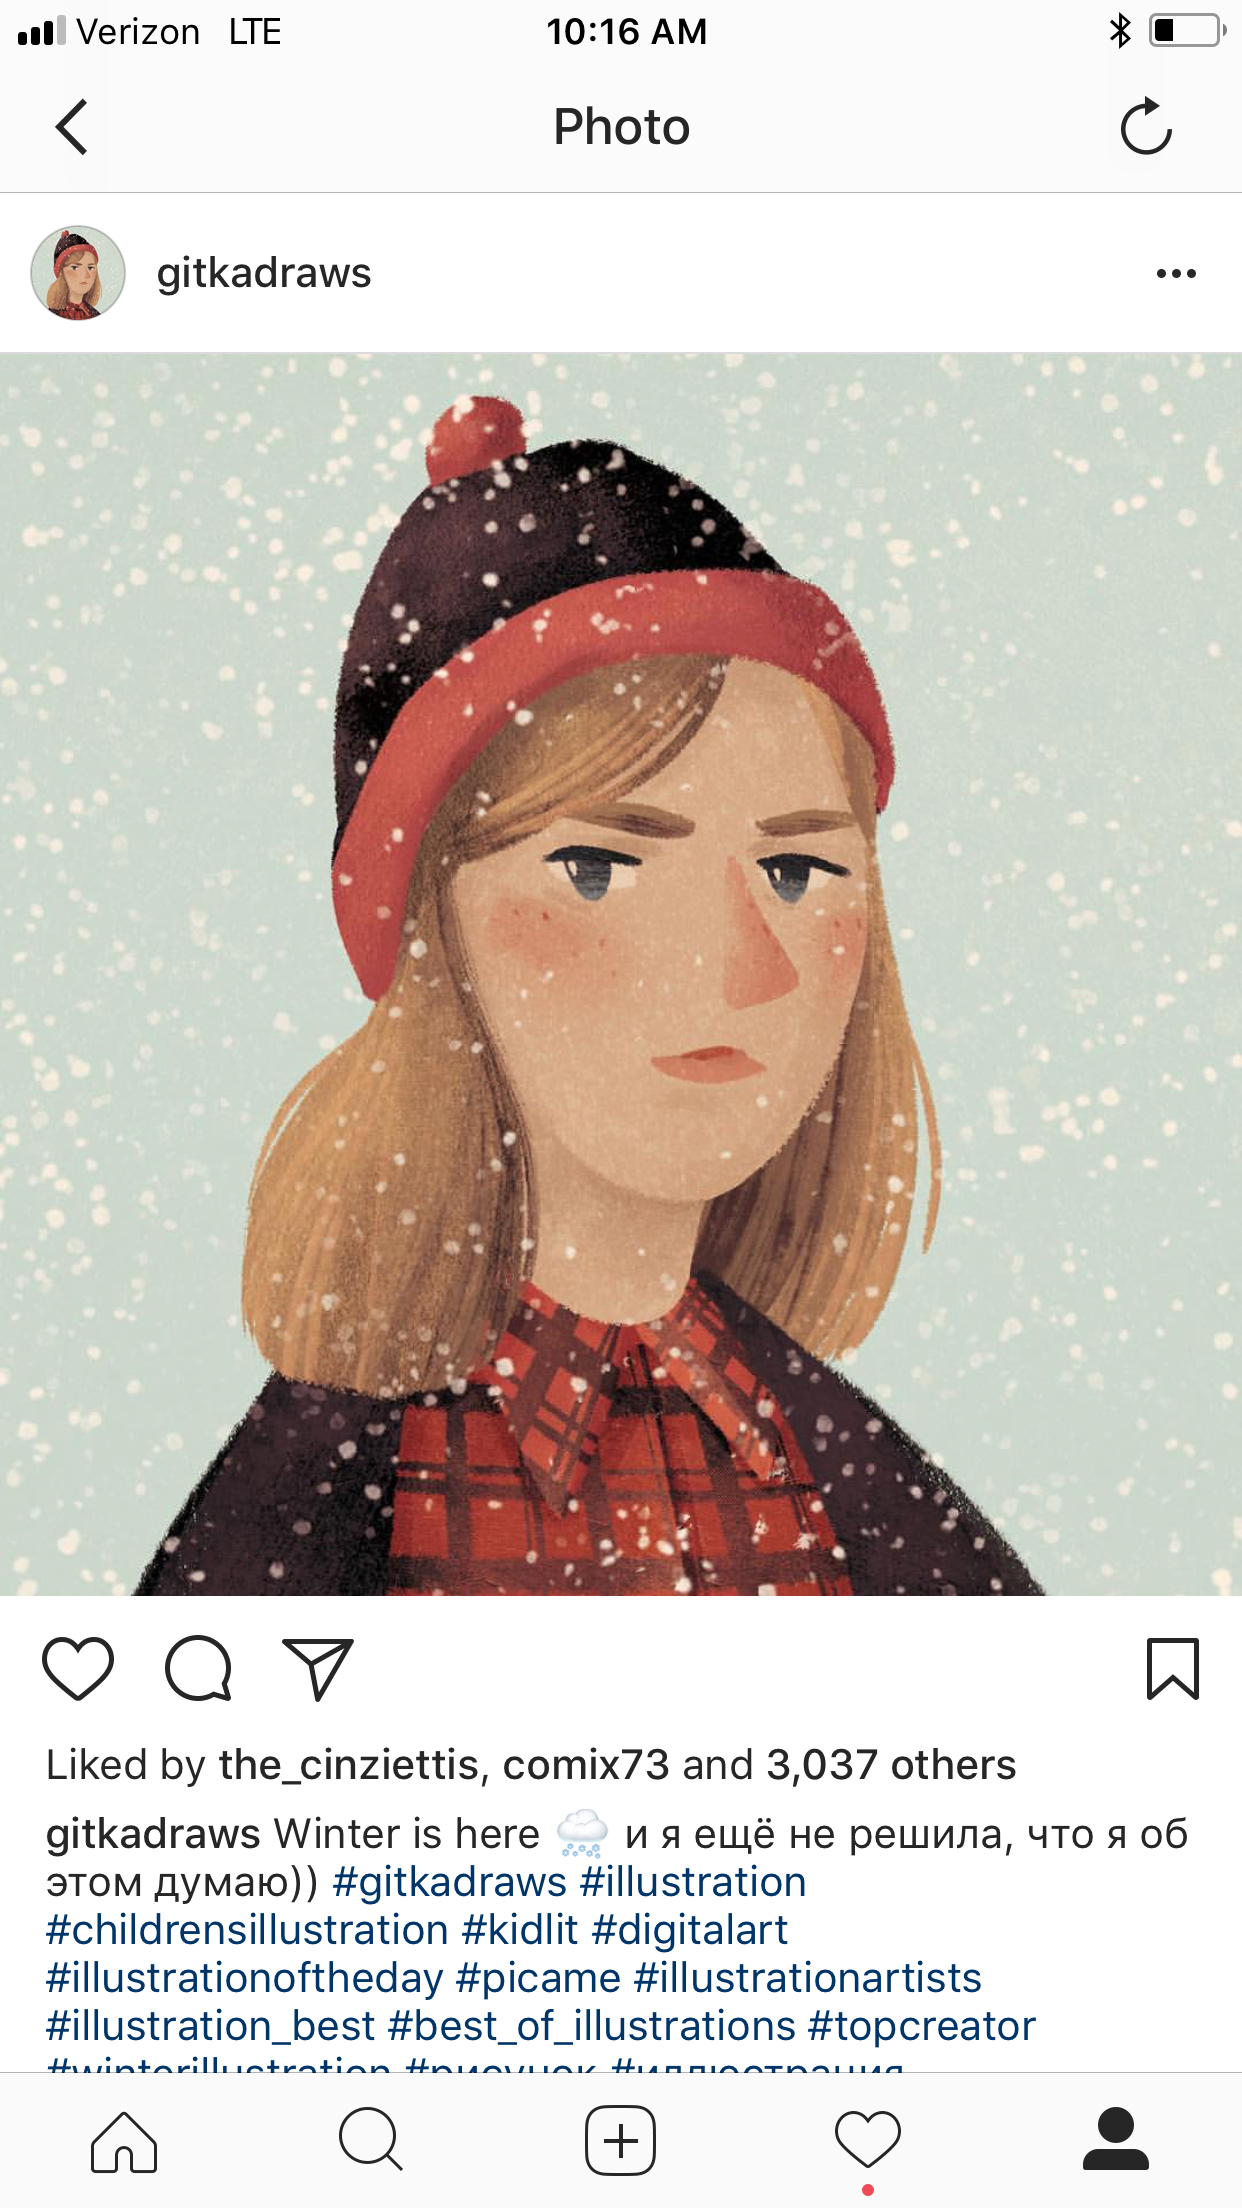
 Any suggestions on how to successfully and smoothly create more texture to the edges of my illustrations? When I chose a vector brush texture I like and use it for outlines, I experience two issues... 1. With affinty’s default texture brushes there’s a large “gap” at the closure 2. With brushes I’ve purchased, there’s not a “gap.” However, when I add any bitmap shading within my shapes, the lines stand out way too much because they aren’t being shaded (even when I expand the stroke). What am I doing wrong? heres an example of a texture in trying to achieve from @gitkadraws. Not sure if you can see the textures in this photo or not...
-
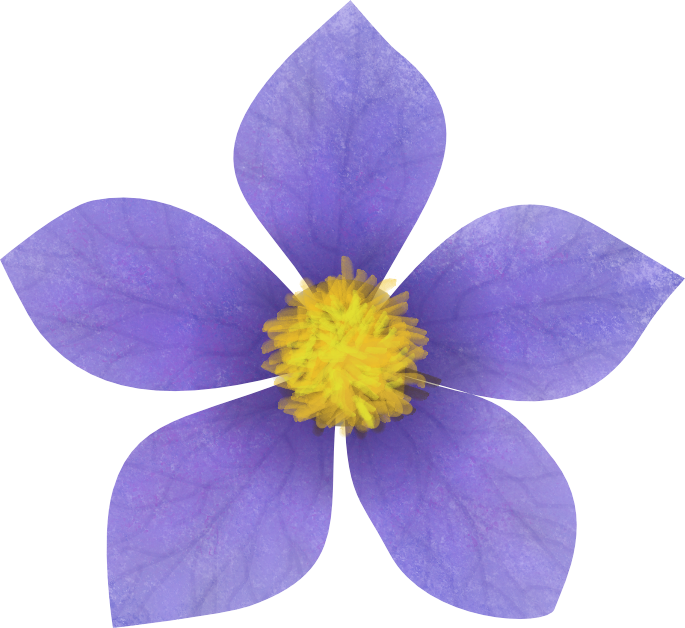
Part of a work in progress . a clematis flower created in Affinity Designer
-
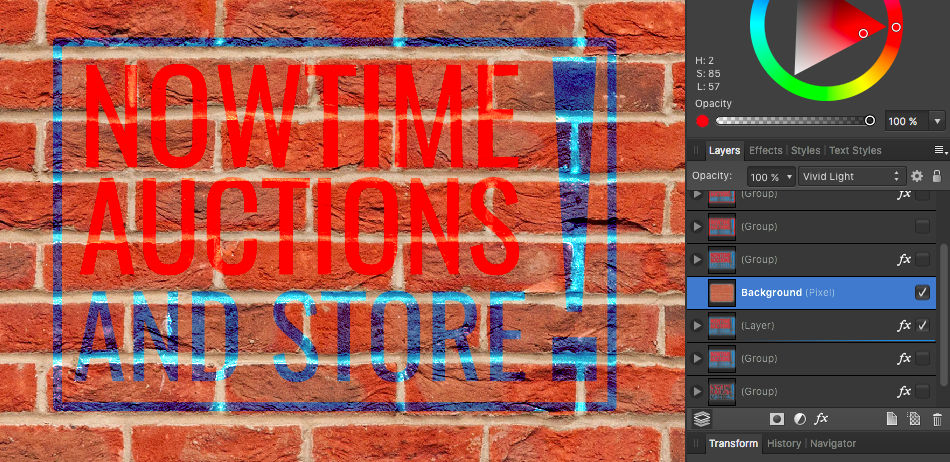
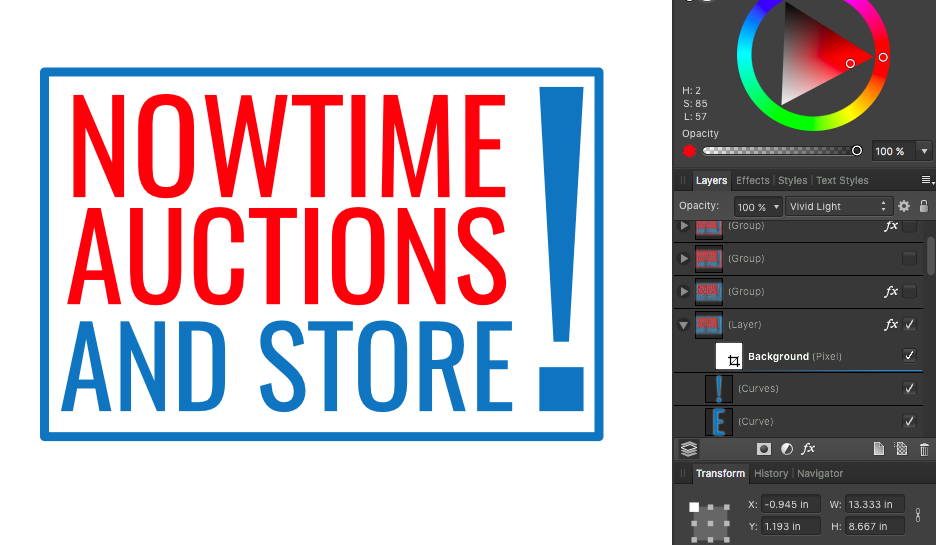
 Hi, I am trying to clip a brick texture to a logo in affinity designer. I looked up how to do it in affinity as its different than photoshop. I place the photo of brick on top of logo layer and here's what happens-pictures of before and after below. The texture goes away completely and thumbnail is white so I'm not sure what to do. Thank you! -Emily
-
Hello all, I did this halloween graphic to practice working with affinity. I am getting the hang of using a masking layer and creating effects with brushes
-
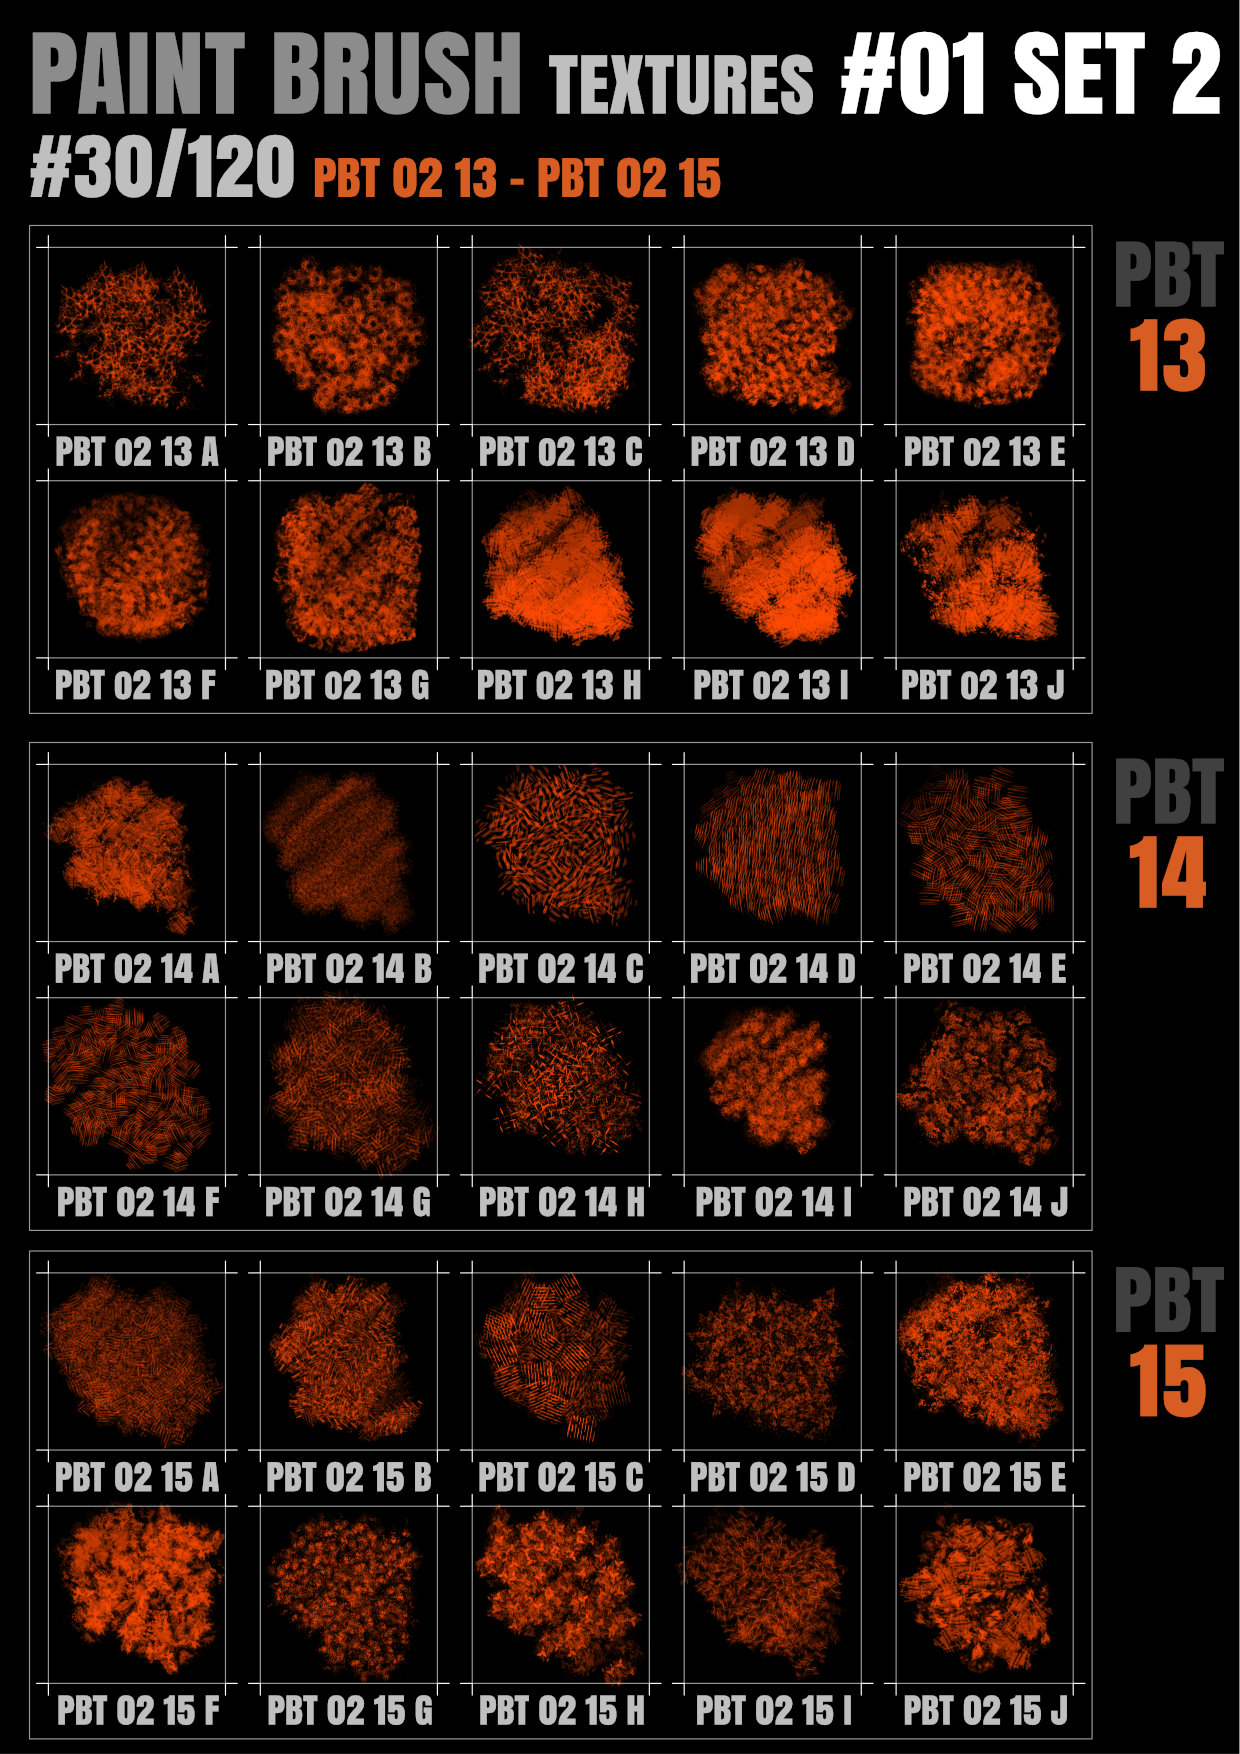
Added to the Paint Brushes with a new set of texture painting brushes 30 brushes from set 1 30 brushes from set 2 2 Zip files contains 60 brushes (3 pack x 10) x2 PDF sample files added PBT 1 Set 1 01-03.pdf PBT 1 P01-P03.zip PBT 1 Set 1 13-15.pdf PBT 02 P13-P15.zip
-
 I want to add some texture to an element in my design in Affinity Photo but can't figure out how. I watched some videos and found how to mask an image into it, but this is a small seamless tile that I want to apply as a texture and can't find a way to flood fill with anything but a solid color. what am I missing? I bought Affinity Design but am still on the trial of photo. I am looking for a replacement for Paint Shop Pro because that program has memory problems with the size and dpi that I am working with now. So far I am pretty impressed and have been able to work out how to do most of the things I need to do, but flood filling with a texture is super important to me and something I do routinely. Please tell me that I am just missing something and that it can be easily done. Thanks Sig
 -
A reworking of another old illustration image in AD. Turns out I did the whole thing in CMYK and had to convert to RGB for web display at the end. I tried converting the AD file to RGB and it looked horrible (the colours suddenly looked too bright and unsubtle), so I didn't save it. It worked better when I converted the finished JPEB in AP. Would that be the proper way to convert?
-
 In photoshop, you can take a photo image and apply it into a layer mask, then adjust it to create the desired tshirt graphic worn texture look. (see images) Can this be done in Affinity Photo? I have been playing around with the masks and haven't yet figured it out. Thanks for the help.