Search the Community
Showing results for tags 'svg export'.
Found 15 results
-
 I have looked through the forums, the support pages, and watched a couple YouTube videos, but I haven't found the best method of accomplishing my task. In summary, I want to take a .jpeg image, and cut out the background of spaces outside the image, and inside the image. Then I want to export to SVG. I want the background of all the spots I've cutout to be transparent. With the methods listed below, my image cutouts are not transparent on the exported SVG. My image is a case. sample.afdesign is attached. I am using Affinity Designer V2 at the moment because I found the most documentation and methods around using this software. The methods I have found and tried are. using the pen tool to draw around the case, give the curve a fill, and then from the layer drop down I made it an erase layer. Visually it looks to do the job, but the exported SVG does not show that area cut out. I tried the Pixel Persona selection brush tool to select the portions of the background that differed from the black of the case. That seemed to work well until I got to the portions of the image where the background was very similar to the case. I had to touch up the edges / stroke with the eraser brush to remove the boarder. I found that I can use the pen tool to make a shape of a section that I want to cut out, choose invert selection to get the piece I want, but I am not sure what to do with it from there. From what I am reading, I feel like a need a method of making the shape of the area I want to cut out, make a mask, then delete the mask. Or flatten the mask and the image I am working with. I don't completely understand the usage of a mask, so I am trying to figure that out as well. If it helps, in the past I used fireworks to accomplish the task with the pen tool, converting that to a marquee, cutting out whatever was within the marquee, and making another shape. I refuse to go back to that. I bought the whole Affinity suite, so if another tools is more efficient I can go that route as well. Thanks in advance for any help. sample.afdesign
 -
 For context, SF Symbols is an Apple technology for using and creating UI icons, already very popular (afaik) with UI developers, because it gives you a lot of functionality for free, and bakes some pretty advanced behaviour into the icon itself (in theory, you can turn a single vector drawing into a multicoloured progress indicator). It could be truly revolutionary, if making your own symbols wasn't such a pain. Originally, you had to design a custom symbol in nine weights of 3 sizes (27 icons), if you wanted it to look good everywhere, and using the cool stuff usually means even more work. So the latest iteration of SF Symbols allows you to specify a "variable template", containing just three weights of the small size, and interpolates the rest for you. I've really been enjoying using Designer for a job involving a lot of icons (because I remember the 90s, and could I just mention how much I love the snapping behaviours you've provided for the Node tool...), and thought I'd have a go at souping them up with SF Symbols. The input format is really simple (SVG file with maybe a few requirements on the metadata, and 3 groups: Ultralight-S, Regular-S and Black-S, each containing a - probably compound - path), and if you start from an exported template, that's all set up for you anyway. However, the three variants must be interpolable, so you need the corresponding points to appear in the same order each time. This is hard to guarantee if you're doing anything more than copy-pasting and transforming (which is probably the use case Apple is catering to). As an experiment, I exported an Apple-designed SF Symbol as an SVG template, opened that in Designer, broke a path on one variant, closed it again, and exported an SVG. Turns out, the subpaths had been rearranged, so it wouldn't validate. Even when I manage to follow an identical sequence of steps (which senility doesn't always permit), the outcome is far from guaranteed. The worst of it is, this would be a perfect - and highly enjoyable - workflow, if it wasn't for the last step... So what I'm pitching for is an export preset for SVG which iterates over each variant's subpaths, groups these into closed paths (which they ought to be for an SF Symbol, anyway), and then ensures that their points are always listed from the bottom left, or whatever. No additional UI needed: if it doesn't work, say so in the export preview window. I thought about asking Apple to make their app a bit more accommodating, but I suspect they're actually quite keen for everyone's icons to be composed from their (admittedly excellent) pre-designed palette of symbols... Sorry it took so long to explain such a simple thing. It sounds a bit niche (although it's also very little effort), but there are a lot of UI designers for Apple devices out there, and if the workflow were more designer-friendly (still mucking about with a Python script for the above), I'm sure a lot of them would want to get creative with SF Symbols. What do you think?
 -
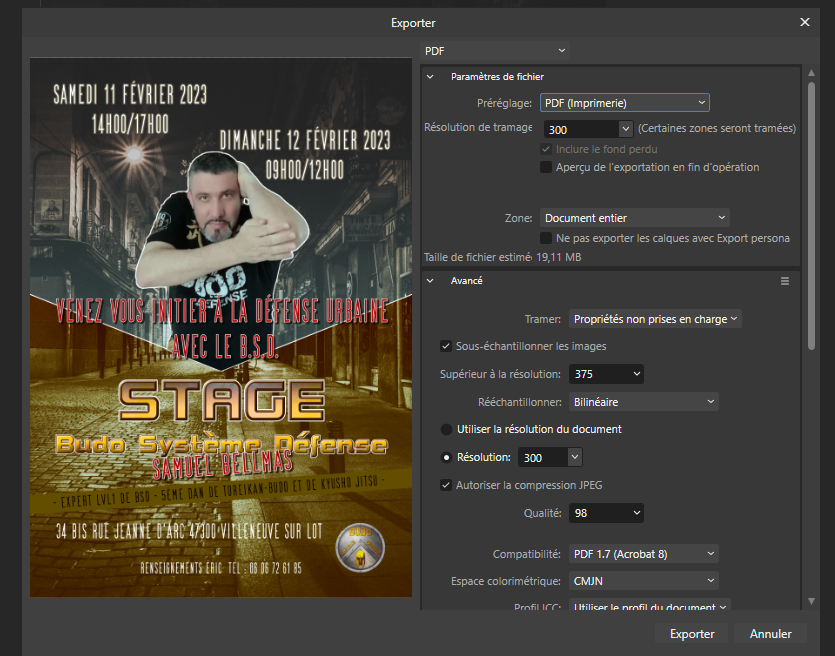
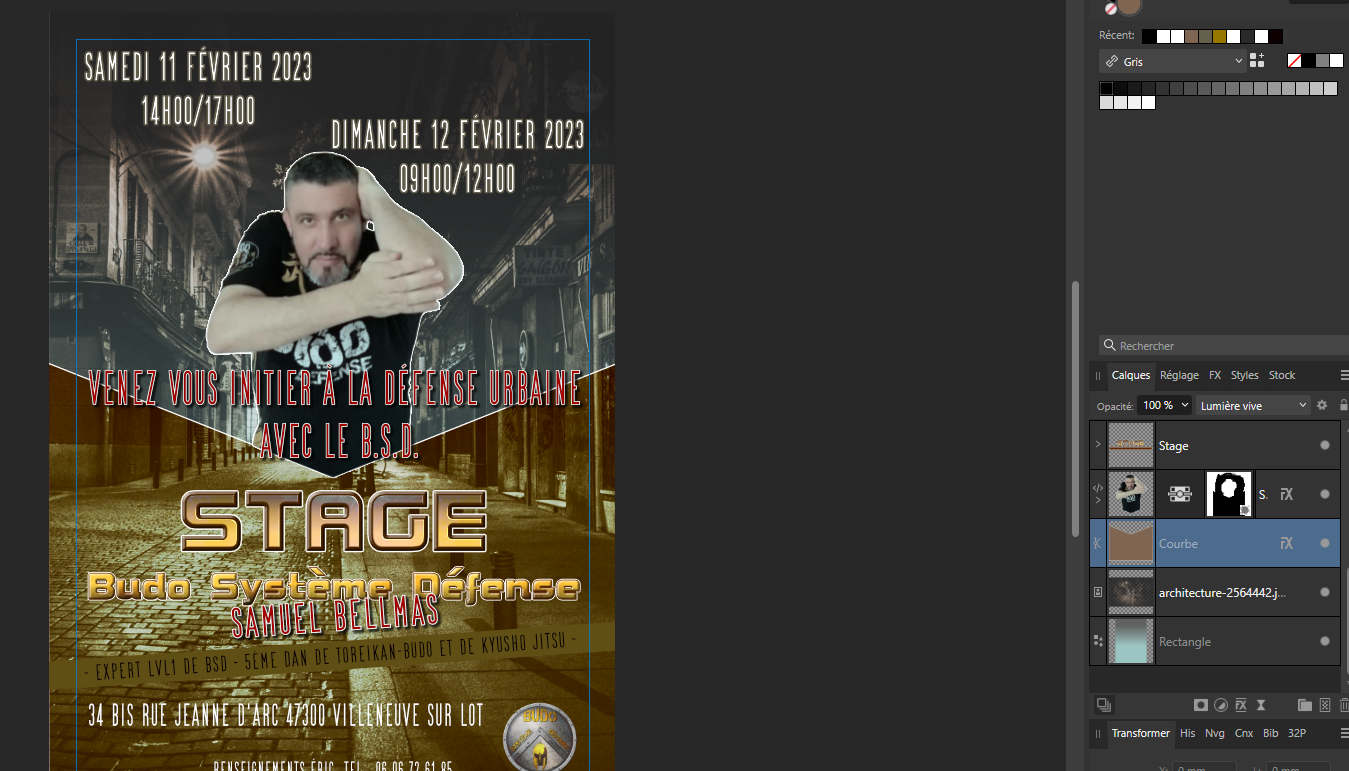
 Hello. I've got an issue with exporting to PDF and SVG : some effects are no longer present in the created file. During the preview of the export no problem detected, but when I open the file, I notice that some effects are no longer present. I don't understand why I have this problem, is it a bug of the app? Or is there a way to solve the problem? Thanks in advance for your help and response. OS : WINDOW 10 third picture : PDF fourth picture : SVG
-
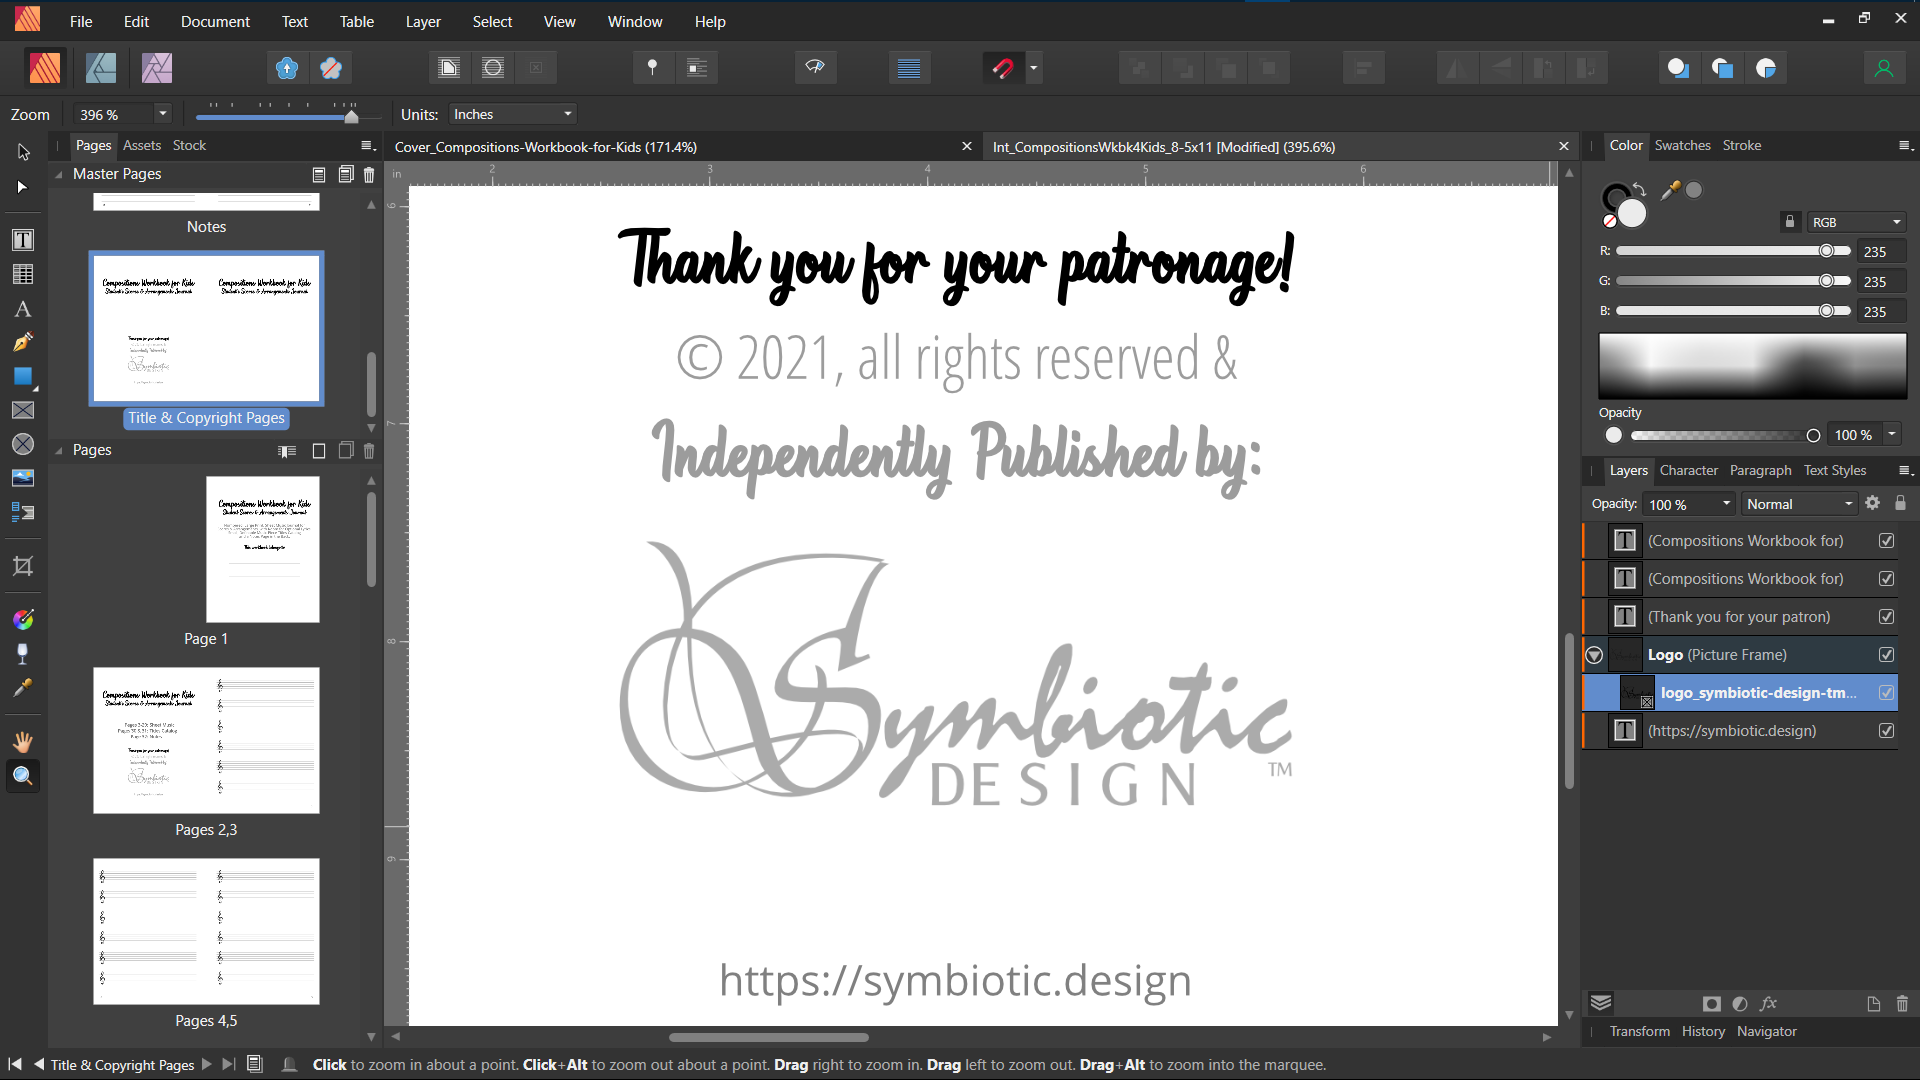
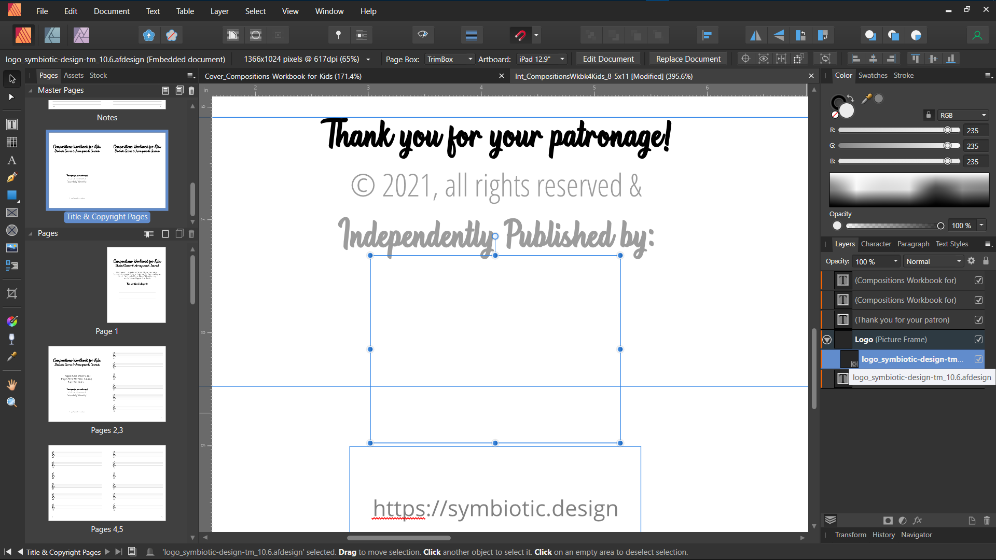
 There seems to be a huge issue with SVG support in Publisher. Here is the SVG logo that I exported in Designer: [DELETED] since it did not show. Hmmm... I can't see it there, so I'll delete that file. But, in my file system, it looks right in the directory where it is located. Alright, here's a PNG version... Now, that is how it is supposed to look. Unfortunately, it does not look the same at all in Affinity Publisher: Now, I have the Picture Frame at 33% opacity, so that is not the issue. What appears to have happened is that it has lost all of the formatting of the word "D E S I G N". This is the Clearly Gothic font that has added space with tracking and all of the letters stretched (horizontally). Now, I have made this logo over and over, in different ways, sometimes using spacing, sometimes tracking. I have deleted the artistic text D E S I G N layer and started all over again, yet every time I wind-up with this crapola rendition in Publisher. Unfortunately, I did not catch this, as it looked perfect everywhere else and a couple of books have this crap logo. I thought to export the logo as a PDF, and then it does look right in Publisher. But when I export the document as a PDF to upload for print, the logo is nowhere to be seen (I mean, it is completely missing, nowhere to be found). I really need better SVG support, guys. This should not even be able to happen. And why did the PDF image fail, I wonder? So, here I go again, with yet another workaround. This time I will use the Affinity Designer file in Publisher... I don't get it. There is nothing there... I'm going to cry. I can't use my own logo? Yes, I have resized it down. There is nothing there. I have to pay $50 a month for Adobe's crap because I want my logo on my work? Please, please, tell me you have a fix for this, so that I can use my logo, as a vector, in my own work (a vector because of all the different resilotions/dpi I work in). I am miffed. Every other SVG I have ever used within Publisher or exported from Designer came out well. Why my logo? Is it a screw-up with the Clearly Gothic font at the D? Indesign, Illustrator & Photoshop handle it right. ALL My projects are on hold until I have a solution. -DP
-
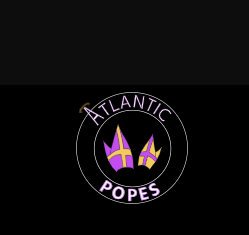
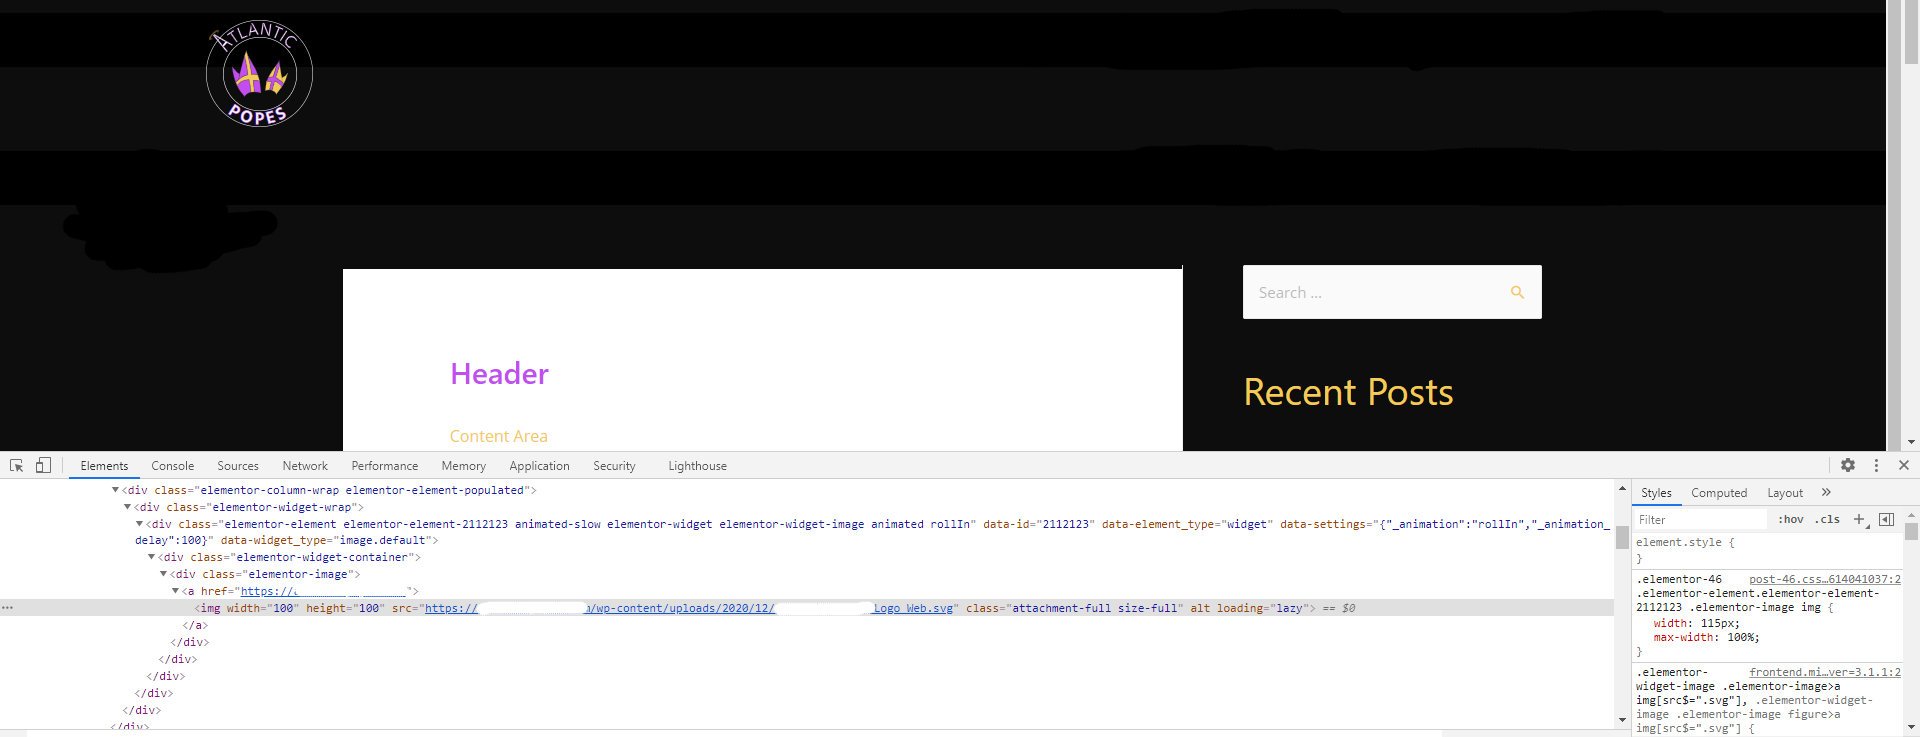
 Hi, I created a logo in Affinity Designer and exported it as svg-file (SVG (digital - high quality) - 300 dpi). But when I insert it into my WordPress-Website (via Image Widget from Elementor) it gets displayed blurred (at least at the circle-lines on the left and right side). I asked the Elementor support and they answered that it seems the svg image has a set width height in it which might be causing the issue. But how can I export the svg-file without these set width and height? I am attaching a screenshot of the blurred logo and also a screenshot from my inspection with Chrome Dev. Tools (some parts are deleted from the code because the site is not online so far) Has anybody an idea what could solve my issue? Thanks very much in advance :-)
-
 I use Affinity Designer to create files that I export – using "SVG (for export)" – for other apps, such as Cricut Design Space. The problem is that the Affinity Designer SVG export contains scientific e notation values like: <g id="topback" transform="matrix(-1,-1.22465e-16,1.22465e-16,-1,854.039,695.404)"> that other apps, specifically Design Space, chokes on. Trying to import that object into DS results in unusable, malformed objects. Sometimes I can "fix" it by editing the SVG file from the above, to: <g id="topback" transform="matrix(0,1,1,0,854.039,695.404)"> resetting the transform matrix, but it doesn't work for all objects, I haven't dug into how to map the space transforms properly, and I'm trying to avoid learning/doing that because this step is a huge pain. Based on a bunch of SVG parsers, the files are technically valid, and Affinity can re-import the SVGs, but I need them to work with the other apps. But this issue doesn't happen all the time and I can't figure out exactly what causes it to occur in the first place. Nor can I figure out how to fix it. I've tried deleting the offending object and re-creating them, but the new objects are affected exactly as the one it's replacing Any ideas would be very helpful. THANK YOU!
 -
With Designer 1.8.6 on macOS 10.14.6, when I open an SVG file and then try to export it as PDF, the application completely crashes. Steps to reproduce: - open attached SVG file - go to File / Export - select the "PDF" tab in the export dialog - the application crashes I have verified the SVG and found it to be a valid SVG file. I have some other SVG images (generated from the same source) where the same behavior can be observed. eILCD example - LDPE injection moulding parts model.svg
-
 Hi, So i tried exporting a illustration into figma, but the layers just don't align, i will share my original view and the export view, can anybody help me out i am running on a time frame here PS. the PNG comes out A-OK Regards -Noobie37-letter.svg the PNG view SVG view
-
 Hello, I am a previous photoshopper and switched to AP and AD. I am fairly new to vector images and wanted to know why, when I export an af design file,(in AP or AD) I created like my logo, why does it export as an HTML document?
 -
 When I export a design in the SVG format and open it in another vector program the size is different. I need the design to be the same size as the size I created in Affinity Designer. I opened the SVG file in AI, Corel, Inkscape, Cricut Design Space and Silhouette Studio. In all the software the design is not the same size as I created in Affinity Designer. Am I using the wrong settings?
 -
 Rightnow exporting to SVG has all styles inline on all seperate svg-elements. And elements don't have classes or IDs. Using SVGs on web and making interactive animations on a daily basis this way it's impossible to animate elements and use external stylesheets without having to manually add classes and IDs to each element and remlve all inline styling in a text-editor after each export. I don't like to say it, but that makes this workflow impossible to use. Having to stick to inline styling inside the SVGs is another problem: - These days inline-styling is a big nono and validators throw penalties if inline styline is being used. The preferred way is internal style department, or use with external stylesheets. - A lot of layouts use the same styling on multiple elements. With inline styling all these styles got copied for all elements, resulting in a way larger SVG file then needed because of a lot of repetitive redundant data. This can easely be avoided by adding classes to the SVG elements and having one style-rule inside the general section for each different style. That makes the export a lot more efficient and makes it easier for developers like me to just copy the generated styles and move them to an external stylesheet if needed. - When styling is in the general <style> tag inside the SVG, a developer only have to change 1 stylerule if something needs to be changed instead of having to change all objects having all the same inline-styles - Because there are no classes nor IDs added to elements, we are unable to animate the elements with javascript, or again, we have to add IDs to all elements we want to animate each time after an export... A little bit like the Adobe Illustrator advanced settings offer, but that could even be improved to keep the SVG output as small as possible: My suggestion would be to add this to the SVG exporter settings: - A checkbox to add IDs to SVG elements where the layer-name starts with an asterix ('#'), followed by the name of the layer/curve. That way we can decide wich elements get IDs so we can address these elements later with Javascript to animate and so on. And with this we also prevent adding IDs to all elements in the SVG (resulting in a large SVG file with a lot of unused, redundant IDs). And when no # is add to any layer, no IDs are being written to the SVG. So full control here I'd say. - An option to choose one of the following for the SVG Export: - Use inline styles - Put styling inside <style> tag (recommended - mostly resulting in smaller files and less redundancy) (Perhaps to be complete even a: - Put styling inside svg attributes (but not my taste ) ) When a user picks 'Put styling inside <style> tag' the elements get a class attached with the styling in the general <style> tag inside the svg. Long story short: for real / advanced usage of SVG on the web for web development, interactivity and animations (by css and javascript), these options are indespensable! It would be very much appreciated if Affinity developers could look into this! Thanks a lot!
-
- 1
-

-
- svg export
- styling
- (and 1 more)
-
Hello, Dev team i have trying to do changes on SVG file screen behaviour is wiggly every time, when i have select the curve tool pan zoom in and out also SVG Export feature have missing these Properties. Css properties Style elements Present attribute Style attributes Style attributes (Entity references) This can help to web designer to export style standers Thanks
-
I am still struggling with SVG export. Not sure why. I am mostly designing in AD and wanting to export/import into Silhouette Studio Designer Edition (digital cutting software.) Although I have the issue in SSDE, I also have it in Graphic/iDraw and inkscape, so I don't think it's on Silhouette's end. I am never getting the original size of the design, and often the design is not even in correct proportion (stretched one way or the other.) I finally created a 3" square to export and try different settings. No matter what I settings I try, I either end up with a square that is 12.5", or one that is 1.389". If I choose to export the entire document instead of just the square, I get a rectangle instead. If I could get the exact sizes it would really be wonderful! Thanks in advance for any help!!!
-
 I am working in AD and I need my file to be able to be opened in AI. I saw somewhere that svg is best if you have clipping masks. So I tried all and it the file gets rasterized weird and is not usable at all, and I get the Clipping will be lost on roundtrip to Tiny message. What blows my mind is that Inkscape gives me the file intact along with all the clipping masks and everything! Any clue anyone?
 -
 When I export with SVG, sometimes simple pen lines with only 2 nodes don't export. Does anyone know why? If I edit the pen line's pressure, then the pen line will show up on export under SVG.