Search the Community
Showing results for tags 'sharpen'.
Found 17 results
-
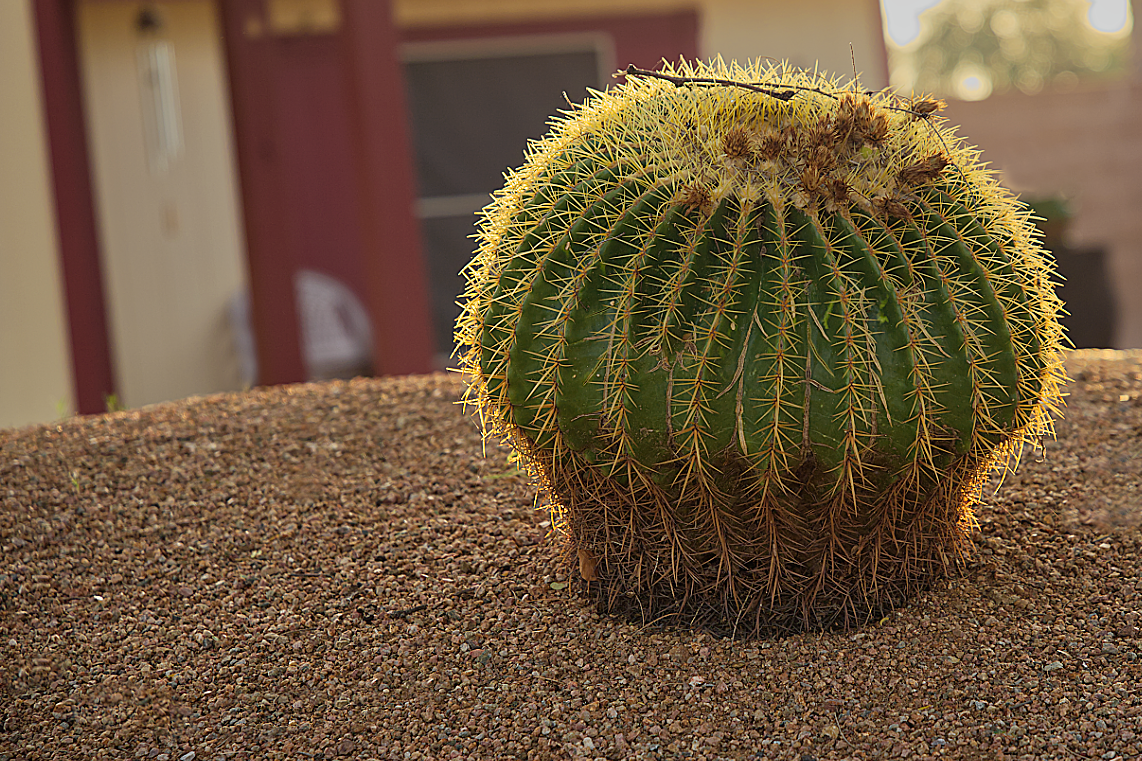
Not only export but merge visible will lose any sharpening as well. The top pic is a screen shot within AP, the bottom is a jpg export from AP. Export was Bilinear at 100% quality - no size reduction. Running Windows 10 Home. Any insight would be appreciated!

-
 Hello, in this Affinity Photo tutorial, I show a problem of a shot at dusk after the sunset. There is a low light situation, you have to shot with a high ISO and so ... you will get noise! I show, how to denoise the photo and how to sharpen it. I wish you fun! Ciao Jack P.S.: You can activate english subtiles with the gear icon in the YouTube window
 -
 Sharpening by Blurring This procedure originated from Dan Margulis and I found it described in The Creative Digital Darkroom by Katrin Eismann and Sean Duggan (Page 387). It utilizes two copies of the original file which are transformed, one into a Light Edges and the other into a Dark Edges image. These are then stacked onto the original with appropriate blending modes to create a final sharpened image. The original used Photoshop. I have translated it as far as I can into Affinity Photo procedures. 1. First, create two new tabbed-copies of the background image. Photoshop allows you to to do this as a recordable command. In Photo I used the following: Edit > Copy (Control-A, Control-V) (or Command-A, Command-V) Edit> New from Clipboard. Edit> New from Clipboard. This creates two new tabs, each with a copy of the original image. 2. Create the Light Edges On the first extra image, duplicate (Ctrl/Cmd -J) the Background Layer twice Select the Middle Layer Apply a Gaussian Blur Filter (Filter > Blur > Gaussian Blur) with radius 1.5. Change the Blend Mode to Darken. Select the Topmost Layer and set the Blend Mode to Difference. Flatten the Image (Document > Flatten). Duplicate the single layer and set the Blend Mode to Screen. Duplicate this top layer again. Flatten the Image. Rename this layer to Light Edges. The result will be a very dark image with fine light lines corresponding to the edges. 3. Create the Dark Edges On the other extra image, duplicate the background layer twice. Select the Middle Layer. Apply a Gaussian Blur Filter (Filter > Blur > Gaussian Blur) with radius 2. Change the Blend Mode to Lighten. Select the Topmost Layer and change the Blend Mode to Difference. Flatten the image. Invert the image (Ctrl/Cmnd-I). Duplicate this background layer. Change the Blend Mode to Multiply. Duplicate this layer again. Flatten the image. Change the Layer Name to Dark Edges The result will be a very light image with fine dark lines corresponding to the edges. 4. Bring it all together Select the Dark Edges image and Copy (Ctrl/Cmd-C). Select the original image and Paste (Ctrl/Cmd-V). Set the Blend Mode to Multiply. Select the Light Edges image and Copy (Ctrl/Cmd-C). Select the original image and Paste (Ctrl/Cmd-V). Set the Blend Mode to Screen. I have created two macros to perform the Light Edge and Dark edge manipulations of stages two and three. Although Photo will quite happily create a macro that copies and pastes layers between documents, it records the actual layers present at the time of the recording, not the command to perform the copy. To apply these to a document, you need to manually go through the steps in stage one to create the two copies. Then Apply the Light Edges macro to one of these tabs and the Dark Edges macro to the other tab. Finally manually go through the steps in stage four. Dark Edges.afmacro Light Edges.afmacro John
 -
 In this Affinity Photo tutorial, I will show you, How to improve photo quality in just a minute.
 -
 So I have layers of lineart. In photoshop I use to enlarge the file and in order to show stronger lines ( with less grey pixels around them) I use to go to filters and then Sharpen. I use to do it over and over again for every layer and multiple times on the same one if I need to. The sharpening filters are doing nothing on my lines in affinity photo. Maybe they've a better use for photographs? How do I solve My problem? Cheers Help please
 -
 Hi, i just bought Designer as a potential replacement for my beloved Macromedia Fireworks (which was the best Vector/Pixel hybrid tool out there – shame on Adobe for killing it). The first thing i am missing in Designer (possibly just can't find it) ist, a Sharpen-Filter for imported pixel art. In Fireworks i could add a Sharpen od Unsharpen Mask Effect via the "Filter" Palette which was non-destructive and could easily be removed again from the image. I was hoping to find Sharpen in the Layer-Effects of designer, but it wasn't there. It's also not under Layer-Adjustments. Is a sharpen filter simply missing and if so, is that a planned feature? Note, i did see the "sharpen" Brush, but that is not what i am looking for as i want to apply the filter to the whole image in a non-destructive manner. Thanks for any pointers!
 -
 Hi If I develop a raw file in the develop persona including tonal, black and white points, shadows and highlights and sharpening, etc.. then go to the photo persona. Do you then do more adjustments to the same or should I leave things as they are (newbie!) Also, if I have sharpened in Develop, do I sharpen again for print? Or is it just down to personal choice. Just looking for some general guidelines I guess! Thanks....
 -
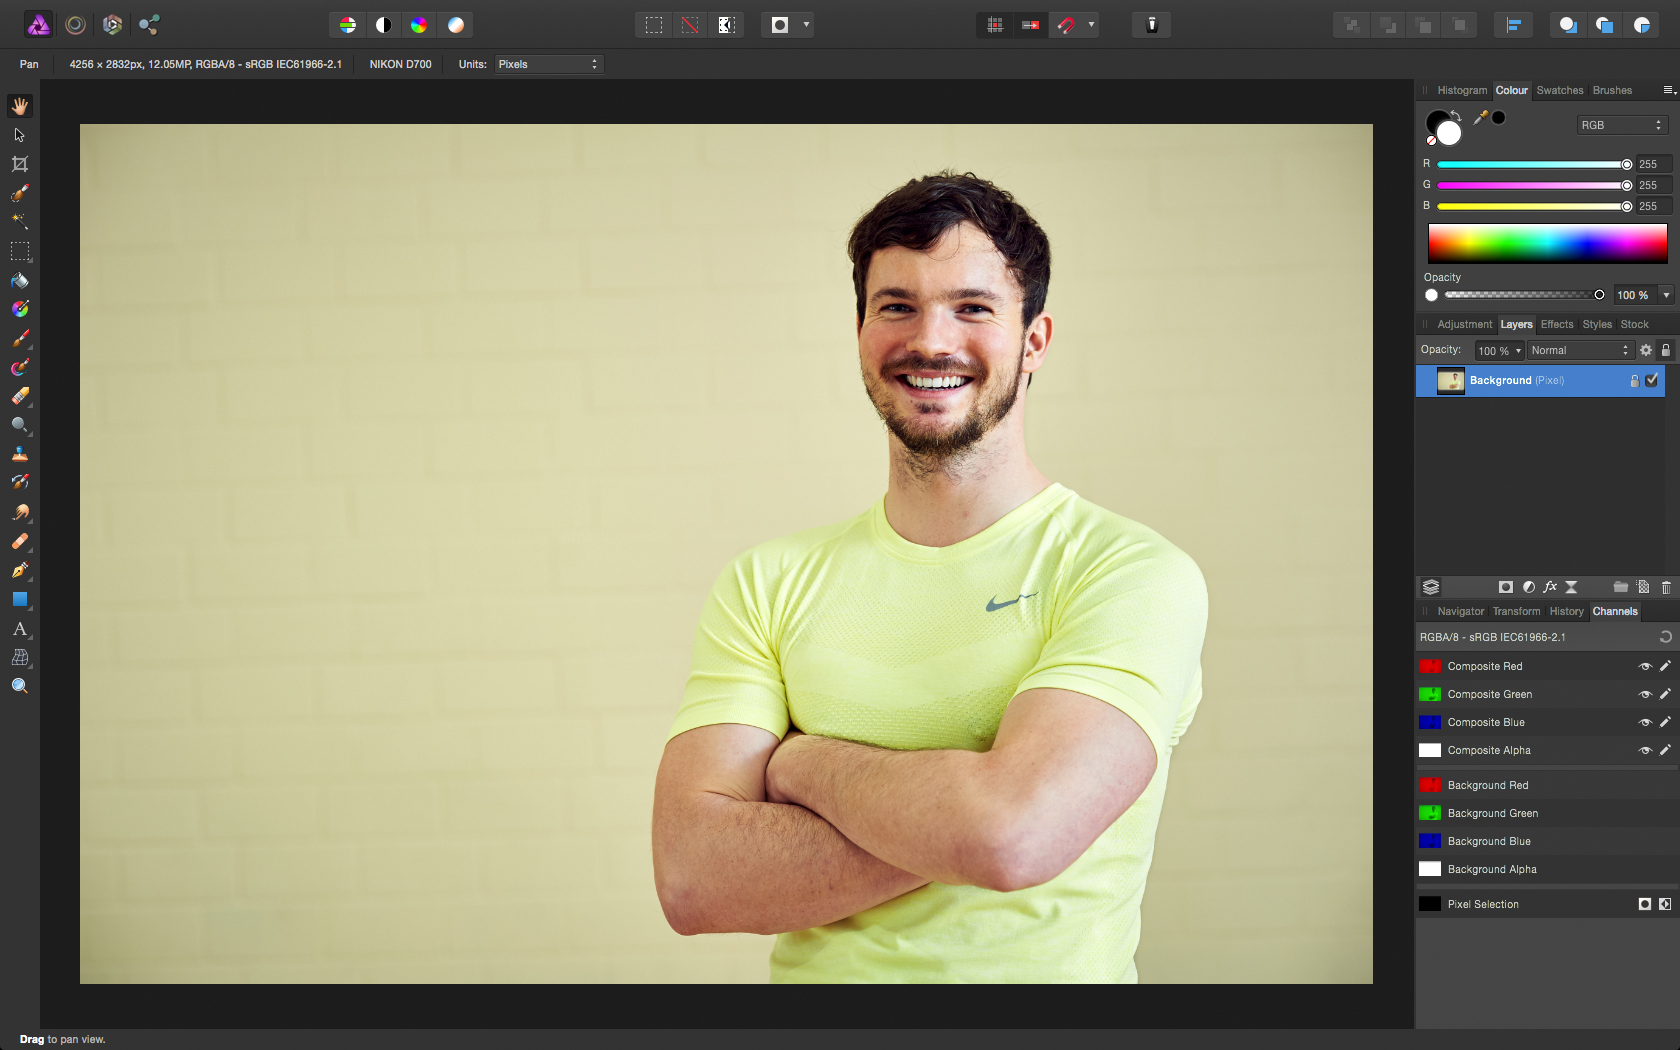
 Hey I'm looking to sharpen an image. I'm having trouble and I was looking for help. Would it be easier if I post a pic
 -
 Hello, After a little search, I found that others have had issues getting clear images after saving a finished product in Affinity. I am not great with computers, and I bought Affinity because it looked simple enough to use and the one time payment vs subscription works well for me. Overall, I have been happy with using Affinity, except that my images turn out fuzzy. I am an illustrator (pen and paper) and after scanning my images, I upload them to make sure everything looks good, and save a large file for prints, and a smaller one for the web. All is well, except when I upload them, they are not as crisp and clear as they are in the program, or when I look at my scan file. Is there an easy way to combat this? I would really appreciate any suggestions. Thank you.
 -
I'm trying to create a brush of my watermark. (It's really more of a stamp. I just stamp it on. I don't draw with it like a traditional brush.) When I did this in photoshop, the watermark came out crisp and clean. In affinity designer, it comes out blurry around the edges. I have adjusted the hardness and flow to 100%, and I've tried messing with other settings, but nothing seems to work. Any ideas?
-
 I am new to Affinity Photo and this is my first post. Is there such a thing as "Sharpen Edge" on the Affinity Photo software?
 -
 Hi Team, I am looking to move from Photoshop to Affinity Photo. I wanted to know see the capability of Affinity photo before switching the same In Photoshop, I used to sharpen the subject by placing it in its own layer and applying Smart sharpen to apply sharpening in varying Amounts. I always want to sharpen the image after resizing the images as sharpening Amount always depended on the size of the Image. Can you let me know any such options are available in Affinity Photo ? Thanks Krishna
 -
Hi, I just have a question with regards to the quality/resolution of the images that were processed in Affinity Photo in Ipad. I just noticed that those images that I process through Affinity Photo in iPad were not too sharp after I export it to jpeg. All my settings like the image quality were at 100% before I exported it but when I already posted it in social media like facebook, the quality was not too sharp even it freshly came from developed. Before when I'm doing my photo editing in PS/LS, even I already posted it in facebook, the quality of the image is still there but now it seems no longer sharp after I posted it on Facebook. Is there can somebody can help me to sort this out because I'm now doing all the image editing through my ipad but the quality that I want to achieve is not there. I hope there's a way that I can get the quality images that I usually get in processing from LS/PS through my Macbook. Thanks a lot!
-
 Sharpening with an edge mask 1. This is a portrait after RAW conversion with standard sharpening applied to eliminate anti-aliasing from the sensor. The image is sharp, but not tack sharp. I will improve on this by using a sharpen filter in Affinity Photo. The problem is, that the effect is applied globally to the entire photo. Smooth gradients, like the skin will be affected also and in most cases this is not desireable. Therefore, I will show you a way to create an edge mask, which allows to only sharpen the edges and leave the gradient portions of an image intact.
-
 I have created an image with the selection brush tool to cut out the background. The image I am left with is heavily pixelated on the edges. How do I eliminate pixelation and sharpen the image so I can make further use of it. Looking forward to your suggestions.
-
Hey As an amateur photographer, I would love to suggest some options for the develop persona, that would make it really cool and easy to use for any sort of photographer. May I suggest (these features I have seen in other apps, but not many tbh) Some brushes such as a blur and soften and a sharpen brush, along with dark, lighten and saturate and desaturate. I have suggested these before but I really would love them and I think lots of other people will too. May I also suggest two slider options. slider for making the blues either stronger and darker or weaker and lighter, as well as one for greens and browns. I think these sliders would be so awesome and useful for me as an aspiring landscape photographer. Maybe you've had some ideas from these ideas, suggest them because as a user I say "the more features the better, just hide the complex ones, but make sure they're within one click. All this will result in a simplistic UI and beautiful options" Kind Regards GEEKIO (Pronounced: GEEK-IE-O)
-
 I'd like to see the Sharpen filters on the Adjustment tab or allow the Adjustment tab to be customized for the tools a user uses most. This is commonly used and annoying to go to the Filters menu item for it. I'd love to be able to drag and drop a tool I use often to the Adjustment tab and remove ones I never use!!! It would be spiffy :) Also, are the Sharpen features even working? I tried all 3 of them and didn't see any change in the image. Thanks!